When you buy through links on our site, we may earn an affiliate commission.
Leaderboard


Popular Content
Showing content with the highest reputation on 09/05/2013 in all areas
-
2 points
-
as my previous promise to a member here over the pm, dear sir please let me present you my little WOP2 points
-
dear all, after my post here: http://www.rwgforum.net/topic/159409-prev-dial-hand-made-trial/ detail improvement has been made: indicase, brand font, etc And now I decided to make a small run (around 25 pieces)... i hope there are enough interest in my 201a dial The estimate production time is around 1 month, hopefully by August I can already send those dial. some detail of the dial: - size 35mm - thickness 0.6mm - black base color semi gloss - printed brand & model type: 201/A (maybe 202/A also, depend on the list of interest) - choice of matching and non matching indicase fill (i will post the sample as soon as posible for non matching) Dial price $115, I will accept payment when your dial is ready for shipping. On this first run, register shipping cost inclusive in the dial price. please signup in this list: 1. ex: steph_dexter (201/A non matching) 2. 3. 4. 5. 6. 7. 8. 9. 10. 11. 12. 13. 14. 15. 16. 17. 18. 19. 20. 21. 22. 23. 24. 251 point
-
A friend of mine offered to take photos for me with an actual camera instead of my iPhone, I just got the pics from him and wow, big difference! I'm definitely going to get a light box and basic camera so I can do it myself. I love Jacek's pics (gen dealer) and hope to be able to get them to look like his one day. These are done by a friend who has a second hand watch store in town.

 1 point
 -
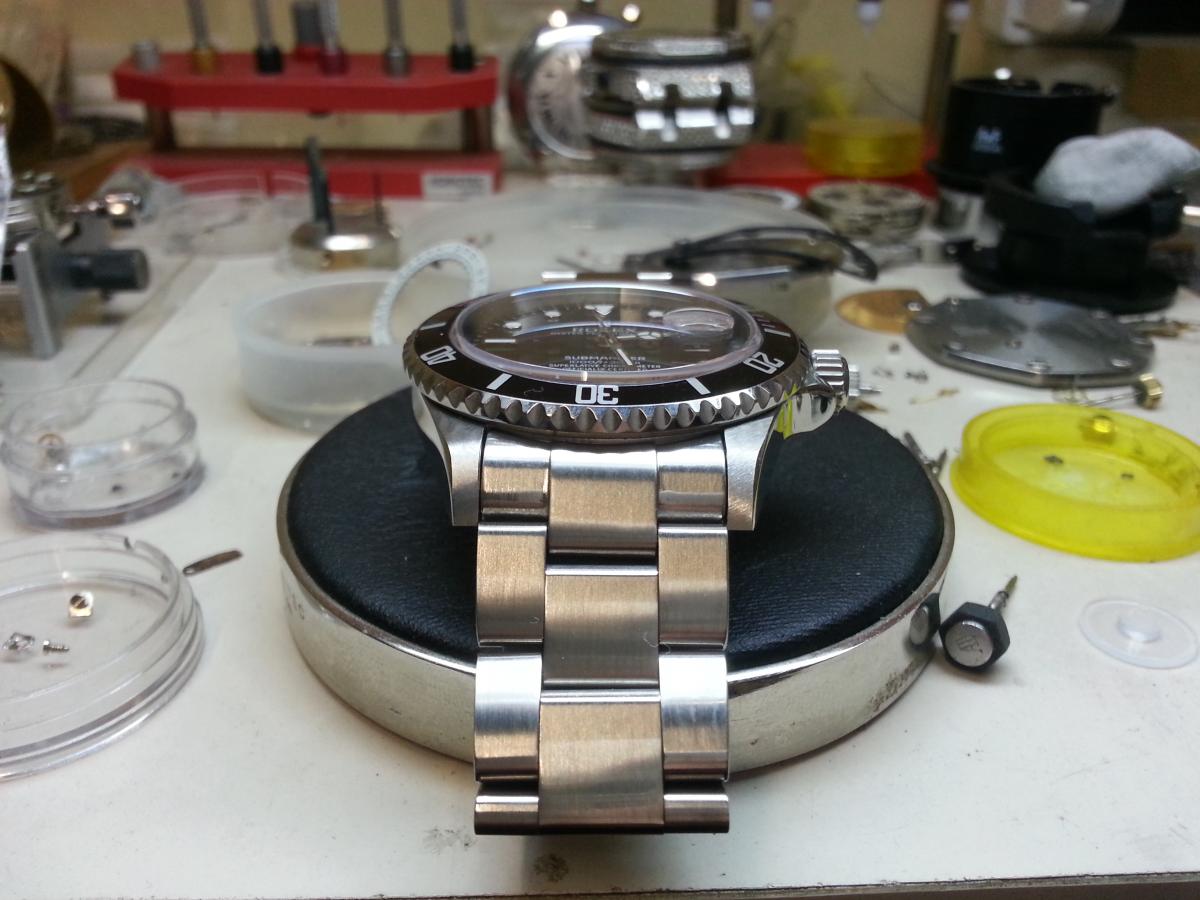
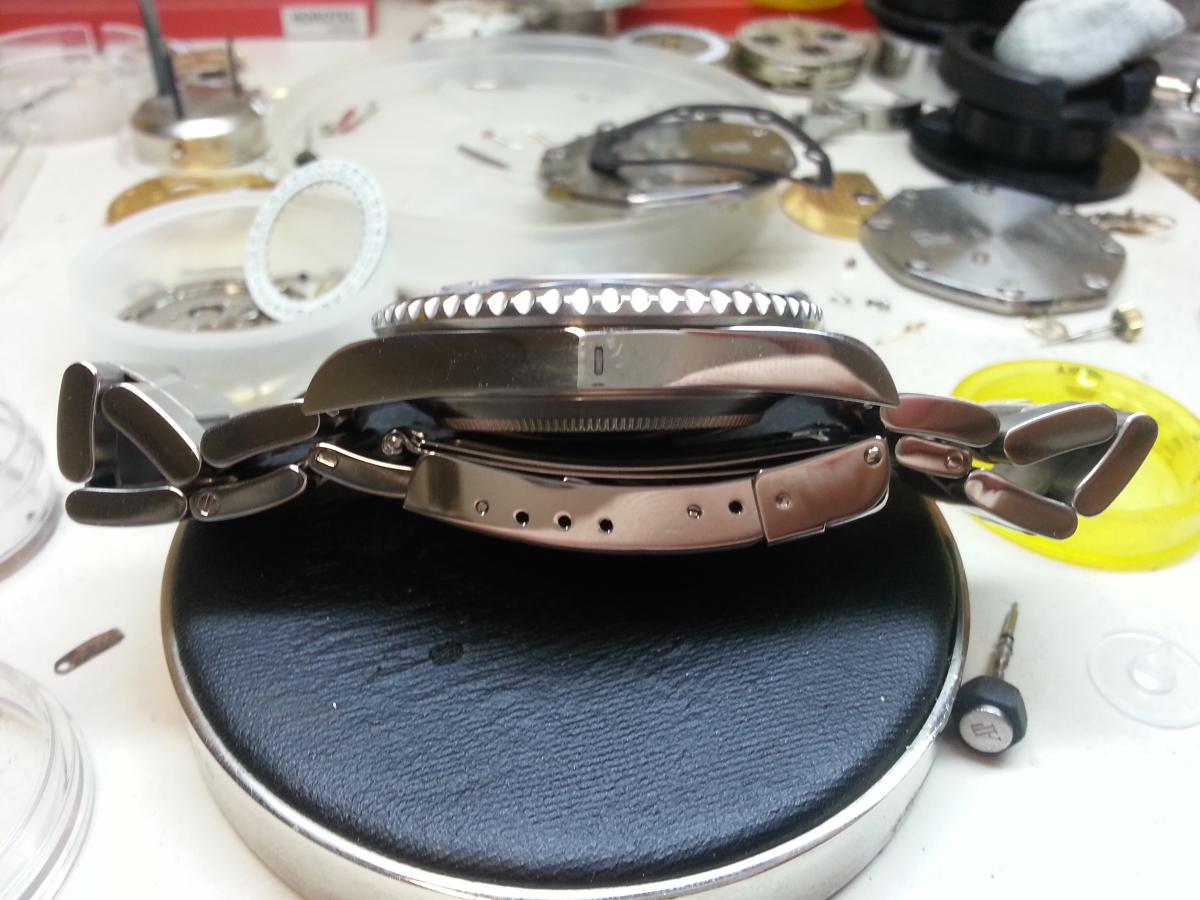
I have successfully done a super rep 16610 with everything gen minus the case and bracelet and am on to my next big ticket project. Super franken 16622 yachtmaster. I'm a little bit on the fence but at the same time I've already acquired the donor watch (thanks ceocorona!) and gen YM dial courtesy of mymanmatt. I'm wondering if I am in over my head on this one as I would most likely daily wear the YM. Here is a list of parts I have access to and plan on using! (Need to buy) Genuine 3135 Genuine crystal w/ LEC Genuine bezel w/ platinum insert Genuine retaining ring (same as 16610) Genuine YM hands (anyone have a set or can get it?) My rep parts would be as followed: Sean case TC bracelet My biggest fear is this watch might have to much bling for a daily watch but I've always been in love with the 16622 from a distance until now. Let me know your opinions on your thoughts and please if you have any super franken YMs please share them! I'd love to see what the finished product will look like1 point
-
I've been thinking about low-beat replacements for the venerable ETA 2846 and found this: T = thickness SH = stem height ETA 2824-2, T: 4.60 mm, SH: 1.80 mm (Hands 90/150/25) ETA 2892A2, T: 3.60 mm, SH: 1.50 mm ETA 2801-2, T: 3.35 mm, SH: 1.80 mm ETA 2804-2, T: 3.35 mm, SH: 1.80 mm ETA 2821-1, T: 4.60 mm, SH: 1.80 mm ETA 2836-2, T: 5.05 mm, SH: 2.25 mm ETA 2842, T: 5.05 mm, SH: 2.25 mm ETA 2846, T: 5.05 mm, SH: 2.25 mm ETA 2850, T: 4.05 mm, SH: 2.50 mm ETA 2851, T: 4.05 mm, SH: 2.50 mm ETA 2852, T: 4.05 mm, SH: 2.50 mm ETA 2853, T: 4.05 mm, SH: 2.50 mm ETA 2858, T: 4.05 mm, SH: 2.50 mm ETA 2859, T: 4.05 mm, SH: 2.50 mm ETA 2870, T: 5.30 mm, SH: 2.50 mm ETA 2871, T: 5.30 mm, SH: 2.50 mm ETA 2872, T: 5.30 mm, SH: 2.50 mm ETA 2873, T: 5.30 mm, SH: 2.50 mm ETA 2878, T: 5.30 mm, SH: 2.50 mm ETA 2879, T: 5.30 mm, SH: 2.50 mm DG2803 11-1/2 l, T: 5.30 mm, SH: 2.50 mm, Hands: 100/150/17 ST16 11-1/2l, T: 5.50 mm, SH 2.50 mm, Hands: 100/150/171 point
-
Here's some more info about the G.Gerlach foundation: G.Gerlach - About the foundation Here's also an article from Worn & Wound about some of their models, and some more details about the 303. G. Gerlach Watches: Made in Poland1 point
-
Thursday... Gen Microbrand: G.Gerlach - 303 LE (eye candy)1 point
-
Me too.1 point
-
I wonder who has that gen bezel assembly??1 point
-
Ahh didn't realise!! Fingers crossed for you then and hope it arrives soon! Just going to pick my Hublot Big Bang up in an hour from the DHL depot.1 point
-
1 point
-
1 point
-
Careful SD!!!! The 203 205 and 218 orders are going to come flying in! You will be back logged for the next year:) Brilliant stuff my friend!1 point
-
Lol How about a Hurricane Franken system? Franken Cat 4 for 4 gen parts and so forth... I like that better. Then one can have a Franken Cat 6 watch and hold on!1 point
-
AH EU woke up and realized what many of us have been saying all along,empty suit!1 point
-
So r we suggesting categories of Frankens? Mini frank - 1 gen part like crown/tube Mild frank - 2 gen parts Just Frank - 3 gen parts Frank plus - 4 gen parts (with Swiss mvmt) Super frank - 5 gen parts Ultra frank - all possible gen parts avail except case?1 point
-
It's like you were reading my mind! Cause that's exactly what I was getting at1 point
-
Every bracelet could use a little restoration after awhile. If you get your watches from sales forums and m2m like I mostly do, you'll want to freshen up things when they come in, and make them look their best before you sell them again. A bracelet that is all scratched up can mean a great discount when buying, and likewise a little bit of work on your part before a sale can net you a better return on your sale. I've worked on several bracelets in the past couple weeks so I figured a how to thread might interest some folks. First off, these two threads are what originally I read to know what I'm doing. Frankly, they are all the tutorial you will need. http://www.chronomaddox.com/article/mason_a/bracelet_refurb.html http://forum.tz-uk.com/showthread.php?66280-Refinishing-a-Bond-Omega-Seamaster-bracelet I've found that the polishing step isn't always necessary, because if you do enough brushing, small surfaces scratches will get erased anyway. For deeper scratches, I do use a dremel and polishing compound to take the scratches down as far as I can. The best advice for rebrushing is to figure out a way to keep each pass straight and parallel. If I don't use some sort of guide, I found that at the ends of my pass, I would always hook in one direction. The results would look terrible. My favorite way is to set up a right angled surface and wall. In the picture, I am just using two different sized cardboard moving boxes. I taped the bracelet down so it won't move and is parallel to the vertical wall. The parts I don't want to brush are also taped over. I then use a sanding block (made for sanding paint off of walls usually). I make sure that one side of the sanding block is always along the vertical wall, that way the right angle is always maintained and each pass I make is perfectly straight. If I need a different grit of sandpaper, I just tape a piece onto a sponge or something else that is easy to hold but has a straight edge to line up against the wall. I've read many times that scotch-brite pads are the way to go. I tried it, and frankly I didn't find it did things fast enough for me. I couldn't see any difference after about 10 minutes of passes. Perhaps I had the wrong kind. Be sure to wash the bracelet afterwards to remove all of the little particles. Here is the before and after of my gen SMP bracelet. On my modded closed factor SMP: Good luck! If you screw up along the way, just keep going and usually your mistake will be erased. At least they have for me!1 point
-
I have the CrPO 45.5 for just a few weeks and the triangle faded when I wiped a smudge with a dry microfiber lens cloth. Bugged by that look I wipped to even out and basically easily wiped off the majority of the details. I ended up just removing the bezel and lifting the insert to wipe off every detail I could and get a matte black insert. I does not look too bad but not what this watch is suposed to be. Andrew is sending to me a new insert so I do not yet know if it is the same or not but I would sure like to find a more durable ceramic insert, this insert is for sure a nice ceramic but the printing on it is very unstable. The Bezel actually is quite easy to remove, just be careful to insert your tool(knife) at the 1, 5 and 9 o'clock positions as the click stops are at the 3,7 and 11 positions. The insert is held in place with a stiff rubber glue and separates well with a fine knife from the inside edge. I would like to at least put a protective matte clear coat on the new insert, has anyone had success with doing this? Polyurethane, Lacquer or Enamel?1 point
-
Did you buy it? Review? Regards1 point
-
Are you able to tell which version is shown in that trustytime link from my post? Thx.1 point
-
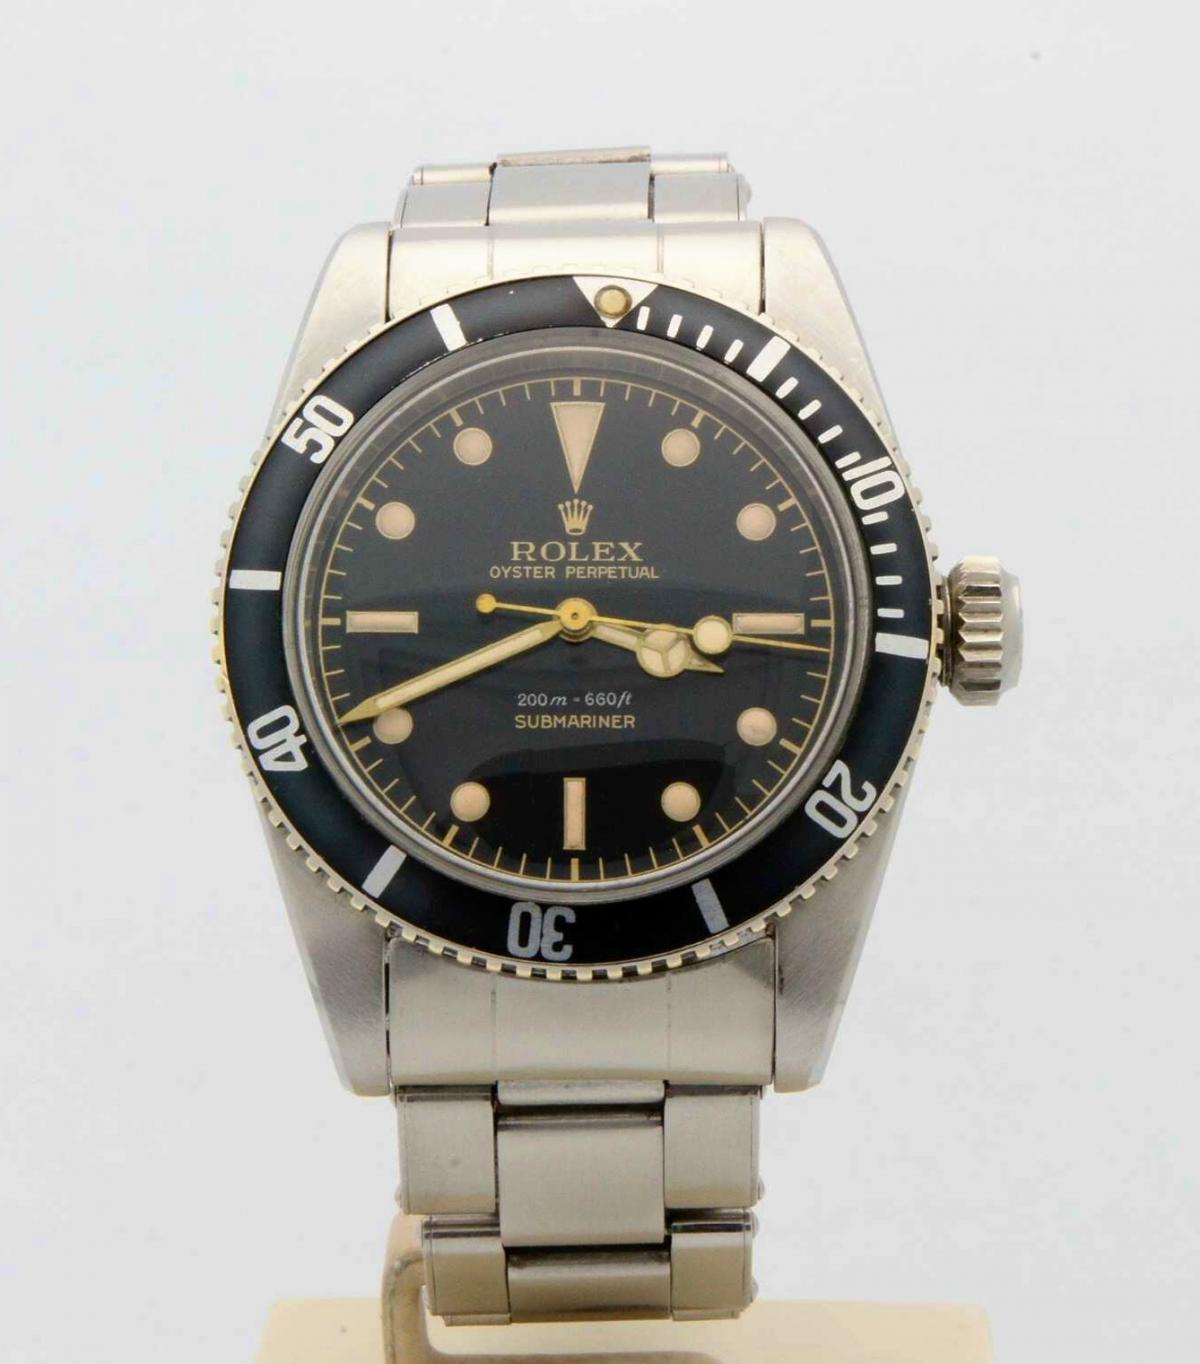
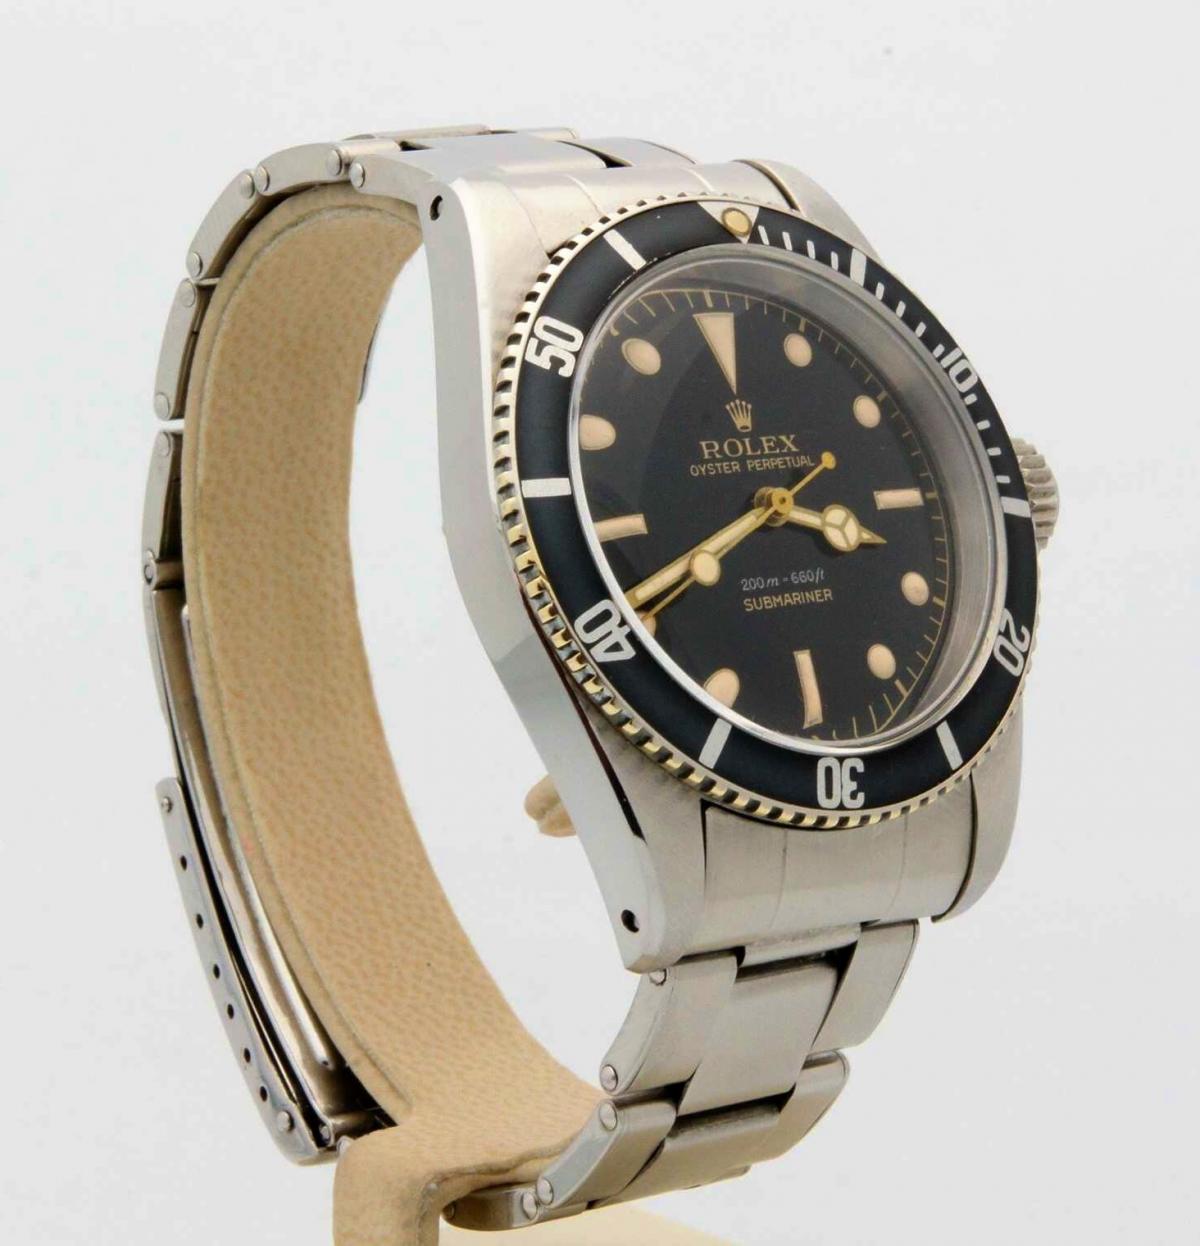
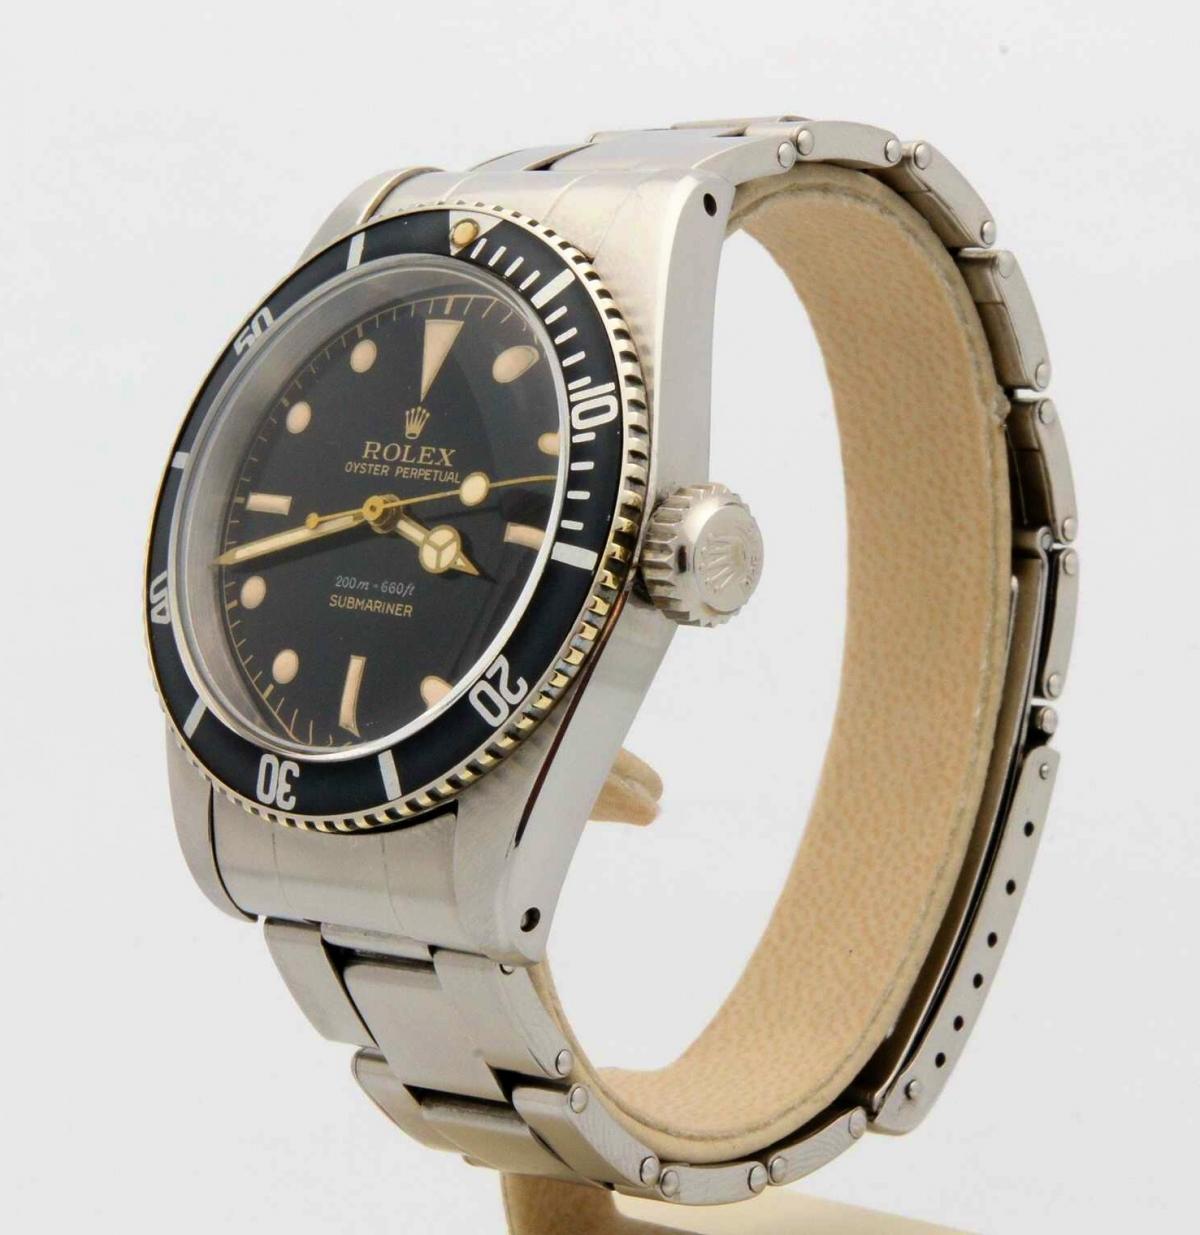
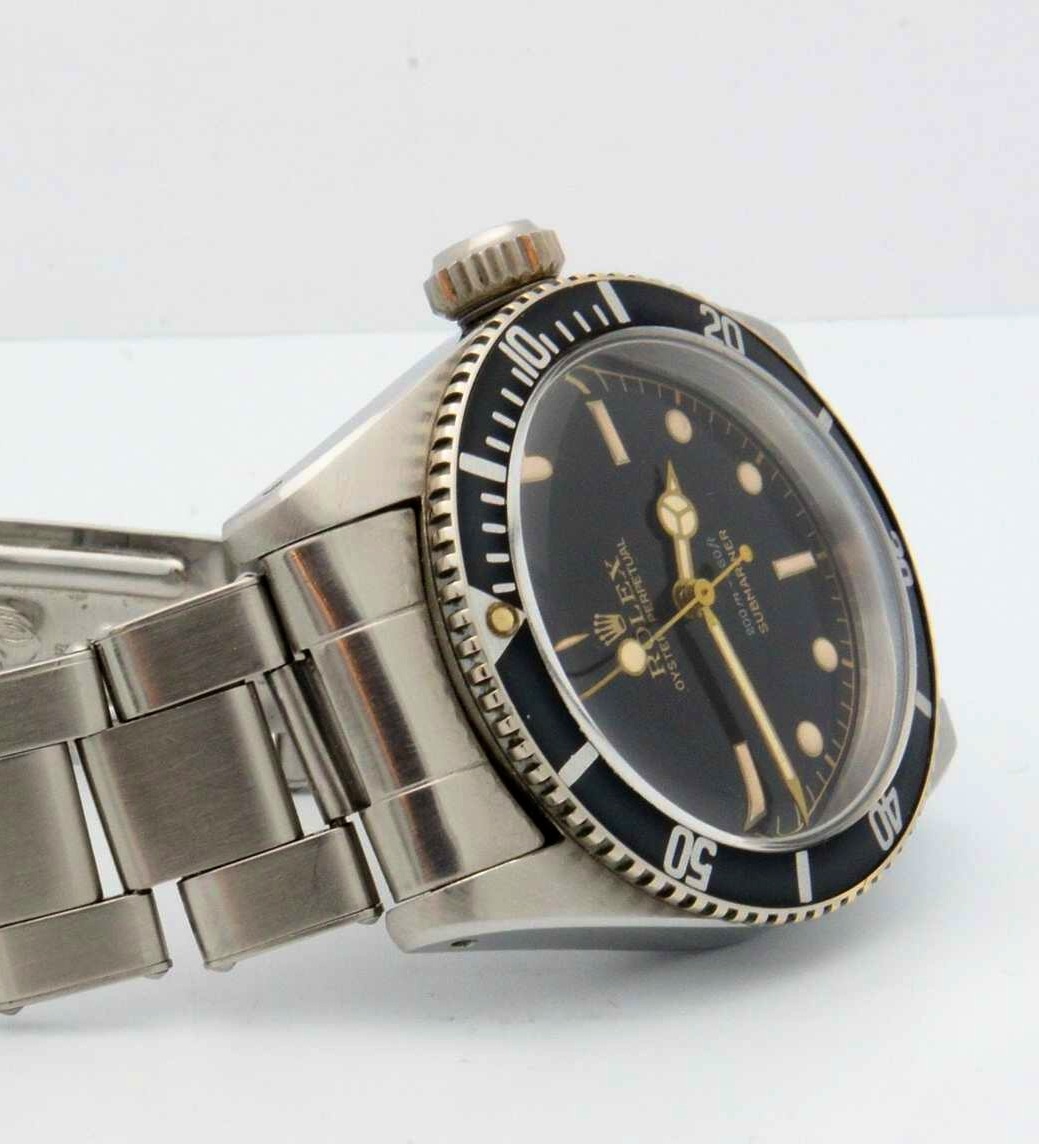
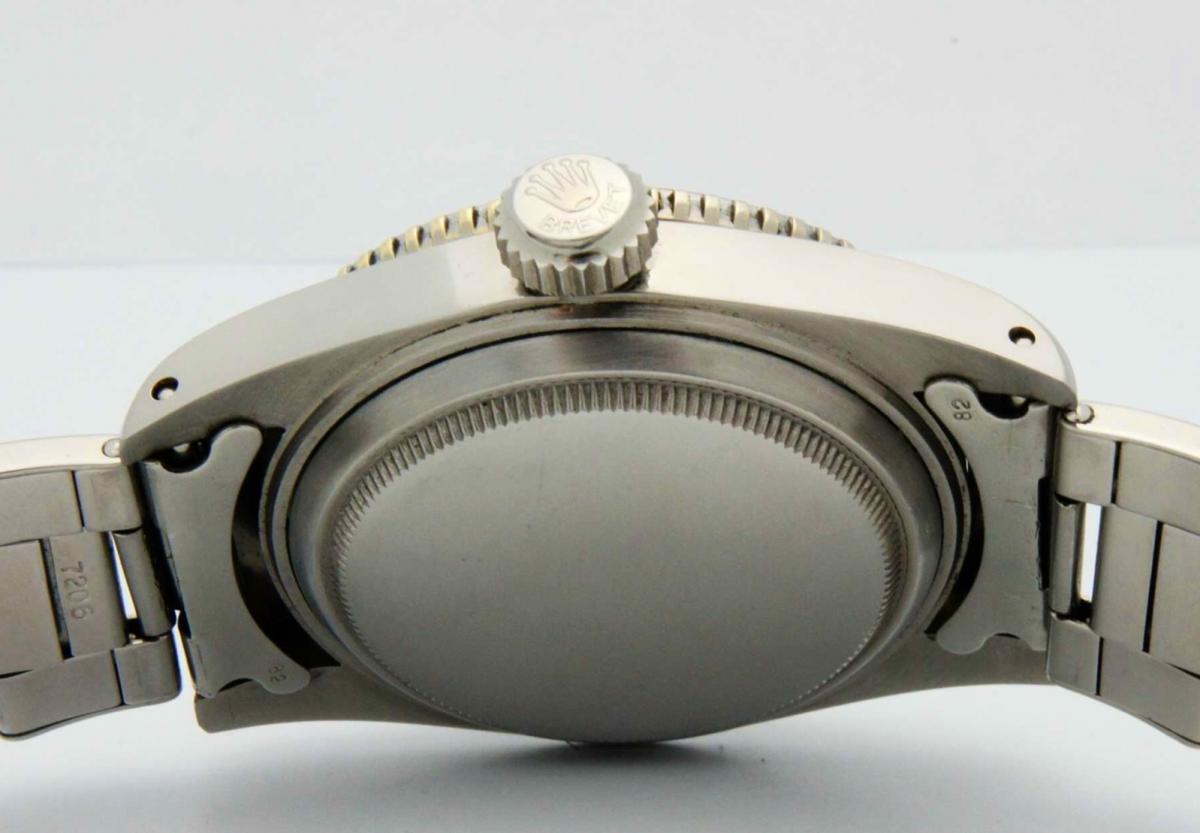
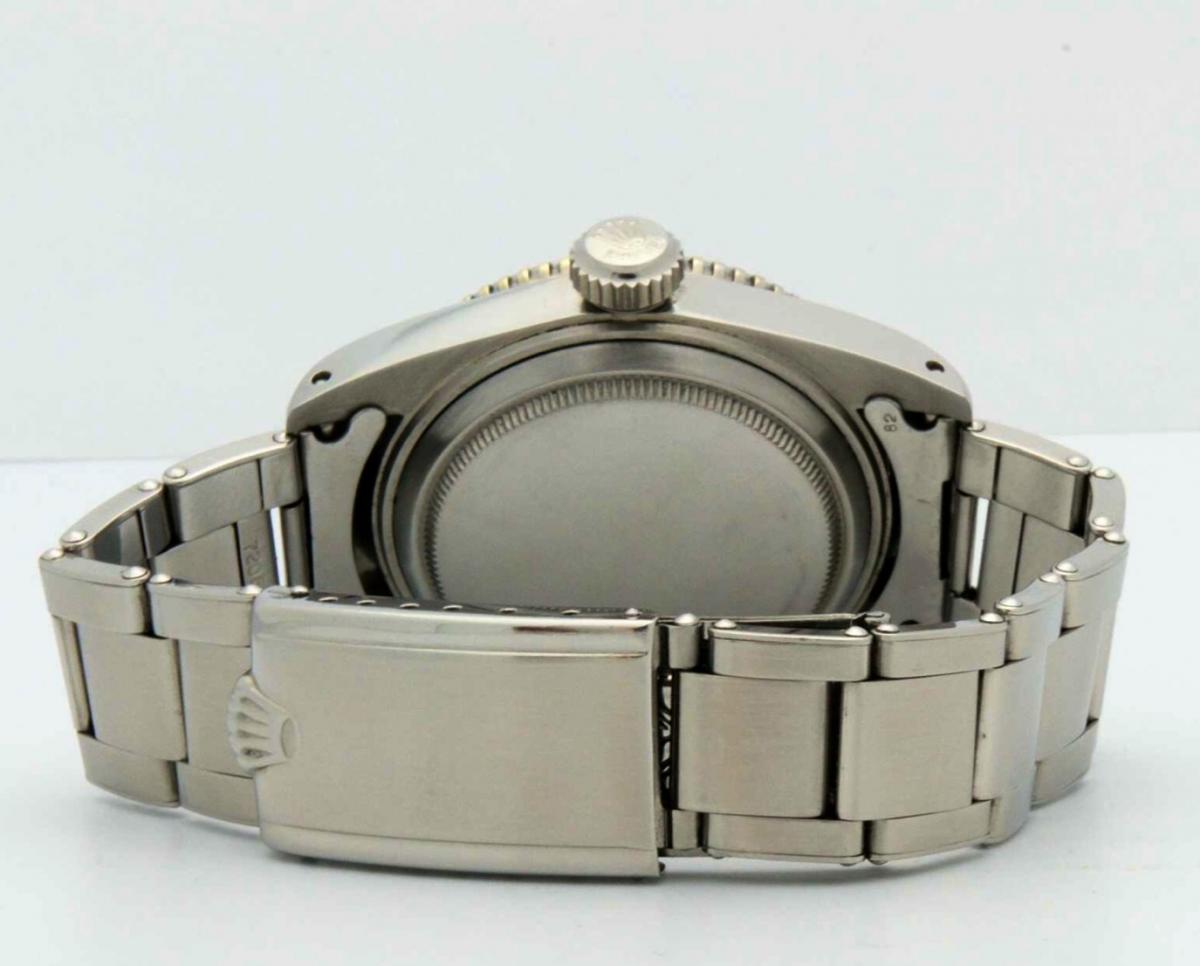
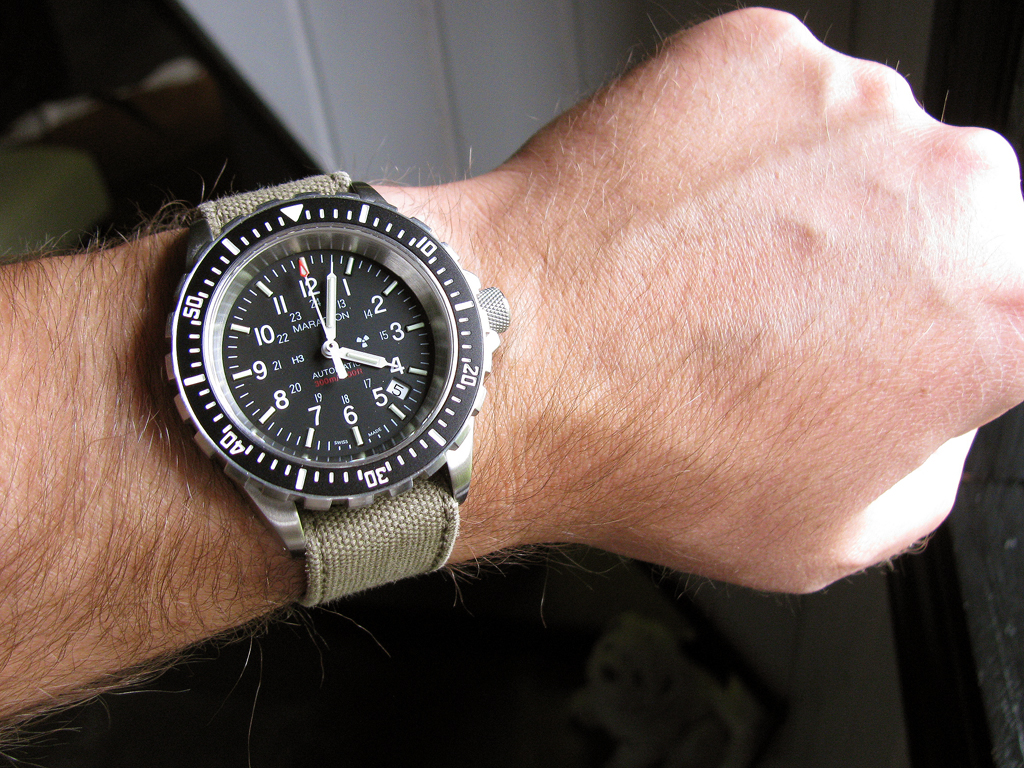
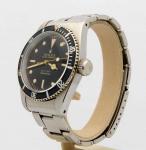
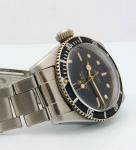
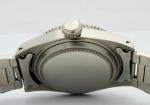
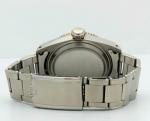
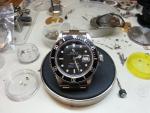
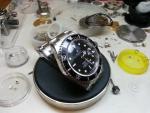
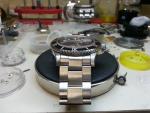
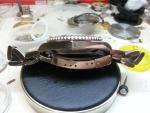
hi here is my sean 16610 got it last week its realy nice the case and the engraving is cool verey good gen glass gen tube gen crown gen 3135 have more 4xpcs overall its a nice case set for the money sean is a good person i got service from him all the way great service hope you guys like it chears
 1 point