When you buy through links on our site, we may earn an affiliate commission.
Leaderboard


Popular Content
Showing content with the highest reputation on 04/27/2018 in all areas
-
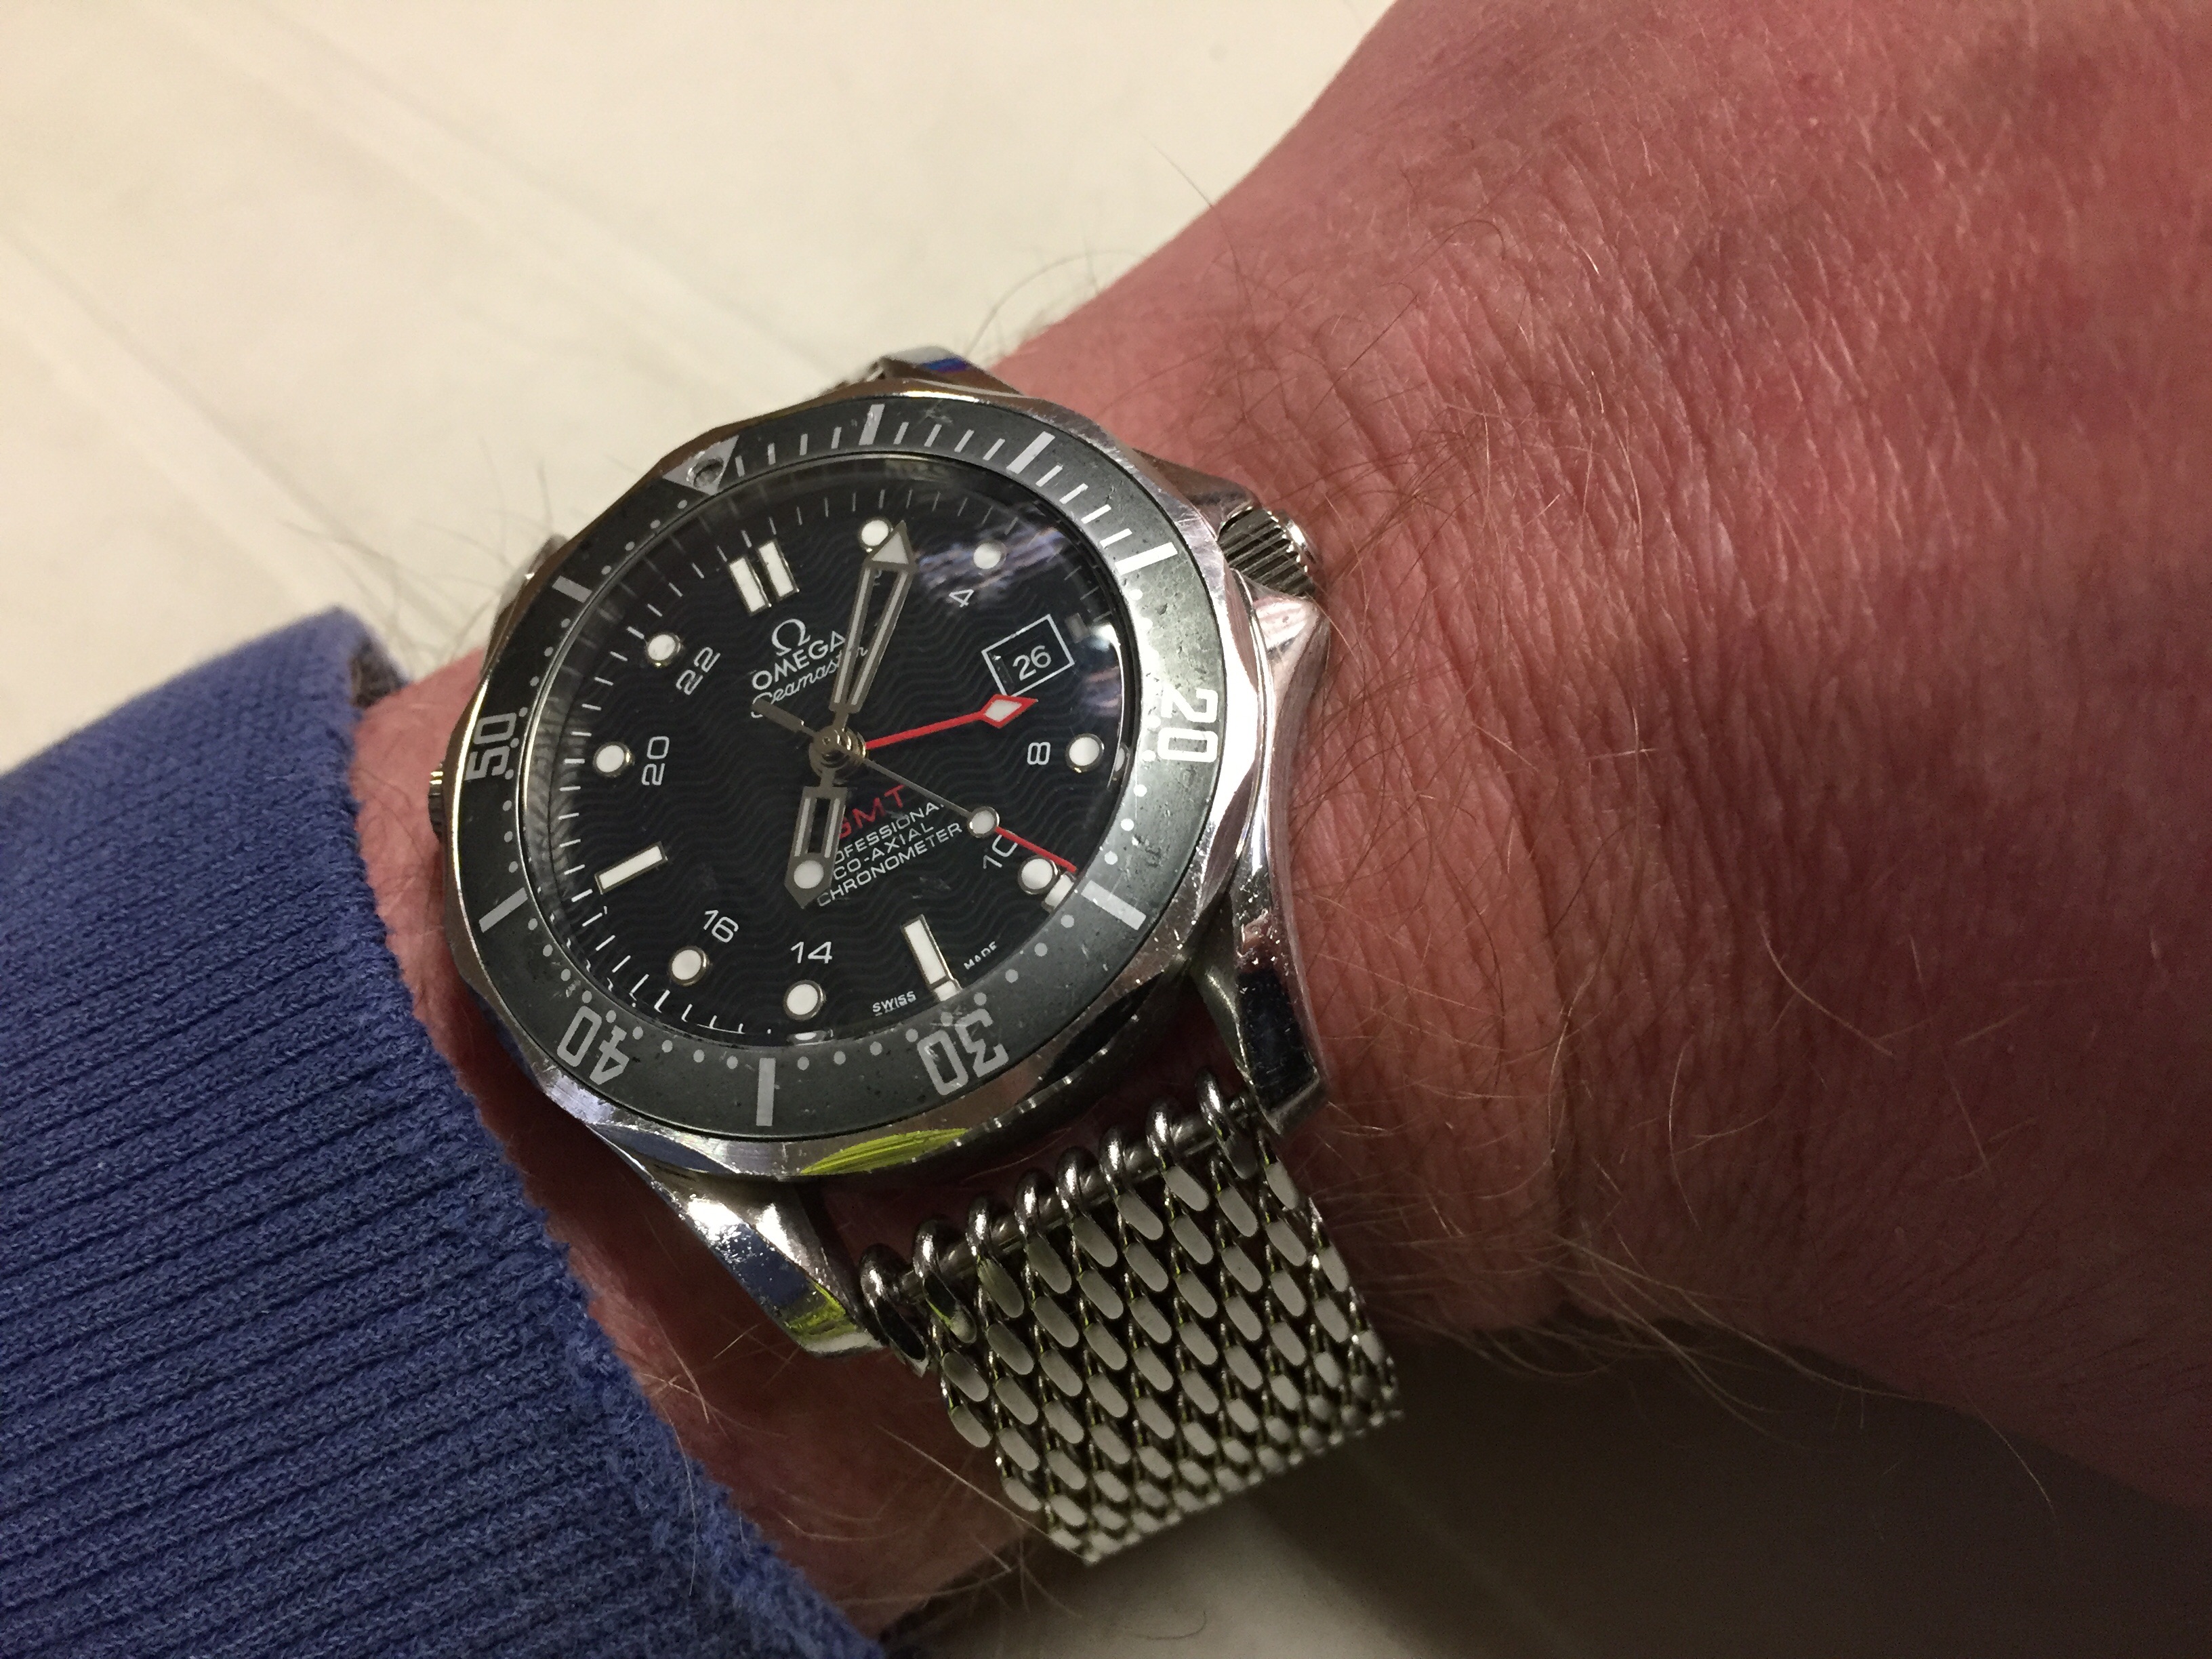
I missed seeing this gem… Welcome back mate ! My cheap interpretation… Cheers !2 points
-
Hi guys. Been awhile. Sent from my iPhone using Tapatalk2 points
-
Kingsday in The Netherlands [emoji322][emoji146][emoji1179]1 point
-
1 point
-
Sent from my iPhone using Tapatalk1 point
-
Hello Bart Why the dial looks greenish? I had a Vietnamese 6542 dial also look like dark green too. Sent from my iPhone using Tapatalk Pro Wear in good health The grey NATO on 6542 looks good. And the case is perfectly reshape. The insert itself is gem too. That colour is insane Sent from my iPhone using Tapatalk Pro1 point
-
Here are a few of my Daytona’s I have owned. So different in each of their own ways. The last one was supposedly built by the Society also. Sent from my iPhone using Tapatalk1 point
-
Again, thanks for that. I suspect that with all the disruption to the keyless components during the re-assembly the stop lever has probably come out of the slot in the sliding pinion and that's most likely what I will see when its all uncovered. Will post that when I know for sure. One final comment/observation on your instructions for re-assembly of the keyless is step 8, which may be confusing to some. I see about 105 people have looked at this, so some may be considering the same thing at some point.. I think you are referring to the "hairpin" shaped extension at the top, which acts as a spring on the lever, putting it under pressure. Unless this is engaged properly, the sliding pinion does not engage properly for winding. Yes I made that mistake first. The following photos were dragged up from a previous post in 2011 on the same subject (my winder doesn't work) and show the lever, then the spring arm incorrectly positioned and laying over the lever, then correctly installed as in step 8 and laying to the side. Keyless yoke.docx1 point
-
1 point
-
1 point
-
Many thanks Micky, much appreciated. Looks like another dull afternoon for me trying to stop small screws flying all over the place again. Two years ago I couldn't have told you the difference between a keyless works component and a banana. Now they're rapidly becoming my new best friends!!1 point
-
Just had the same movement dropped in to mine! It feels good to know it’s no longer the ETA clone! Sent from my iPhone using Tapatalk1 point
-
1 point
-
You are he is just a bit more !1 point
-
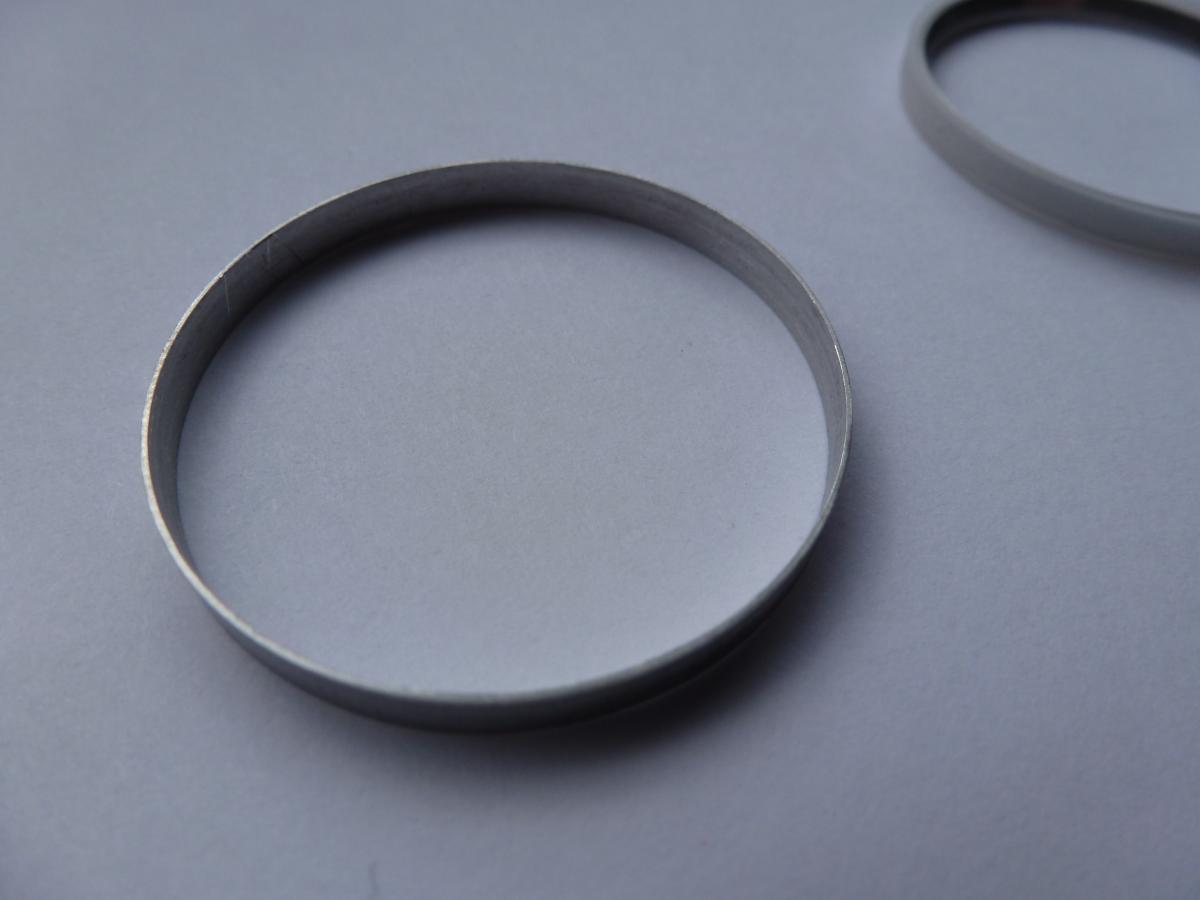
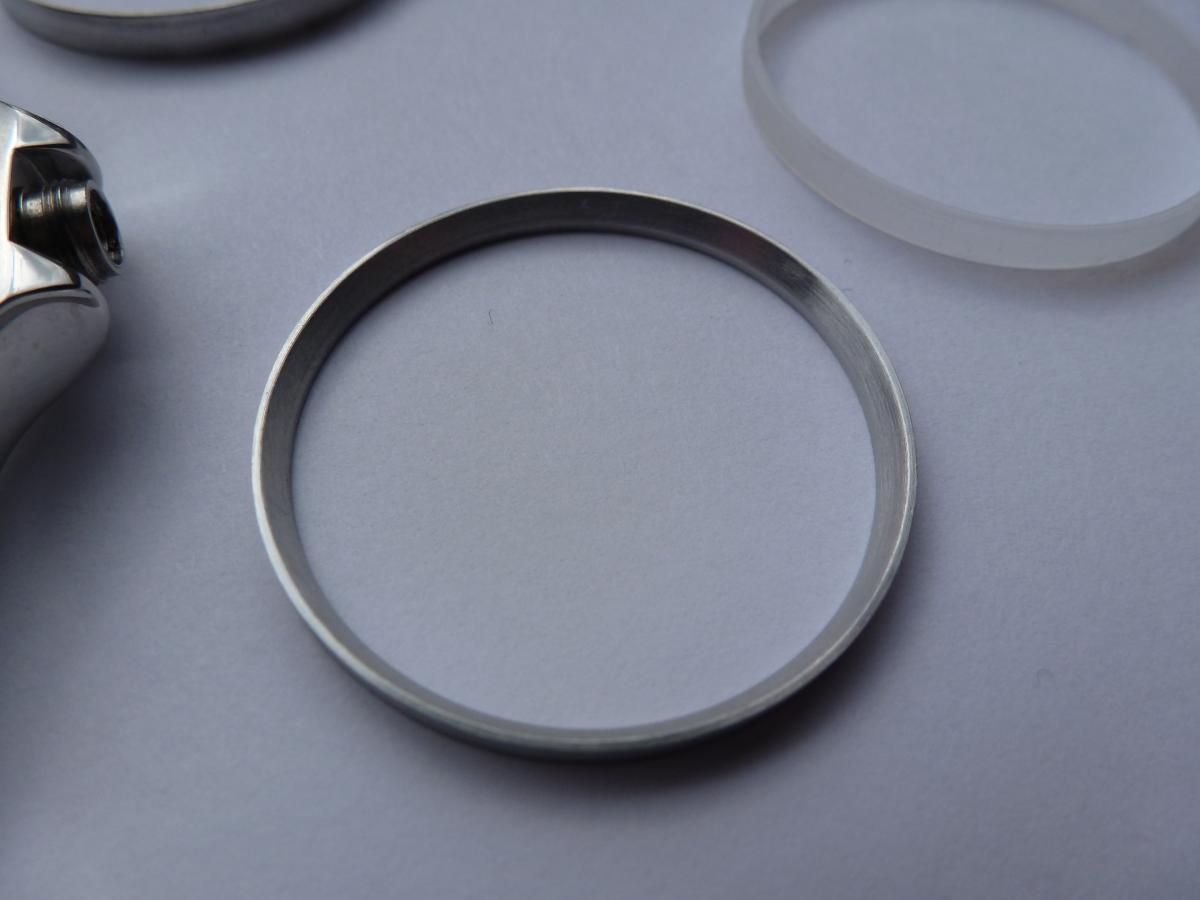
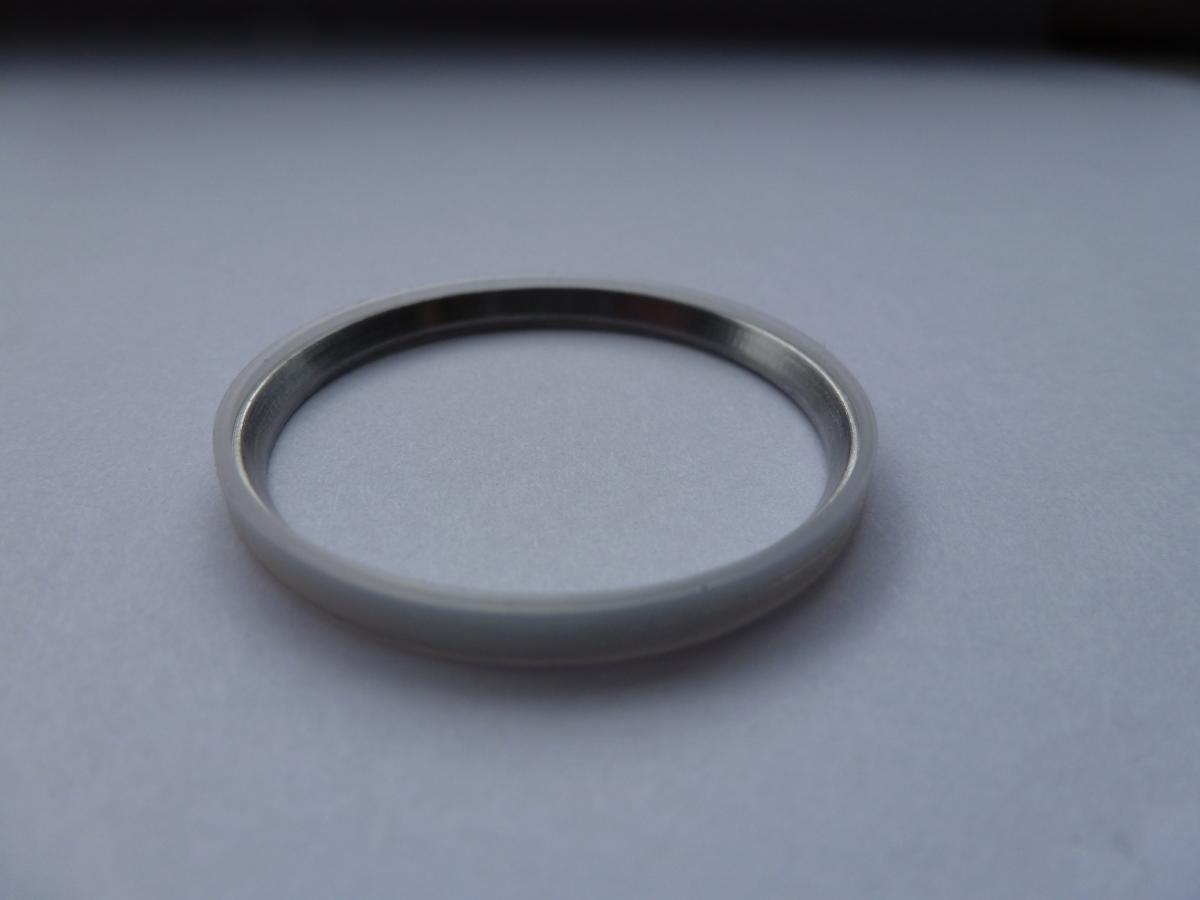
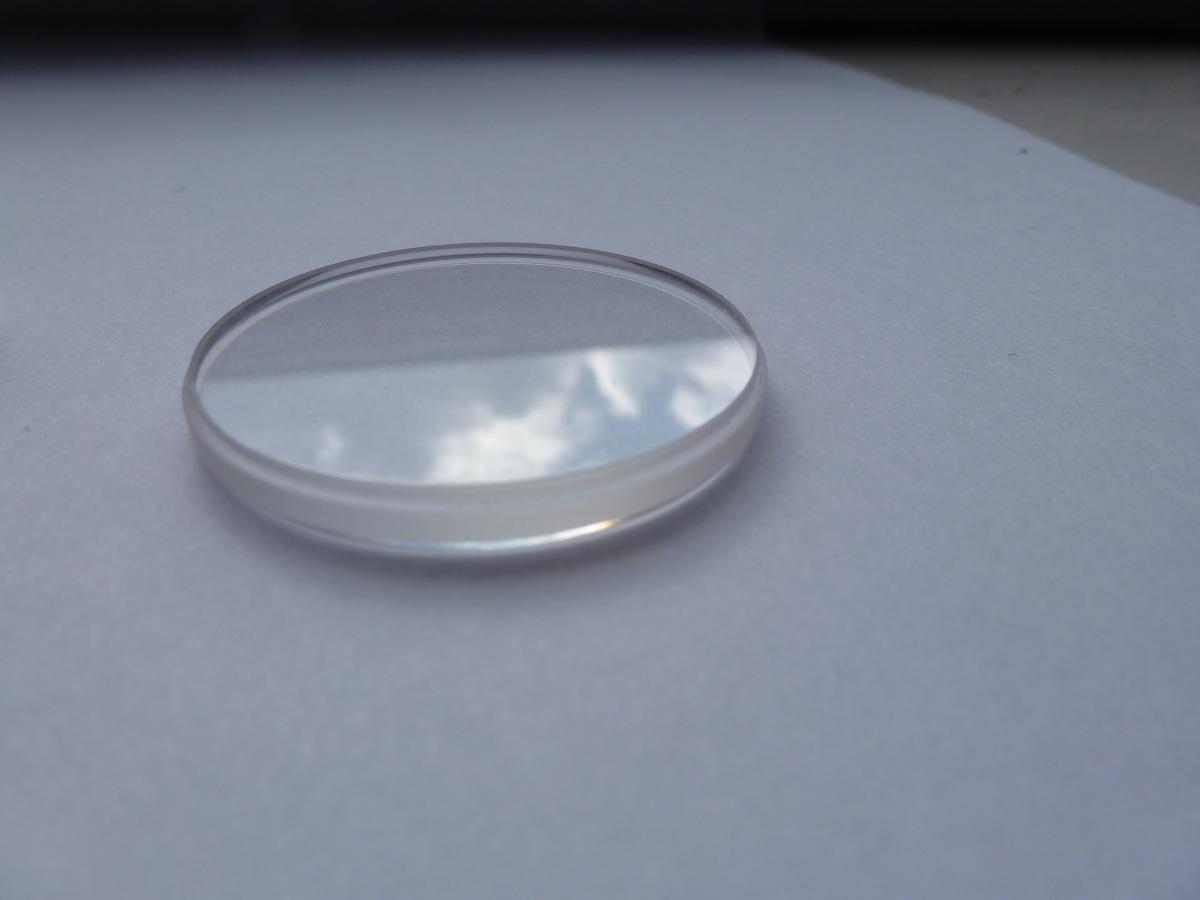
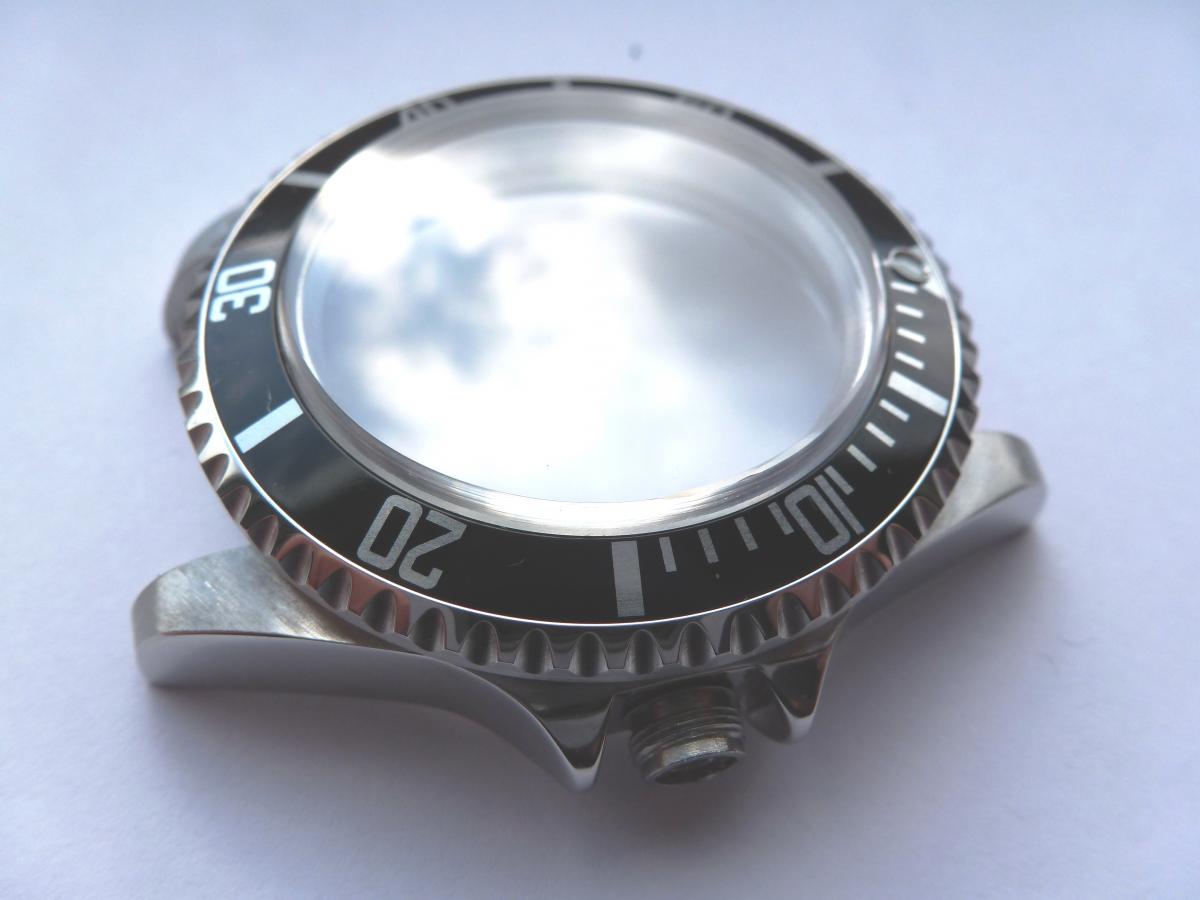
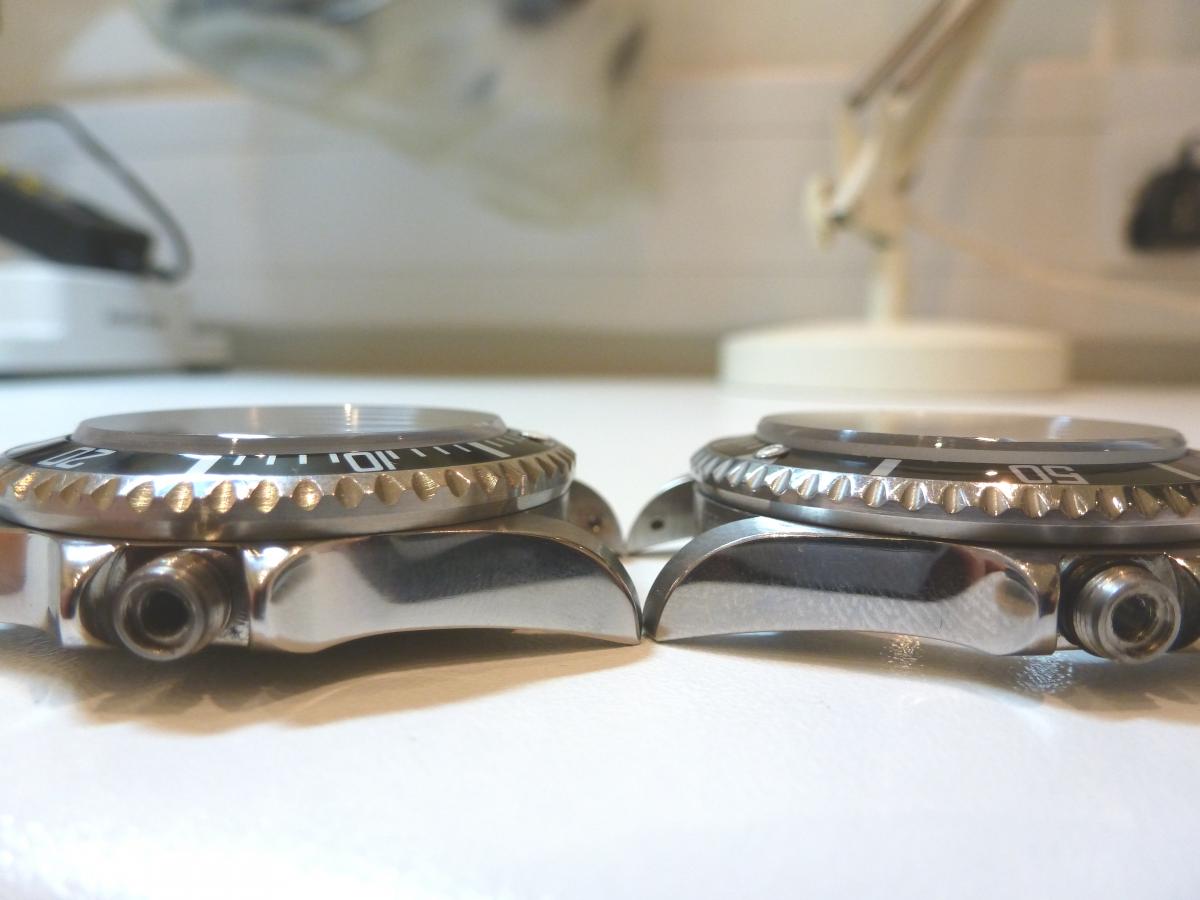
Here is my V2 at getting a generic crystal into a BP SD. first attempt failed WR above 3 bar. As the BP case is bored out to 30.1 mm and a generic or genuine Xtal with gasket is 29.6mm diameter, its obvious that the gen will not fit without a sleeve or ring adapter. here is my case bored to 30.1 mm inside diameter x 3.0 mm deep. you will see my "sleeve to the right of the case and below a better picture of the sleeve. Next we need a custom rehaut as in picture 3, you will see the xtal gasket to the right Ok we have this now, so lets look at the assembly, of the rehaut and gasket, picture 4. You can see that the gasket holds the Xtal by a small amount 1mm and the Xtal sits directly on top of the rehaut. Picture 5 shows the Xtal, gasket and new rehaut assembled Great. everything fits nicely and seems good so now we need to pre-assemble these components together and get ready to press them all home. Picture 6 shows the assembly prior to pressing Great nice and tight, not too tight but tight enough to give me confidence that this will be good on WR later on. Now we have pressed all components together lets look at the finished result, Picture 7 shows a top view Great looking good, I wanted the xtal that bit lower after seeing the pictures posted in this thread and that's what I got, picture 8 shows the stock BP on the right and the one Ive just machined on the left. This one passed WR at 6 bar so I am more than happy with the result. So in conclusion, it is possible to fit a gen Xtal to a BP SD. Yes you do have a 4 part assembly, rather than the genuine 3 part as shown in this thread diagram, however changing the Xtal now should be easy. Anybody wanting machining dimensions, I will post these Tuesday, cant access my works computer from here at the moment.
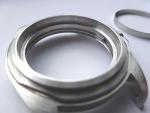
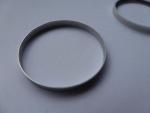

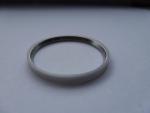
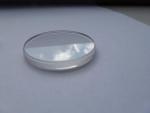
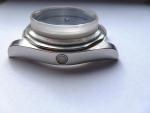
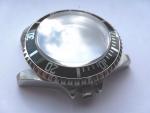
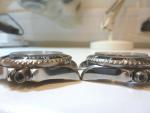 1 point