
Mr Z
-
Posts
471 -
Joined
-
Last visited
-
Days Won
1
Posts posted by Mr Z
-
-
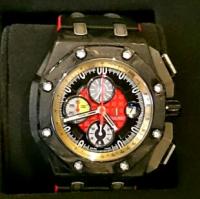
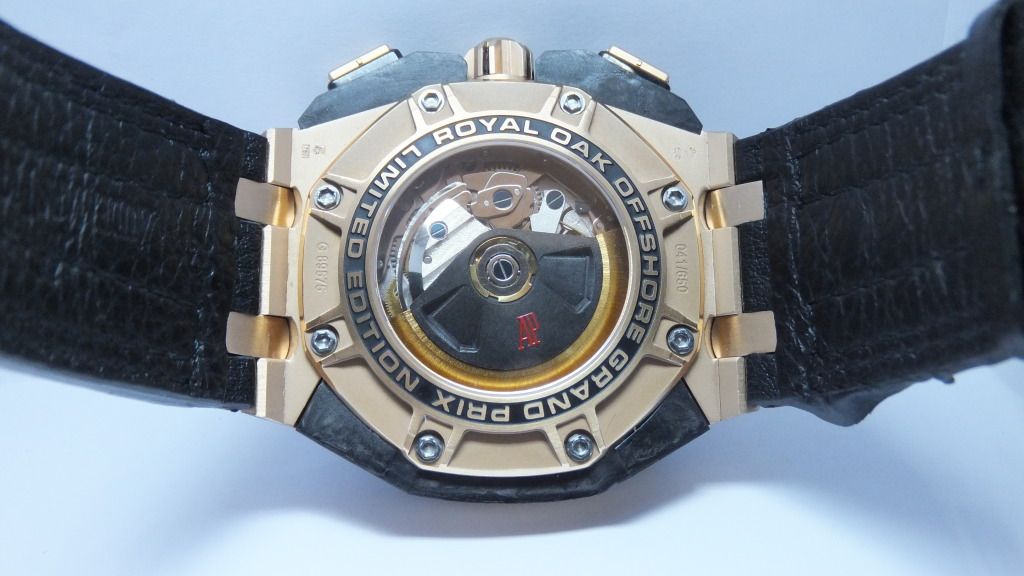
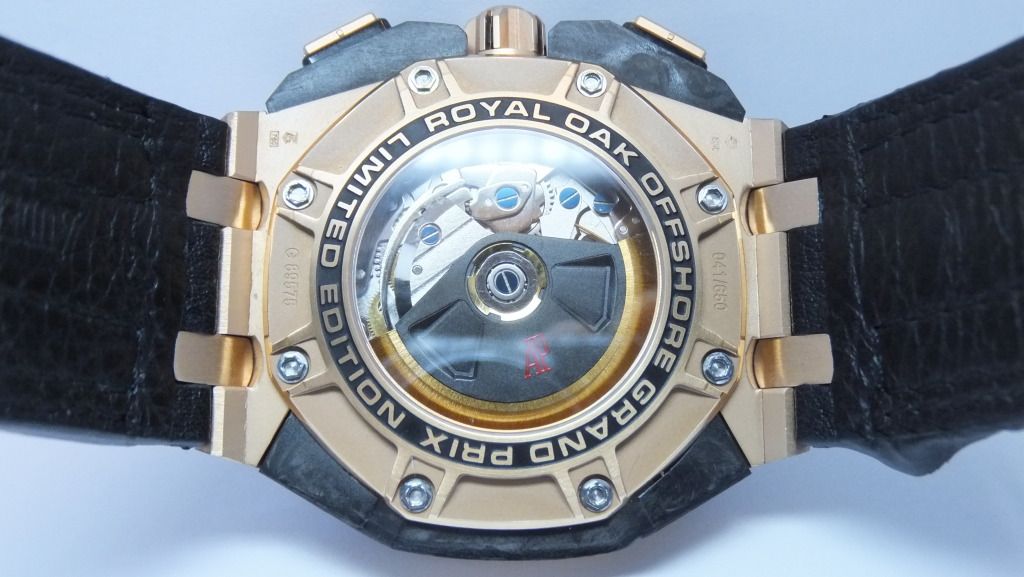
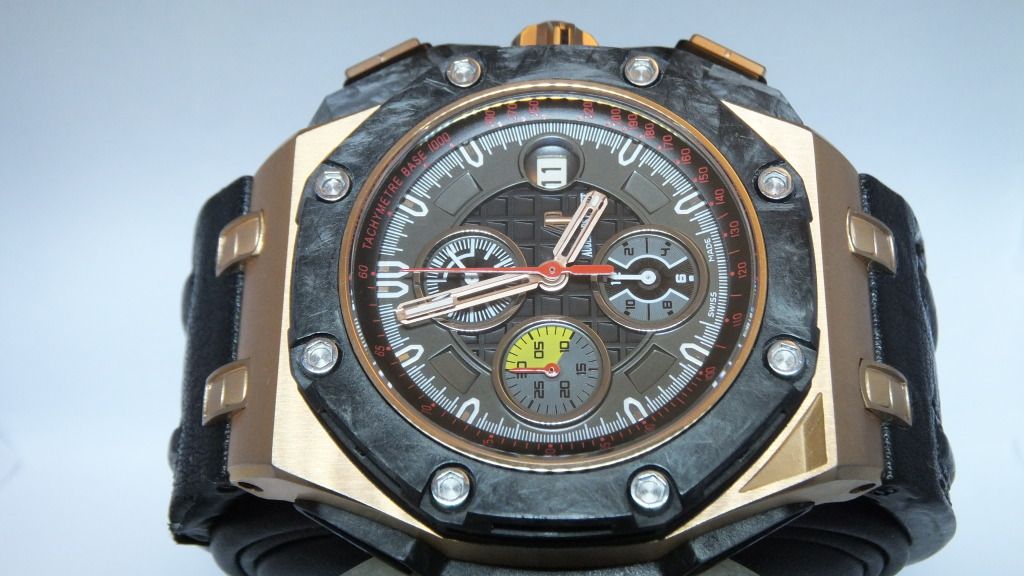
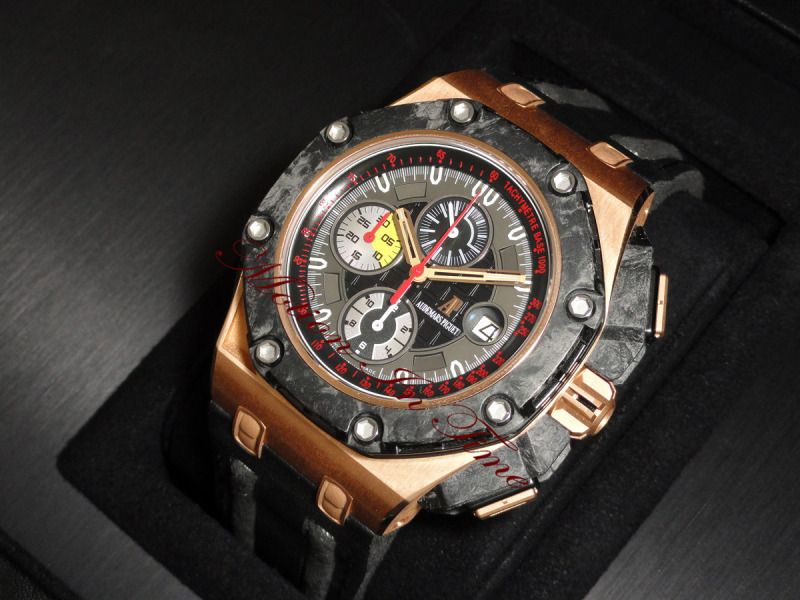
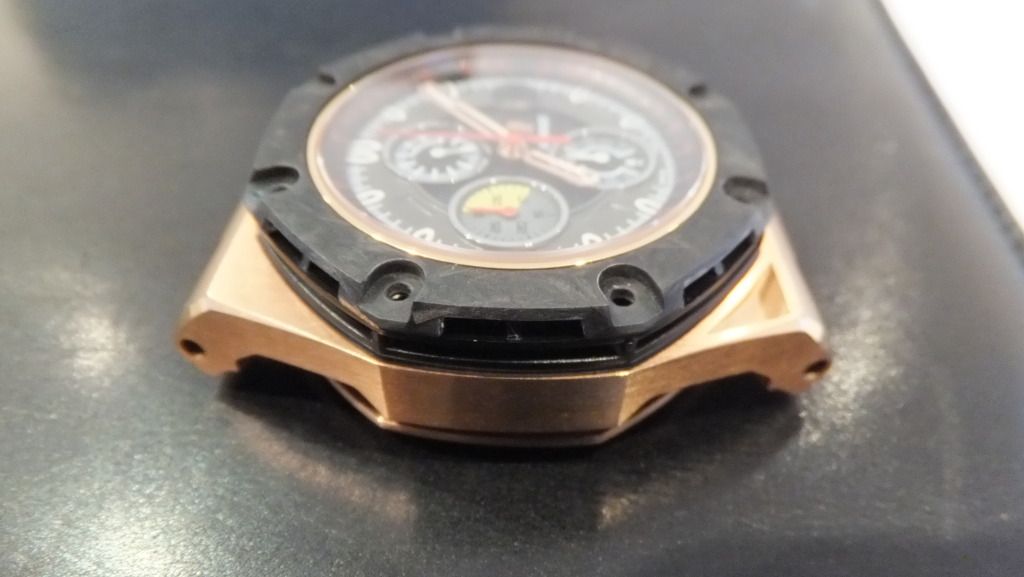
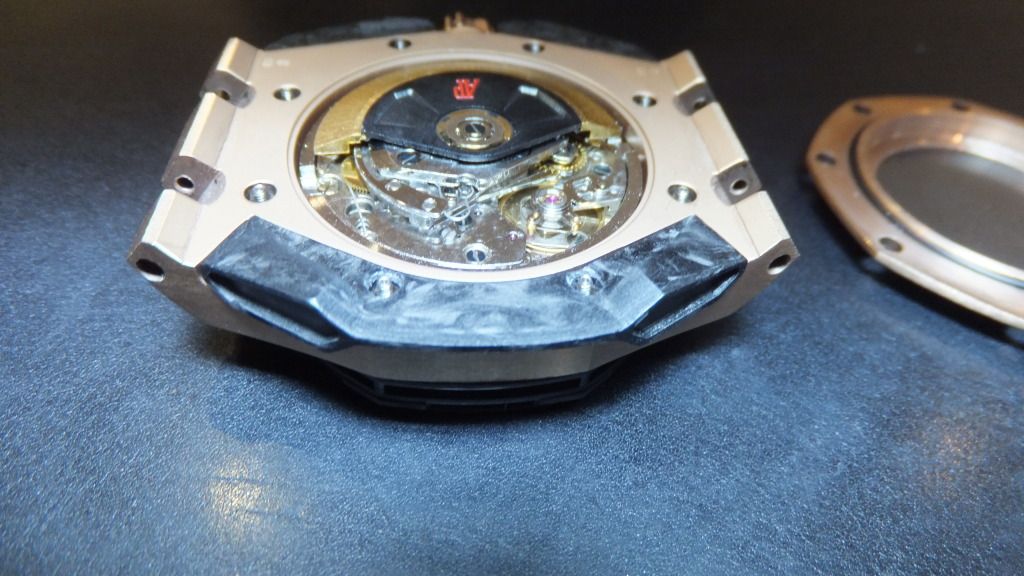
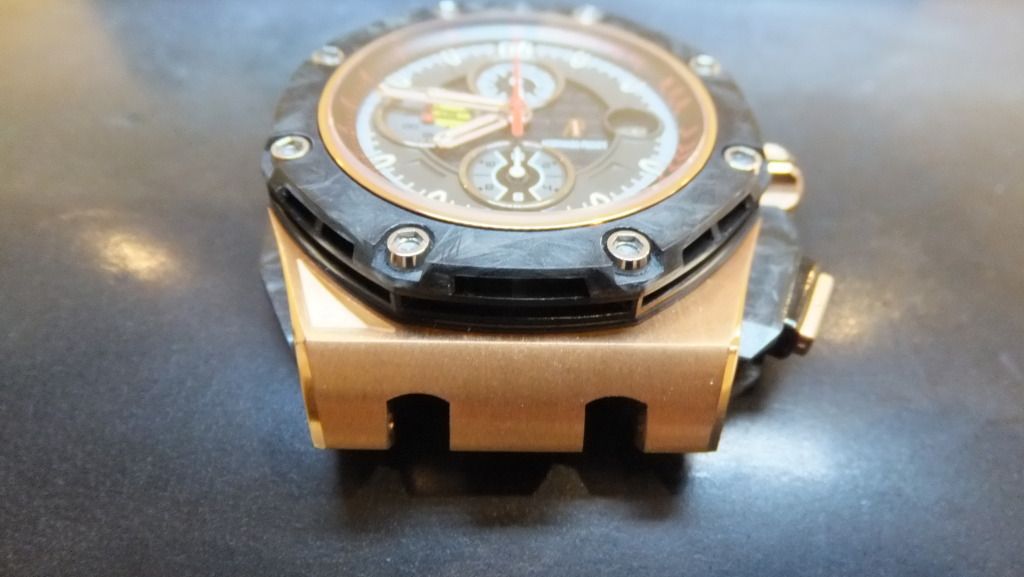
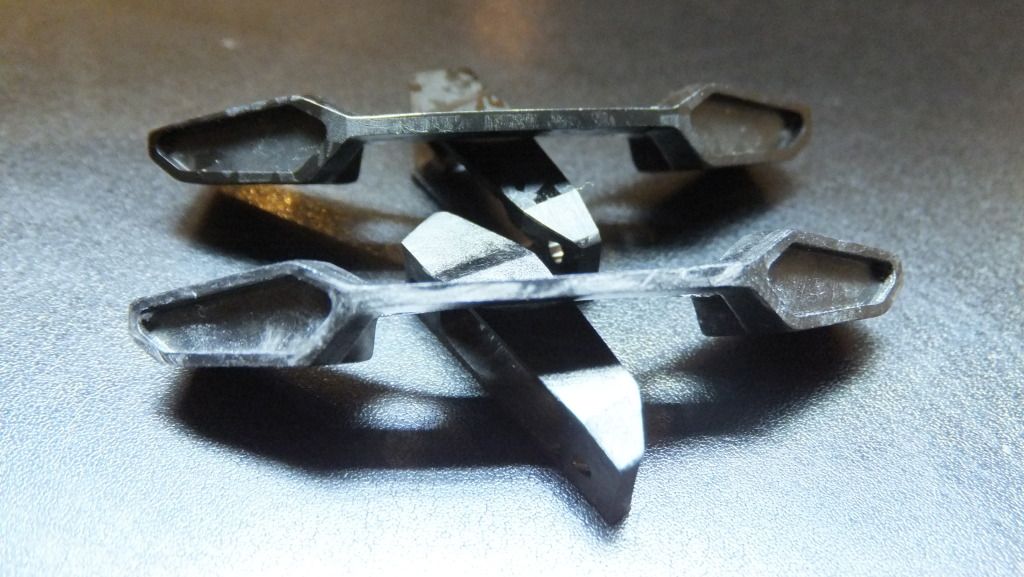
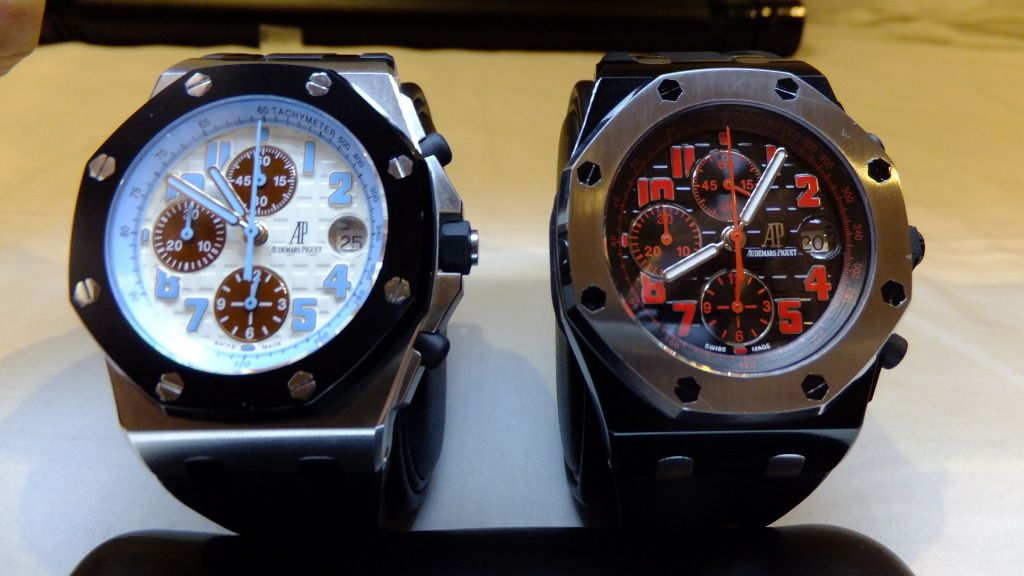
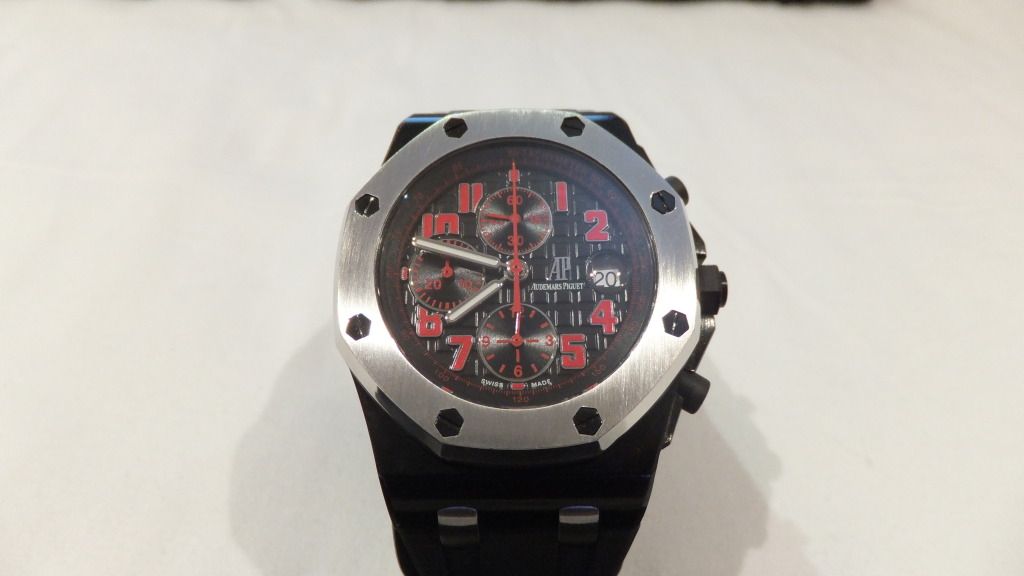
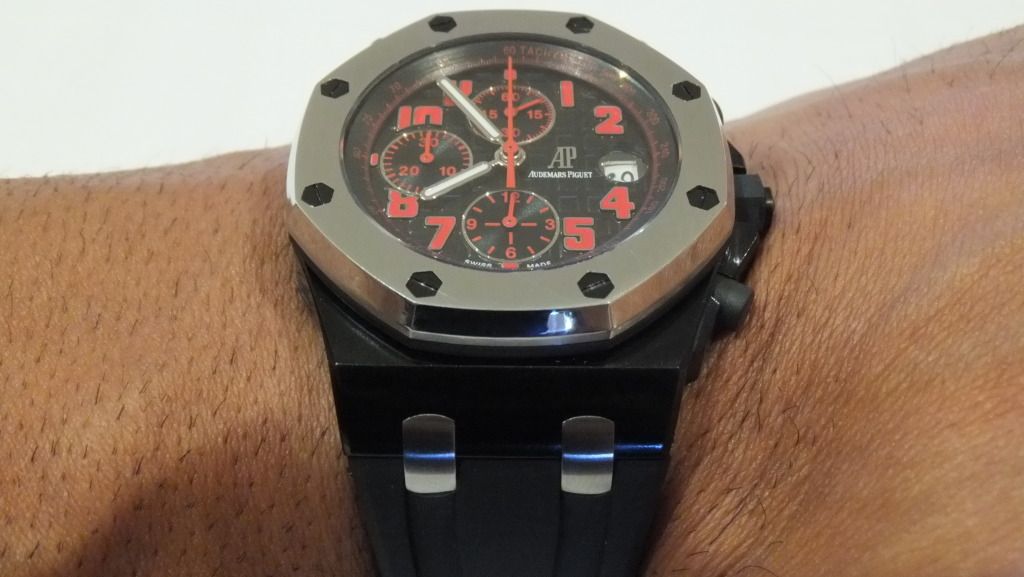
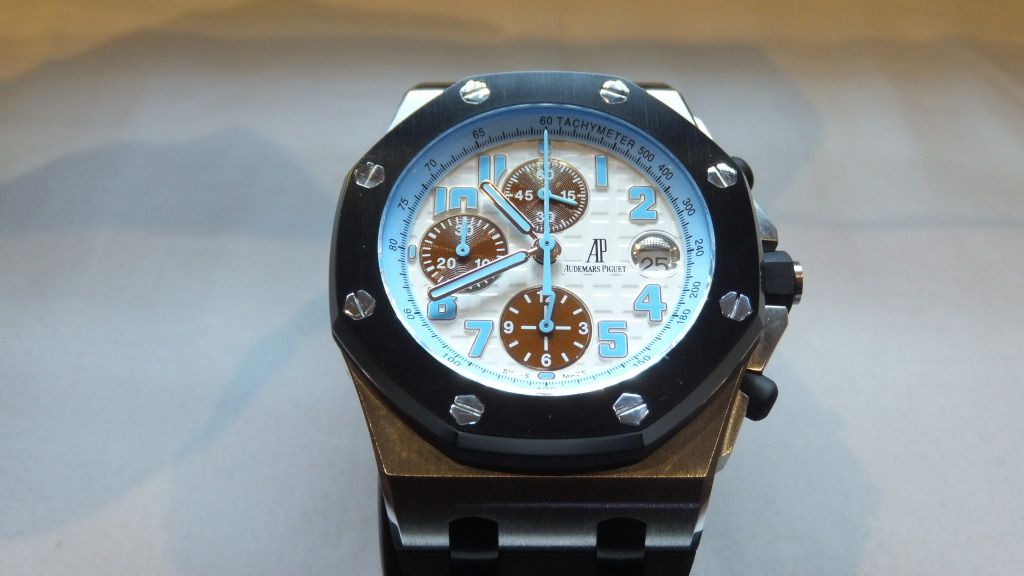
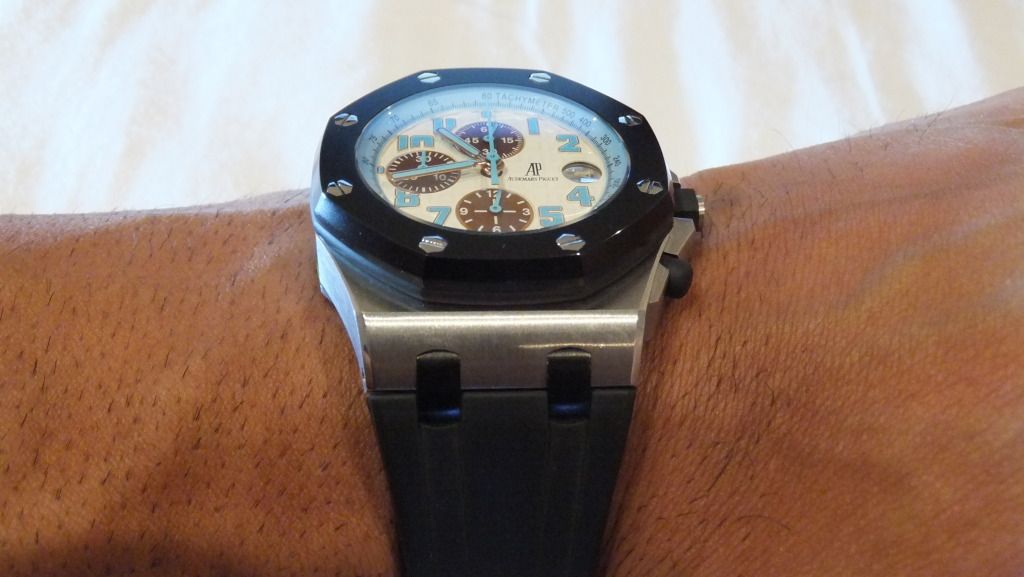
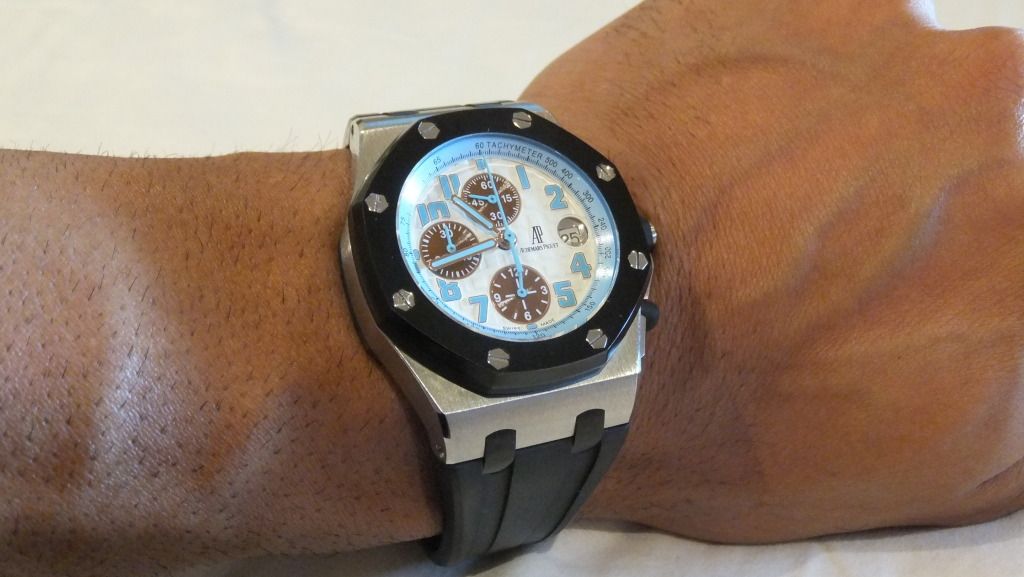
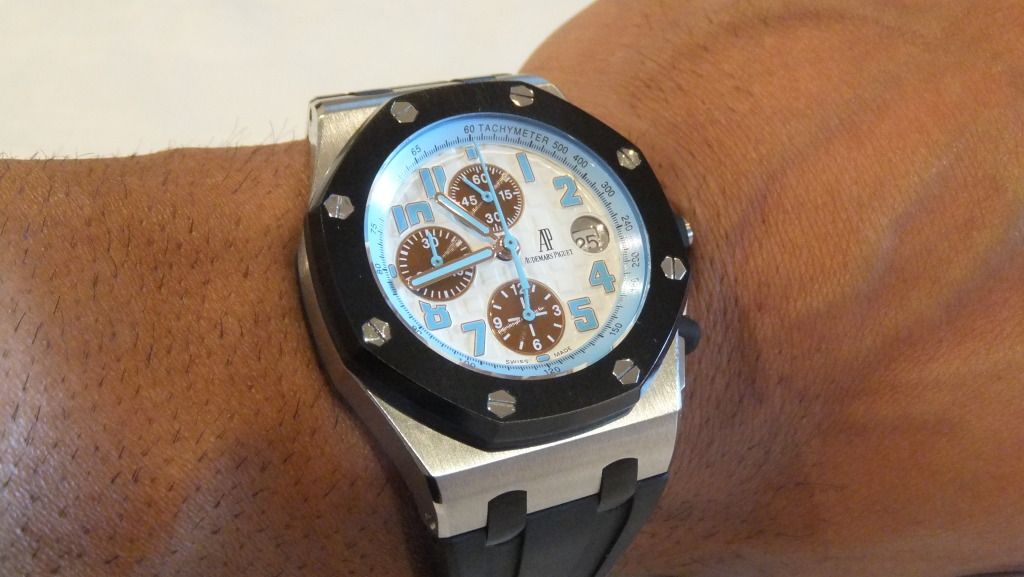
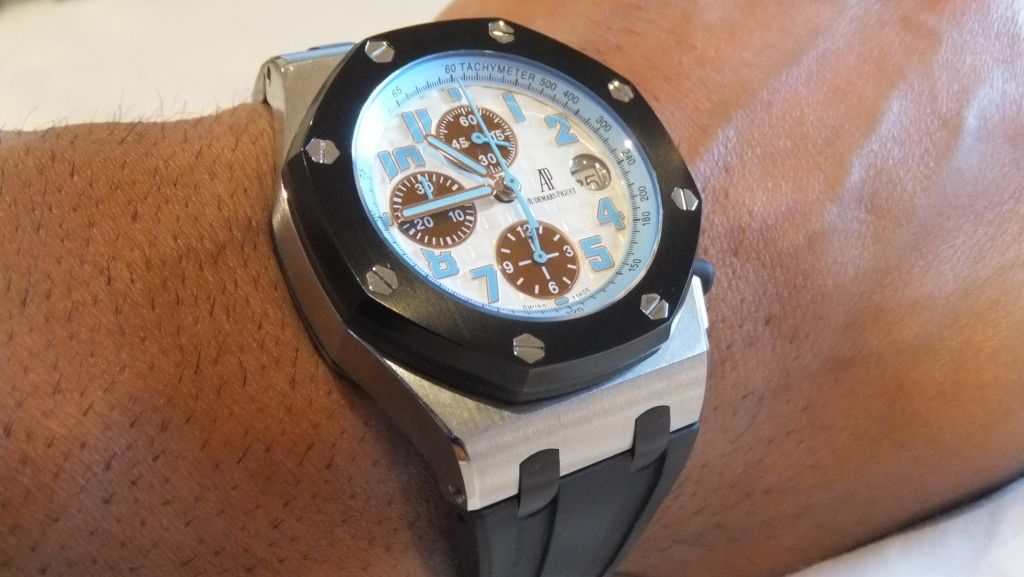
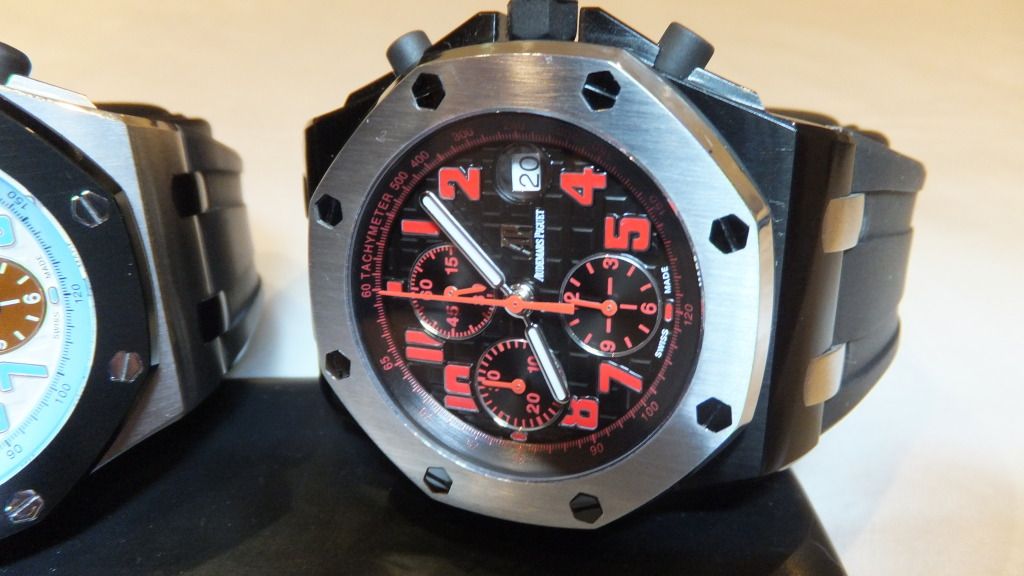
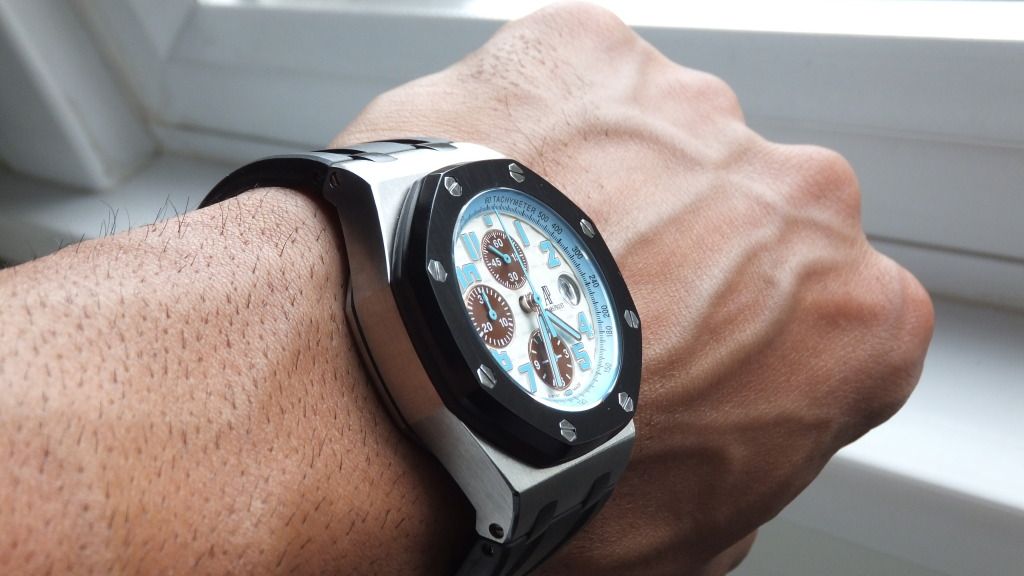
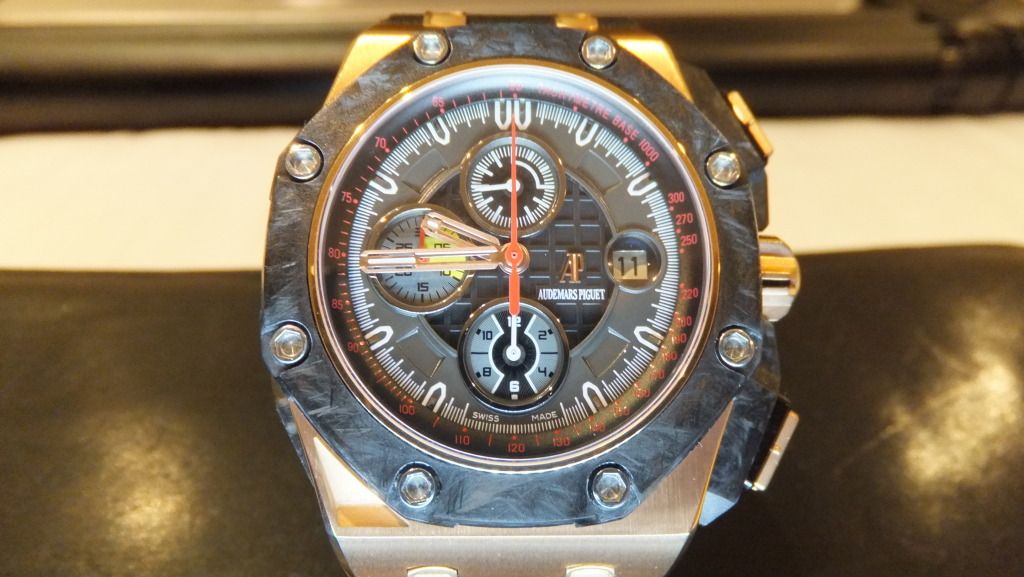
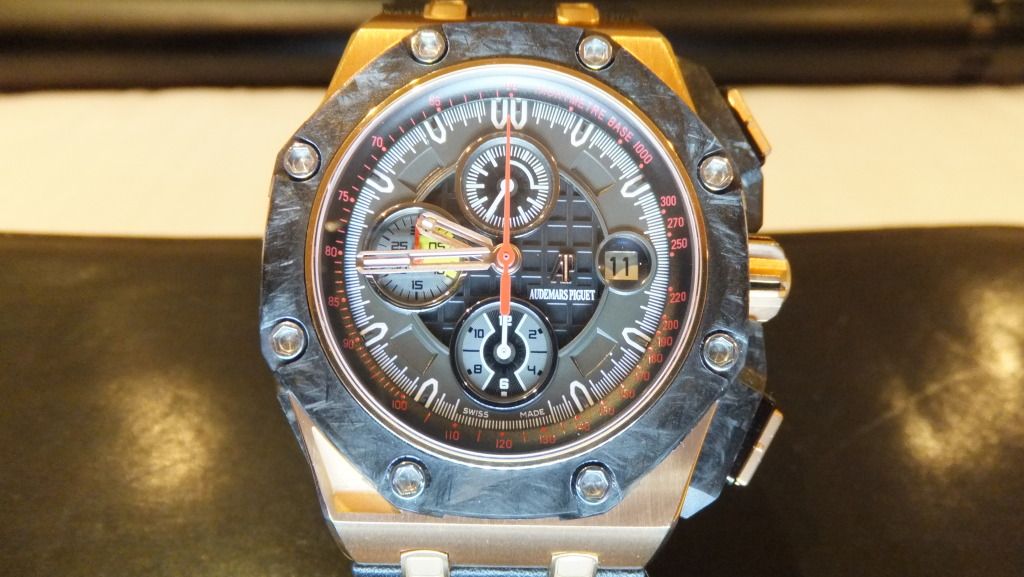
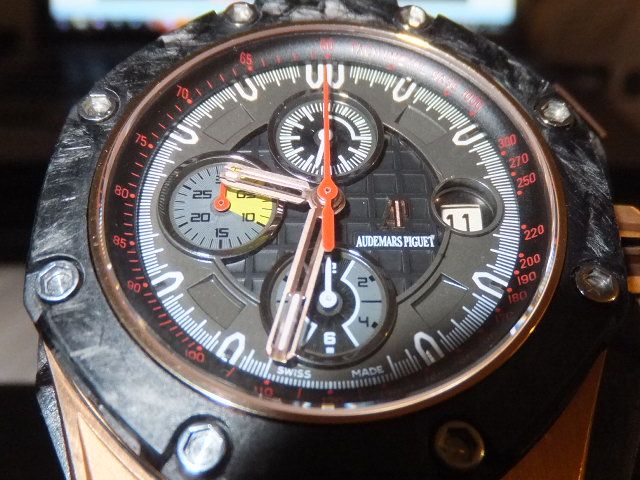
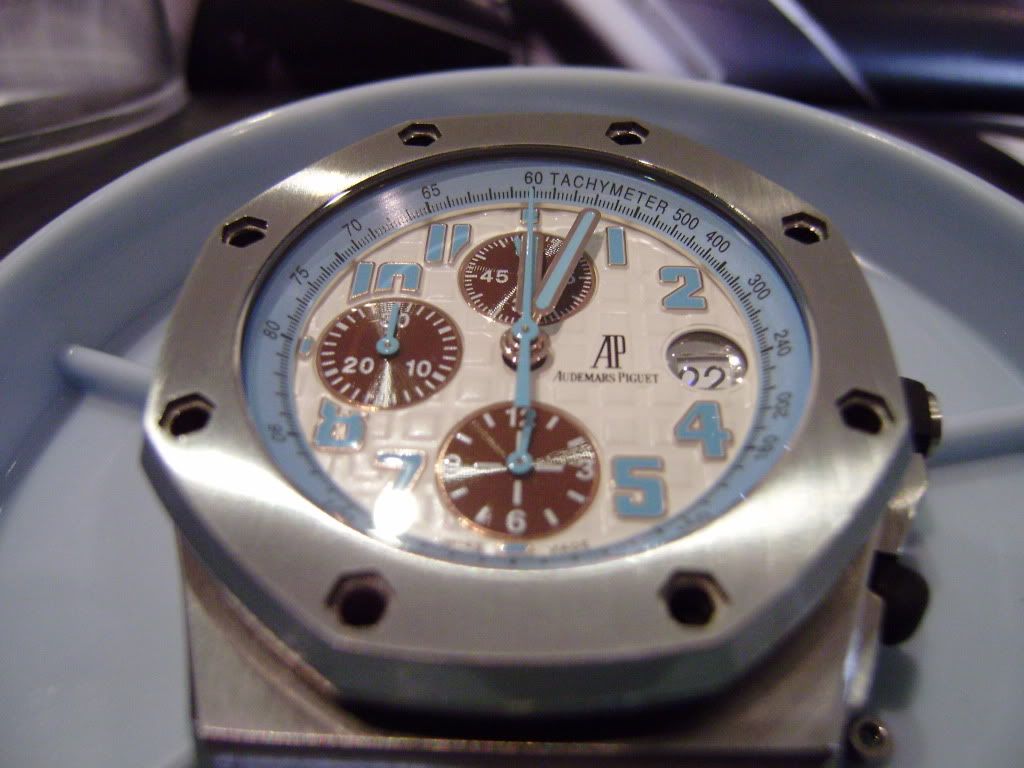
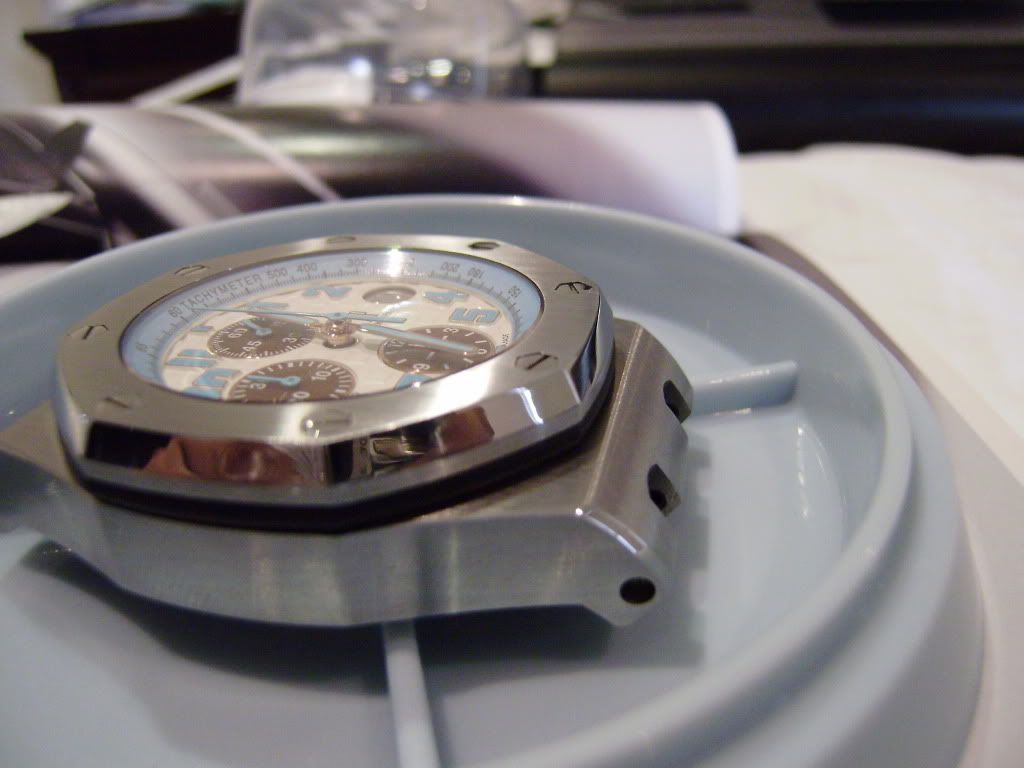
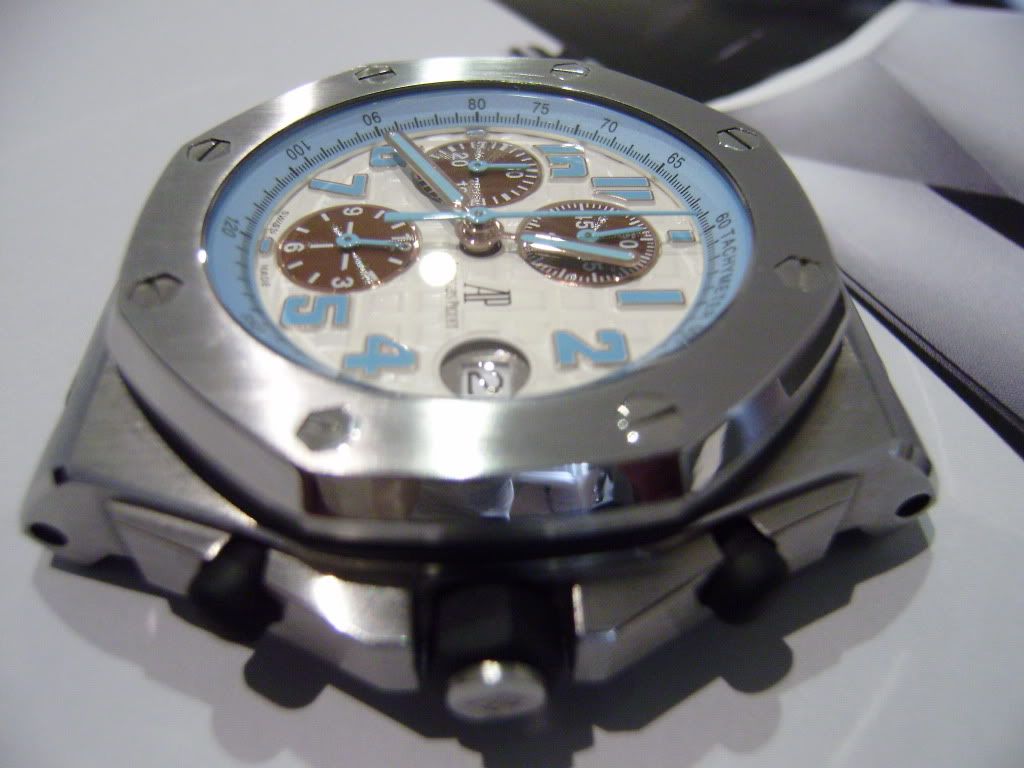
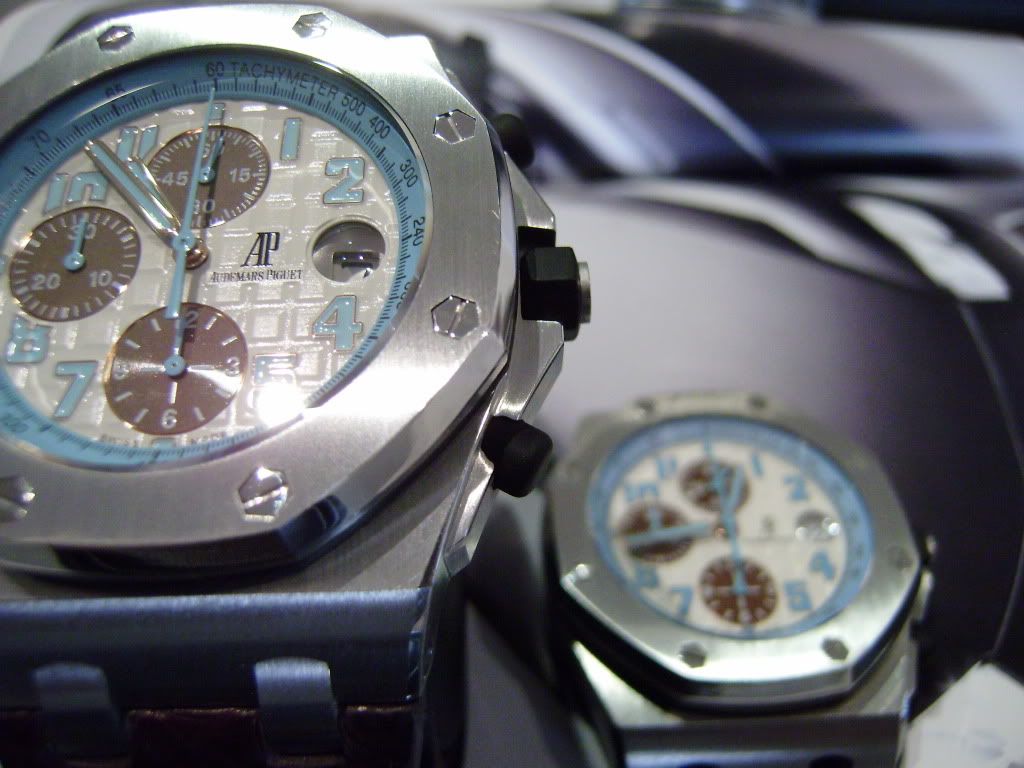
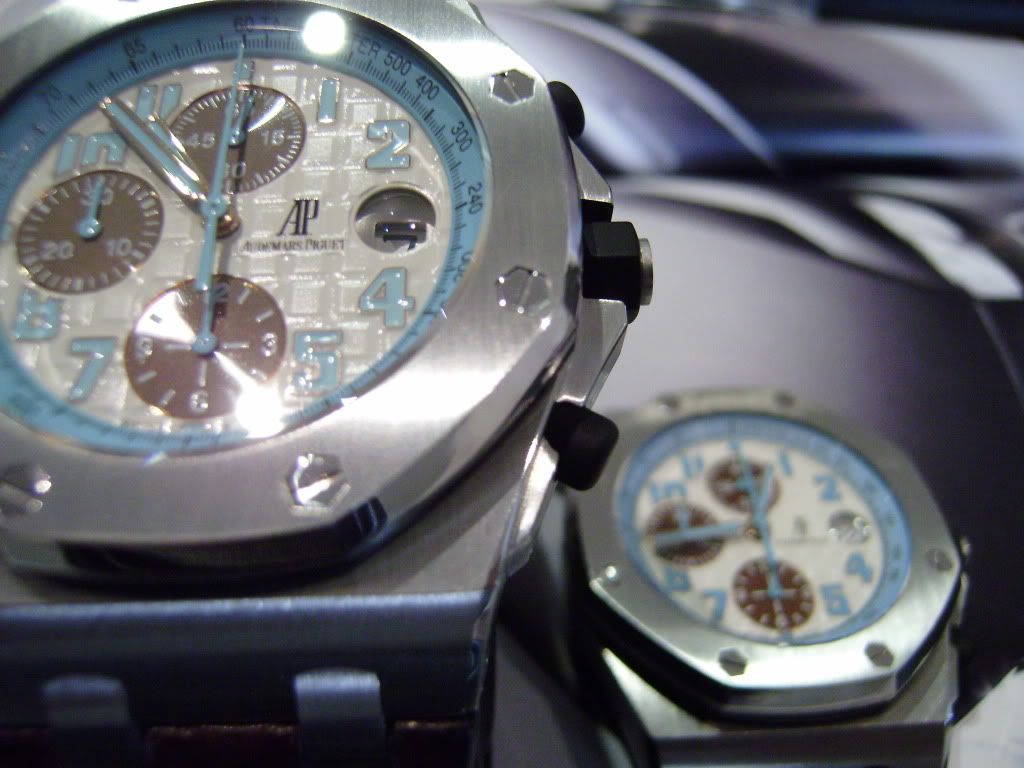
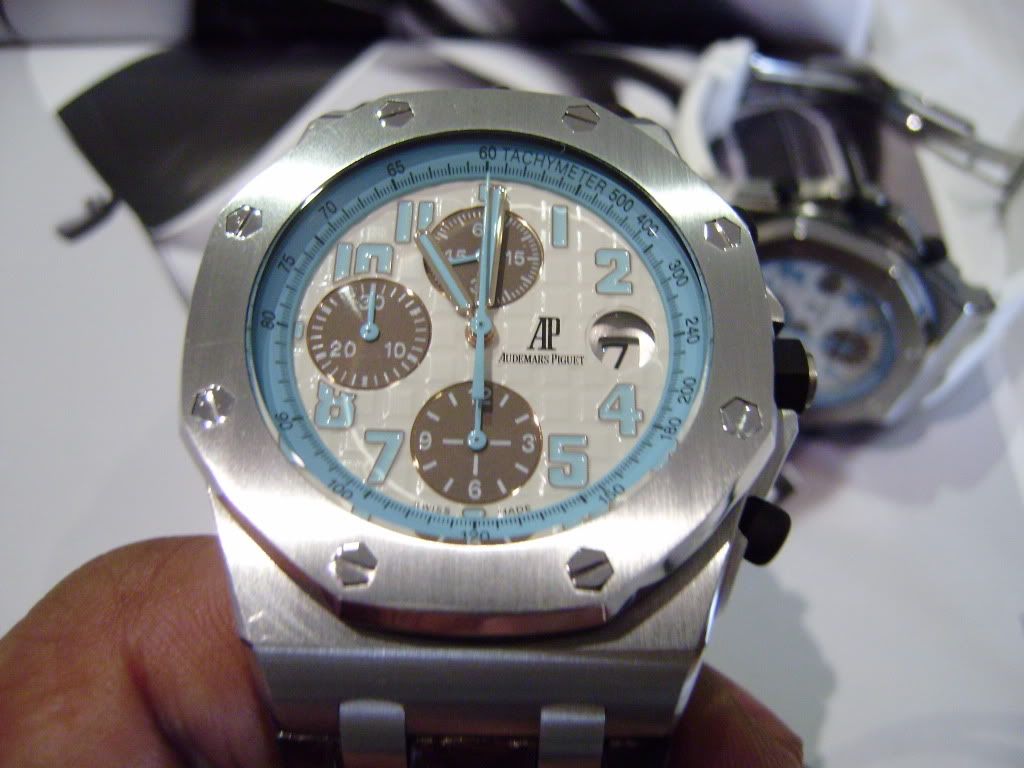
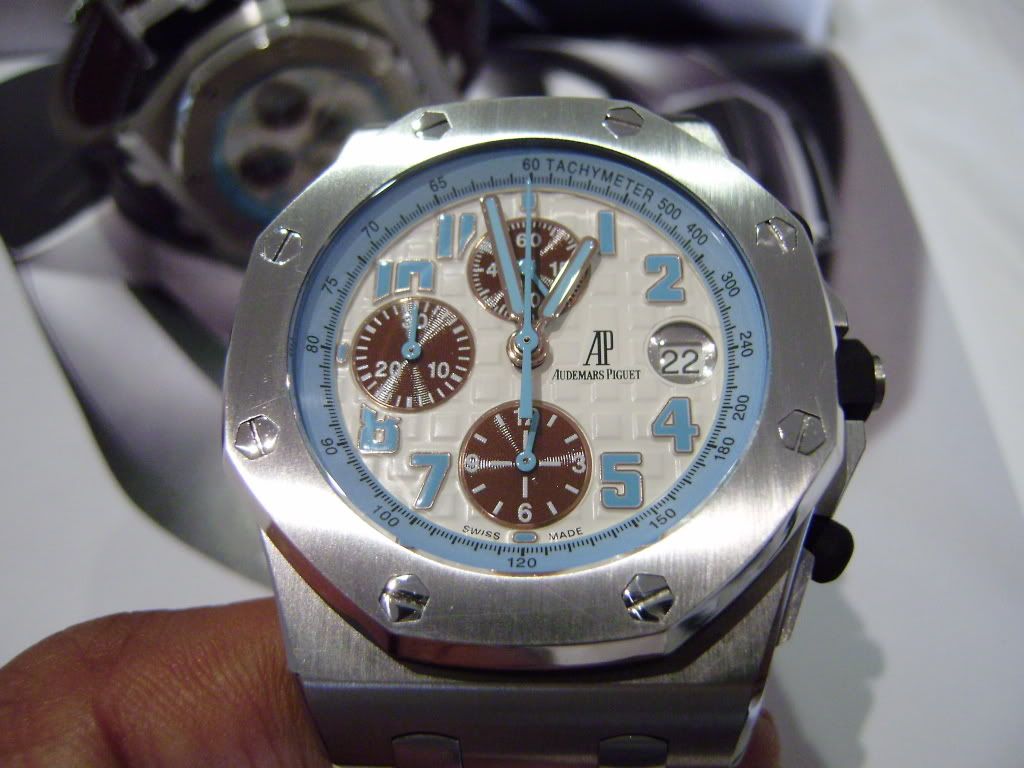
thought id take a few more .now im not so rushed

-
-
Sh*t Z - I just nearly spat my coffee out - thats just outstanding!!! Congratulations bro - love this.
The carbon parts look amazing. Wicked review and write up as always.
Kudos to Imaknockov - what an ultra cool mod!!!!!! - respect.
cheers budda .. it was a long day lol but worth it
now make your self another cup lol
-
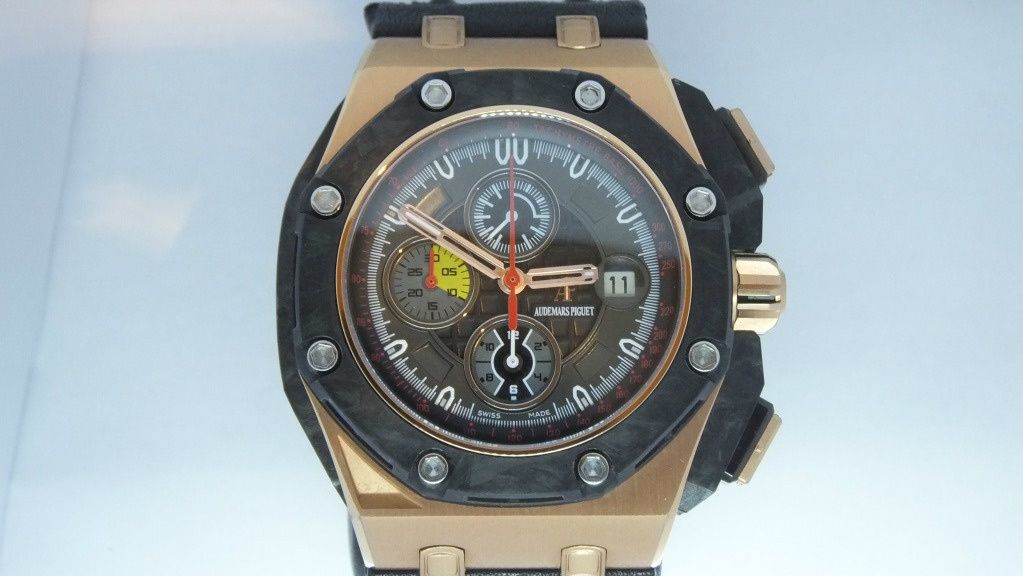
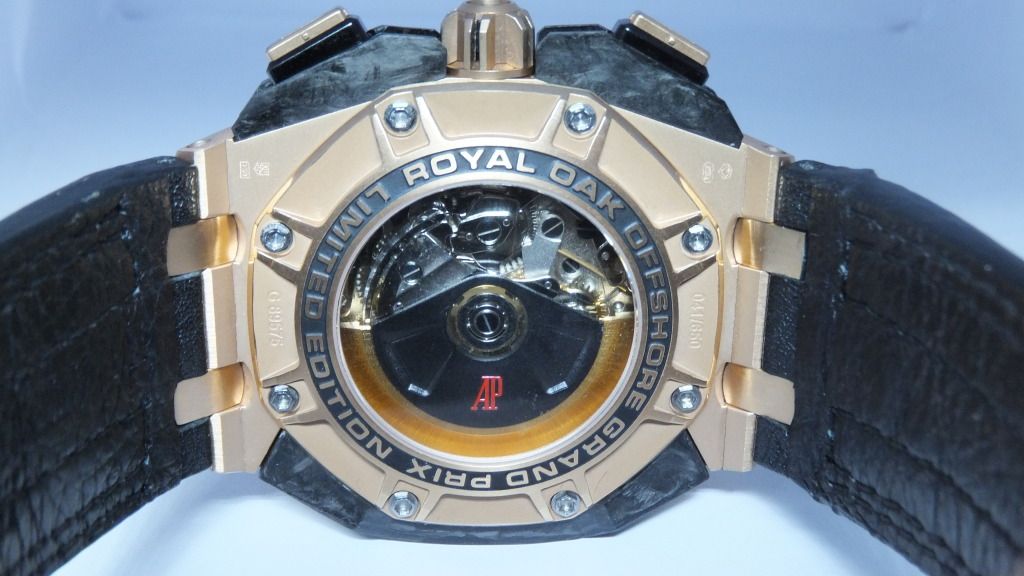
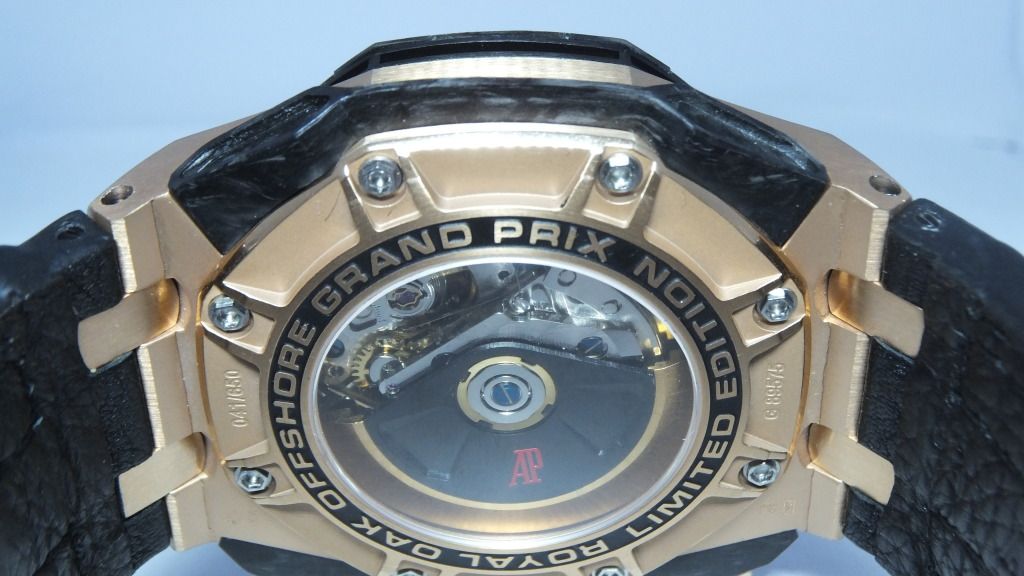
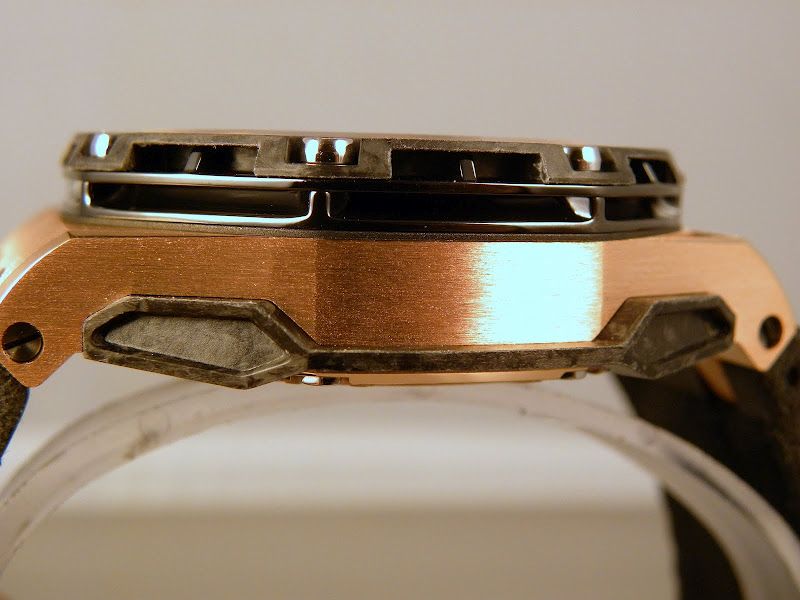
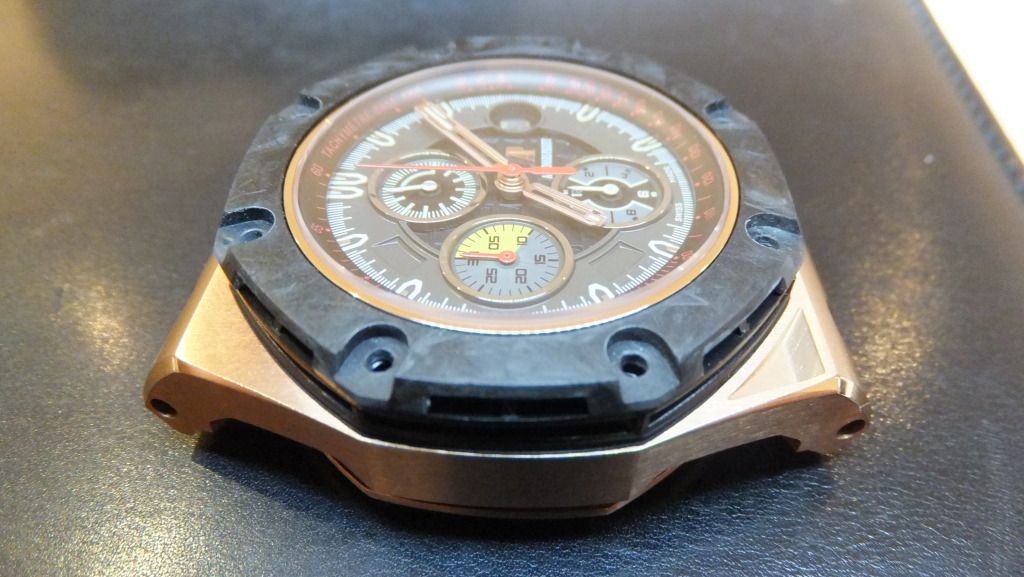
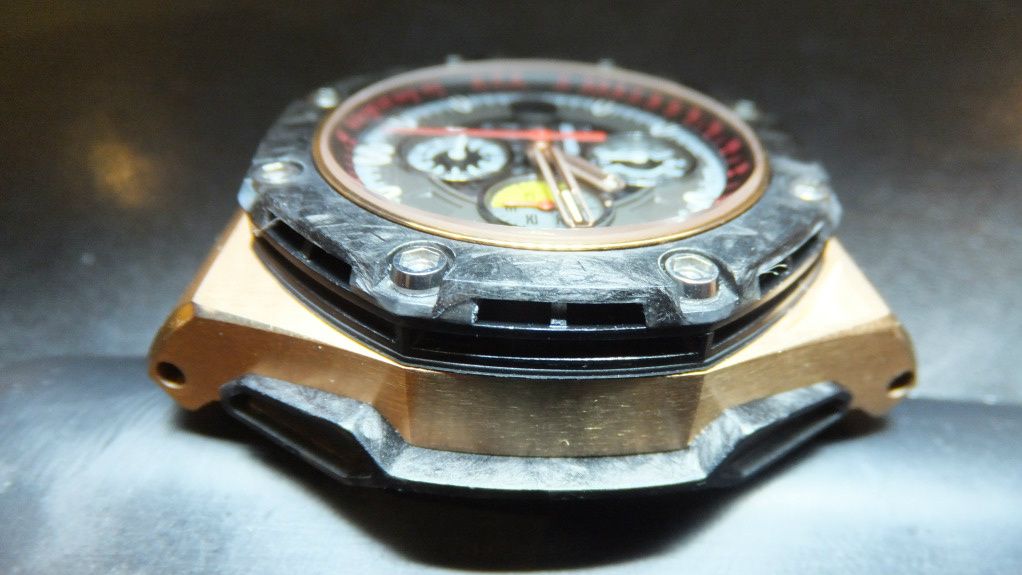
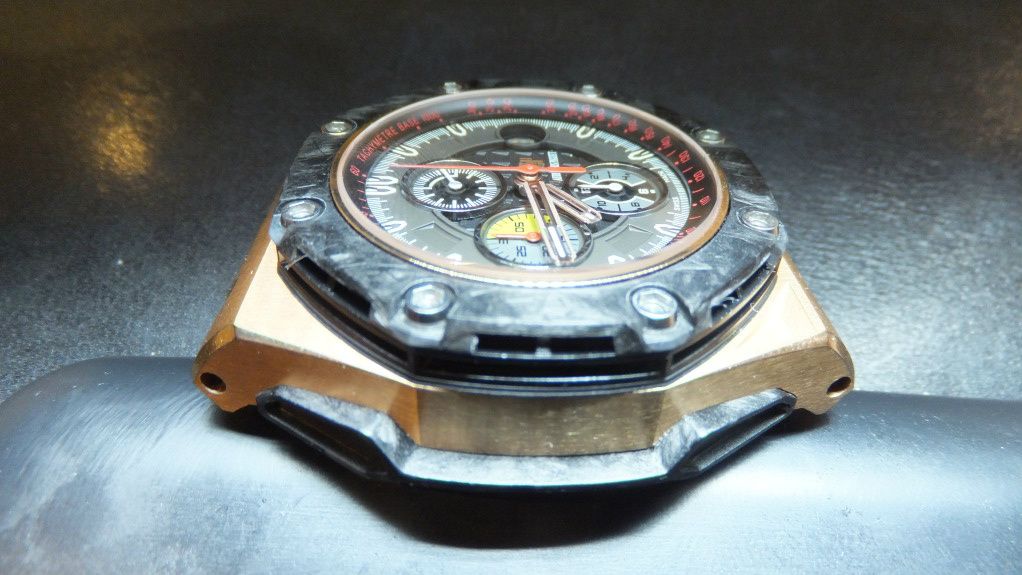
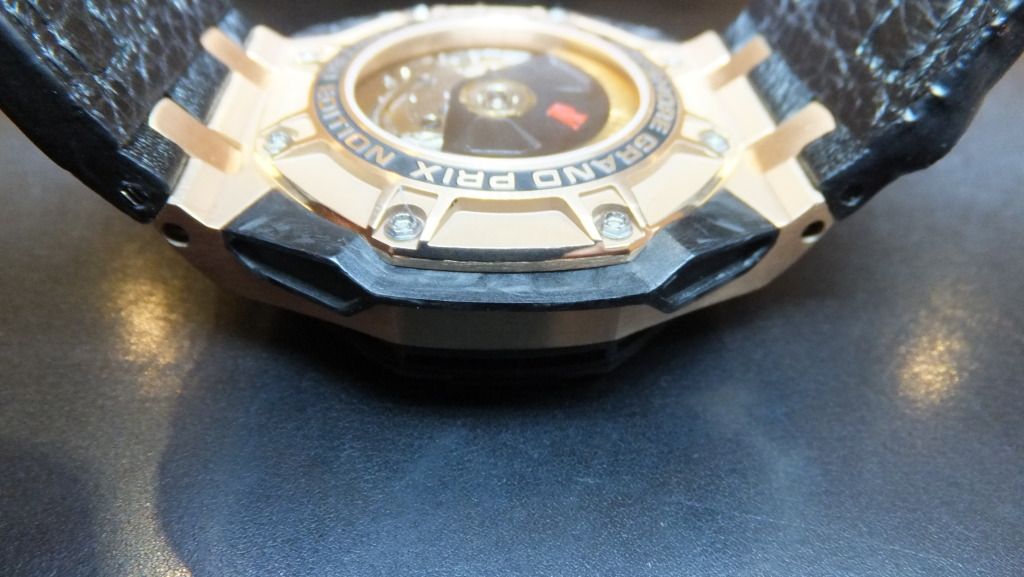
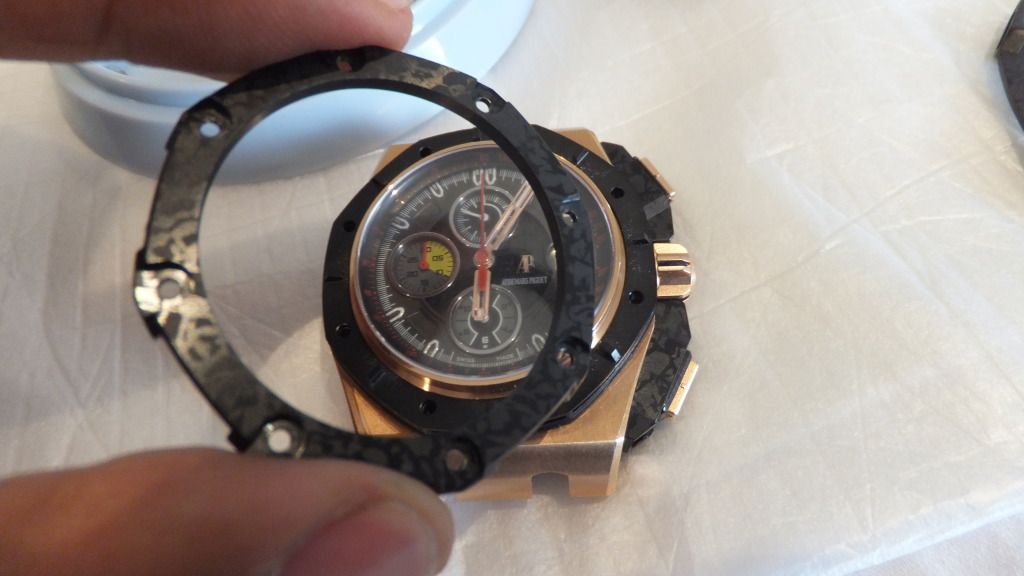
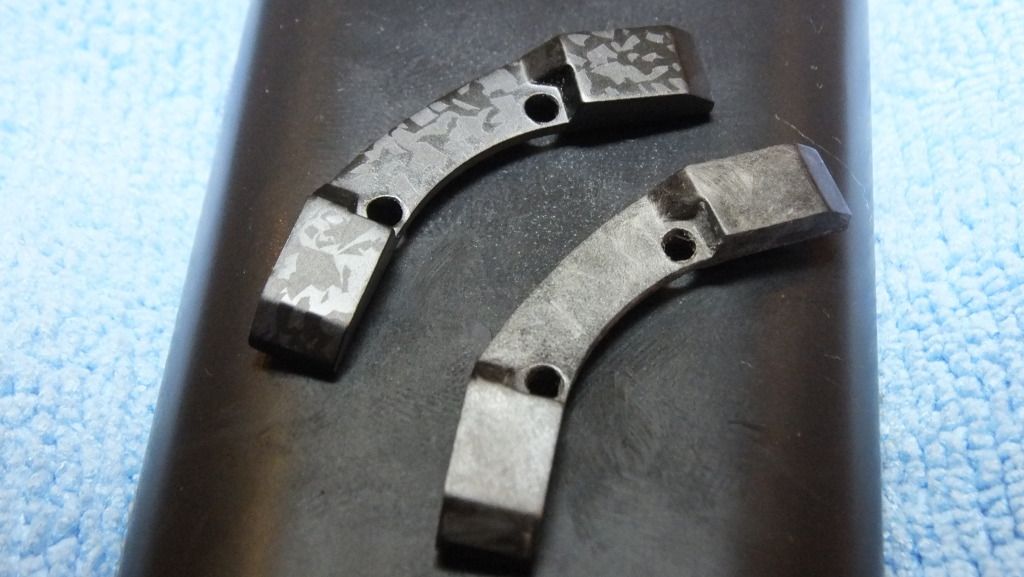
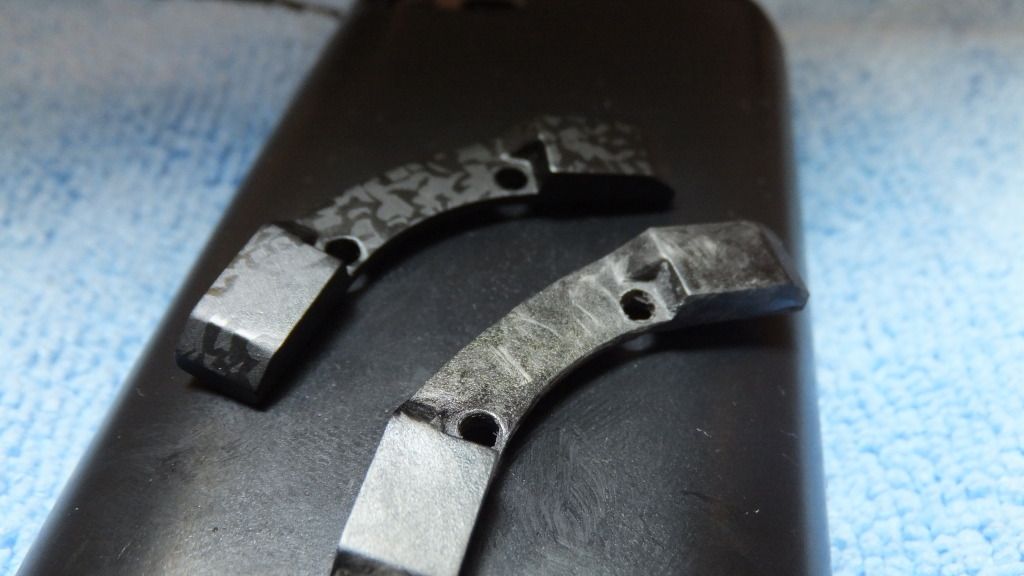
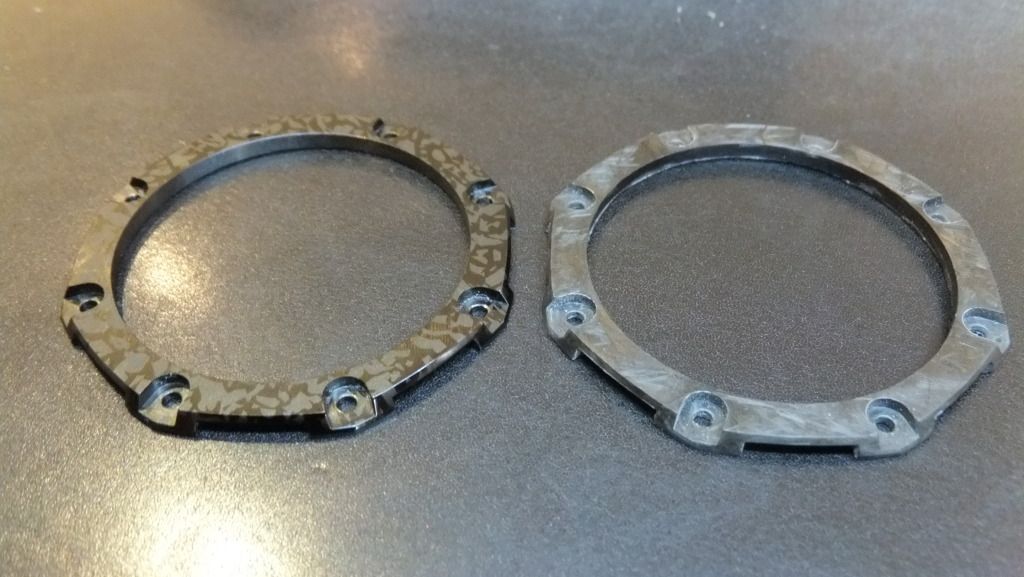
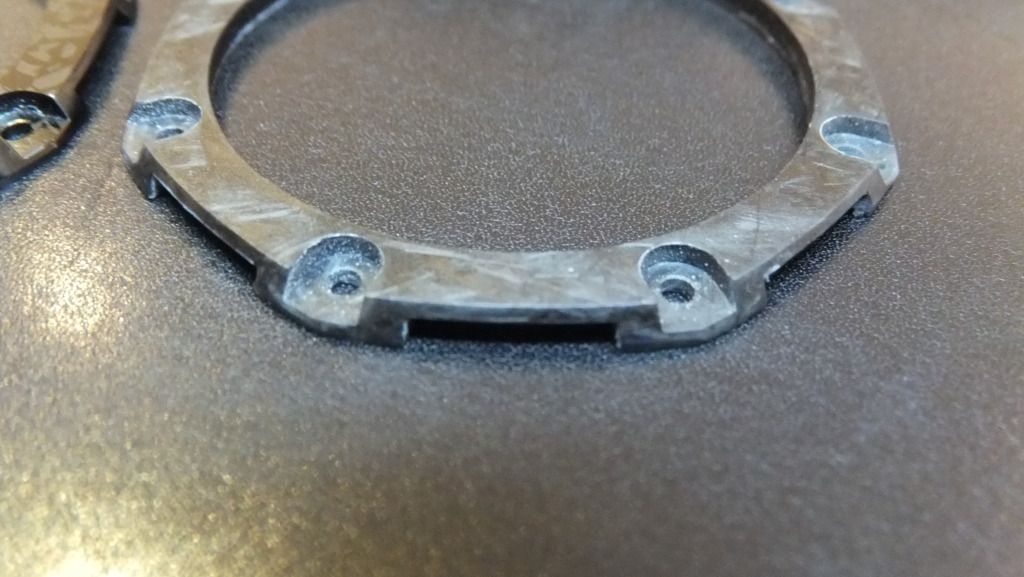
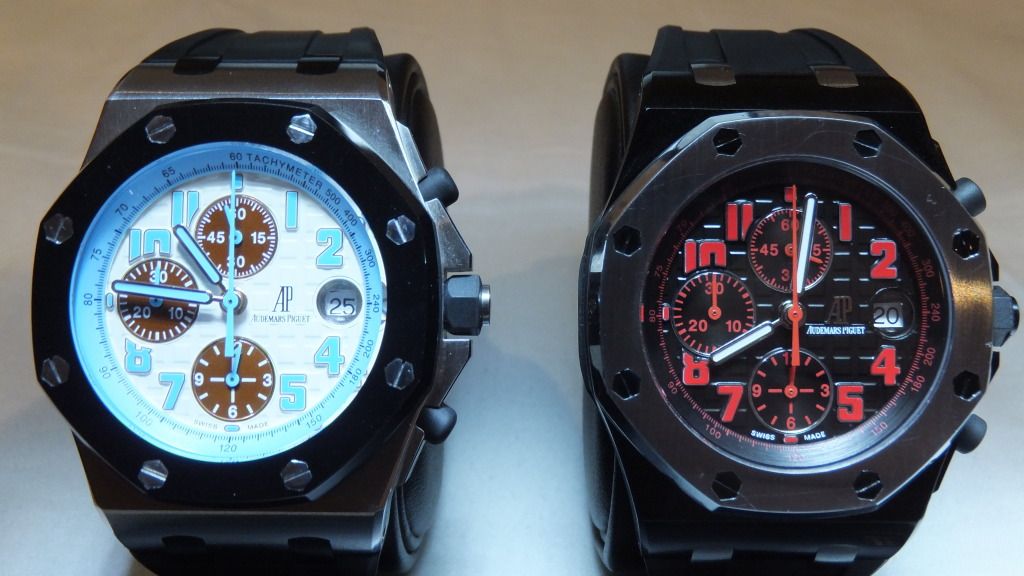
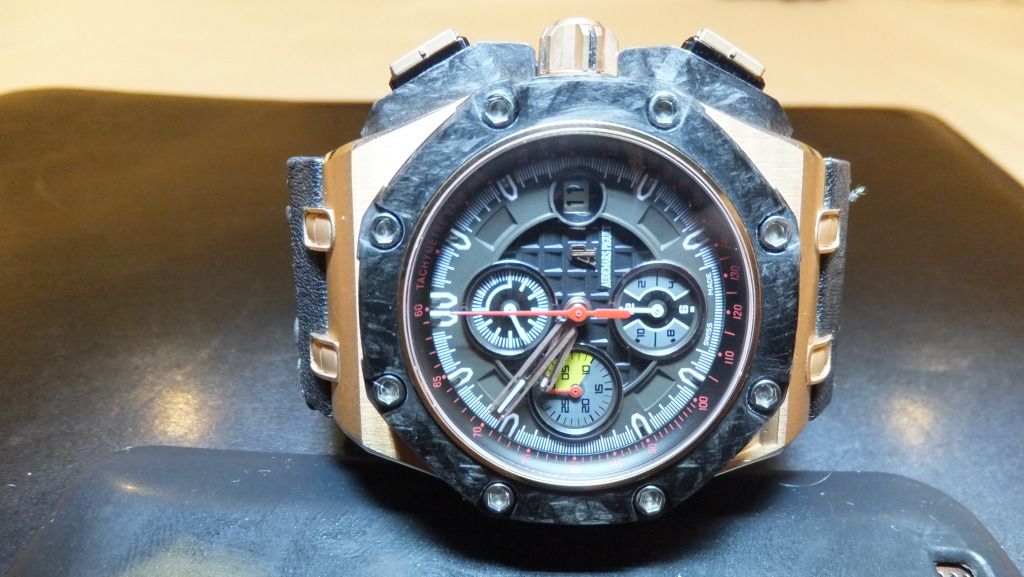
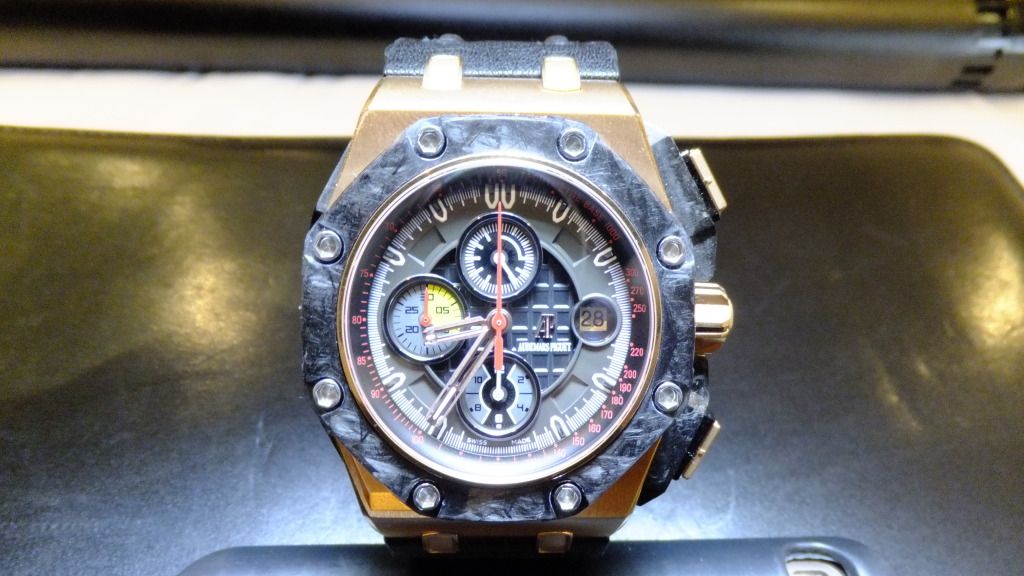
also now ive seen the gen carbon its 100% like the gen carbon can not tell the difference
-
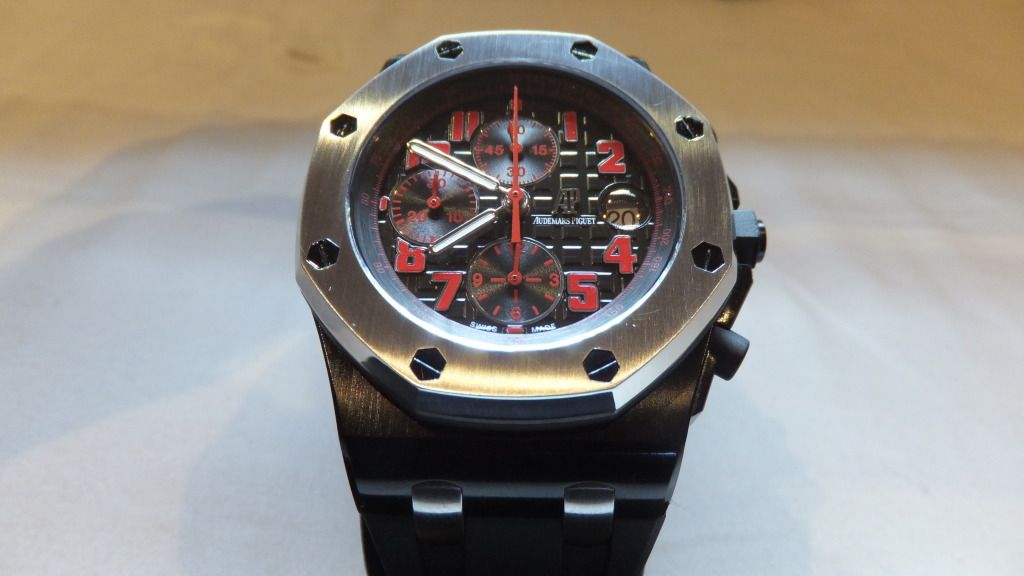
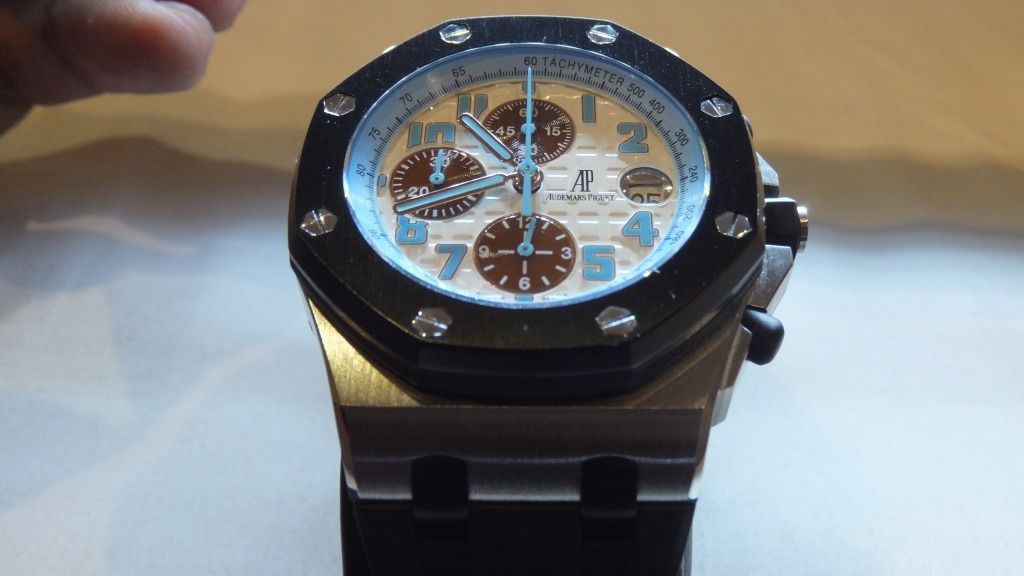
here are some pics it spot on the money comparing to the gen i would say now 100% like oem !!!

-
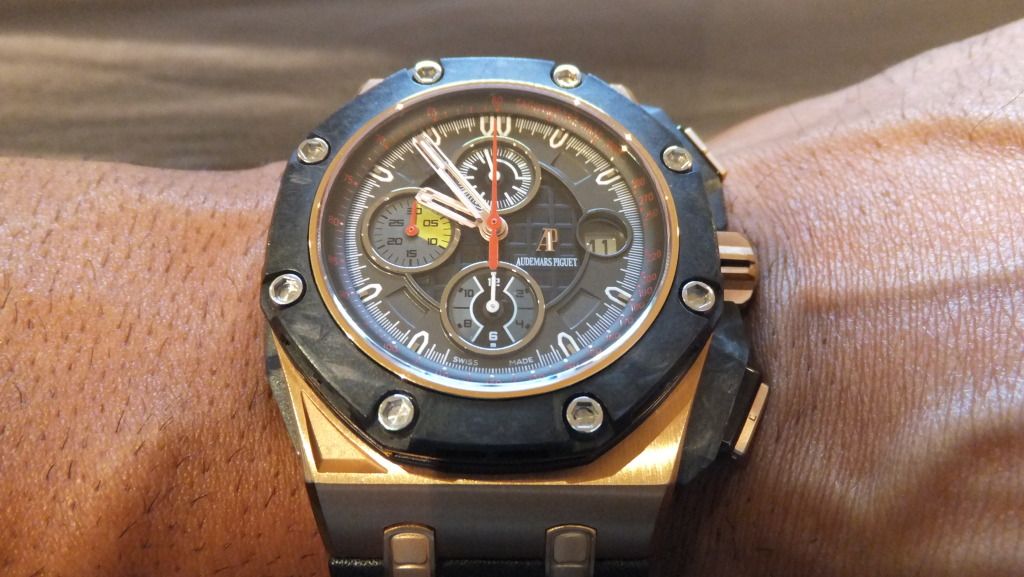
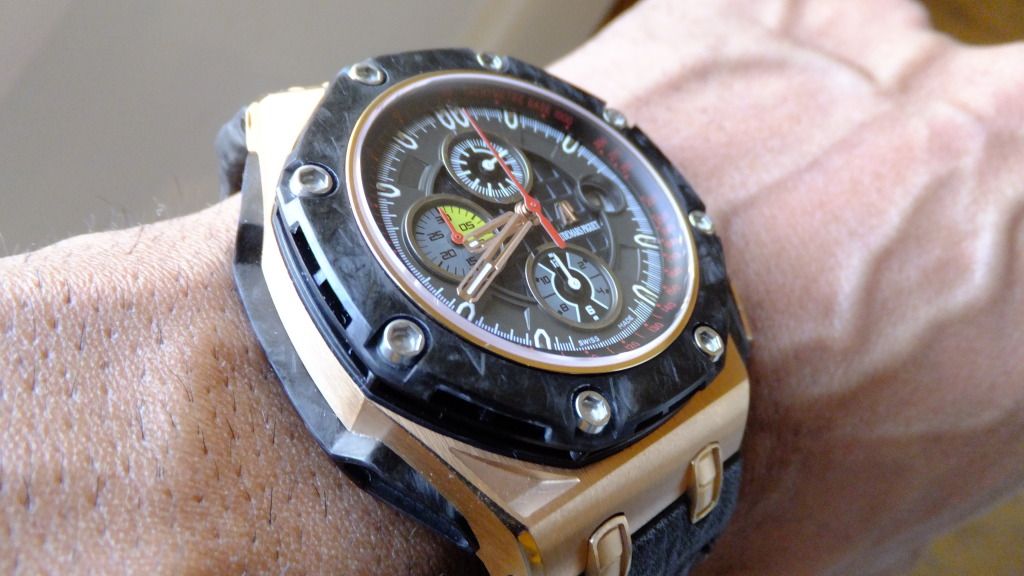
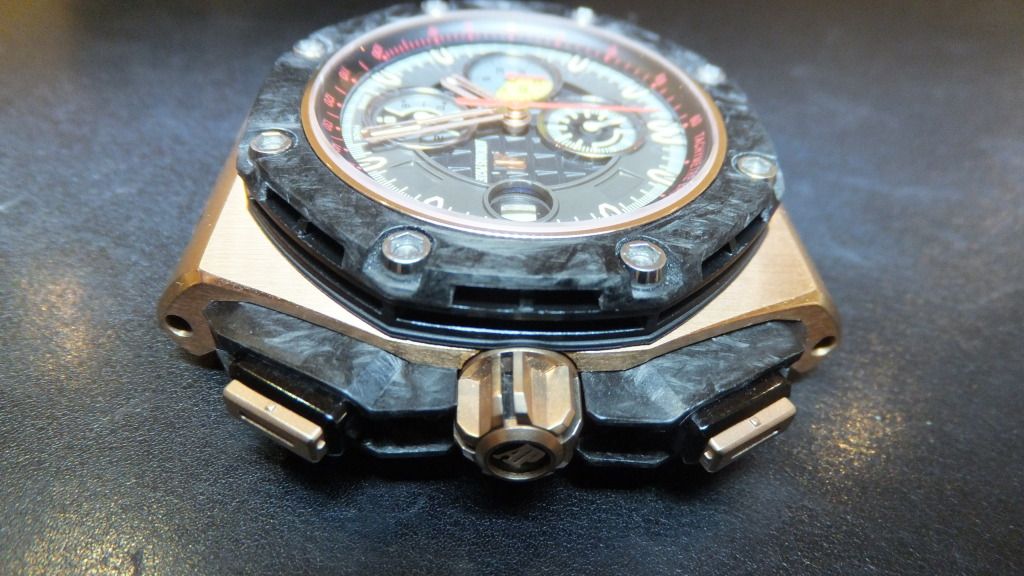
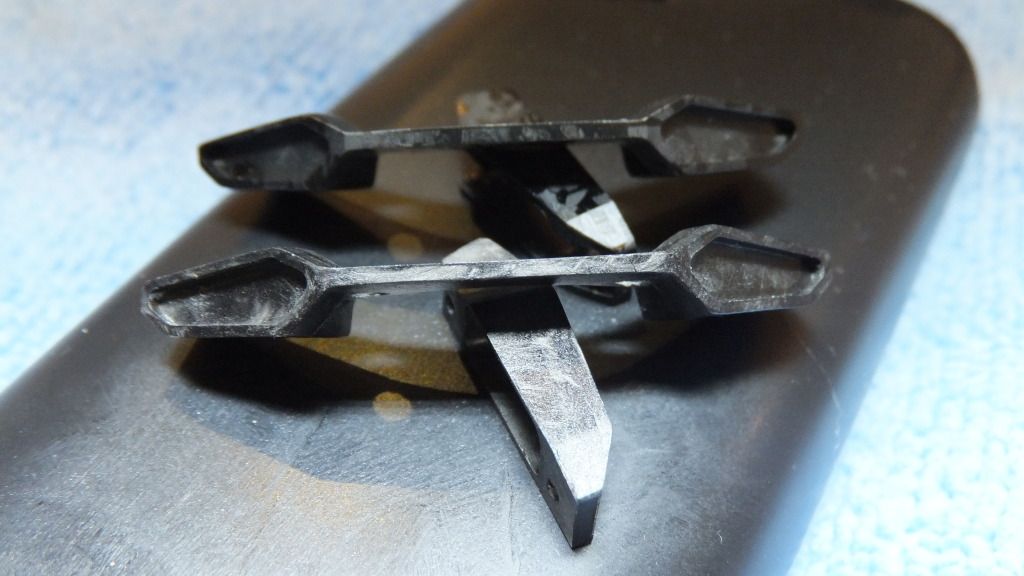
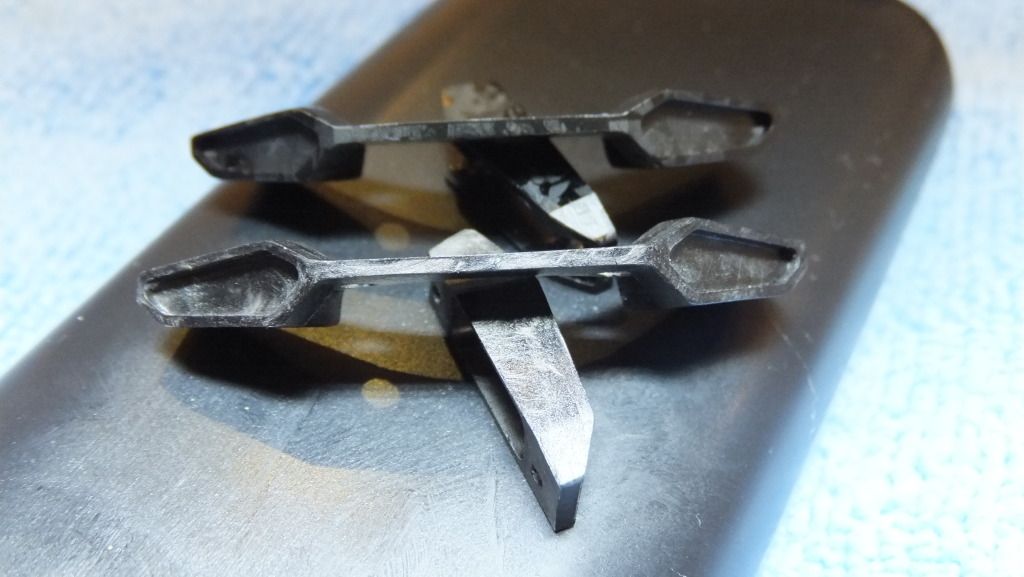
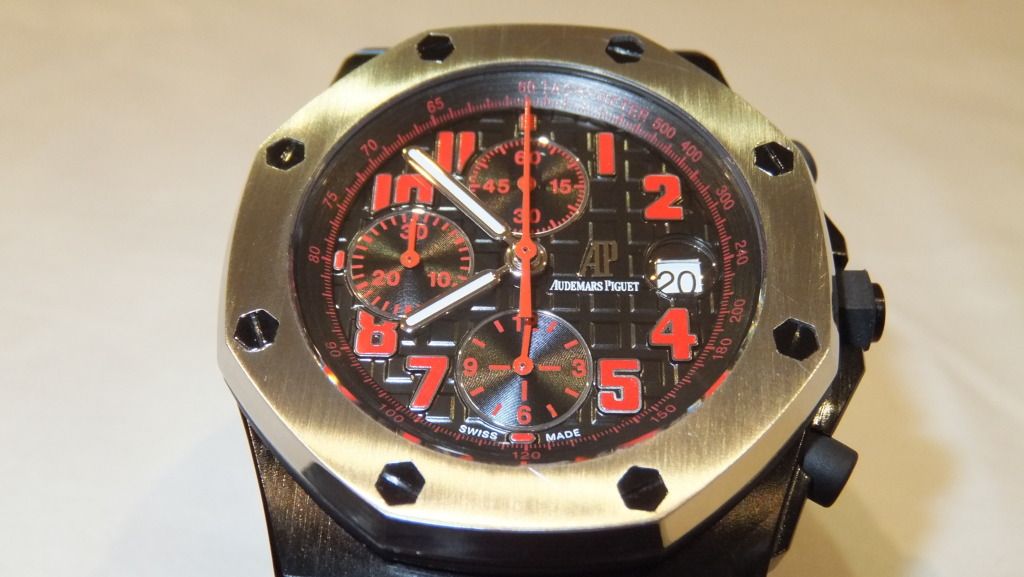
Iv'e played around with the light so the carbon would show its marble pattern more clearly !!
any question please feel free to ask !!
-
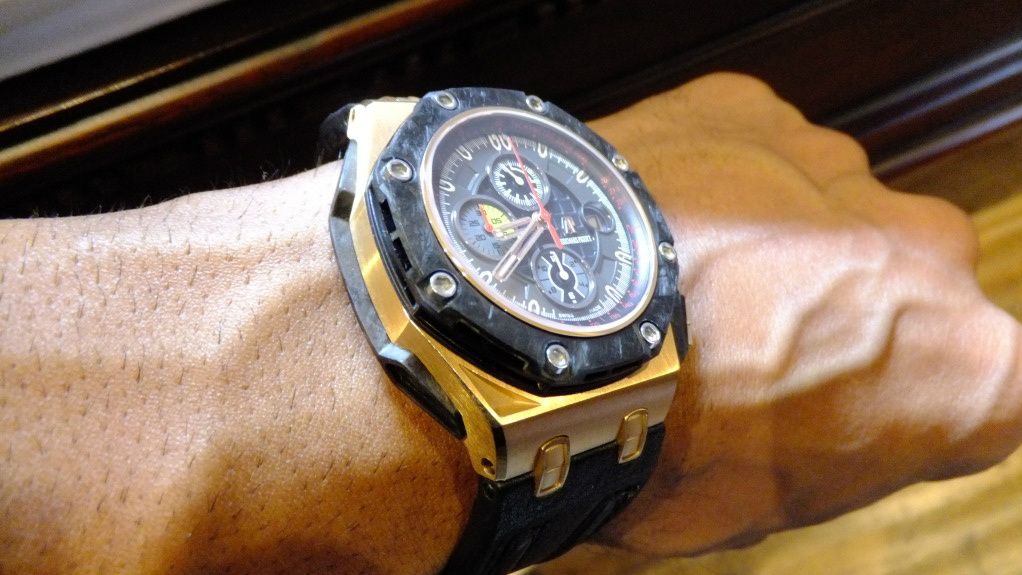
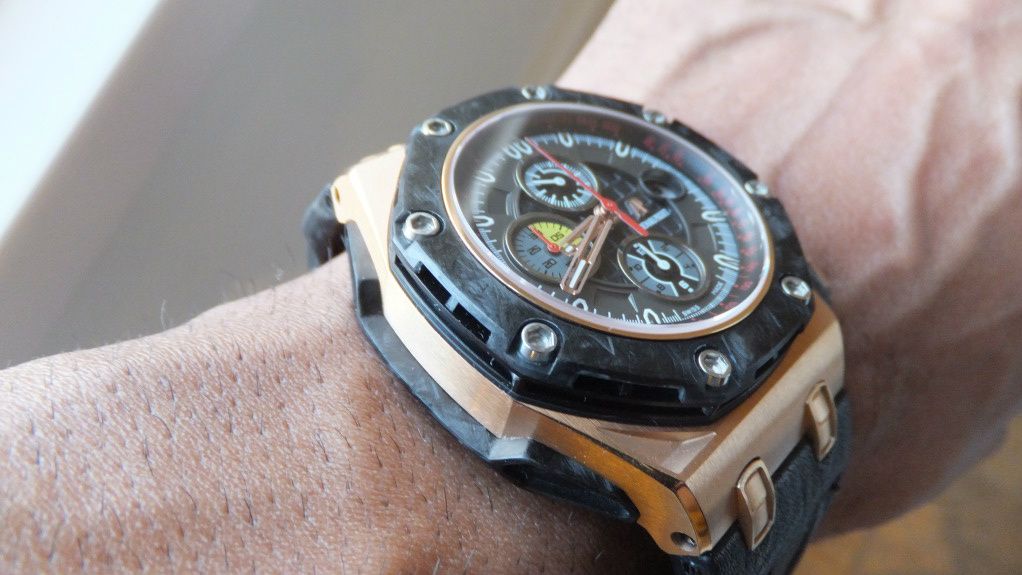
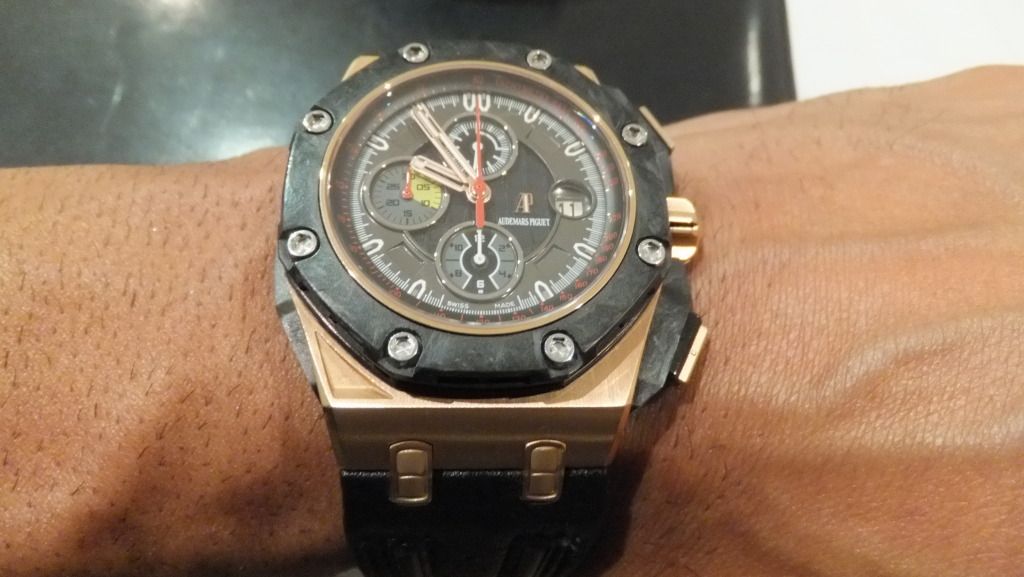
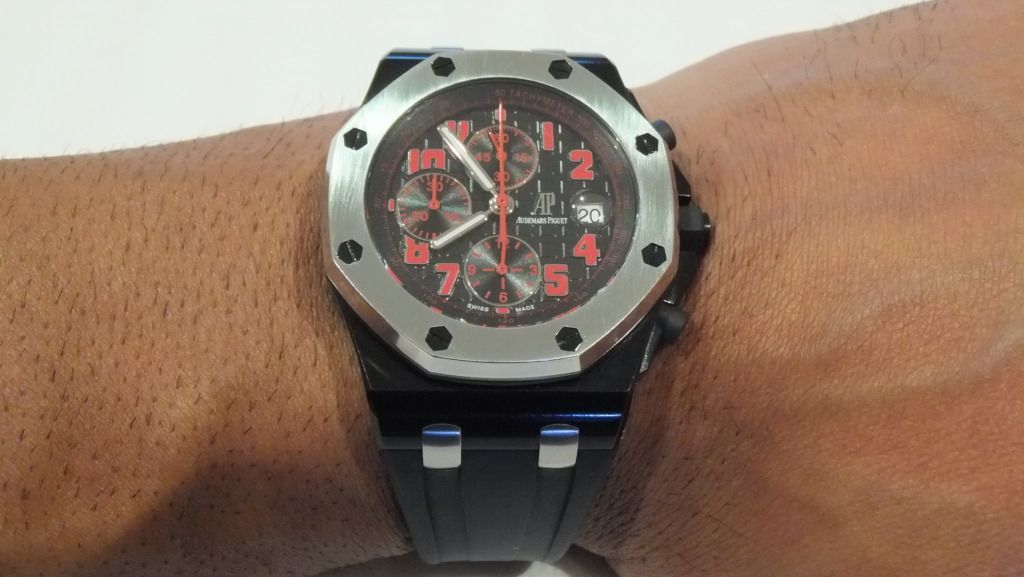
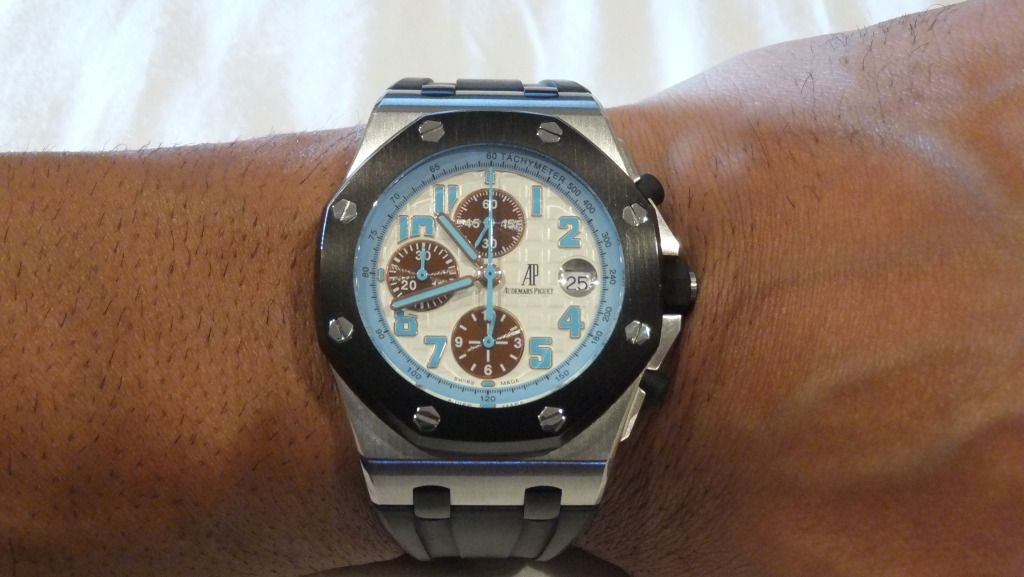
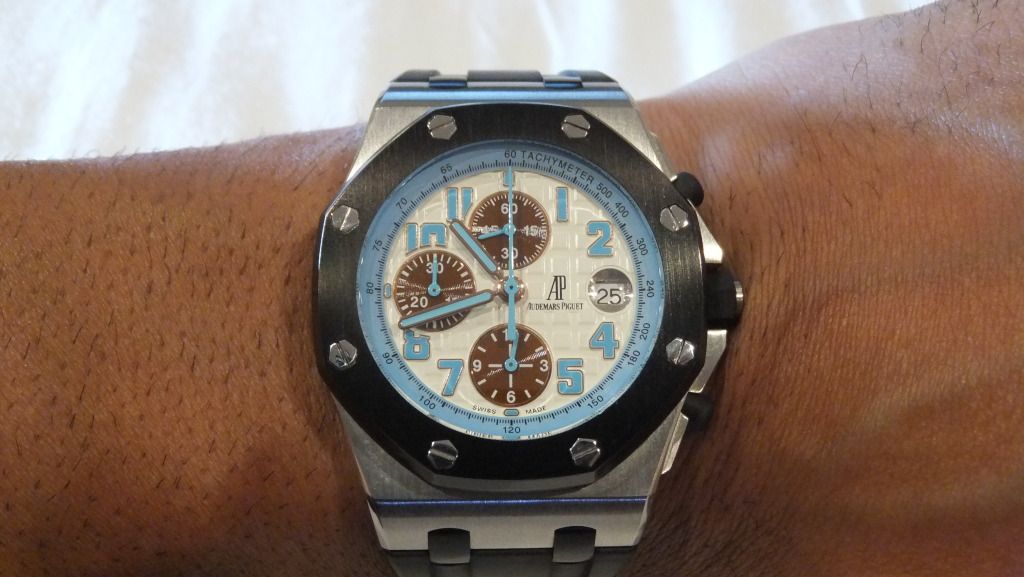
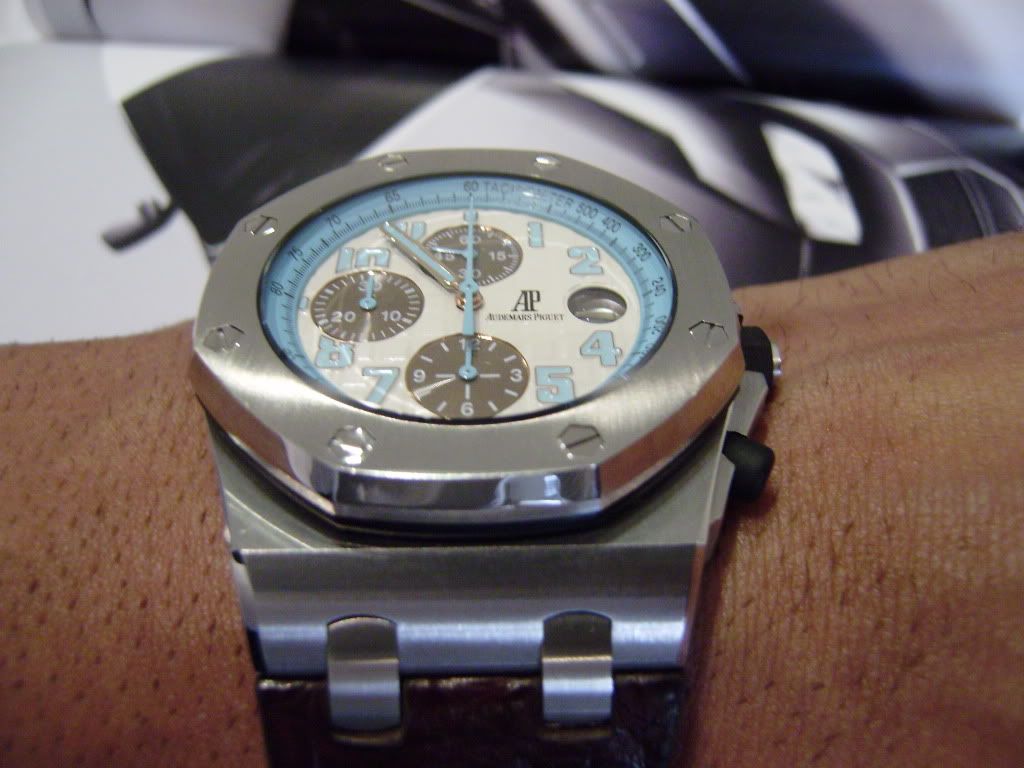
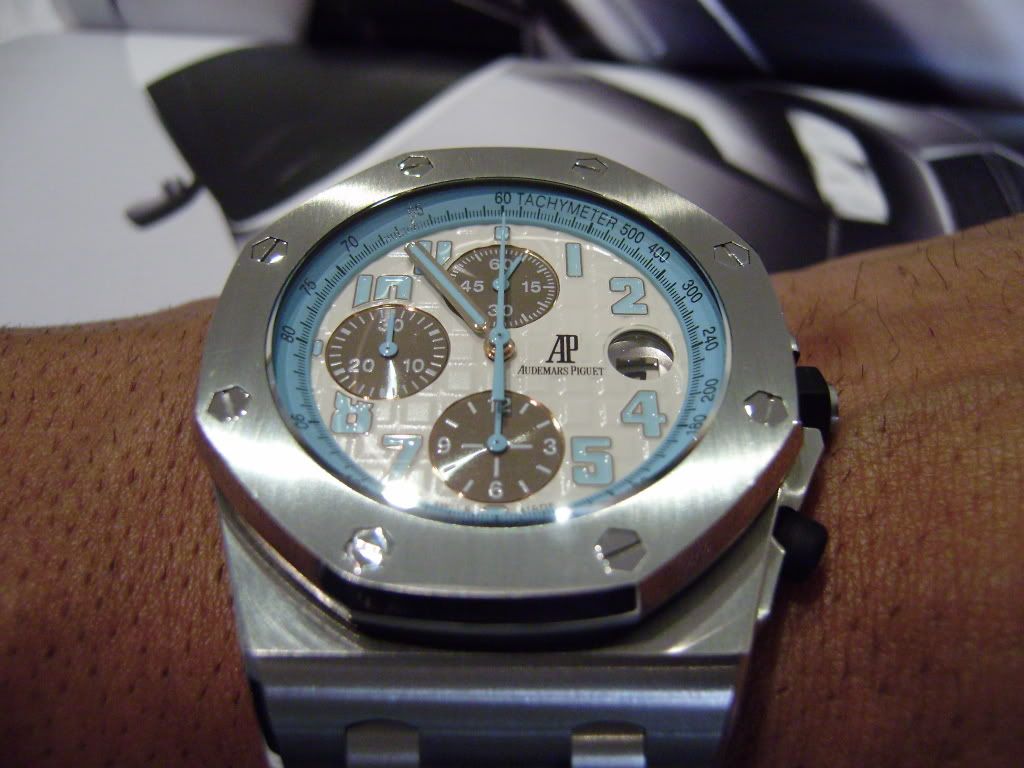
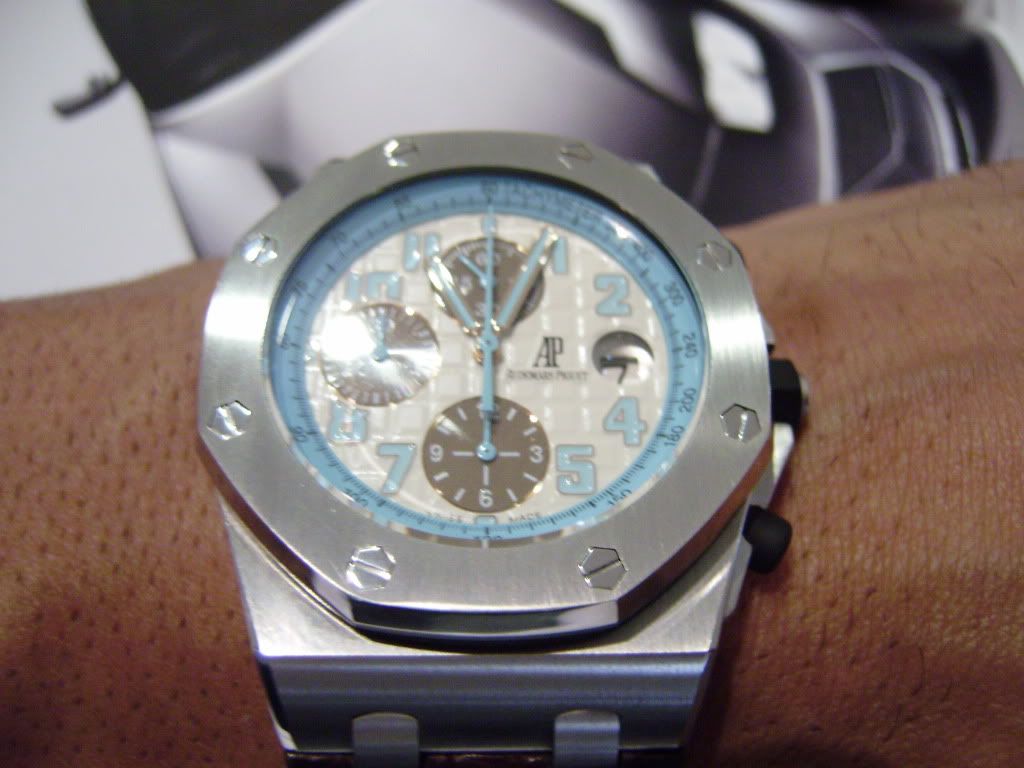
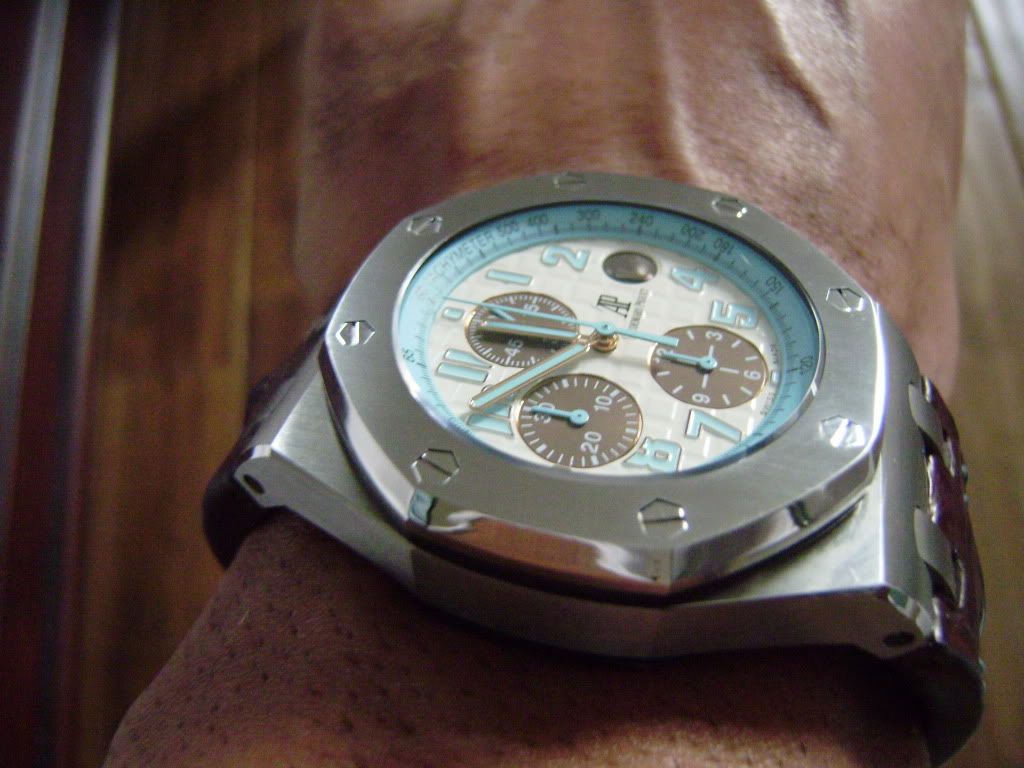
cheers mate .. will post the wristes in abit !!
-
-
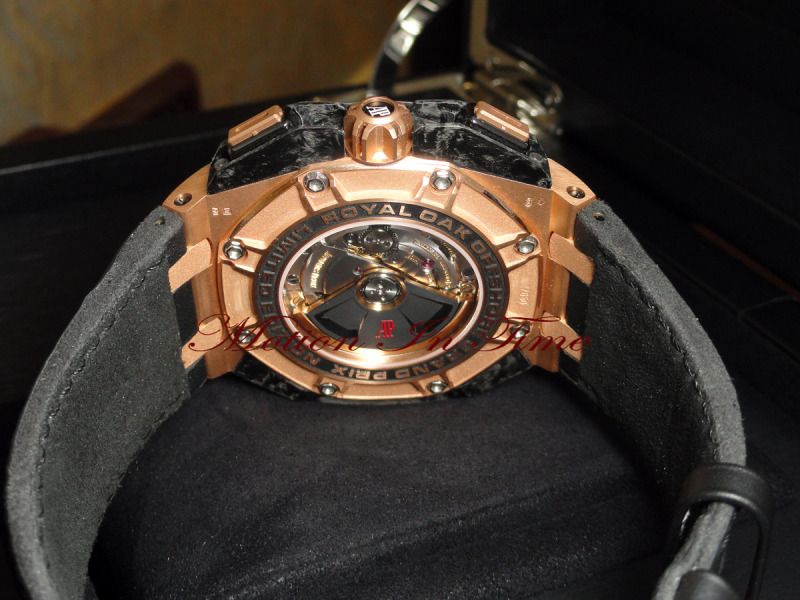
now enjoy your very close to gen carbon ap grand prix
-
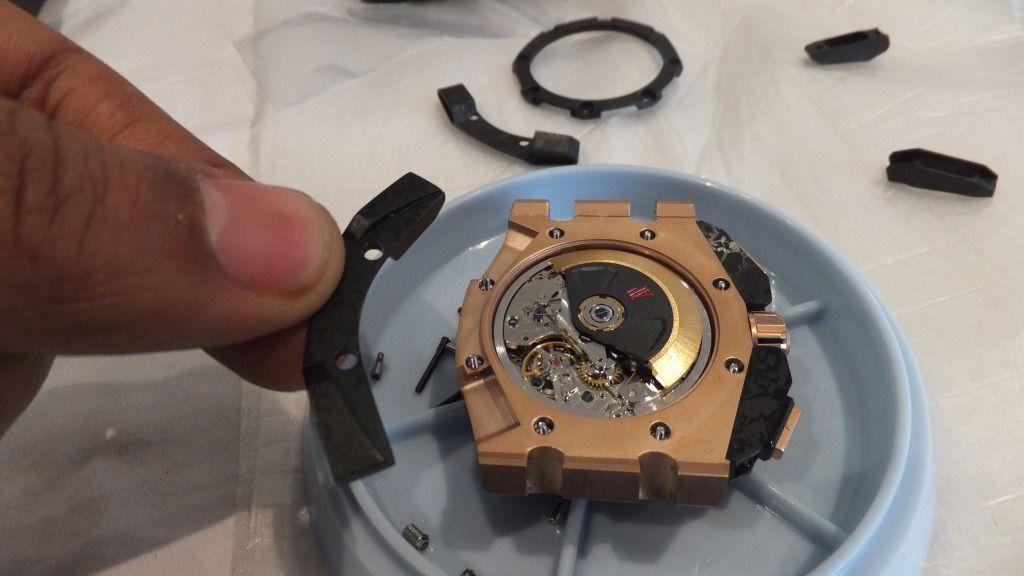
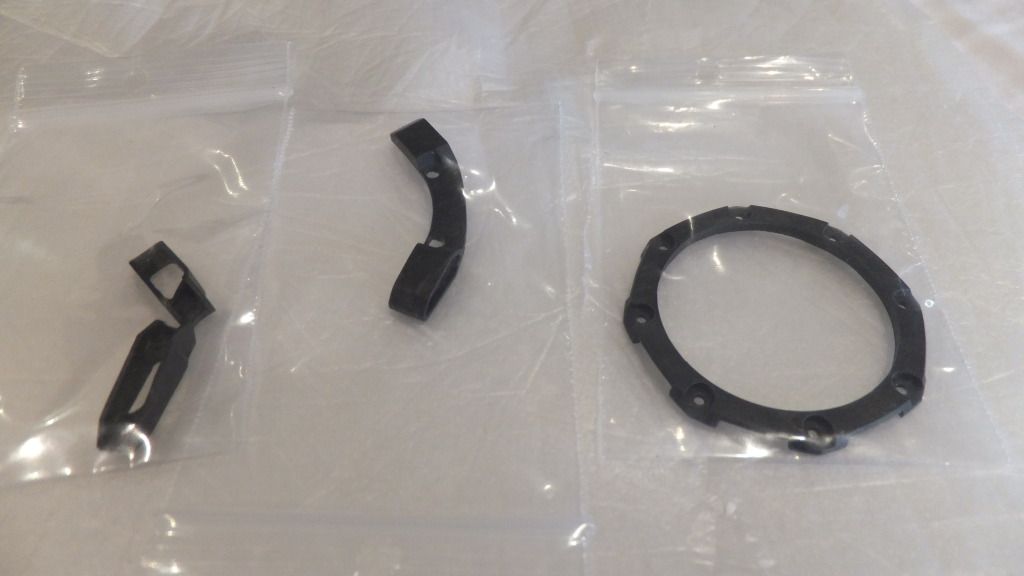
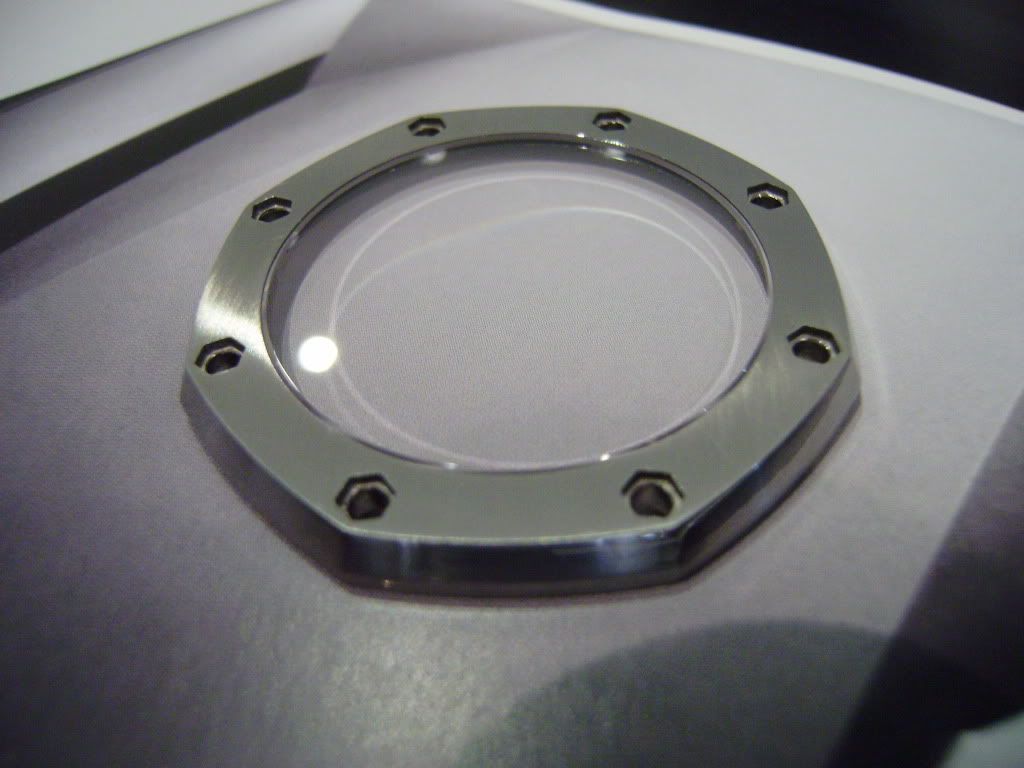
fitting the parts is pretty much straight forward long as you have the right tool
tools need for the job
1 hex driver 2mm
2 hex driver 1.5mm
3 hex driver 1mm
4 modded 3mm flatted head screw driver with slot cut out of the middle
5 dust cover
now you all set to go !!
remove case back screws with hex driver 1.5mm and the same time use hex driver 2mm to hold the bezel screws in place !and remove the replacement part as well
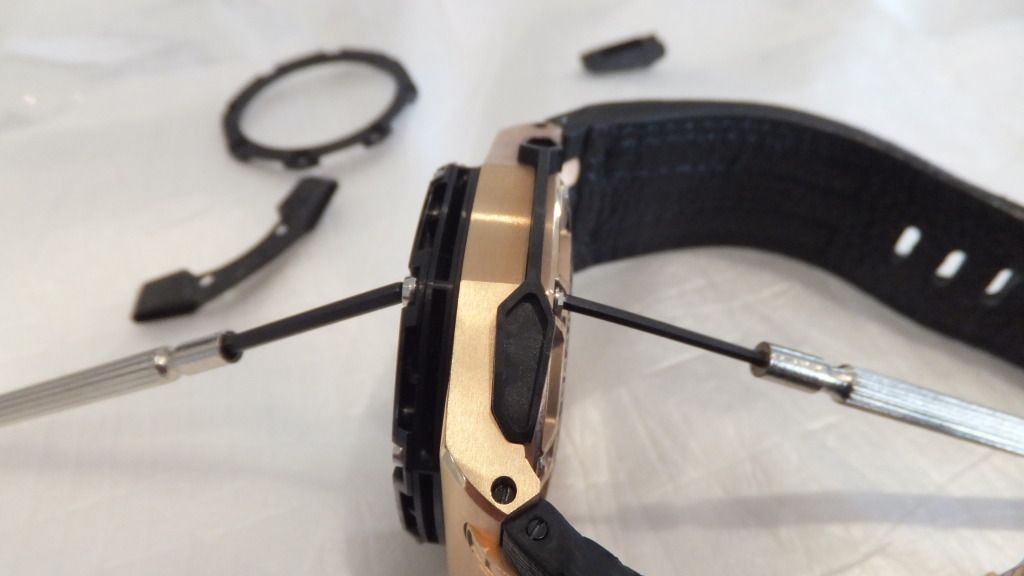

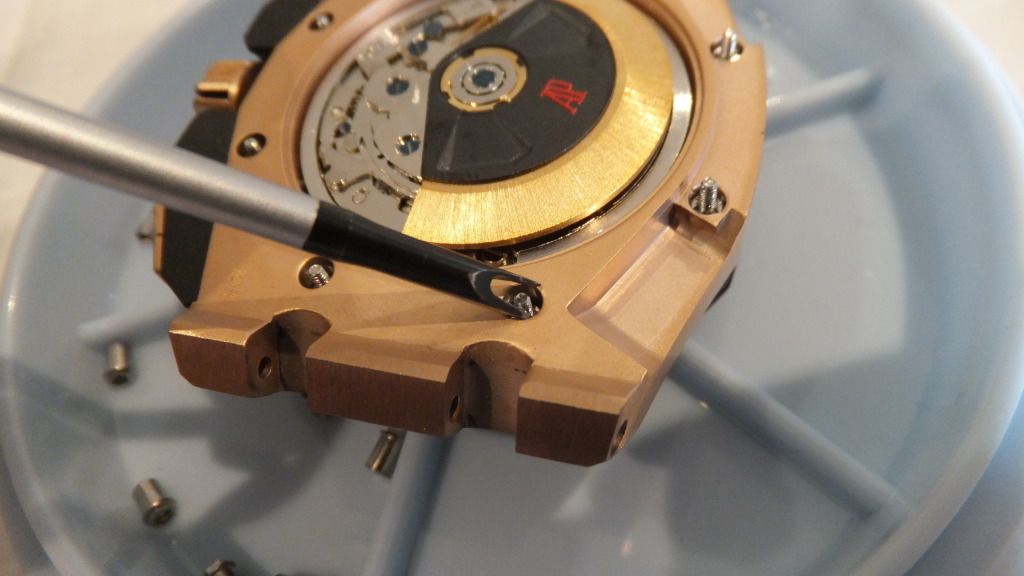
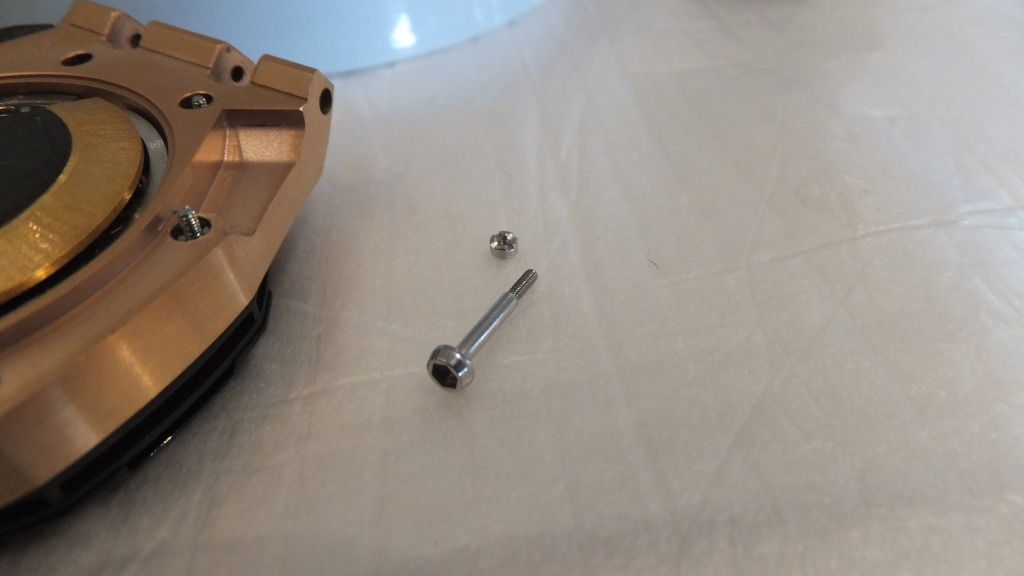
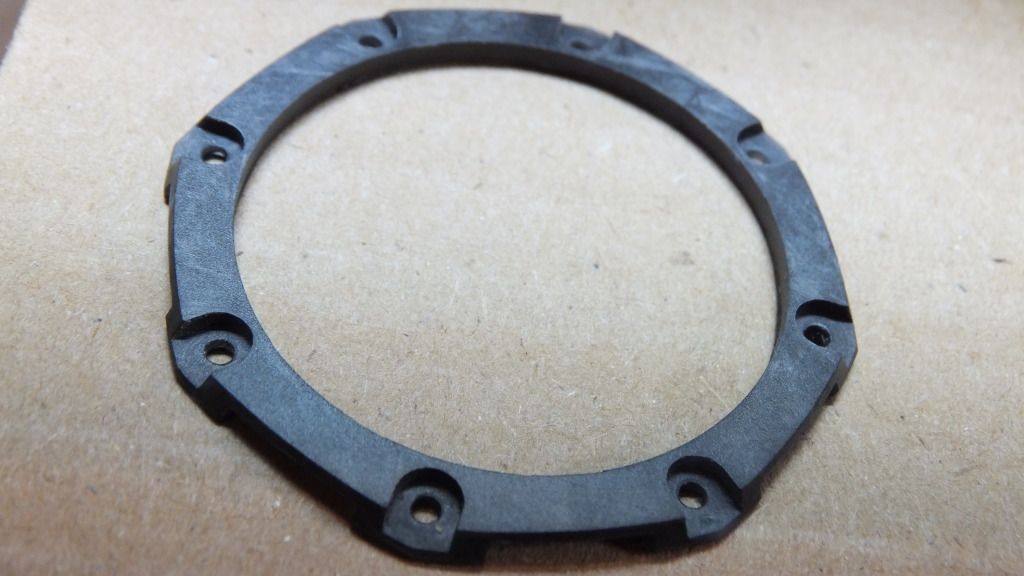
now use your modded 3mm flat driver to remove the grooved washer on the inside of the case hold bezel screws in place with hex or use to unscrew or visa versa
now to remove bezel use a small flat screw driver to praise of the bezel be care not to damage the part underneath
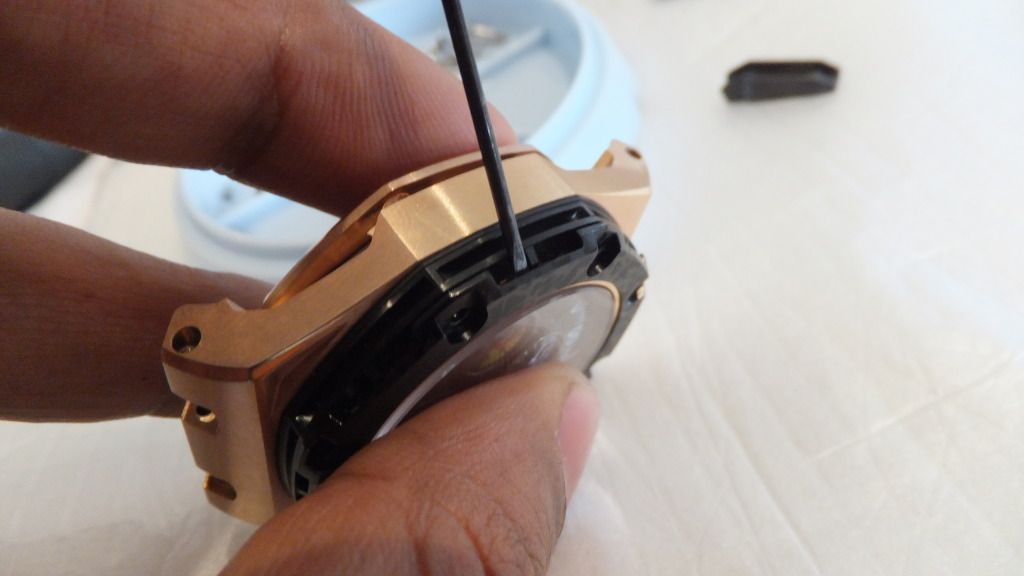
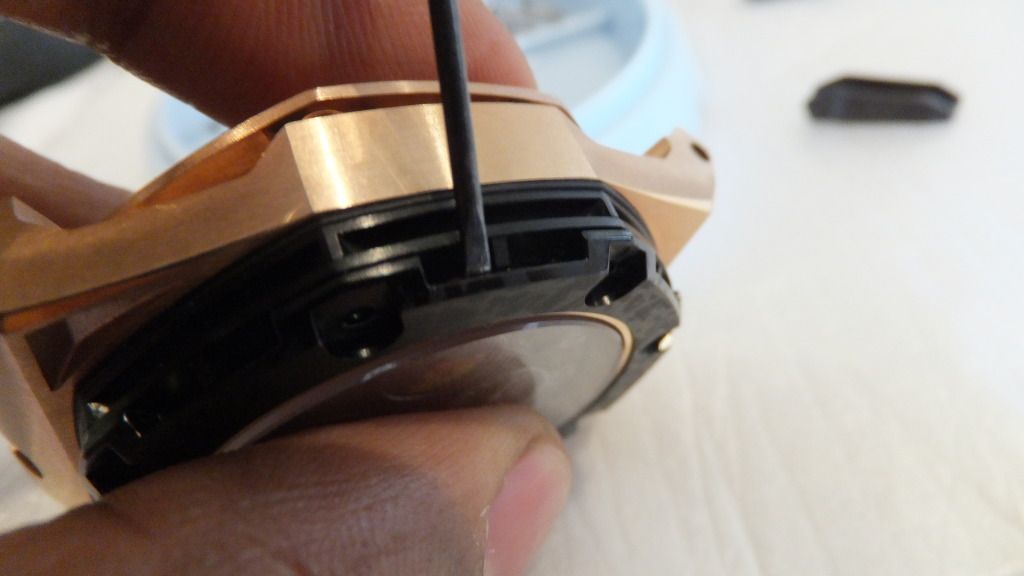
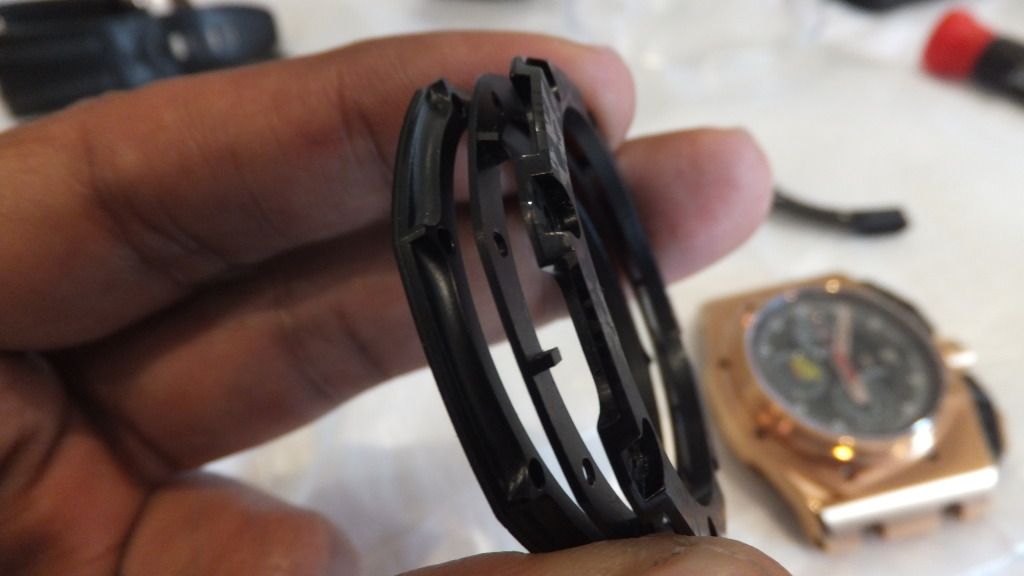
move on to the pusher guards use hex 1mm to remove screws !!
now that you have all the parts just reassemble the parts in the same order , job done
-
 1
1
-
-
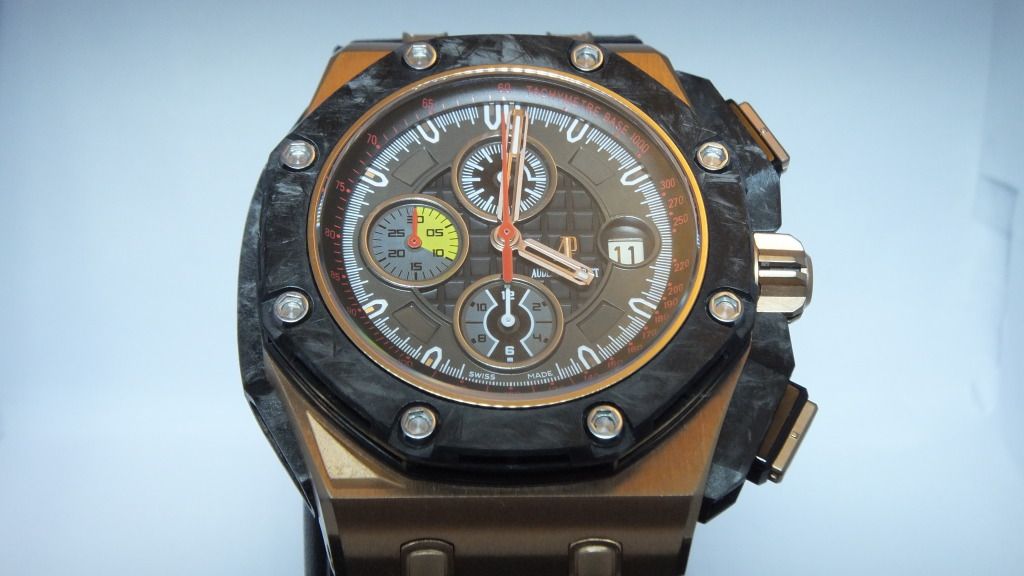
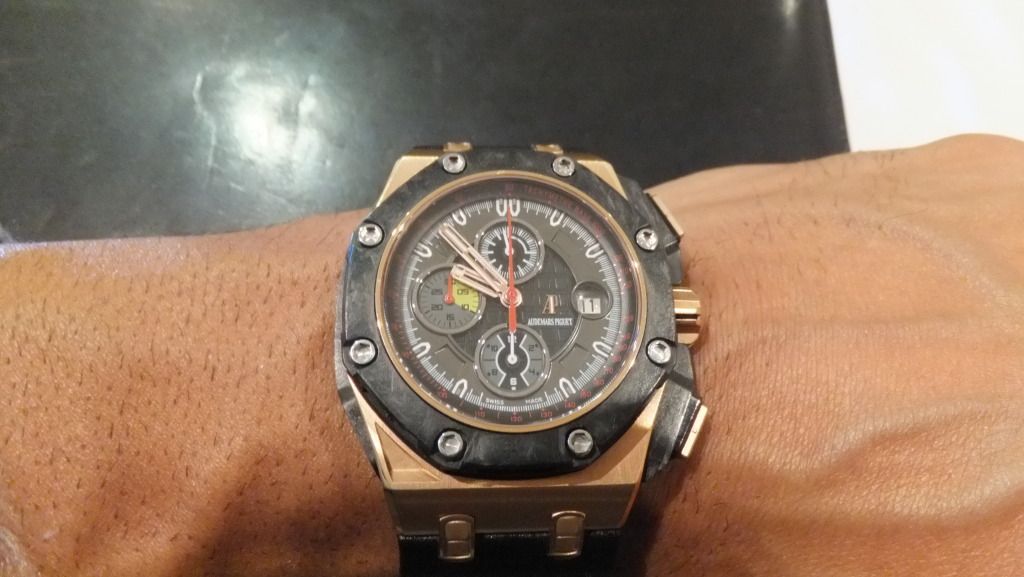
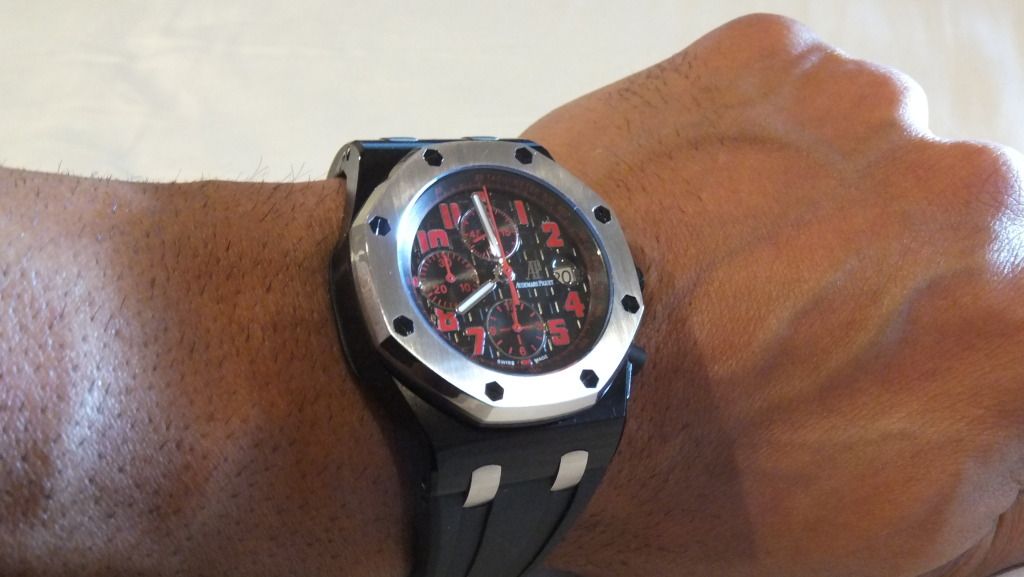
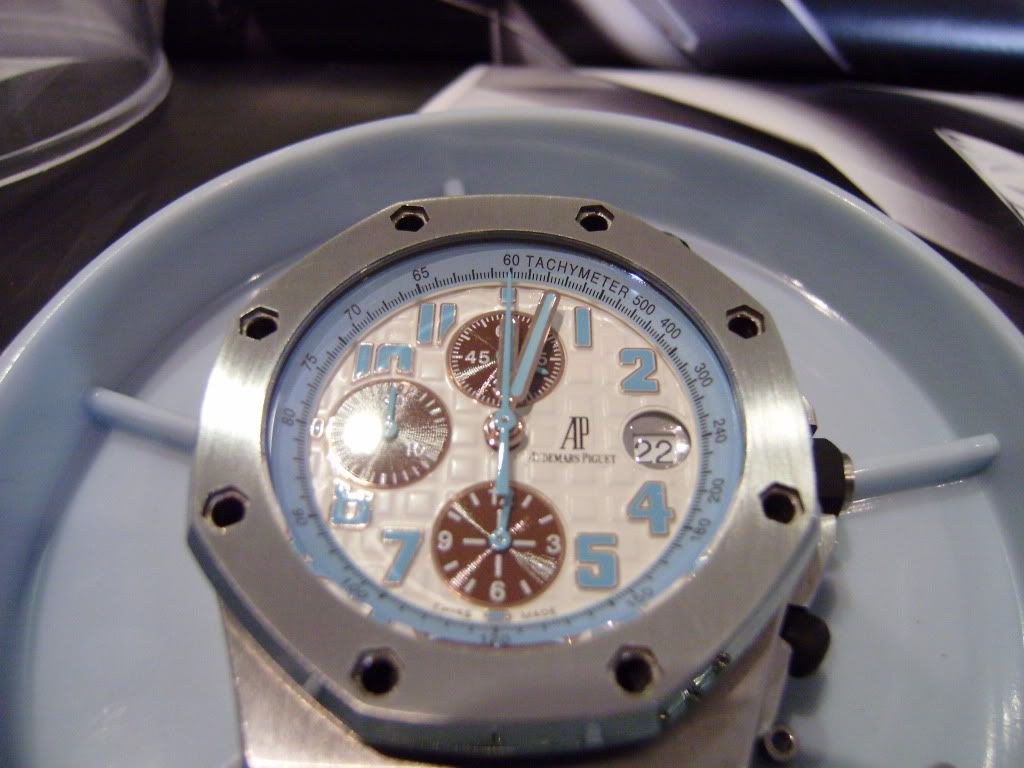
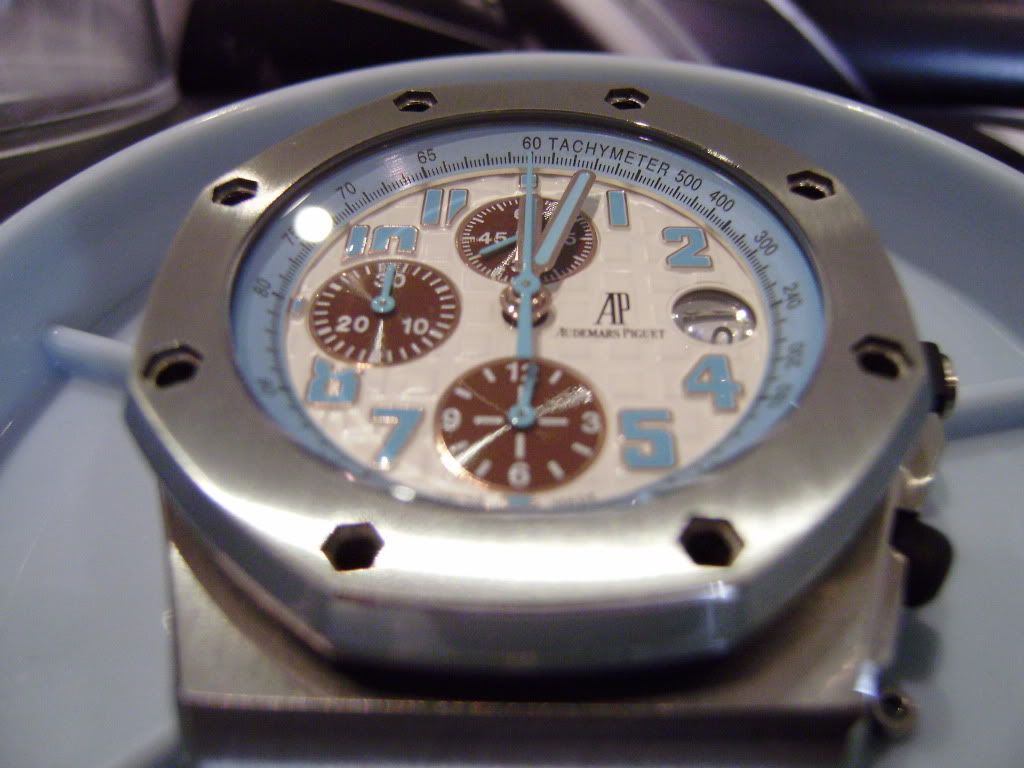
Its been a long agonising week ,as my gp carbon parts arrived last Sunday 1st but been stuck in customs as the thieving so and so wanted money finally just arrives today on 11th .
and the 3 day express shipping did not relay its part , that was a waste of money !!
I first i have to say thanks to Imaknockov who has been very very helpful, second to none service as i place the order and paid it was sent out same day and tracking number sent before i could even ask for it .. hats off a great service!!
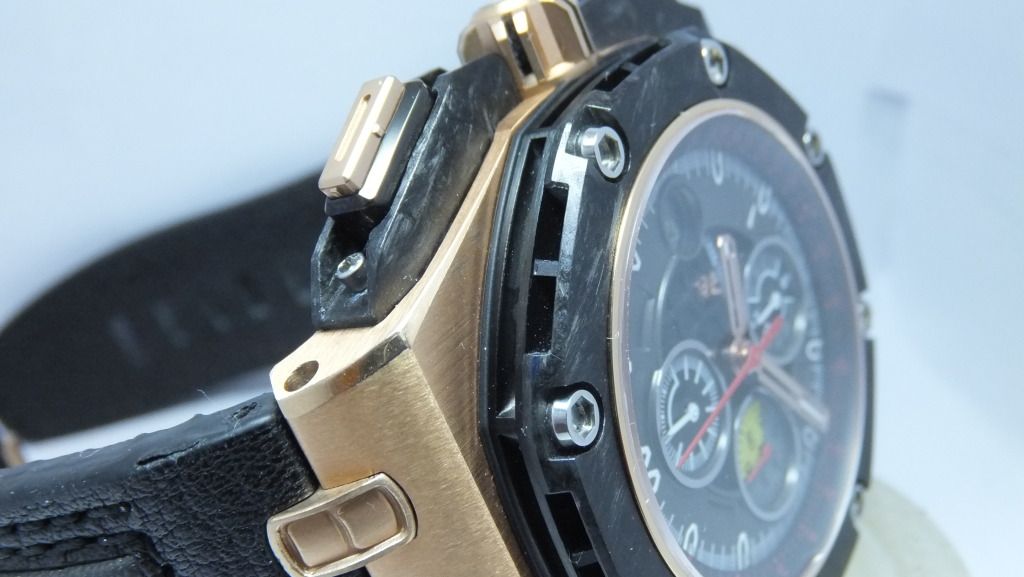
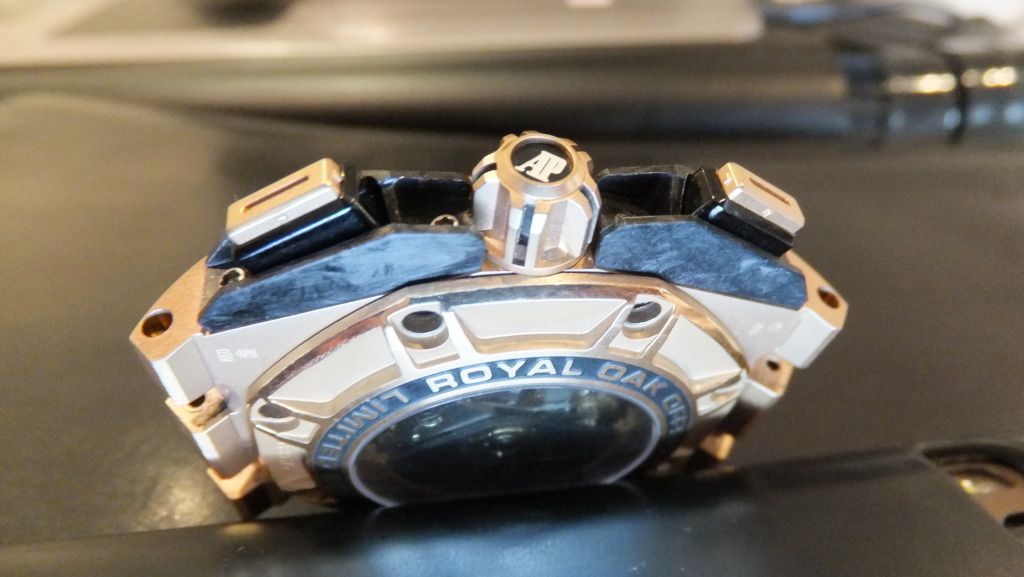
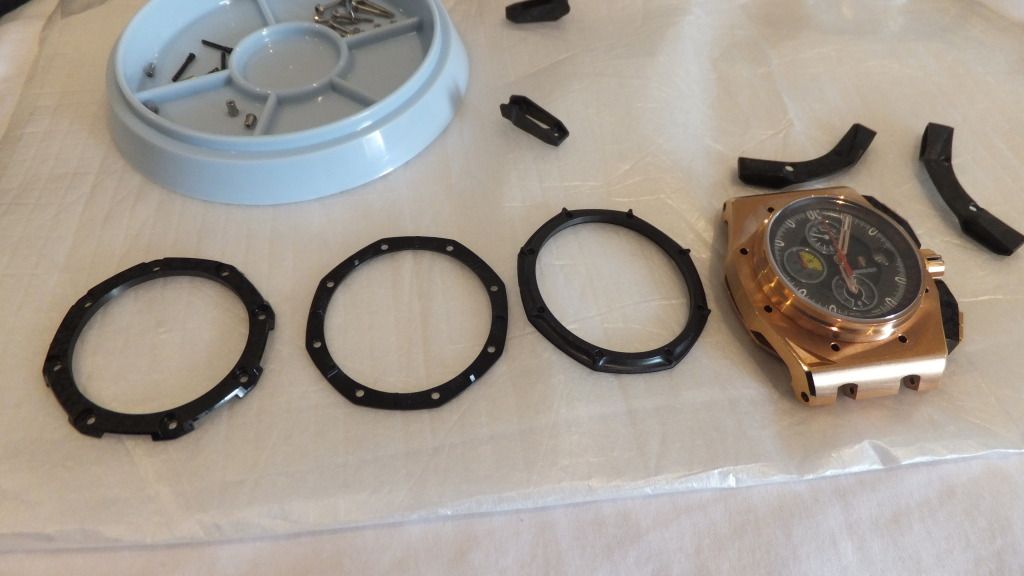
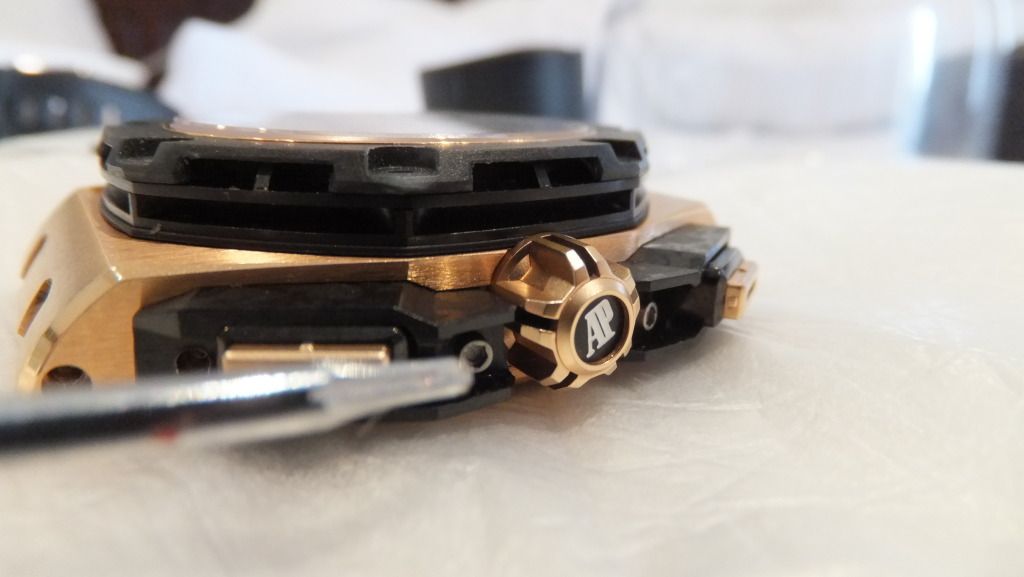
right now moving on to the important part the parts and the quality of the finish and fitting
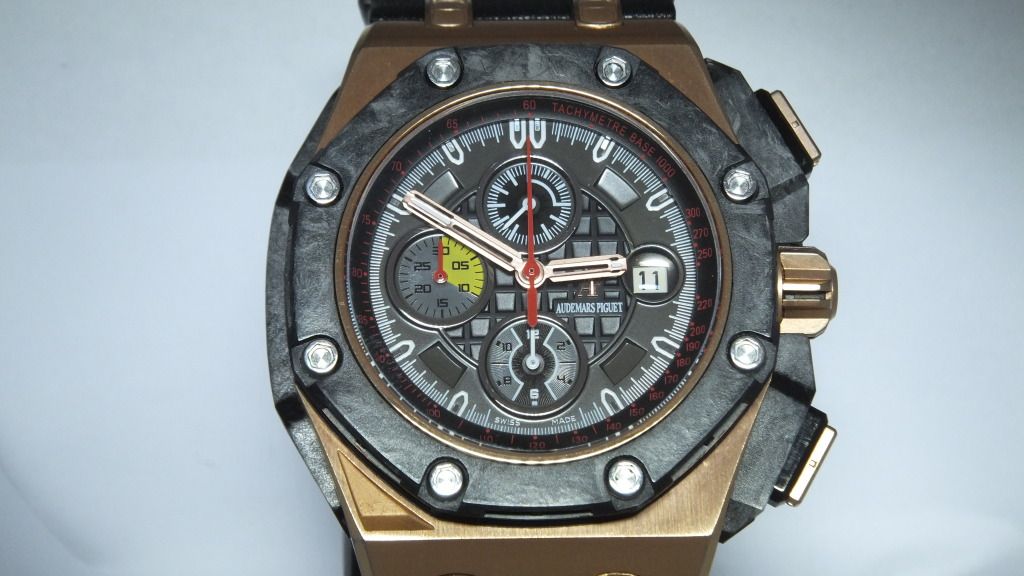
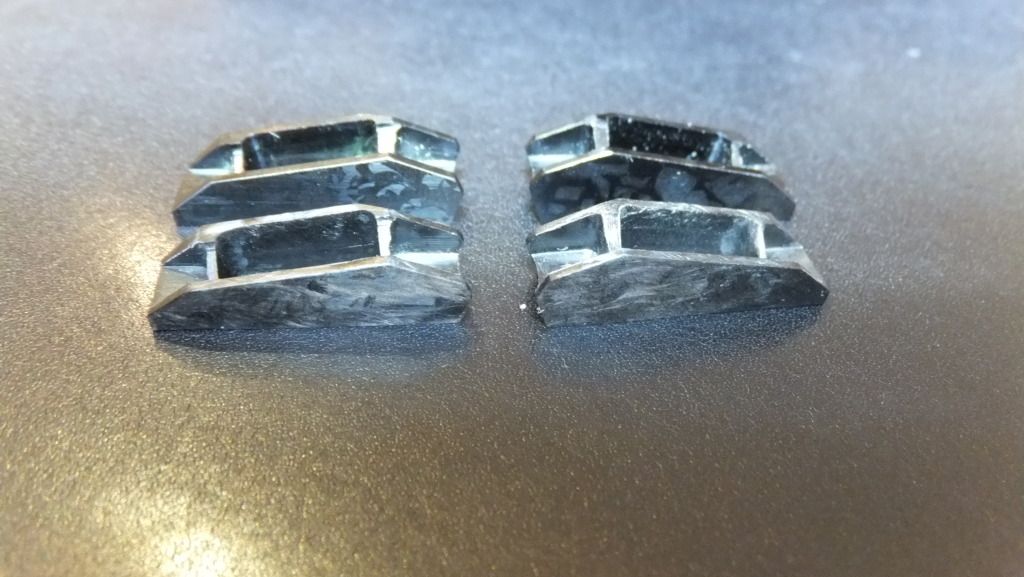
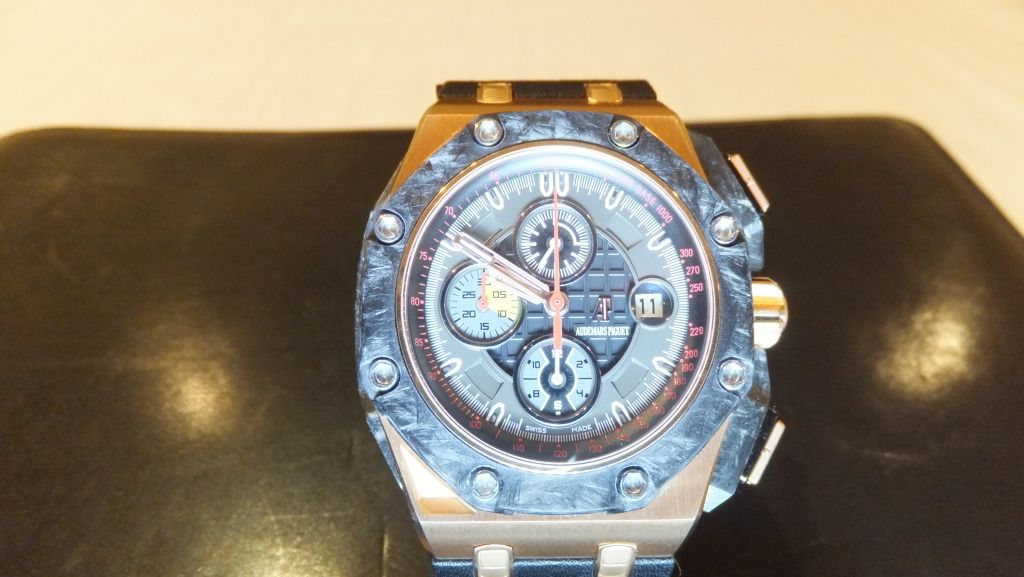
I. quality
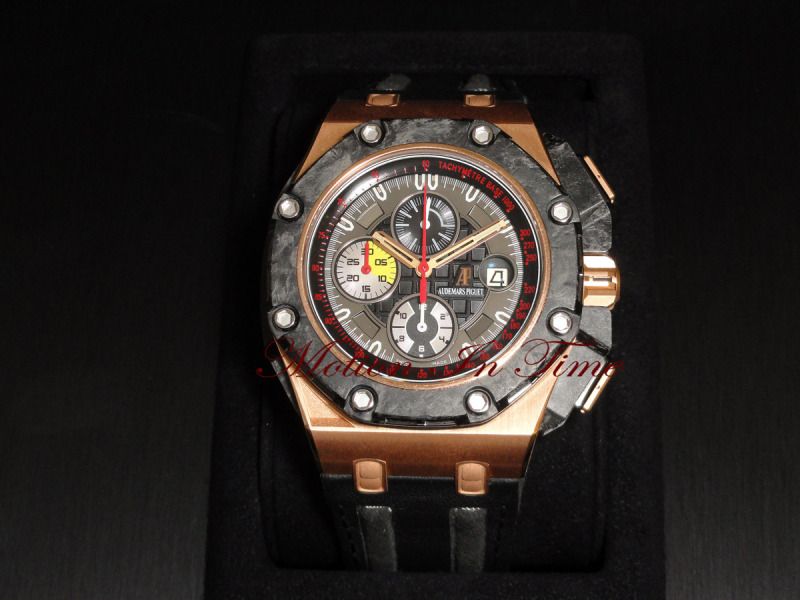
its very much on par to the OEM carbon parts !very much capture the OEM look
2. finishing
the finish is 2nd to none all the parts have been done to a very high standard as you would expect , from any professional
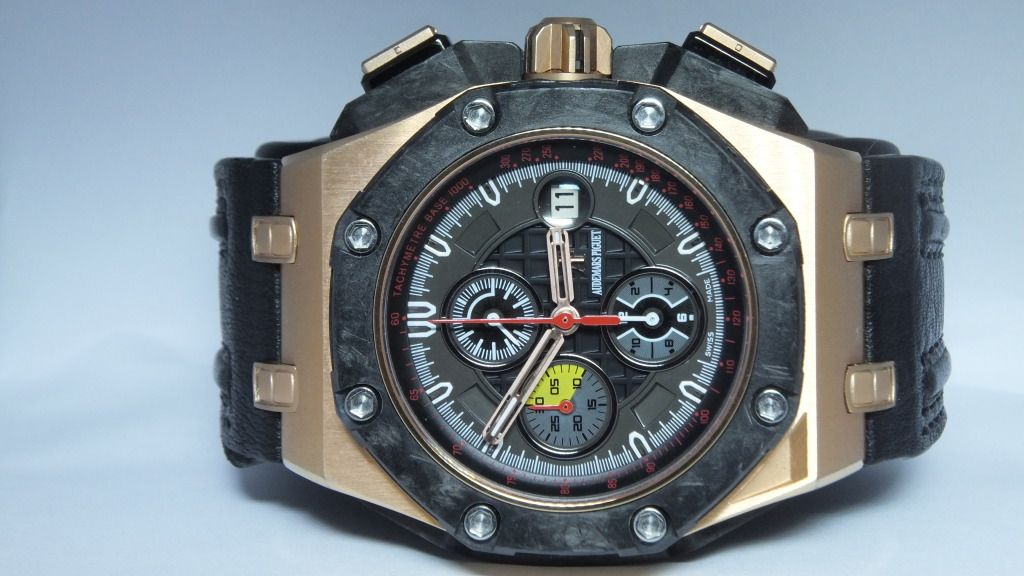
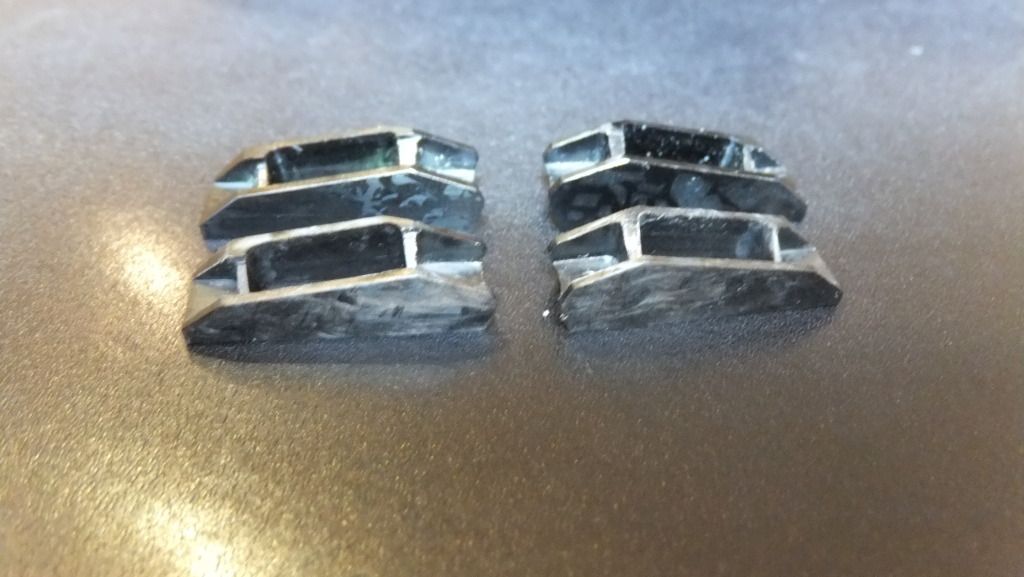
3.fitting
all i can say they fit pretty much perfectly just slight alignment on the parts when placing the screws back and fits beautifully
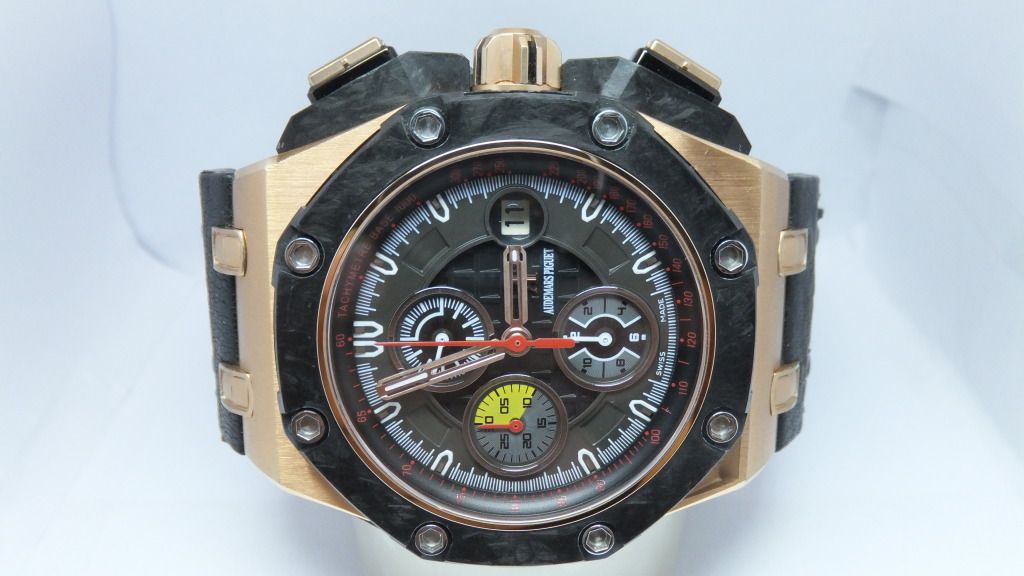
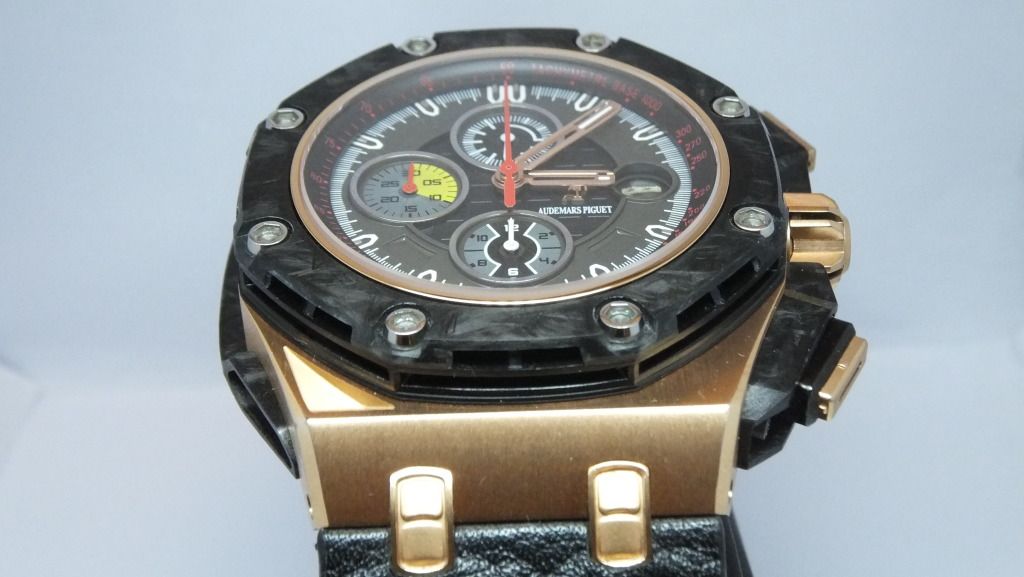
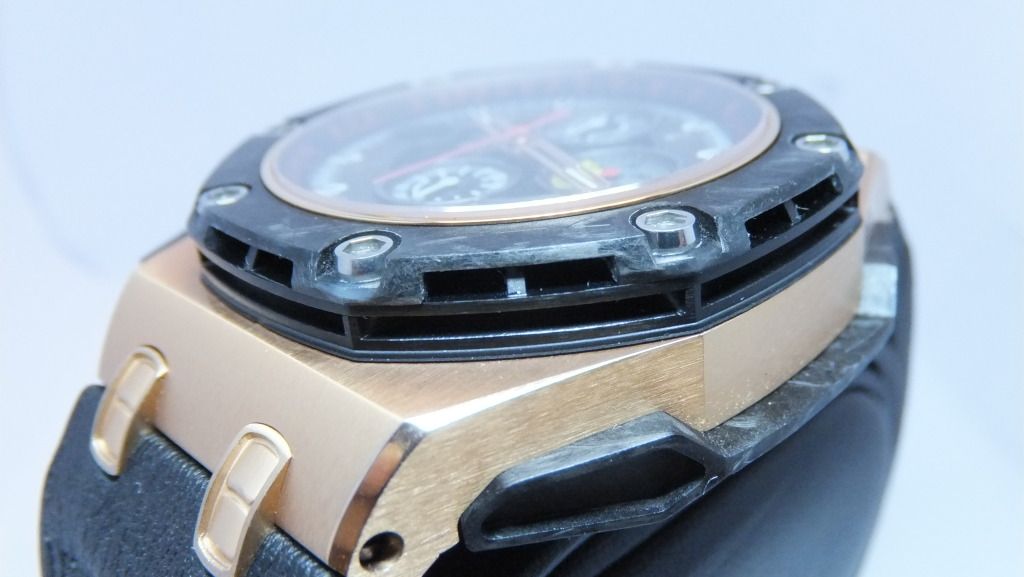
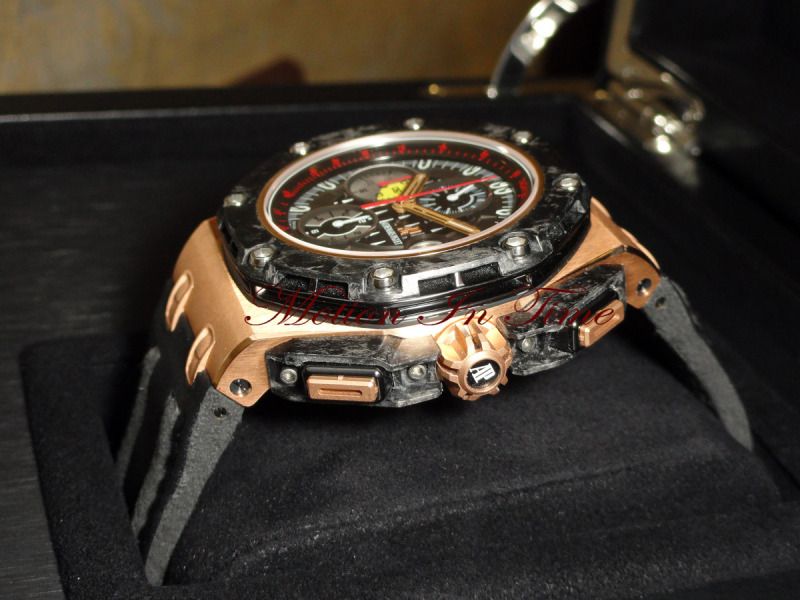
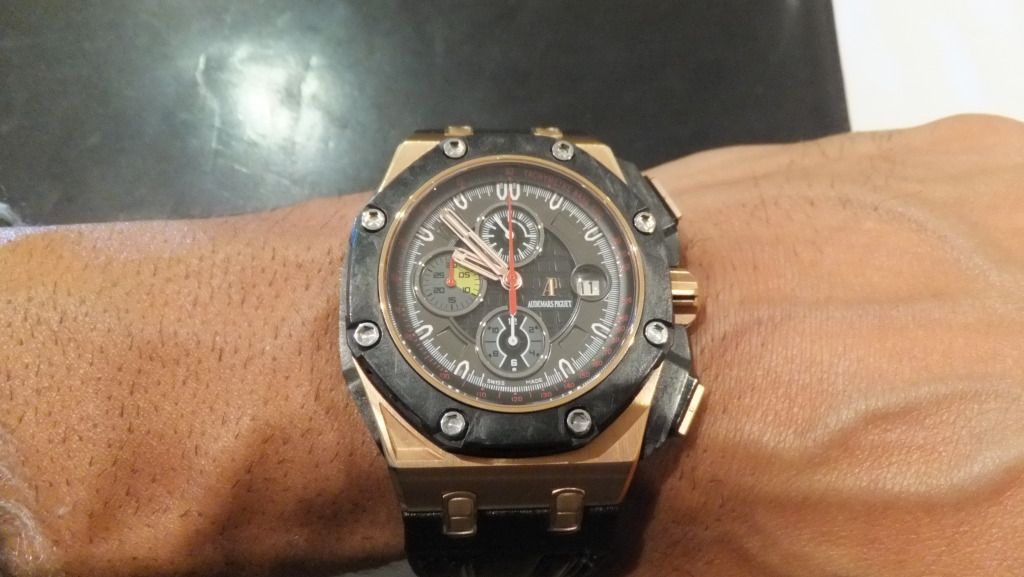
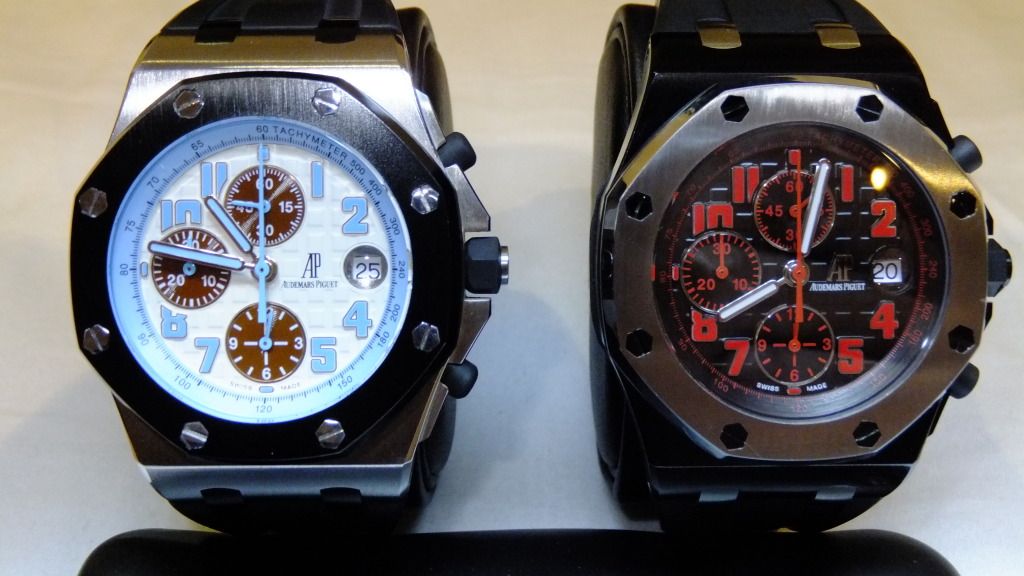
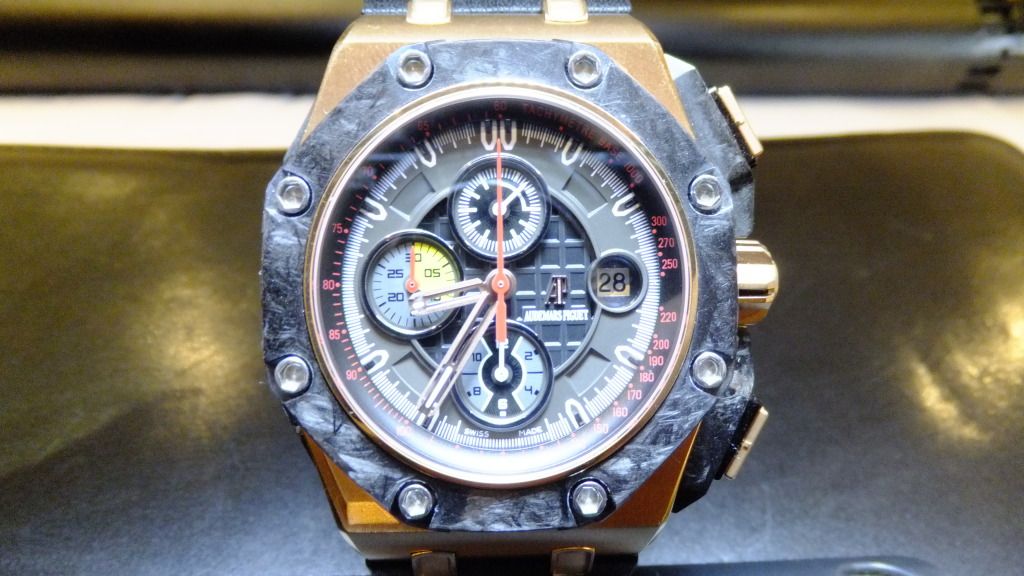
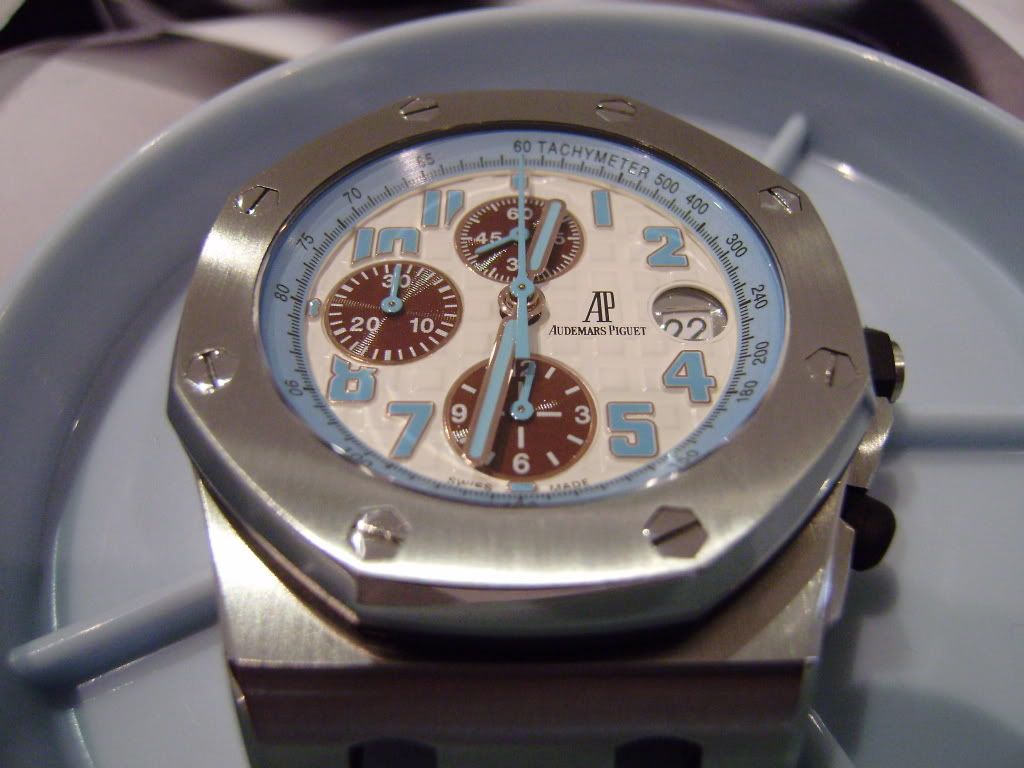
4 . overall look
now it really does look very very close to the gen !!million miles from the fake carbon
parts !
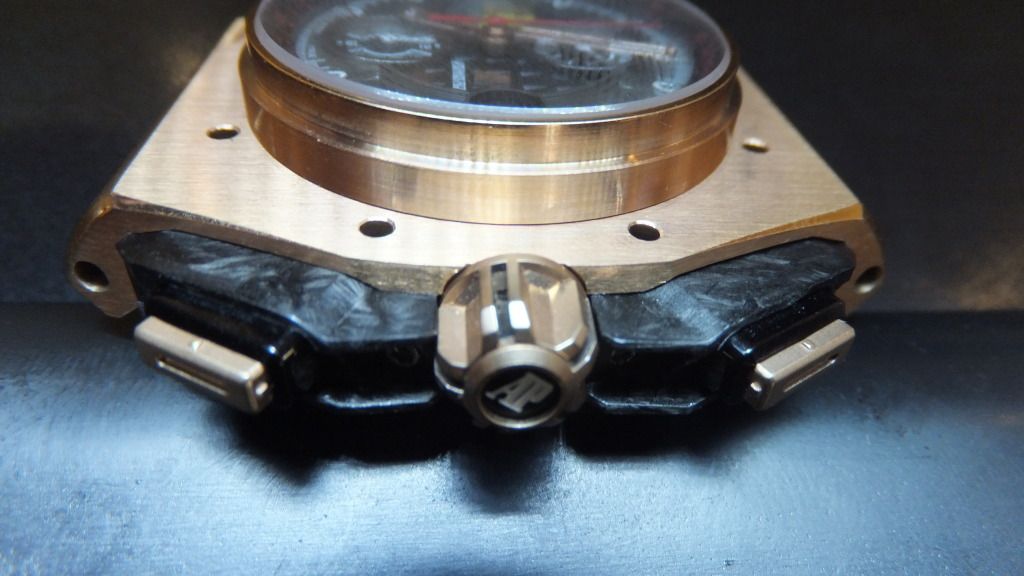
5.final verdict
im very happy with the overall look and feel of the carbon and quality and fitting so much better then the fake carbon look its just worlds apart . bravo for you excellent work 10 out 10 !!

-
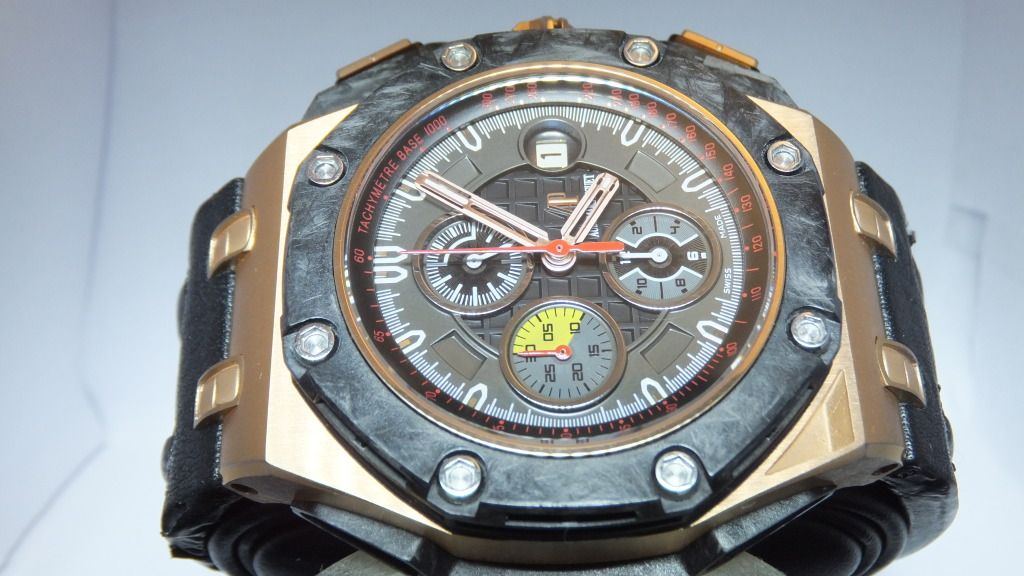
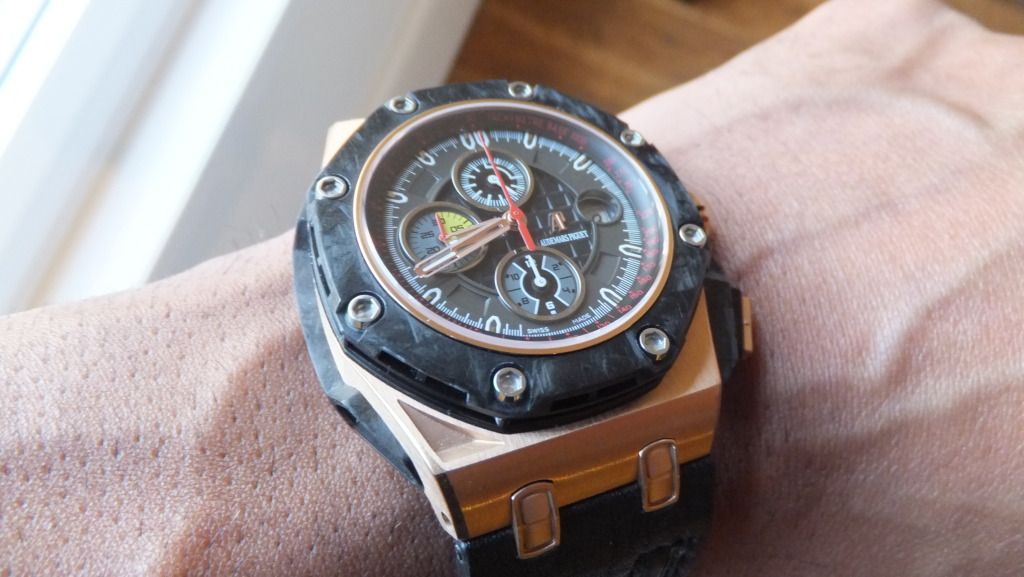
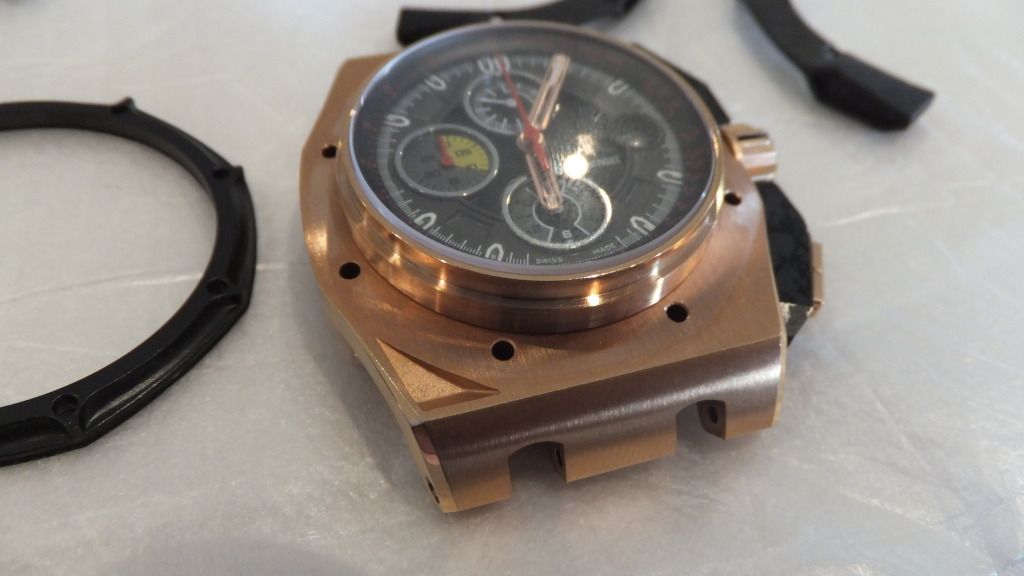
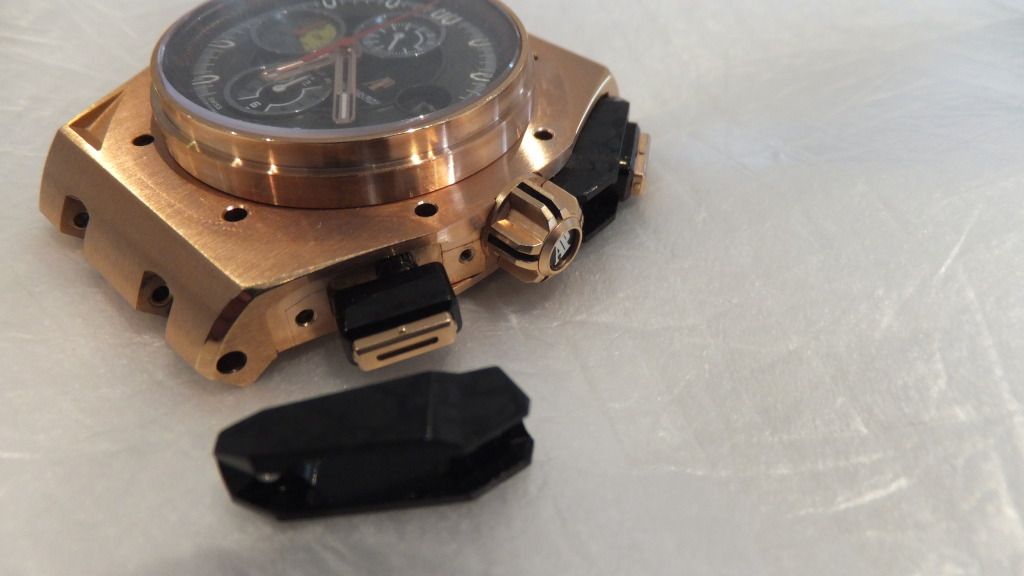
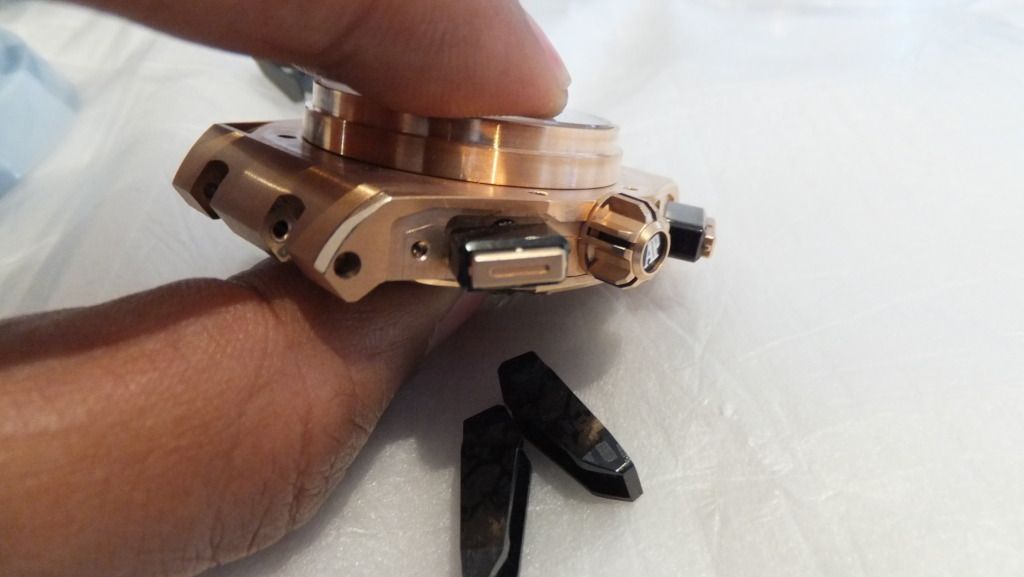
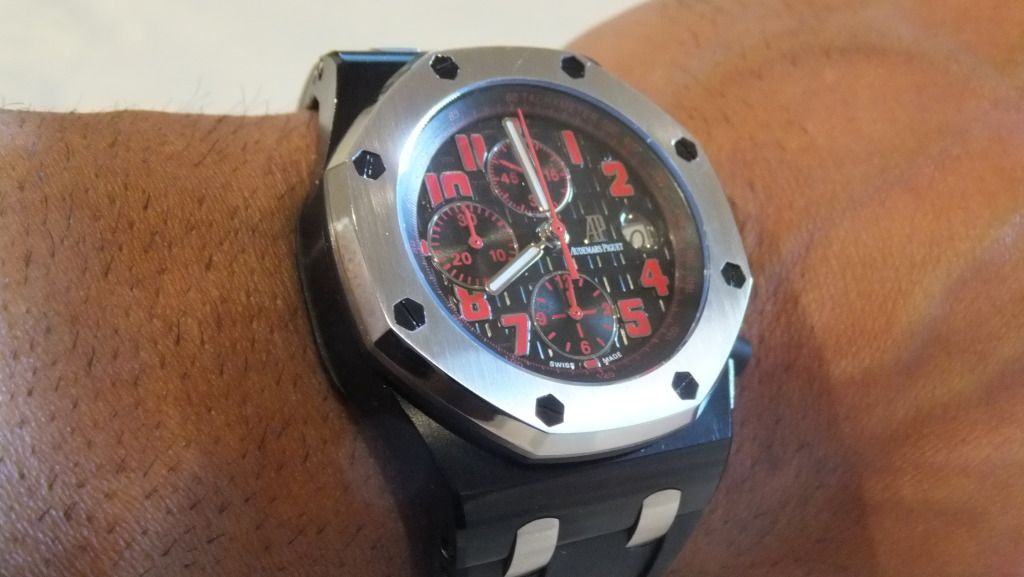
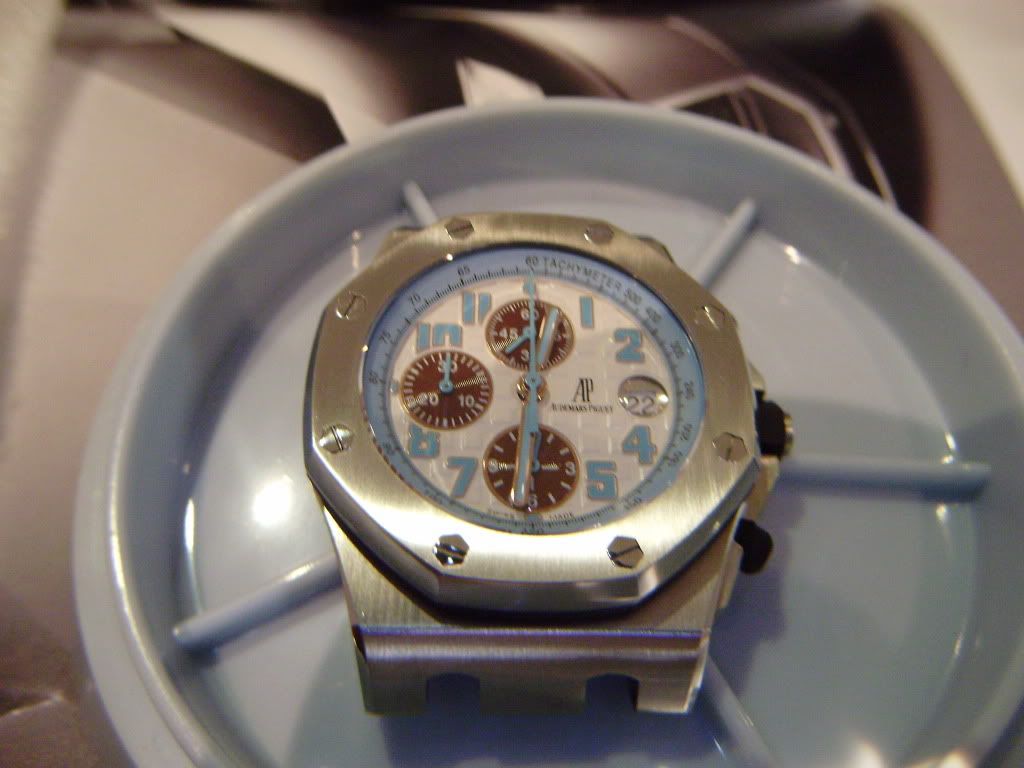
here a few tease pics will to a full review later

-
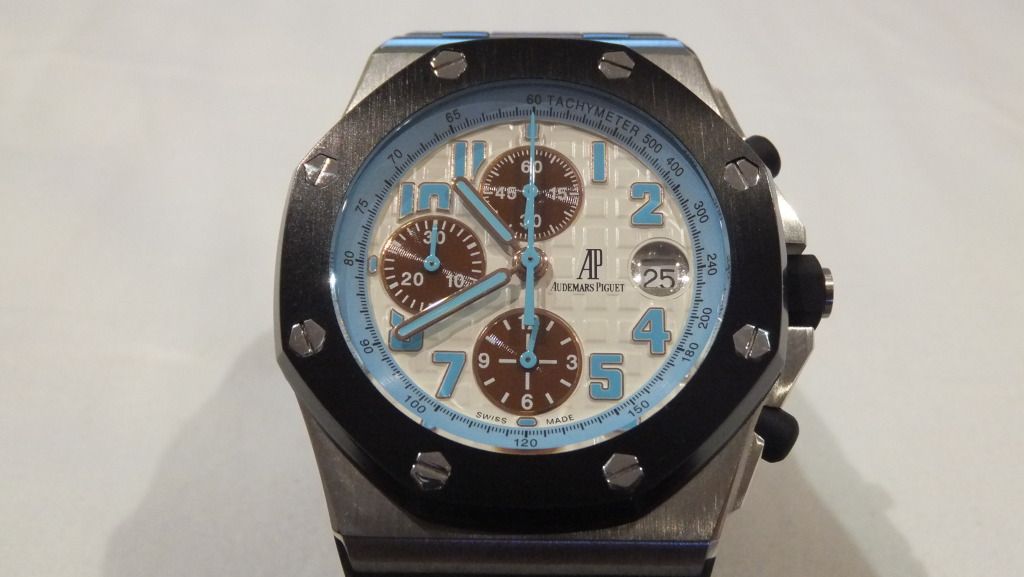
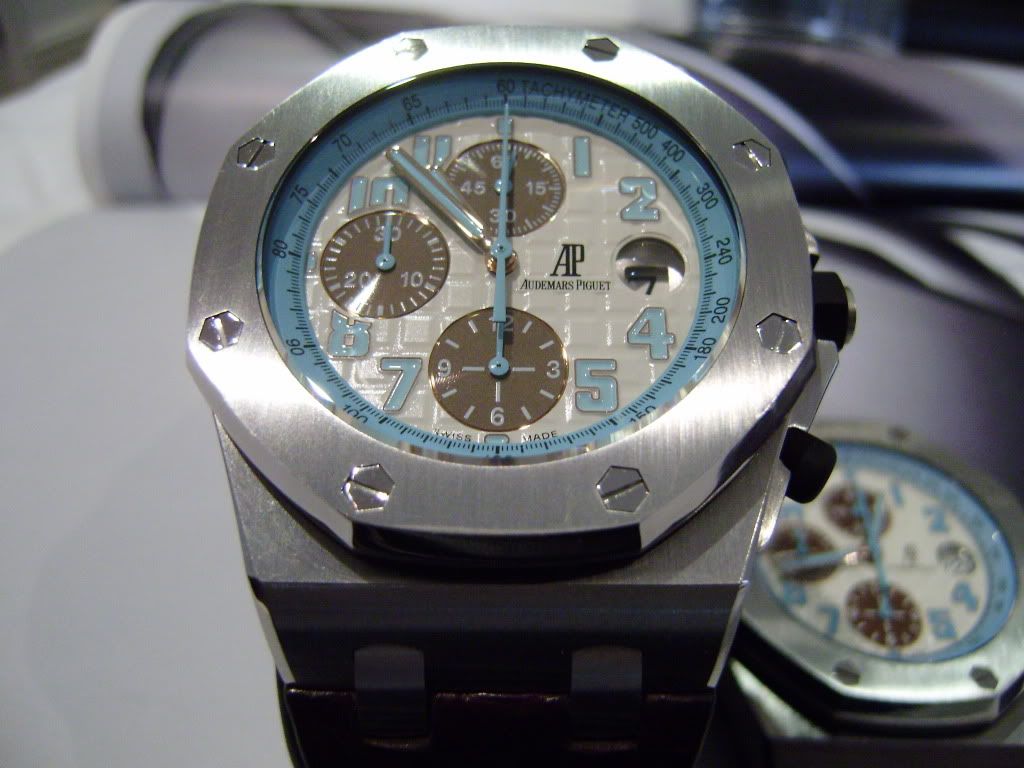
how about this combo ?
-
thanks .... any thought maybe diff colour combo ?
-
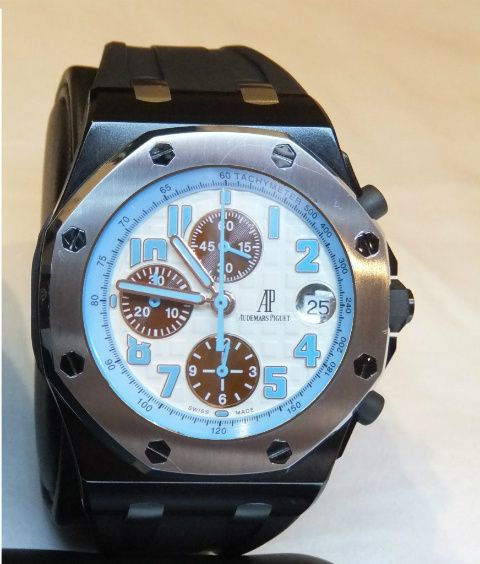
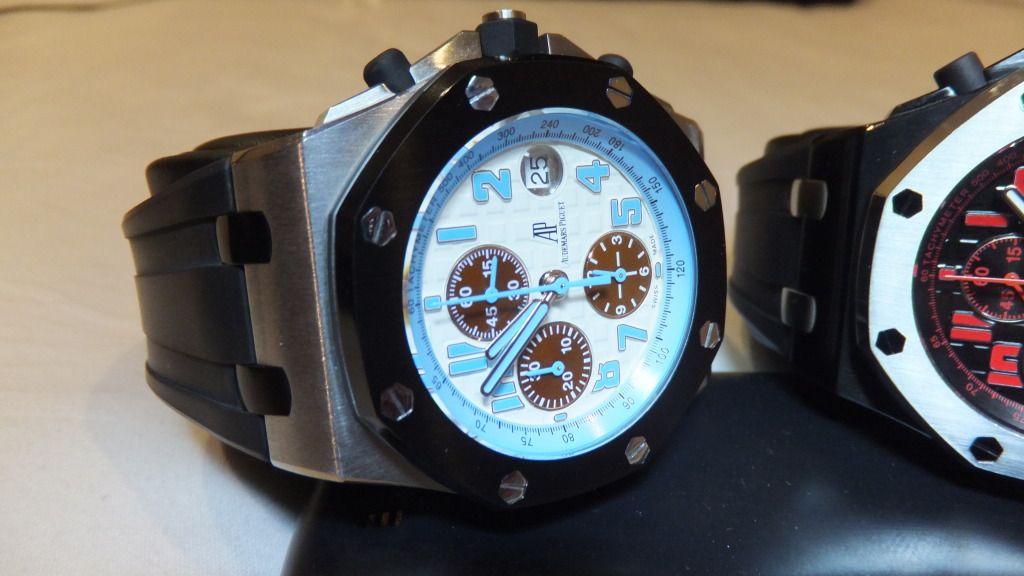
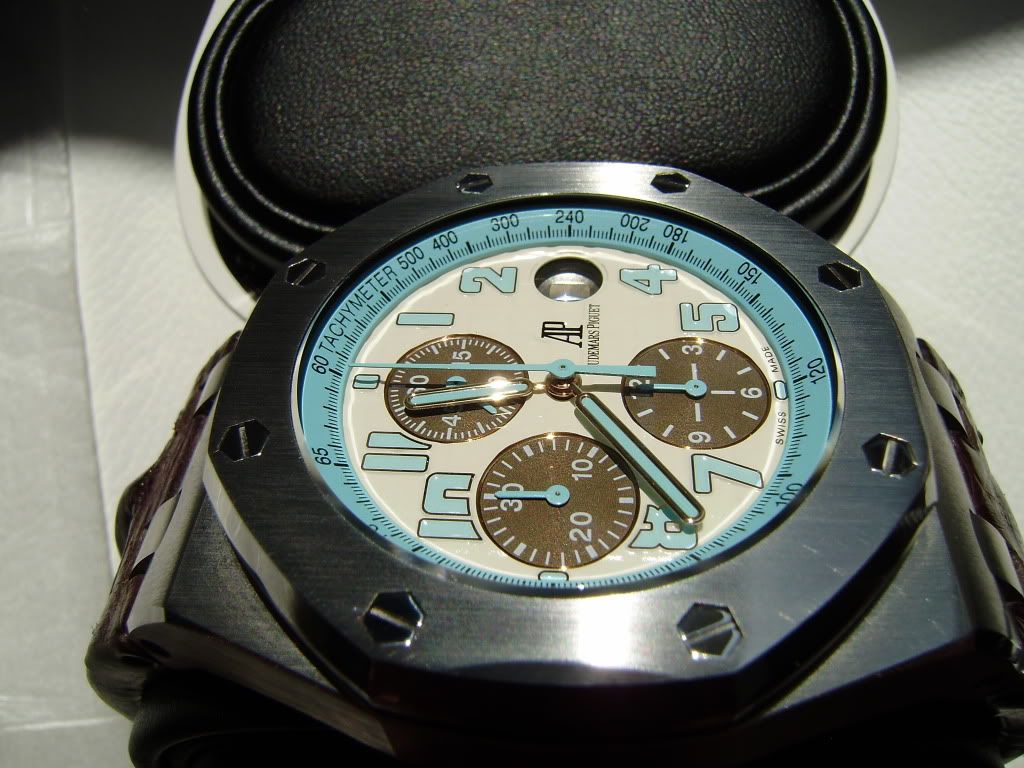
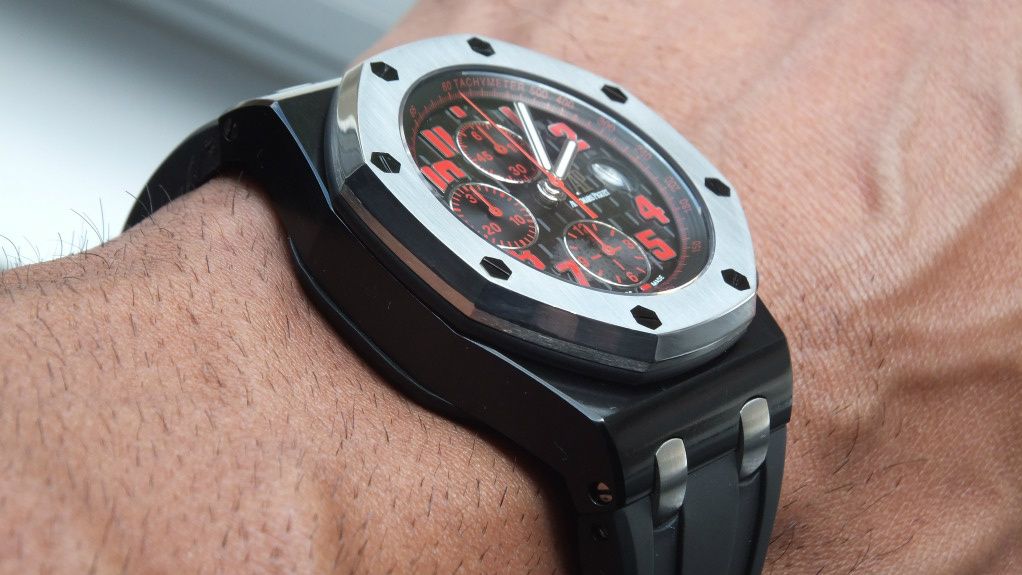
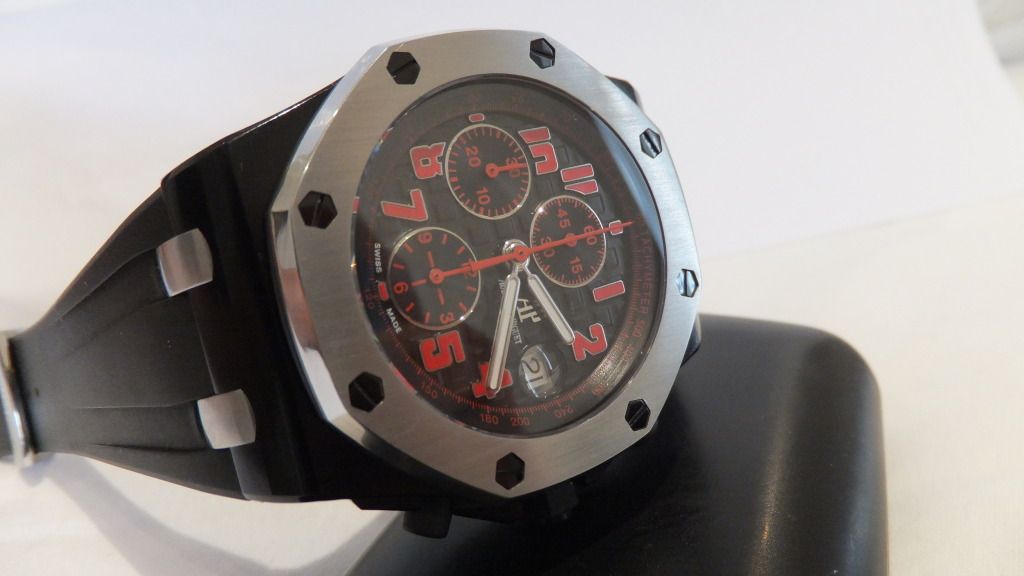
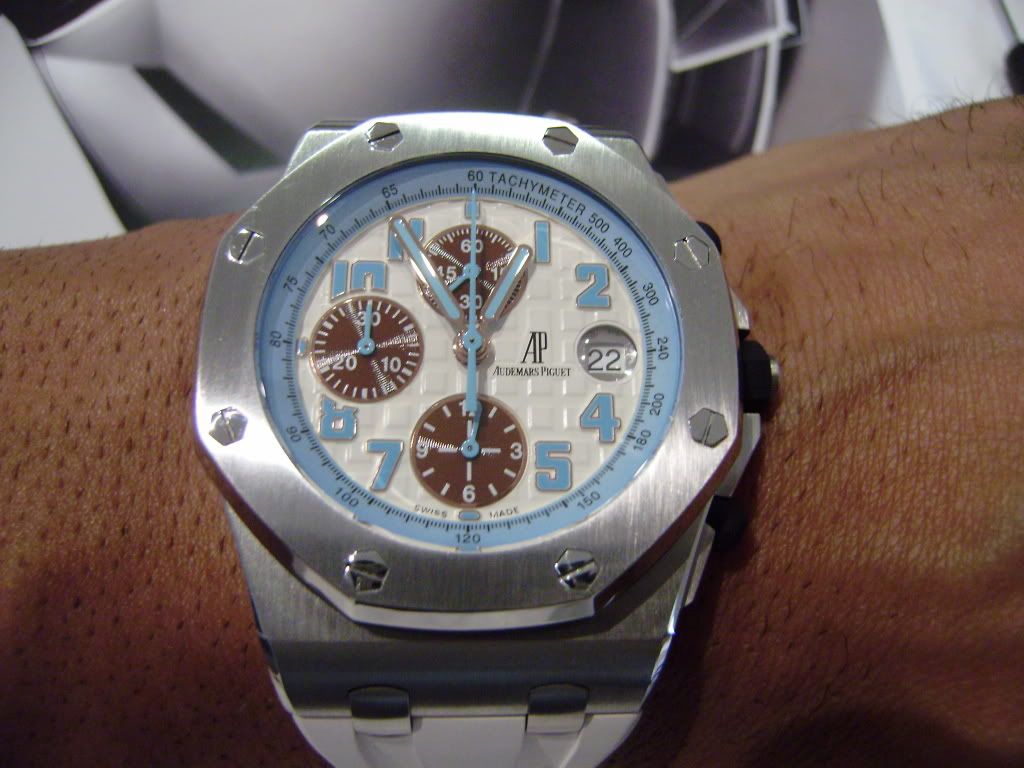
was totally bored this evening so i thought id have a mess around we few of my ap's and this is what happened ...im totally love the las-Vegas now .. never really wore it much but not im going to be rocking that like a crack hoe lol ... as for the Montauk highway as i have 3 i thought id make it totally different and i really think it came out rocking ... what you think ?

-
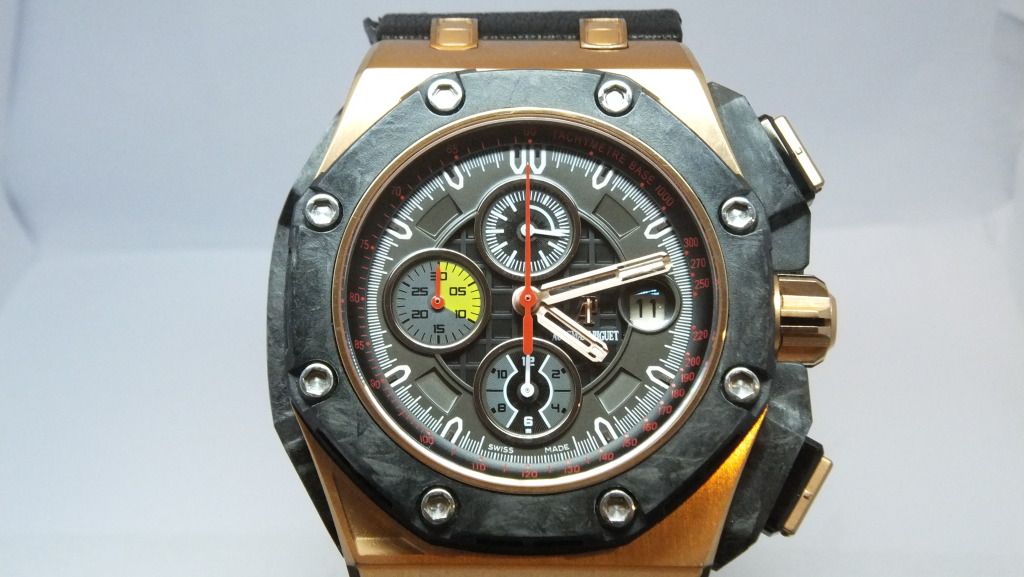
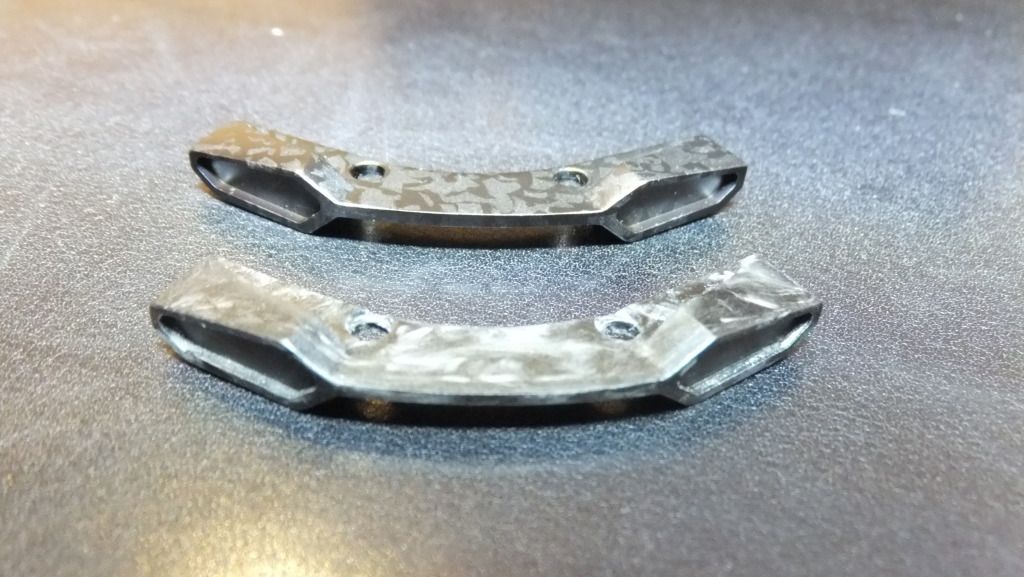
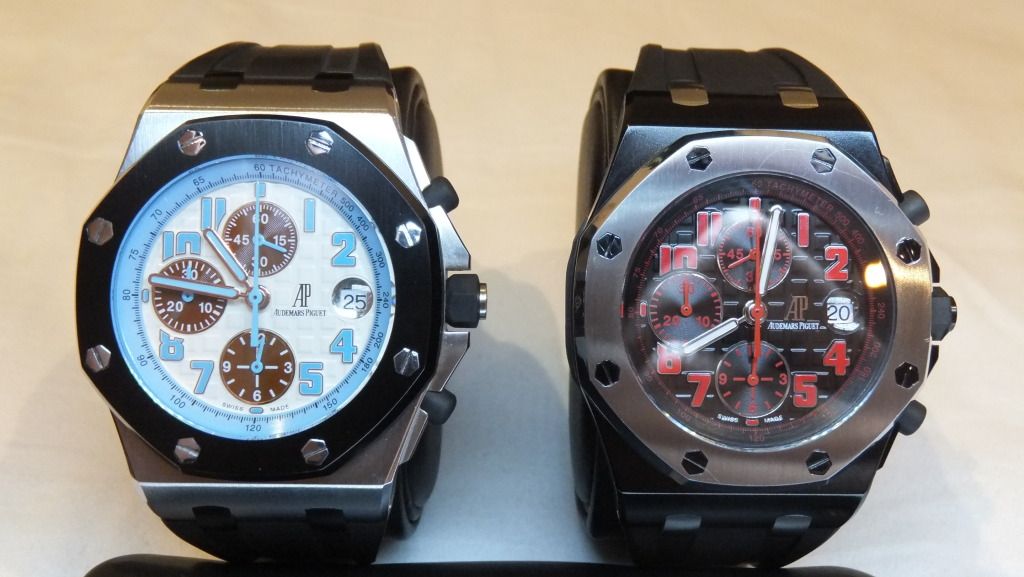
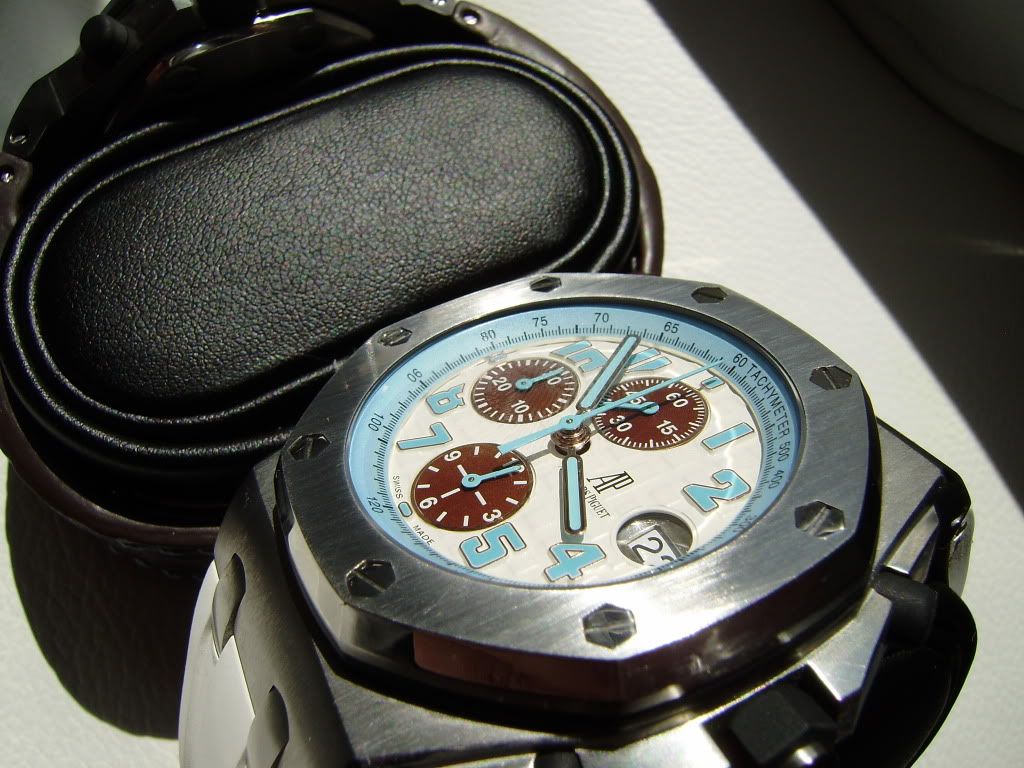
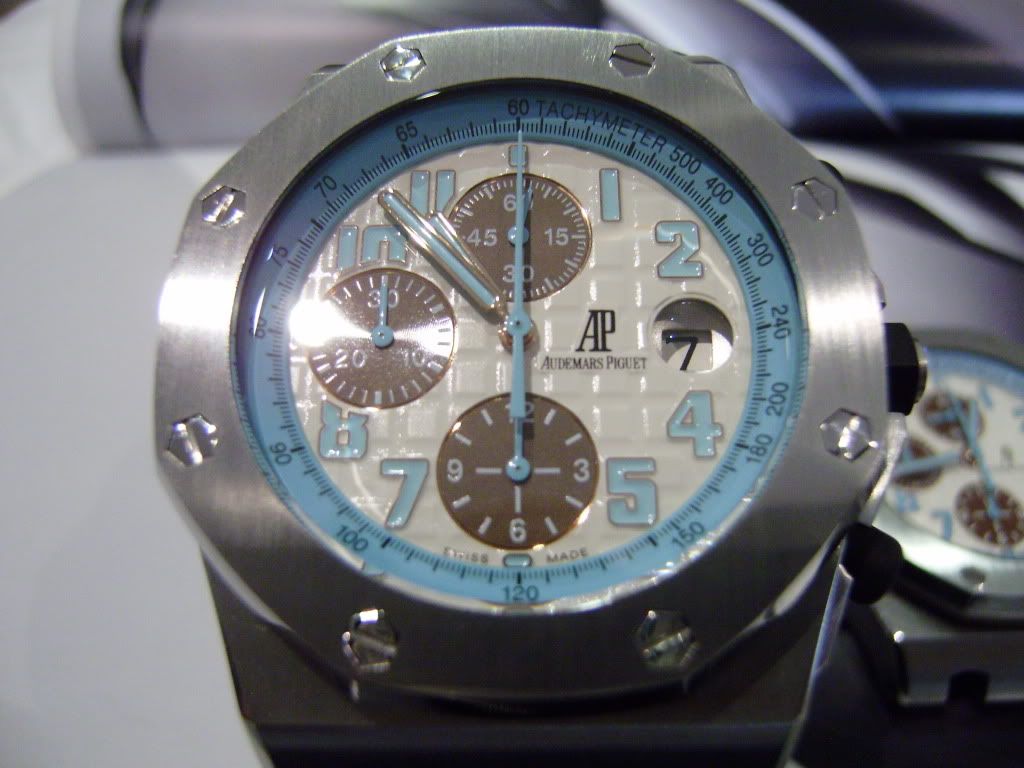
some day light shots
gen
rep
-
hey rav thanks again .. if i never got the cover and crystal press i would not have bothered doing the job !! yes was feeling brave that afternoon for sure lol
and also if your bezel need refurbishment i can do the job now !!
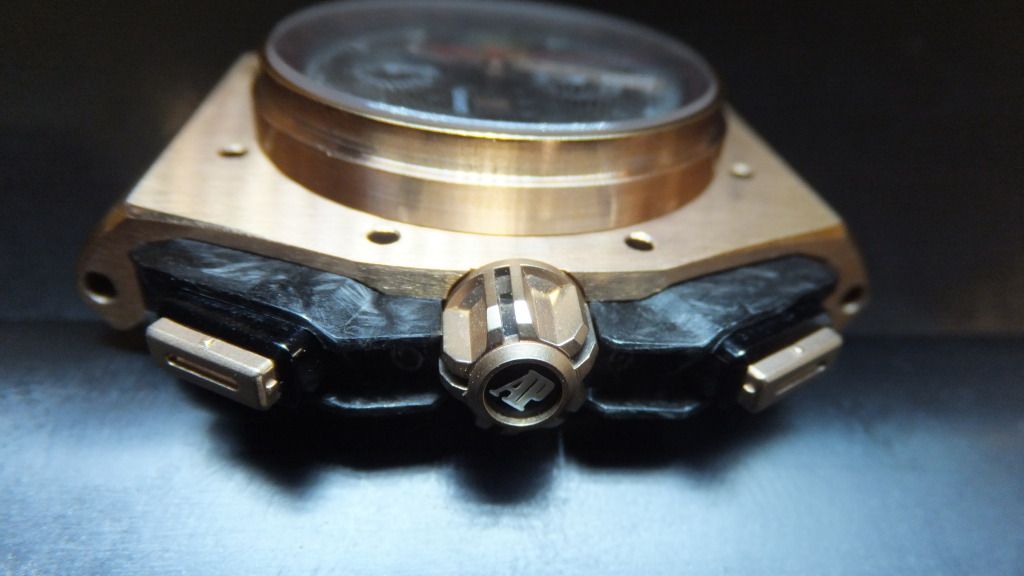
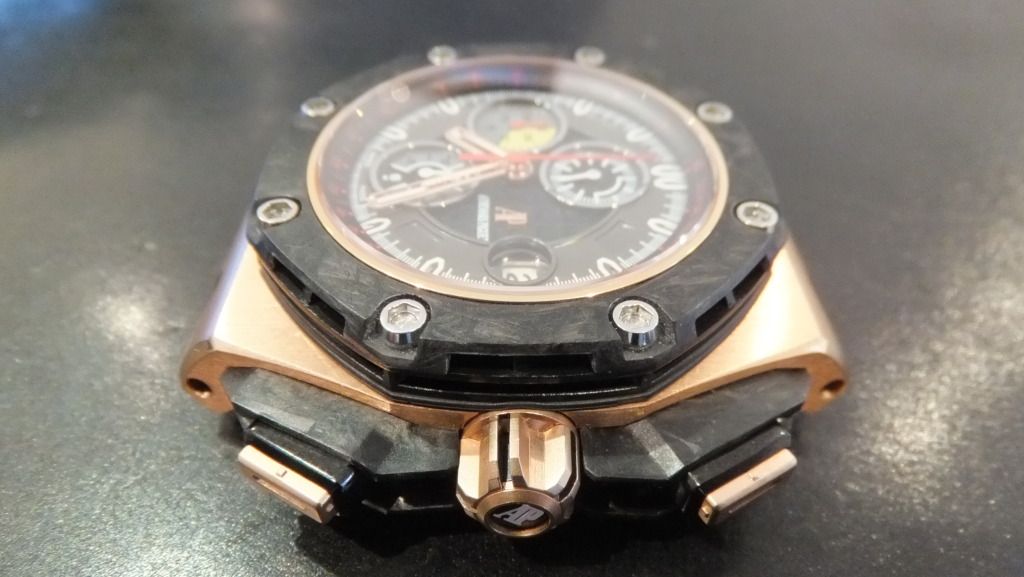
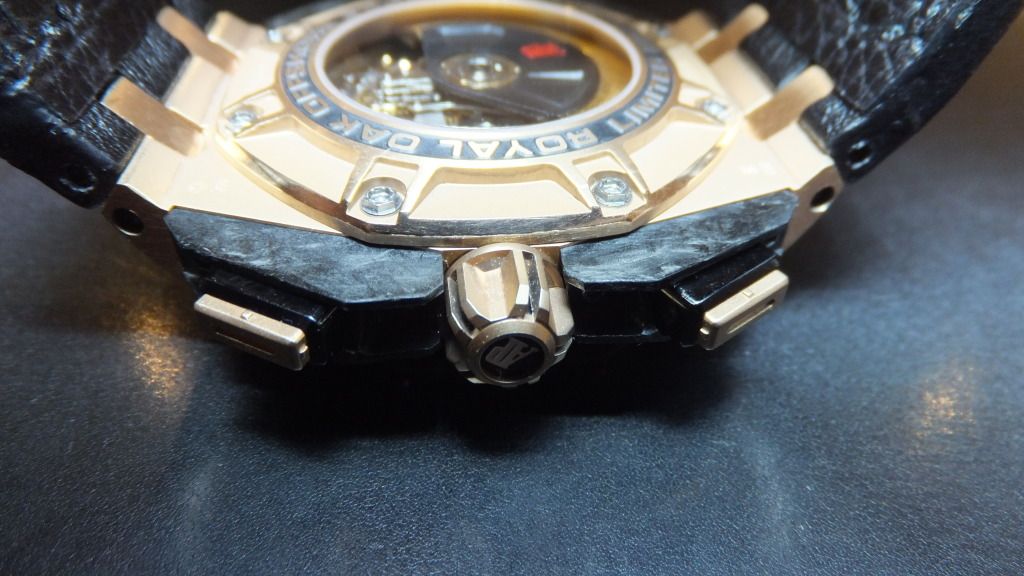
oh forgot to mention also re-polished the bezel side and all front hex screws and back screws with dremel polish pad and cutting compound
cheers rav catch up soon !
-
thank you ...
-
-
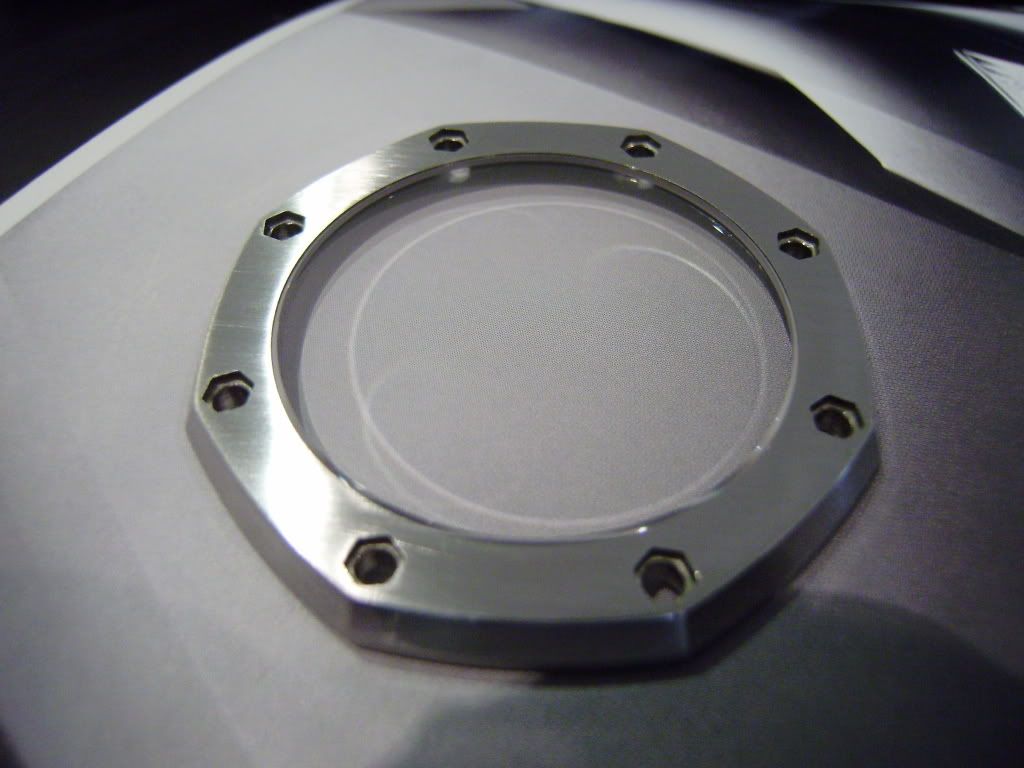
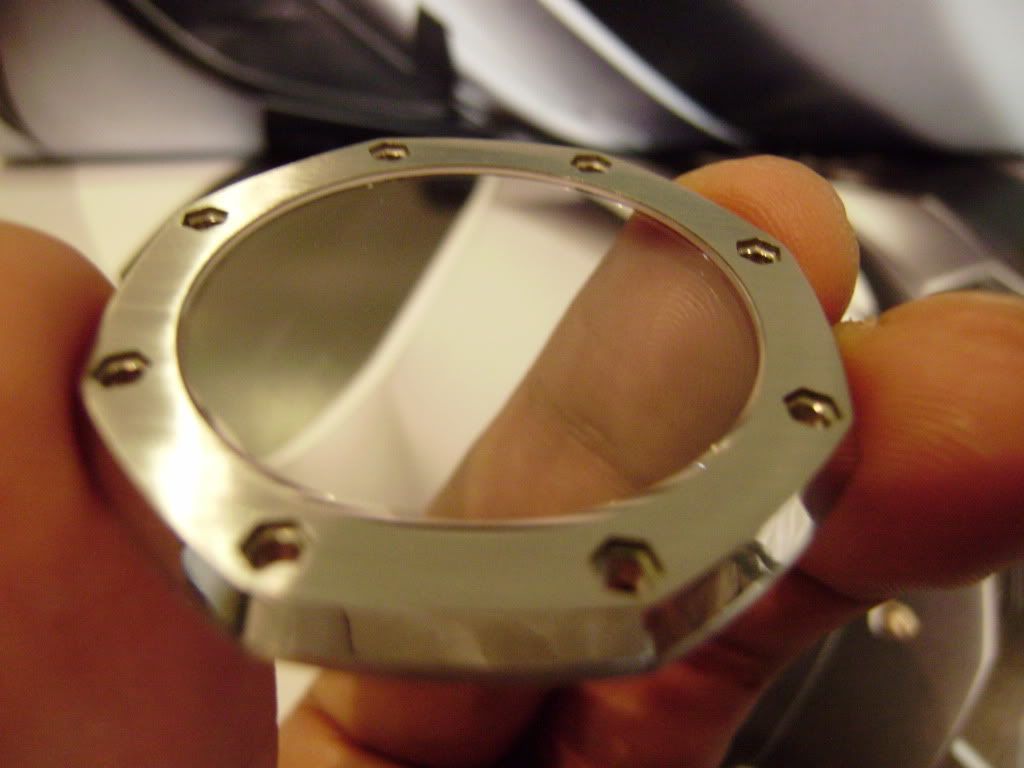
thought id make a small thread about my afternoons work , its been bugging me for ages few hairline marks on my gen and rep bezel ,so i started with my rep first to see how well it would turn out , as ive never done any kinda work on my watches apart from the usual scotch pad touch ups , so i thought id go for the full Monty .ordered all the stuff i need for the job crystal press, and opted for the finner wet and dry paper
started with 600 grit and finished it off with 1000 grit also using some wd40 on the paper .. it came out perfectly im very happy with my results ive amazed my self and at the same time done the pusher changes as well
not bad for my first mods ... and also i was brave enough to refurb my gen bezel but was a little more careful when taking it apart ,and bingo also come out perfectly , i think that i just saved my self £400+ from ap for doing that same job ,which can go towards a new rep and was a satisfying feeling once completed and back together in my watch box..all in all its been a pleasant afternoons work ,
just like to thank (mike00 for doing the refurb bezel thread which inspired me to do my own and also buddalondon for my watch dust cover which help out in the process)
ap bezel refurbishment (gen and rep)
-
sorry for the late report back on the rep friendly watch smith
id like to report had the watch back in a1 condition and running perfectly im very happy with the service and communication which was almost daily and also opted for the water proofing as well .. from my experience i would be using the watch smith with all my watch from now on as its less risk sending it over sea and losing the watch plus its been a real fast turn around !!oh the watch i had serviced was ap sec@12 and its running perfectly .. now !! im very happy with the service
-
I purchased it on-line from a watch parts supplier in Australia would you like the details ?
regards
Mr z
-
im pretty sure toro can help you ... pm him !!!
-
and finally the lum shot

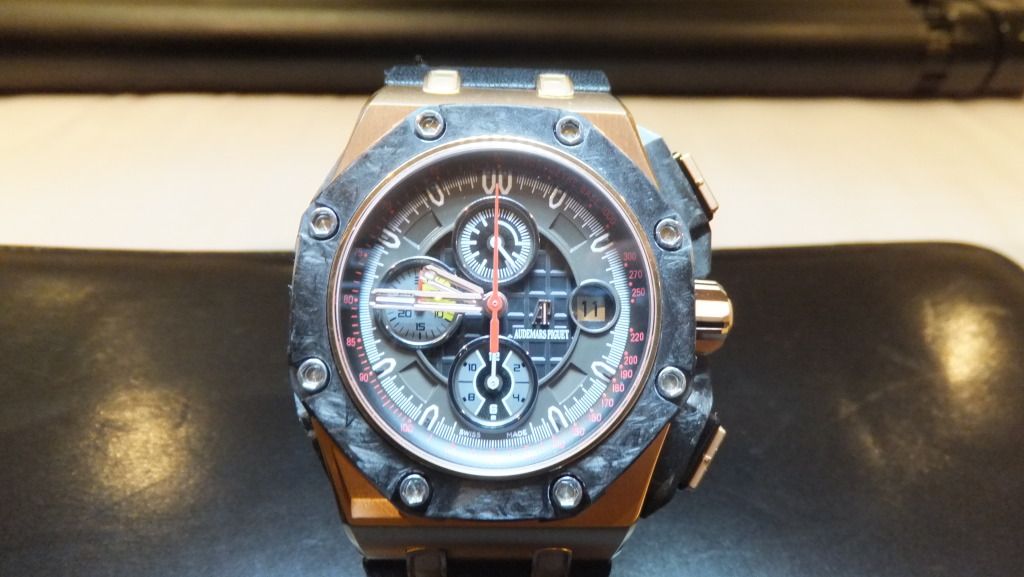
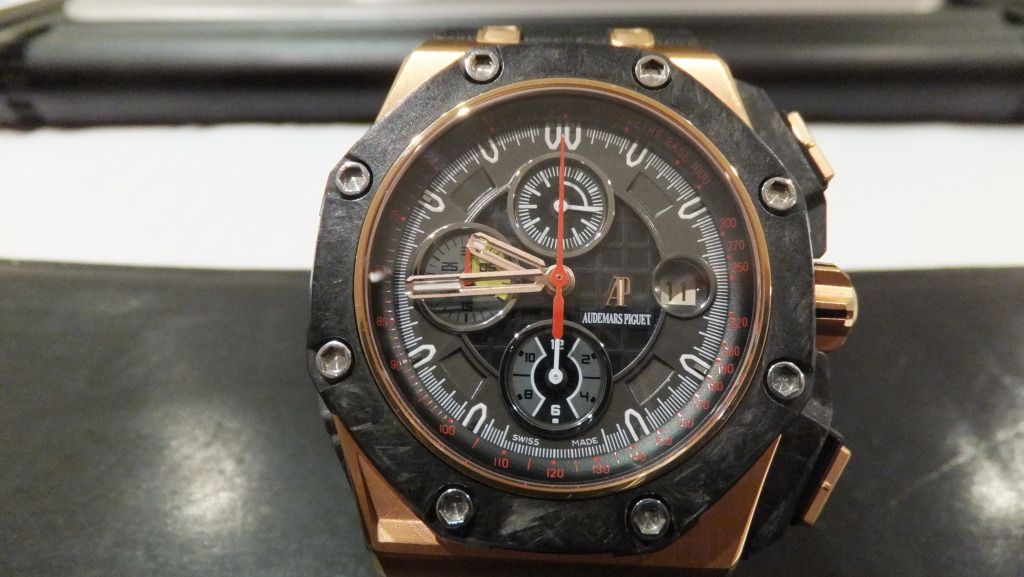
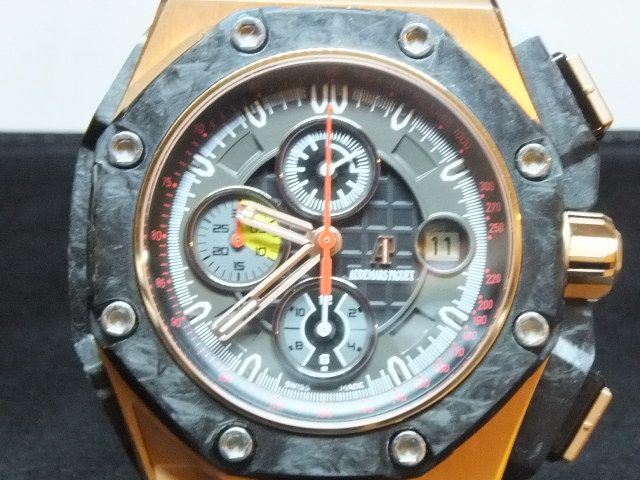
finally my forged carbon parts have arrived (ap gp rg)
in The Audemars Piguet Area
Posted
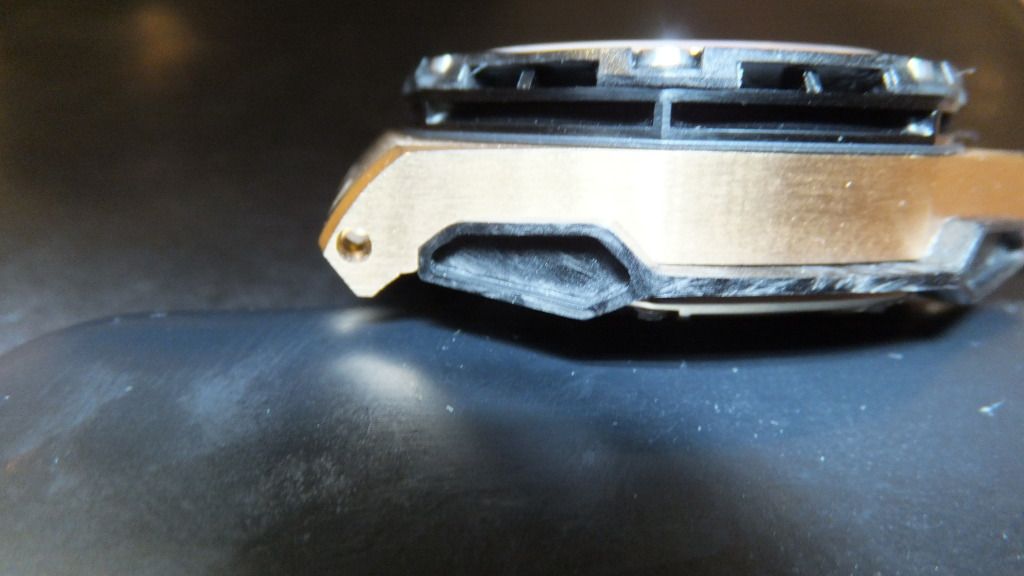
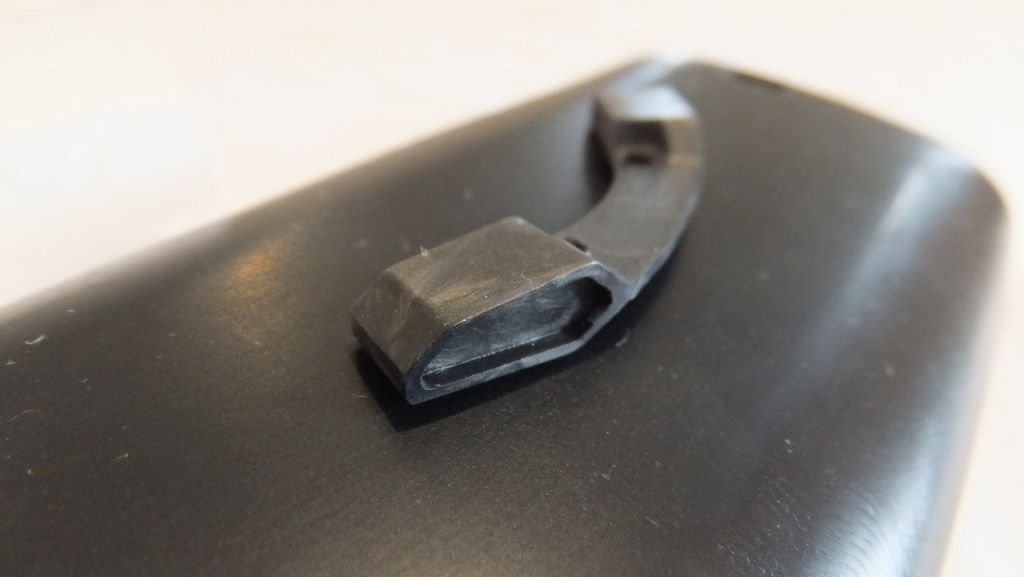
just a quick update .. for anyone that is putting there GP on a gen strap it will not fit without the following mod
you will need the following!
dremel with a set of diamond drill files , better then using a drill bit as u have more control, as u need to make the hole more oval on one side*
tools for the job
1.dremel
2.diamond drill fill 1mm
3.metal vice
its a simple 3 min job on each end-links just take you time a file of small amount and to keep checking to see how it fits .. keep it tight as u dont want to over do it on hole as screw as it will spin and not hold tightly once the strap and end links fit together
1. remove strap and end-link
2 secure in metal vice
3 use dremel with diamond file drill
4 remove small amount each time and check to see how it progressing
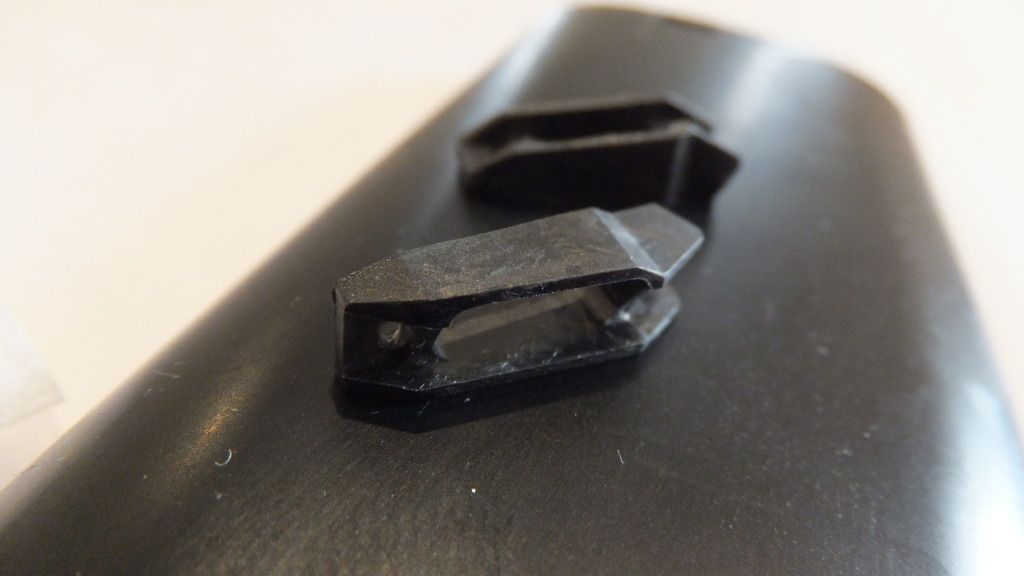
when mounting it back on strap
job done the moddded end-link is on the right
5. mount back on strap .. and sit back and enjoy ur labour !!
........................................................................................