

Timeband
-
Posts
173 -
Joined
-
Last visited
Posts posted by Timeband
-
-
It is a 47mm one
-
so do I Jkay
Greetz
Uwe
-
Hi sul,
thank you, are there any pics of progress available ?
Would be nice to see other EGI freaks Ideas.
Thank you repwatch, yes, the most of them are really BIG.
Big, but wearable. Egi's are my most favorite kind of PAM's
I know, not so many people do so, but that is ok for me.
I love them
Greetz
Uwe
-
Hi members,
I've built some Egi's and want to share the pics with you.
Here they are:
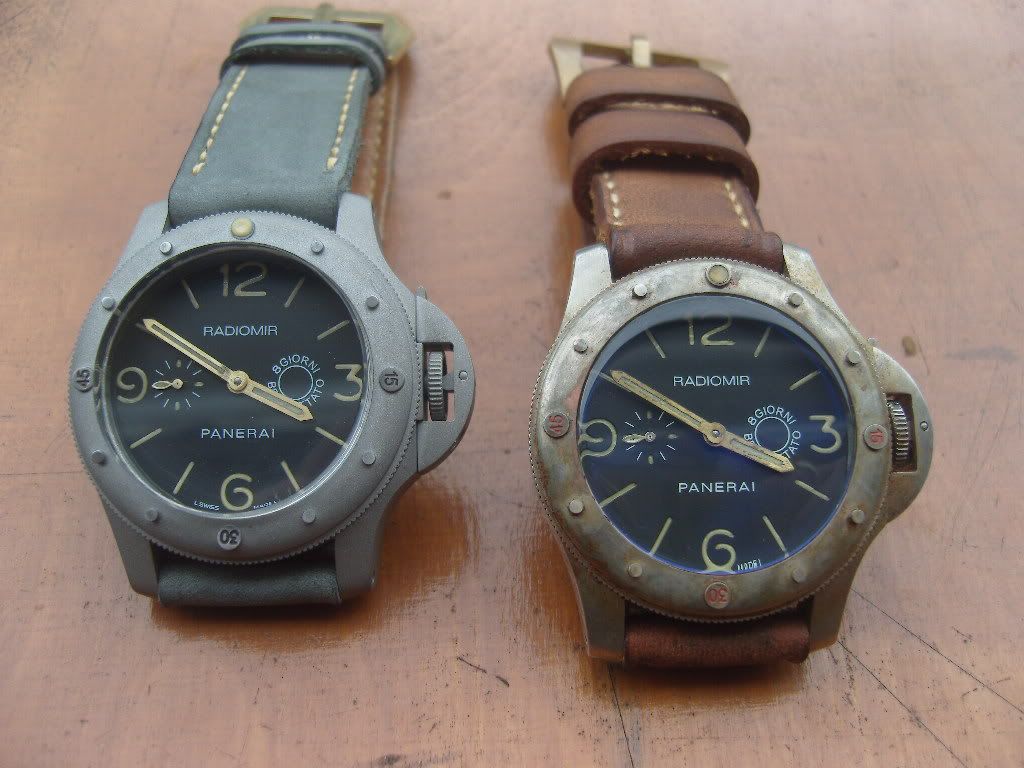
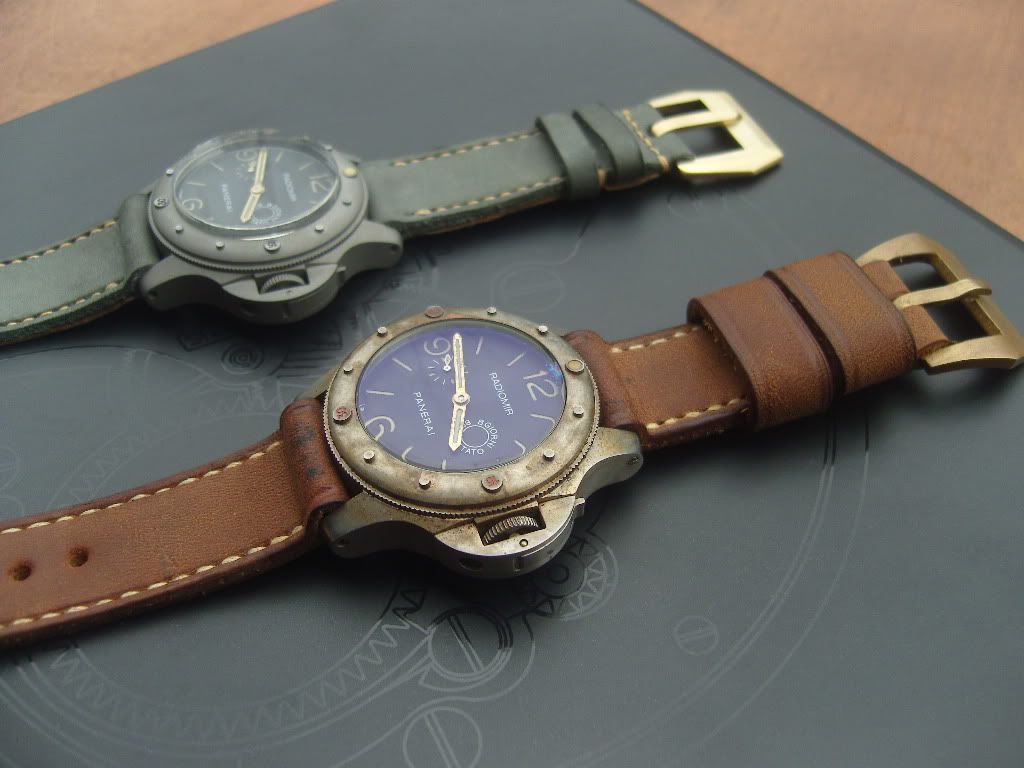
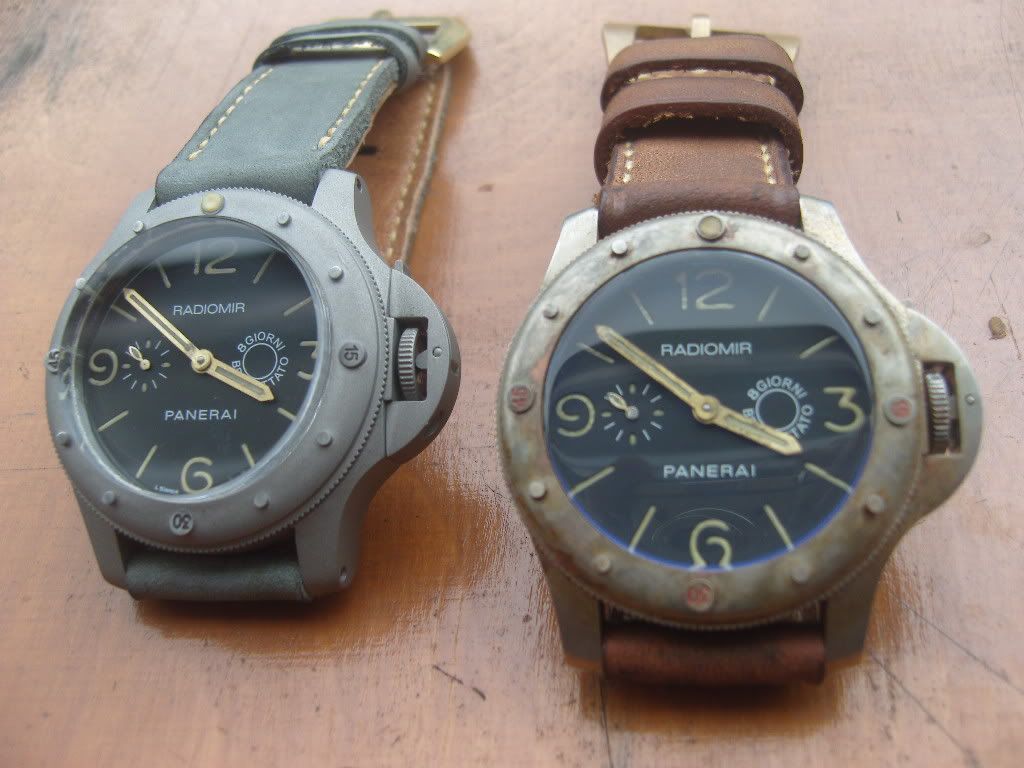
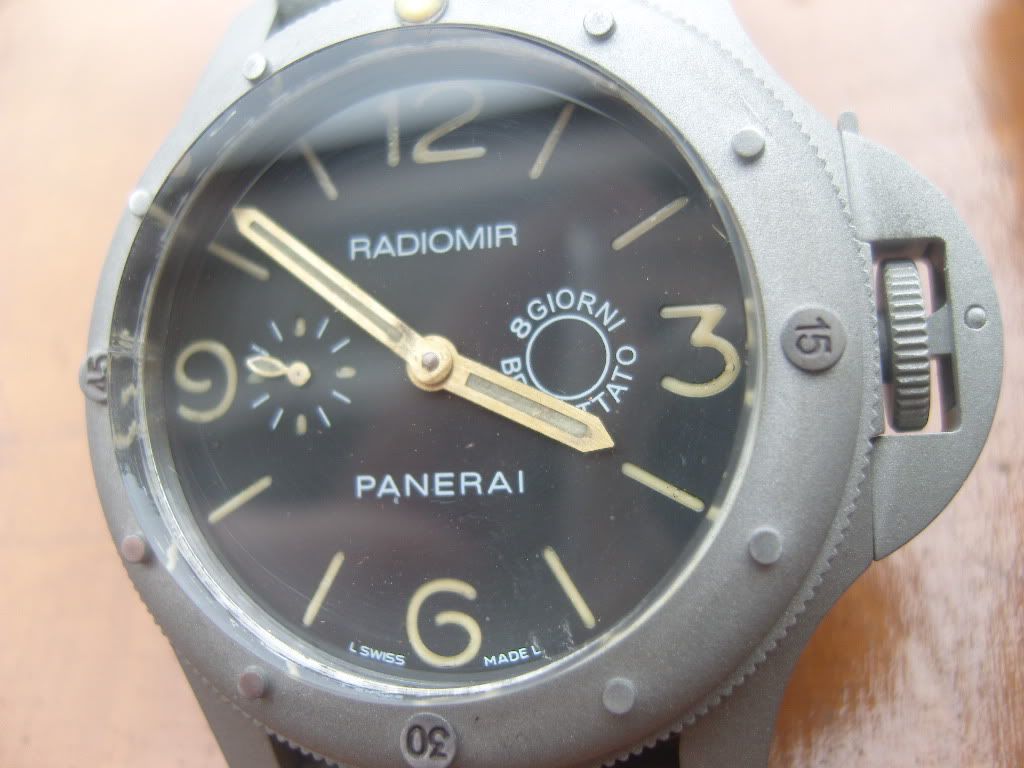
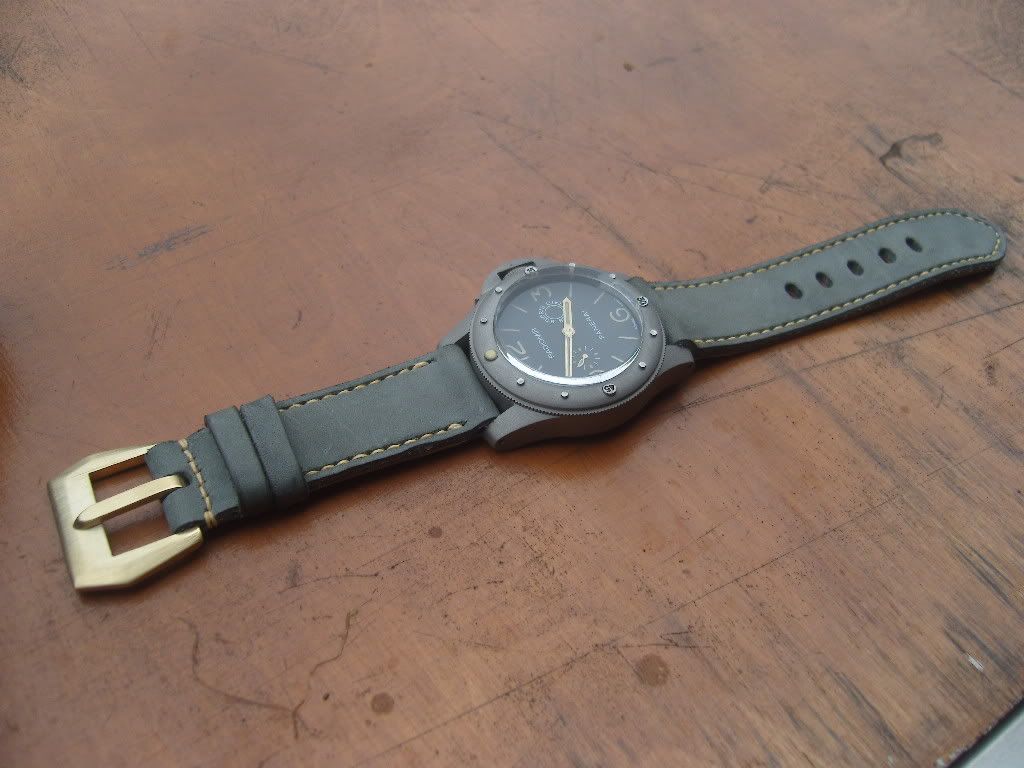
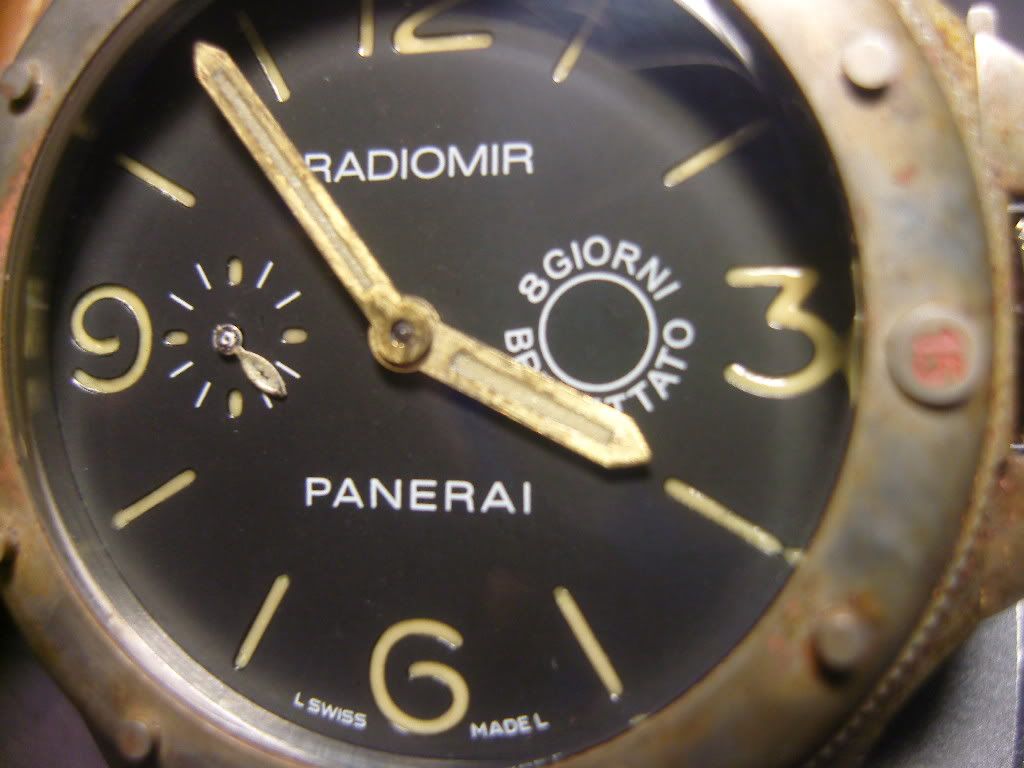
This one is sandblasted, got a 6mm plexi and was relumed with orange vintage lume.
Hands were treated with 1000 grit sandpaper. Second Hand was minimized to a single arm. Strap was made from grey leather with beige stitching to match the lume and hands, buckle was made from brass, also to match the hands and lume.
This one was treated with acid, brass and Carbonsteel powder to vintagize it and was relumed with orange vintage lume.
Hands were treated with 1000 grit sandpaper. Second Hand was minimized to a single
arm. Strap was made from vintage leather with brass buckle.


And here is the whole EGI Family
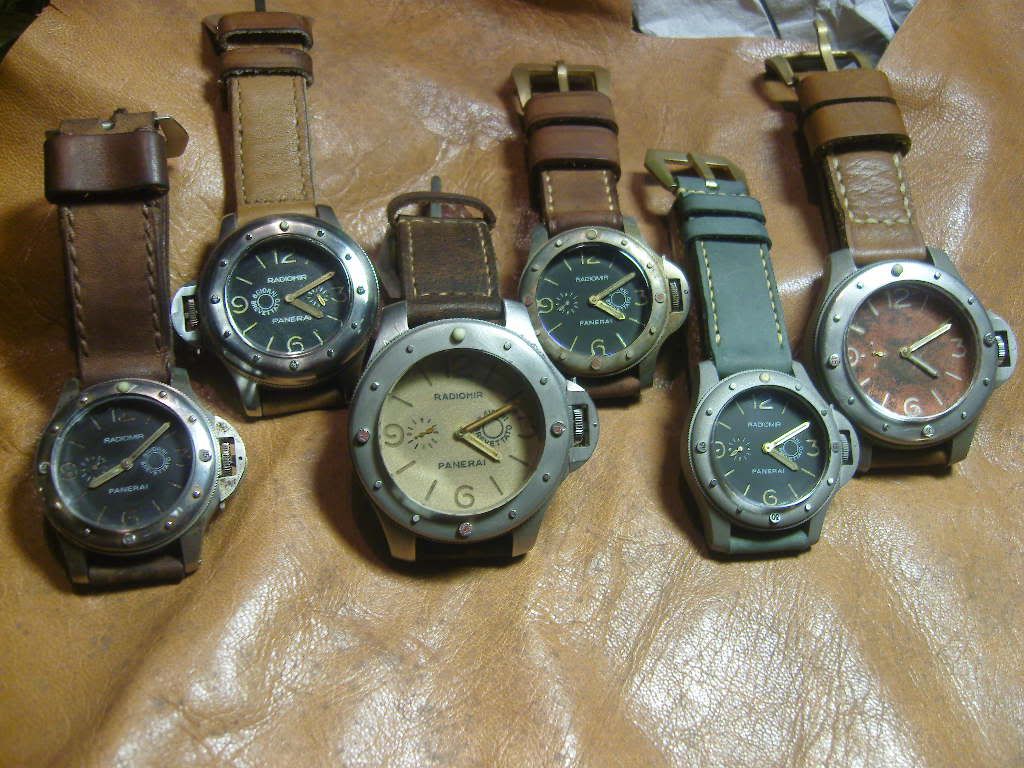
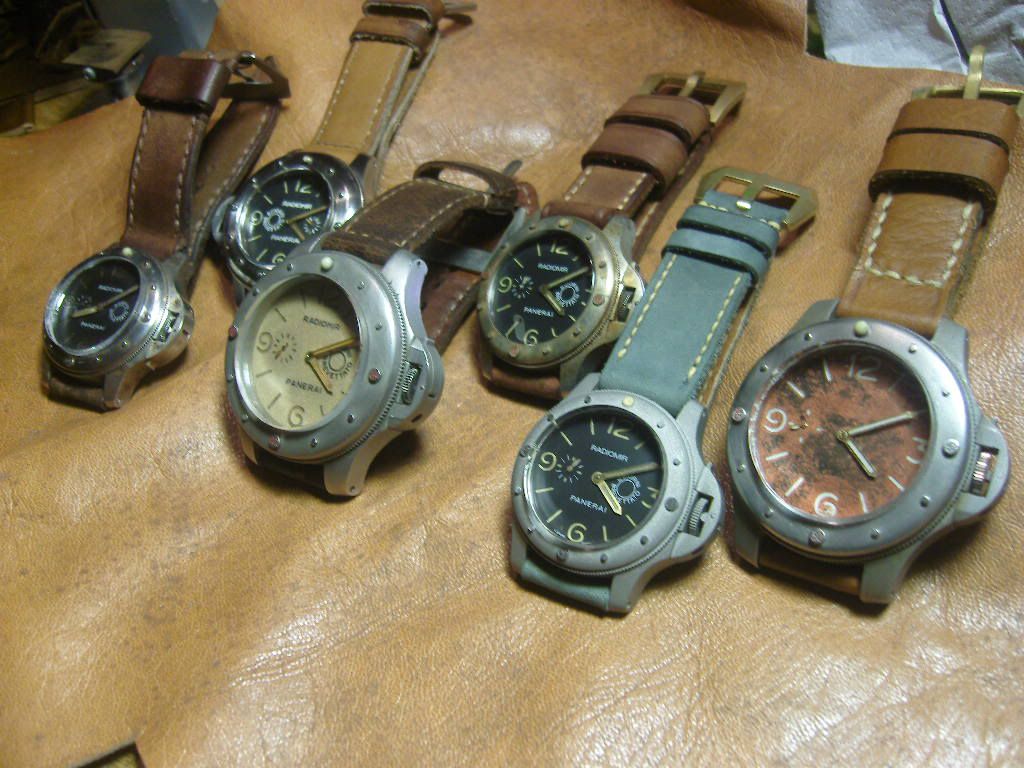
Thank you for looking
Greetz
Uwe
-
 1
1
-
-
Thank you guys, Erik has done a great job at this one.
@maxman: Are you missing something about 8mm in diameter
 ?
?@coolfire: Jepp, I prefer watches from 47mm and above, anything smaller looks
like a toywatch
Greetz
Uwe
-
Hi Members,
my new 52mm EGI in destro version from Donerix arrived on Saturday.
Great Watch, I love it, the destro version makes it very comfortable
Here are some wristies:
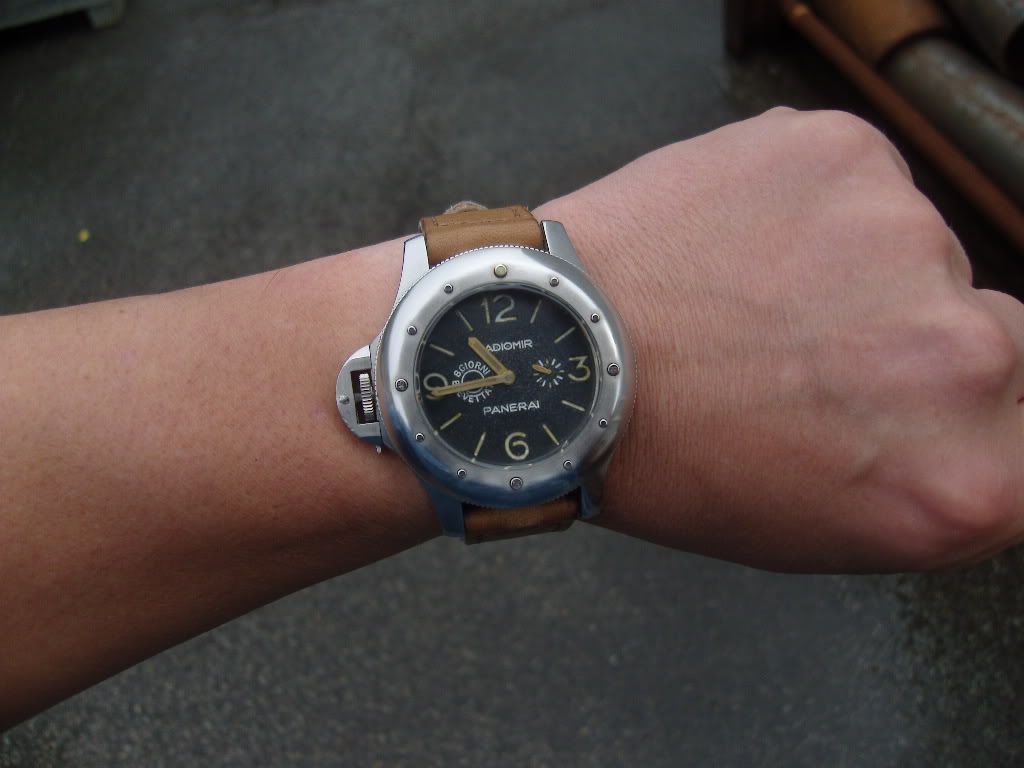
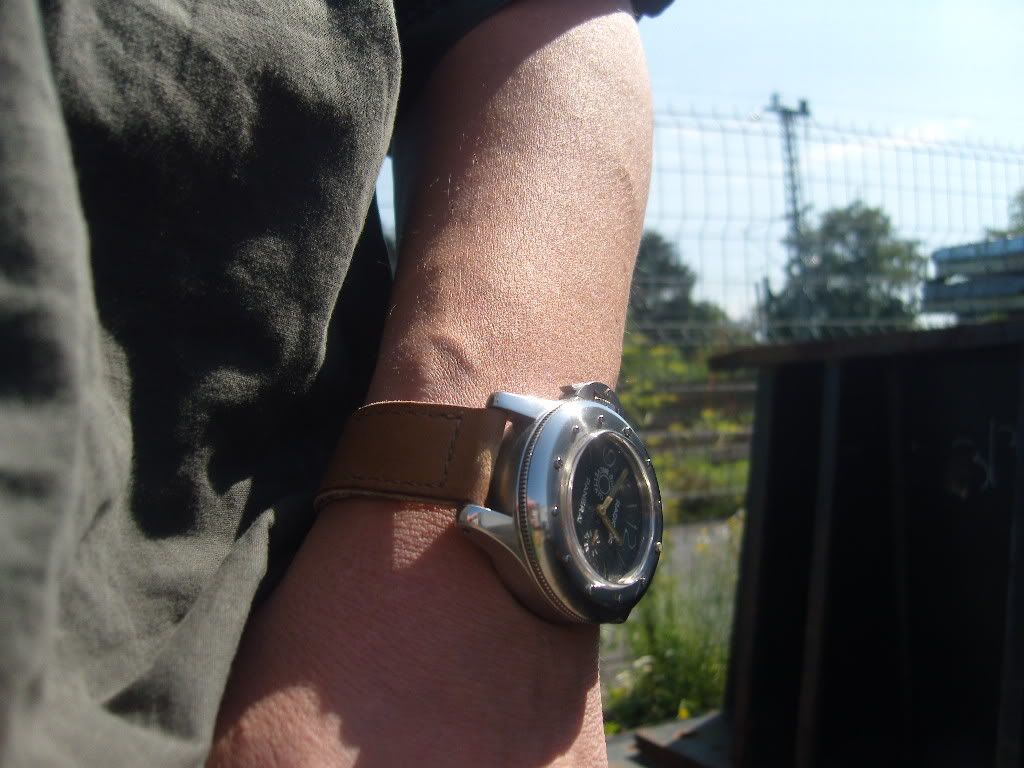
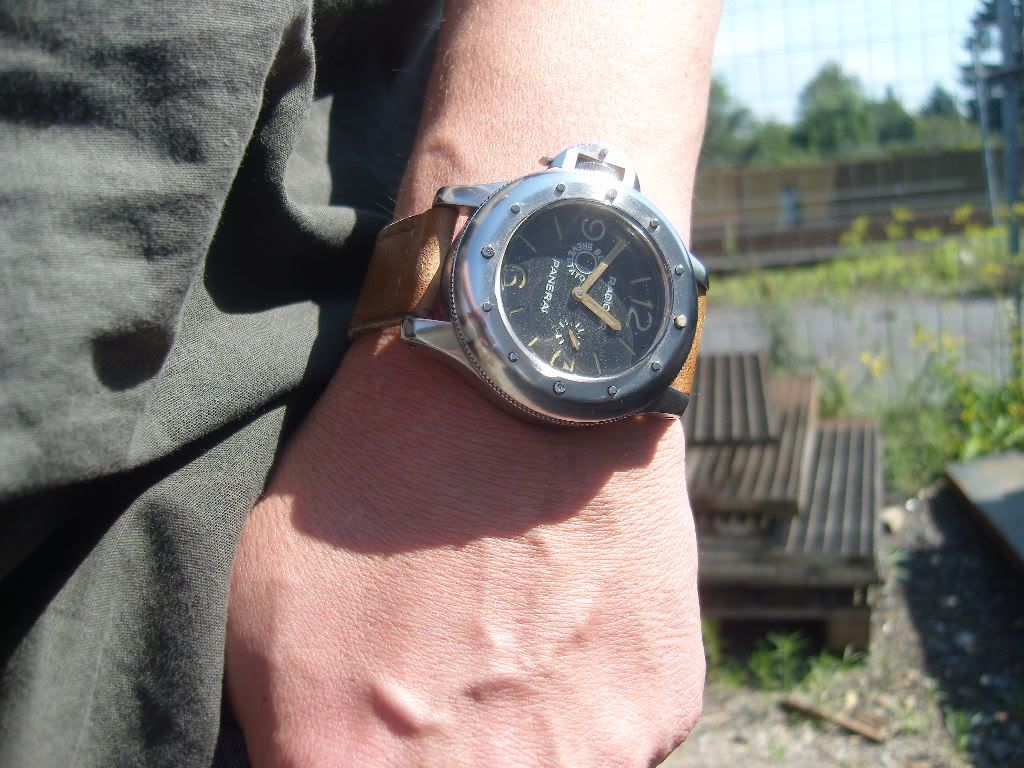
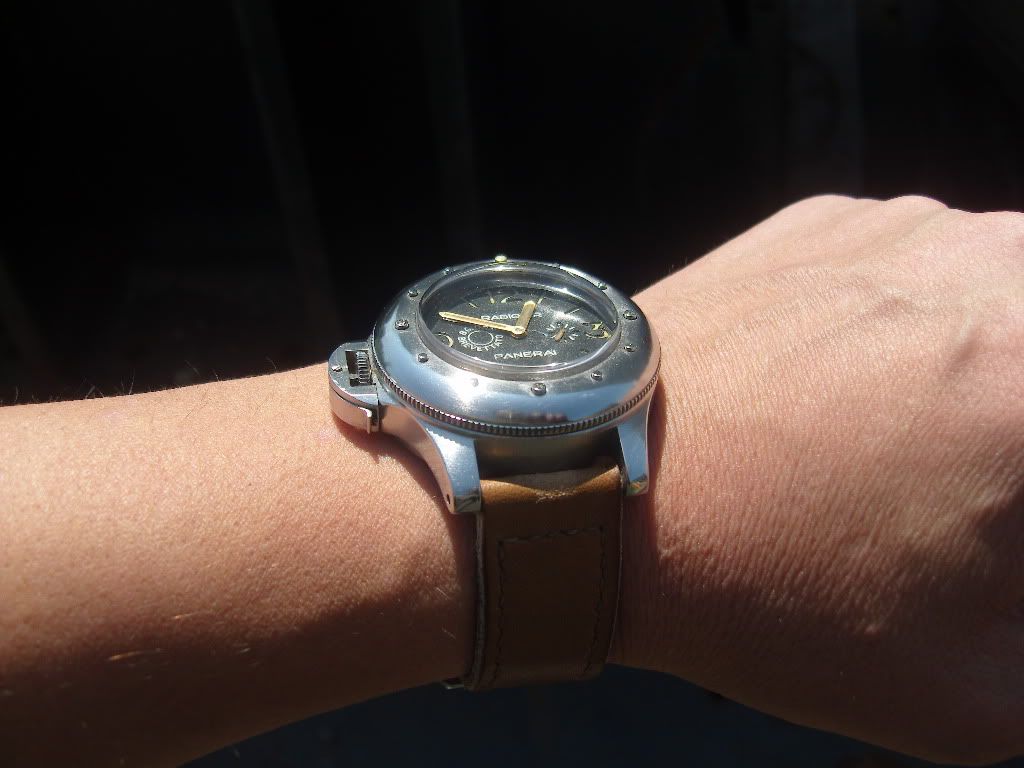
I wear it since Saturday for 5 days now and I am still happy with it
Greetz
Uwe
-
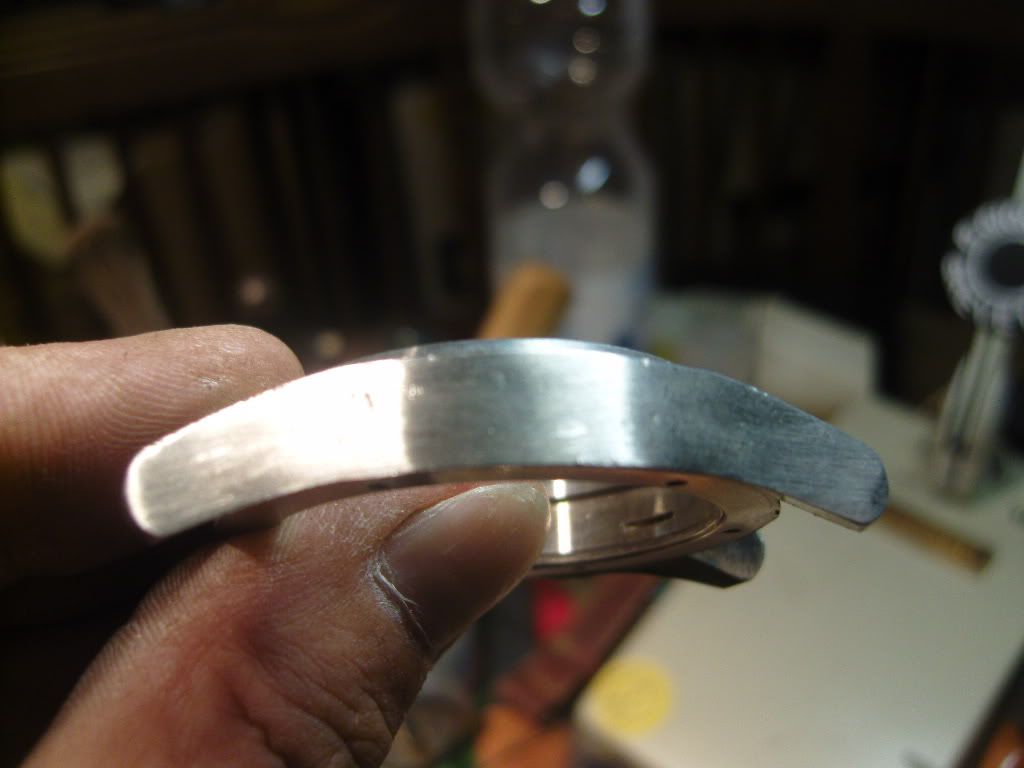
Hi Guys, it’s me again.
I found some plexi sheets in my cellar, 4mm thick.
I tried to make a pre-plexi to see how it looks like with this thickness.
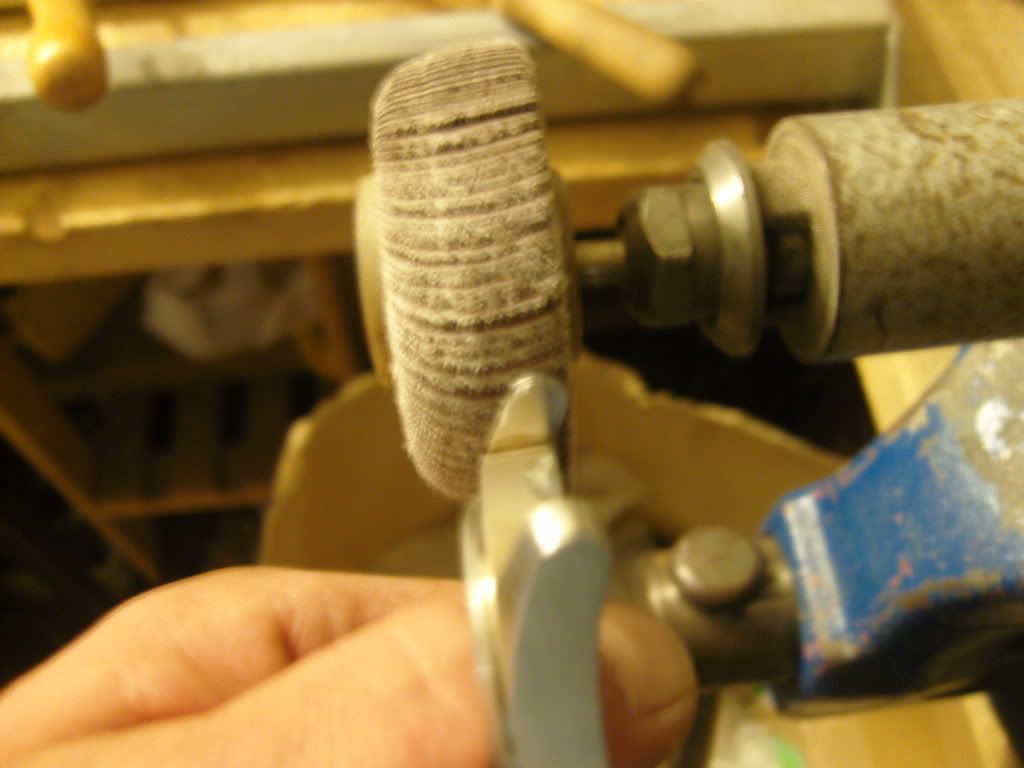
At first I cutted out a square piece oft he plexi
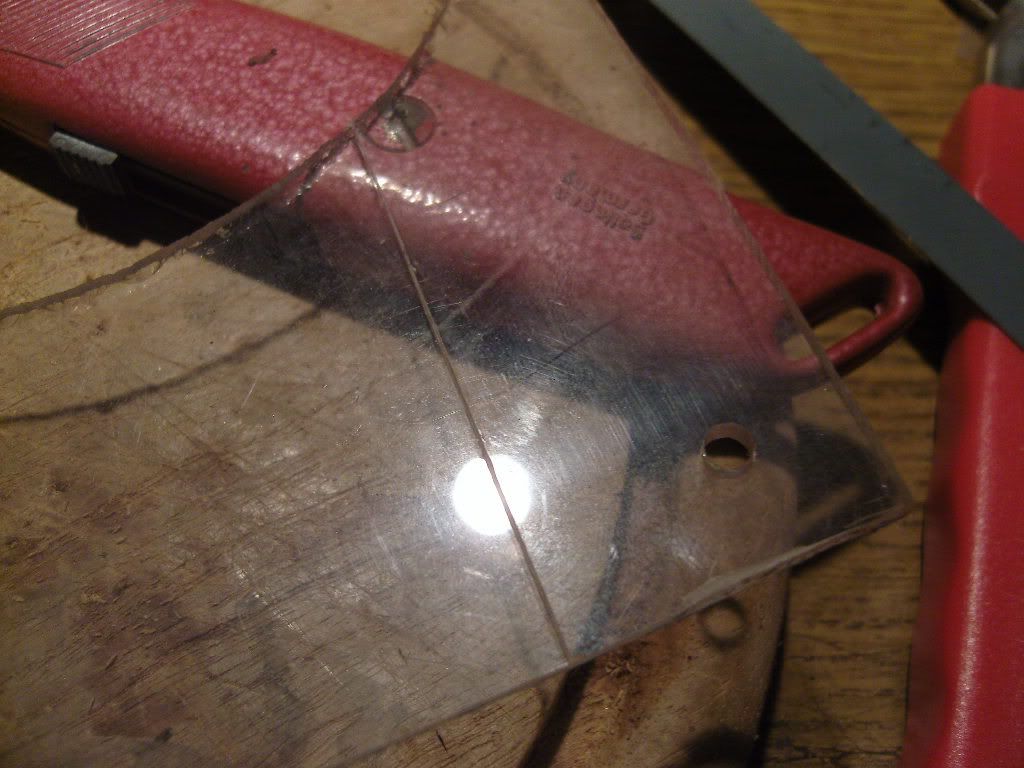
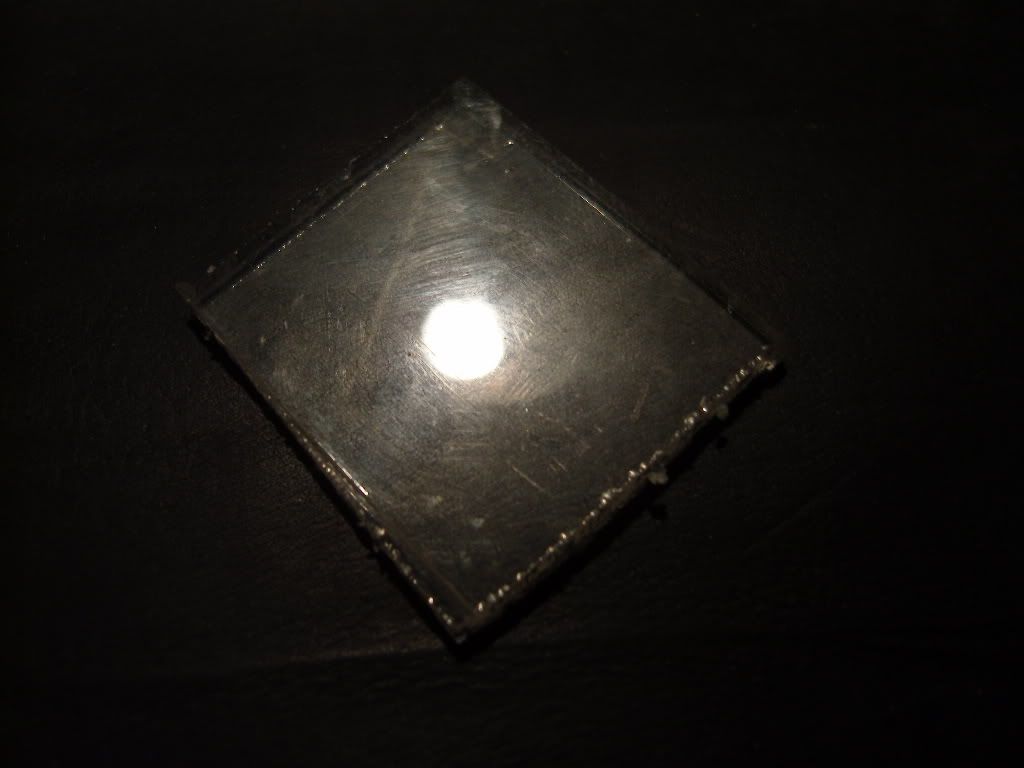
Made a circle on it with a permanent marker and filed it nearly tot he requested diameter.
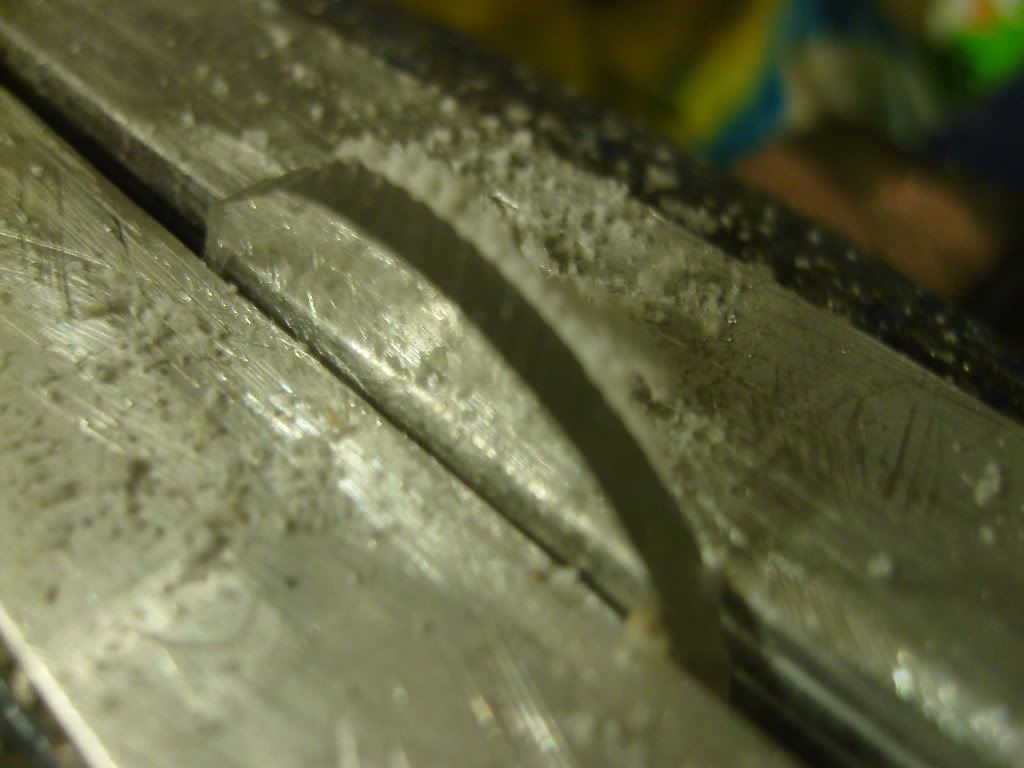
Then I went upstairs to my terasse and made the finetuning with a file and sandpaper.
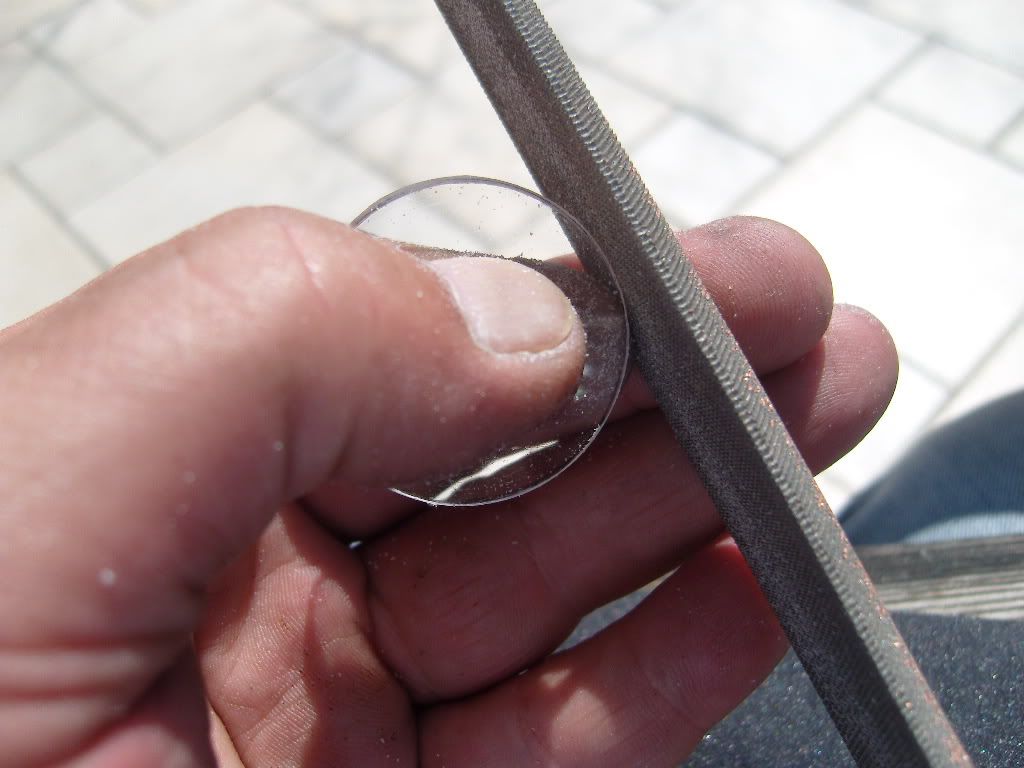
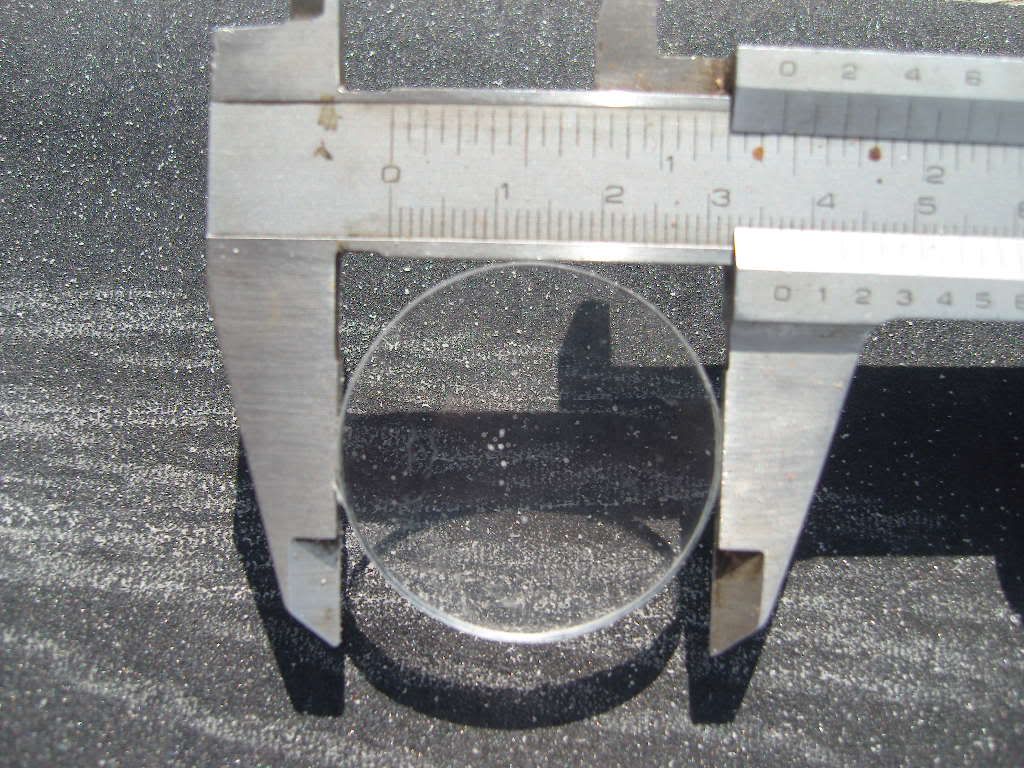
I allways checked the measurements after some short grinding sessions.
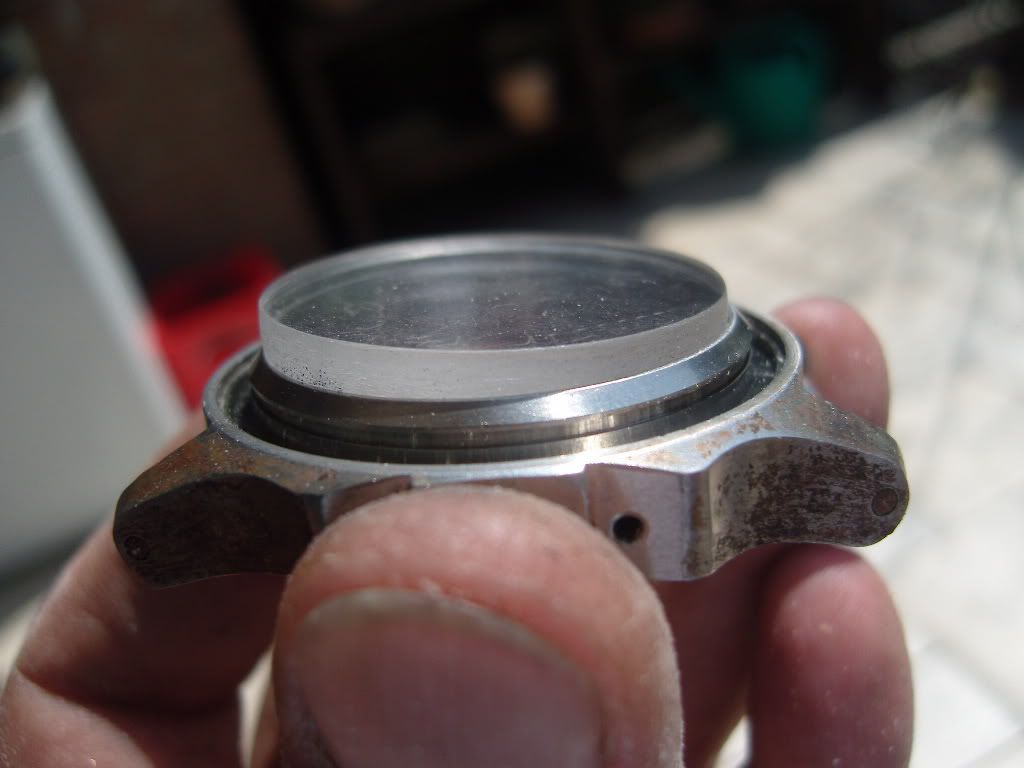
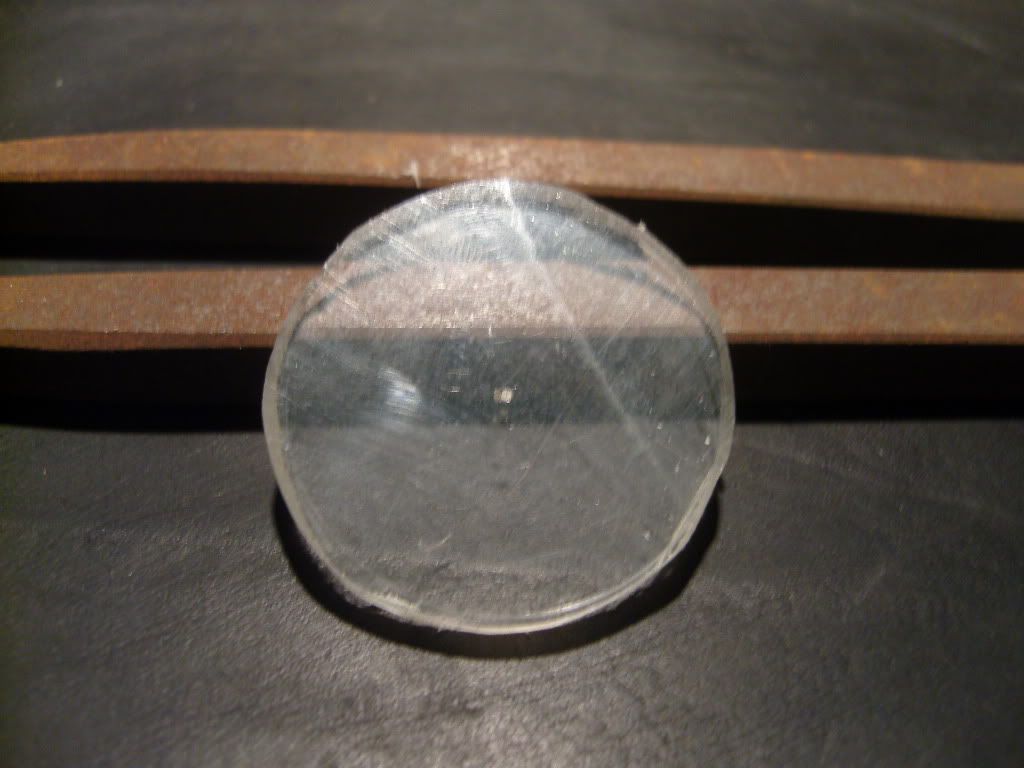
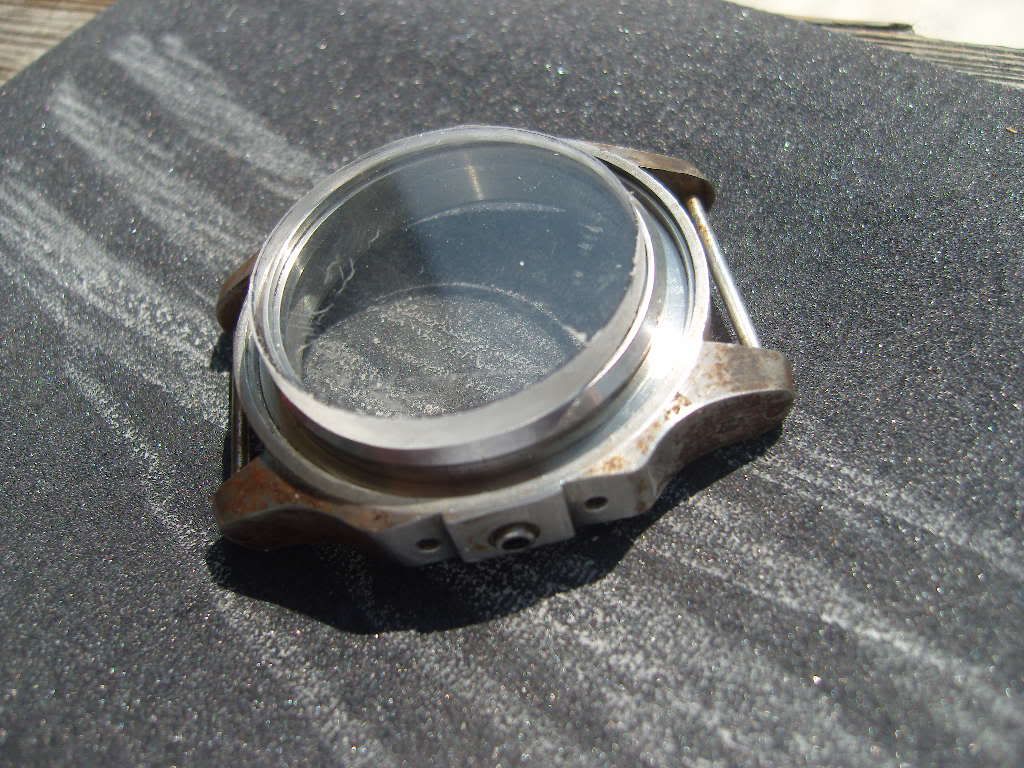
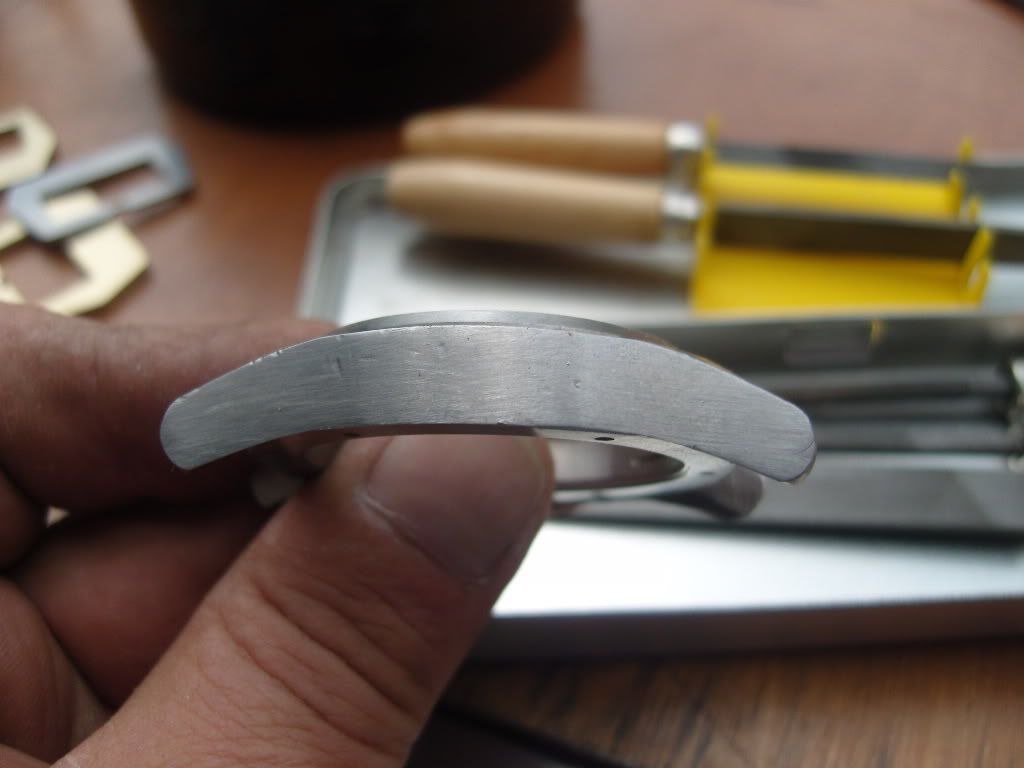
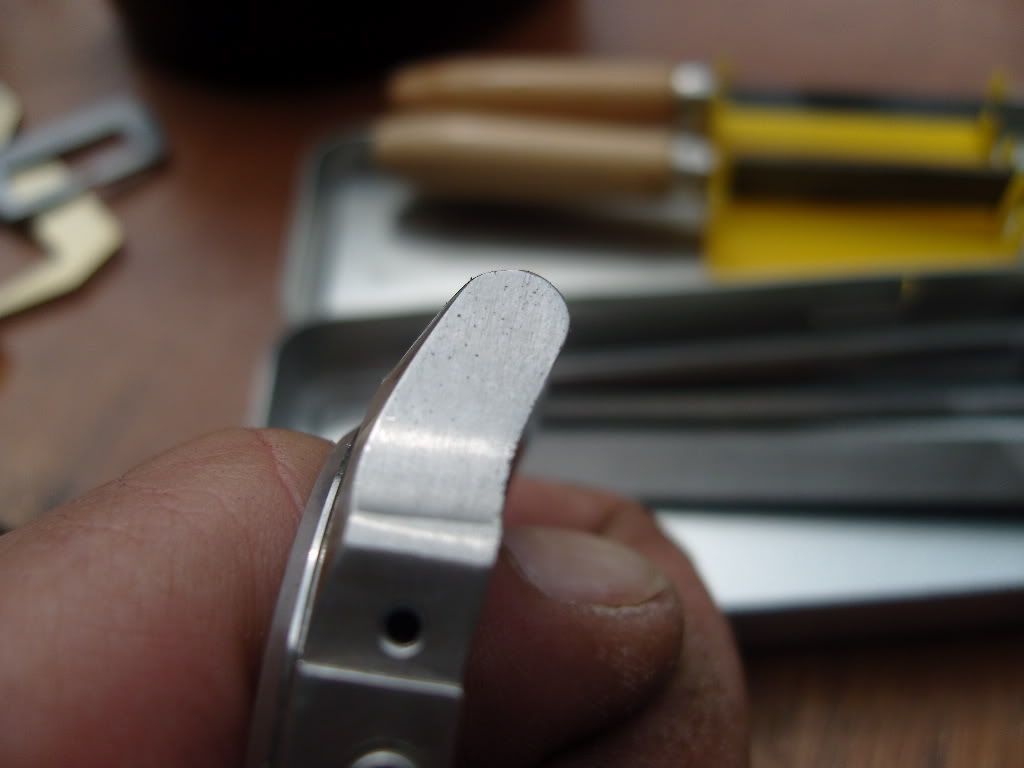
The last fine grindings and I was there
Bezel was mounted and this ist he result
I like it as it is. This is my final plexi.
Tob e continued….
-
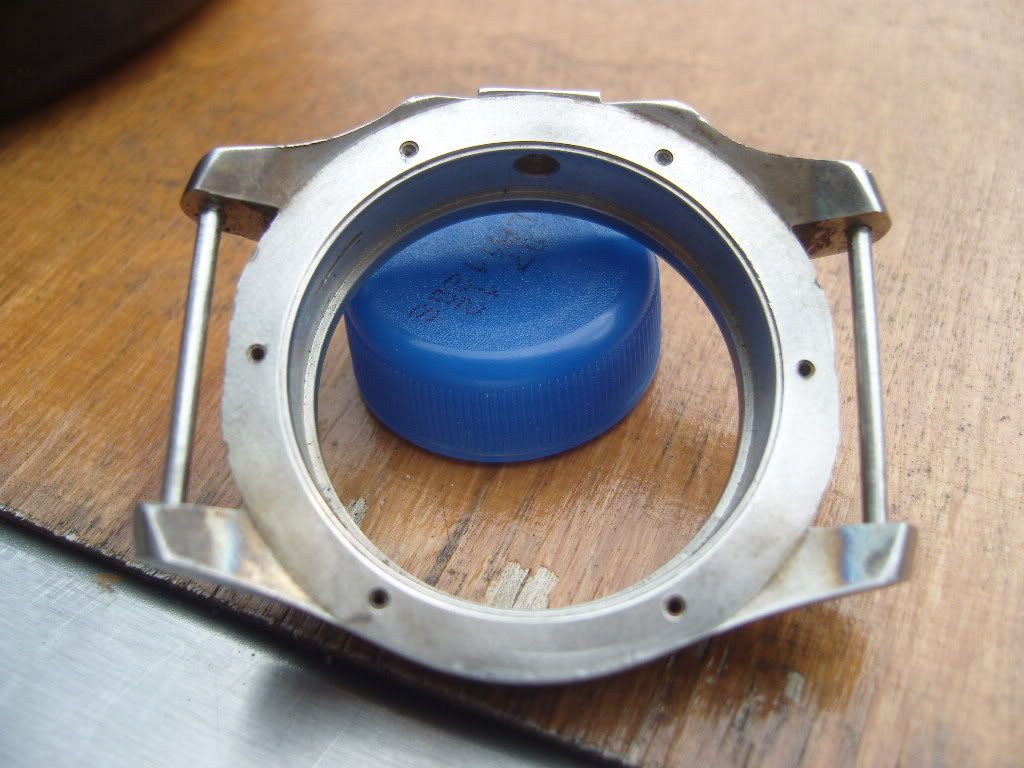
OK Guys,
The tack welds were removed.
After that I had to decide which kind of lugbars I want to have.
The compression bar material from Dow ( thank you mate ) arrived today.
I’ve tested some variations, but nothing made me happy.
I found some 2mm wire and cutted a thread at them
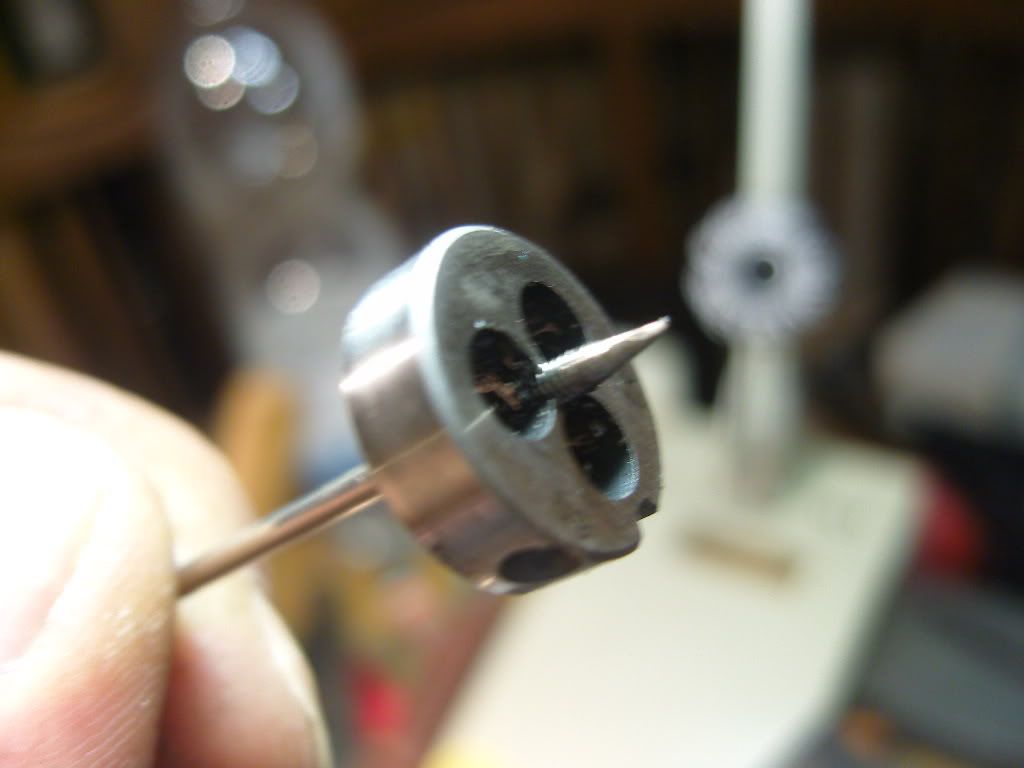
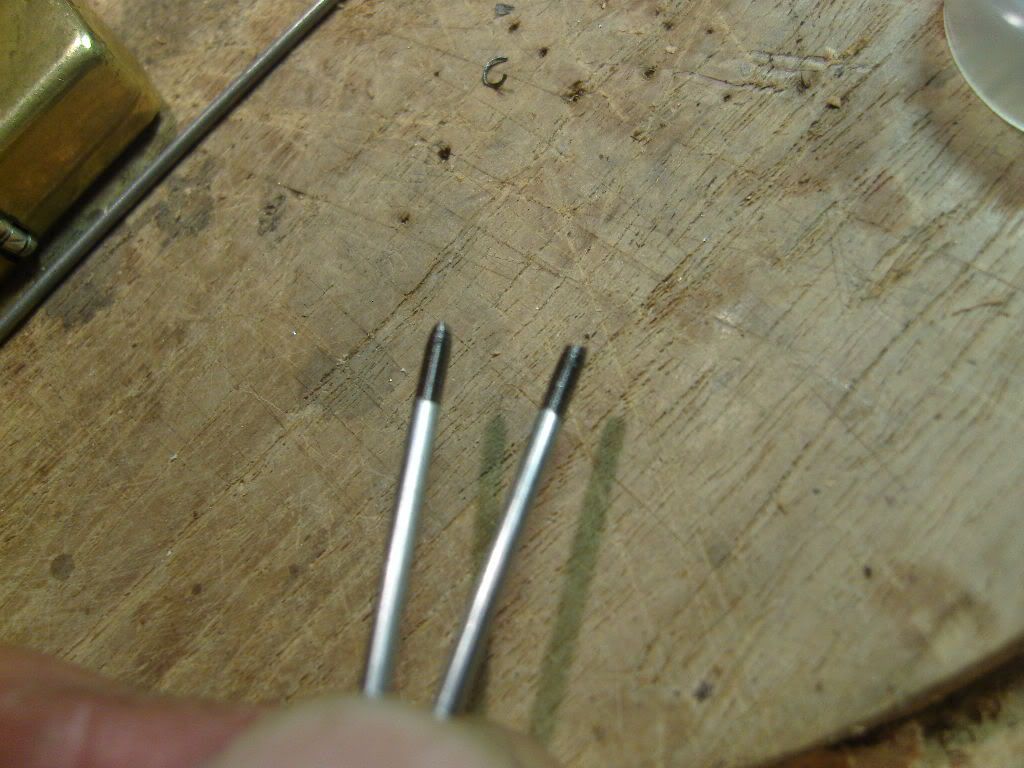
Then I’ve drilled some 1,6mm holes into the lugs (forgot to make pics, sorry )
and made the inner threads
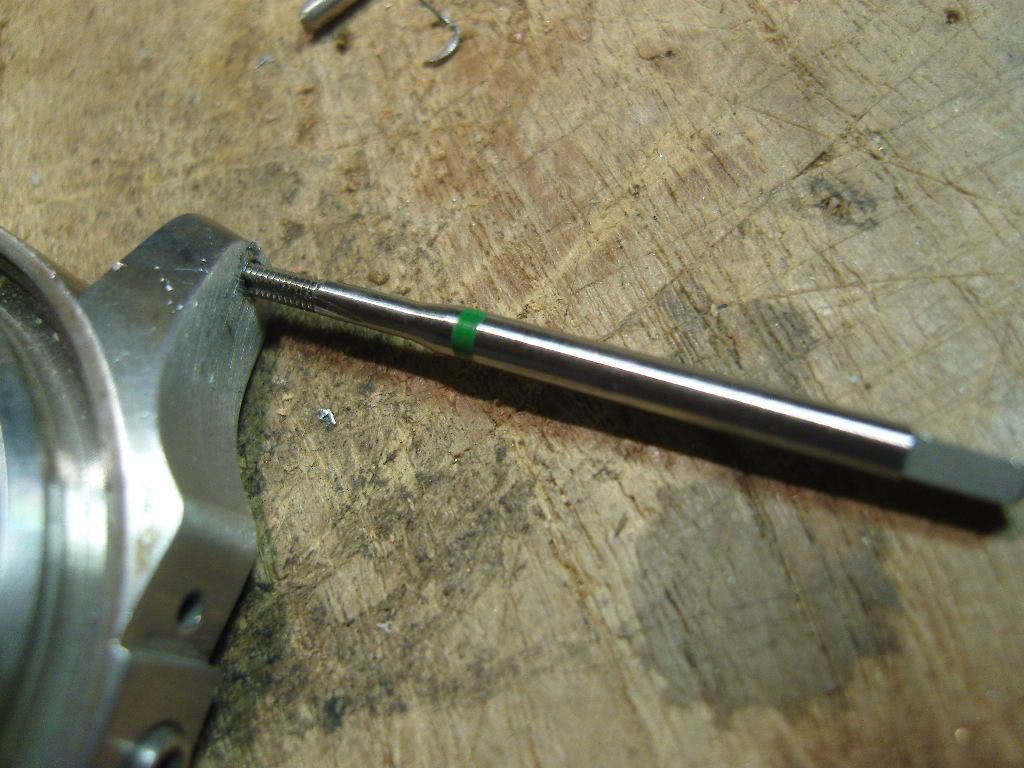
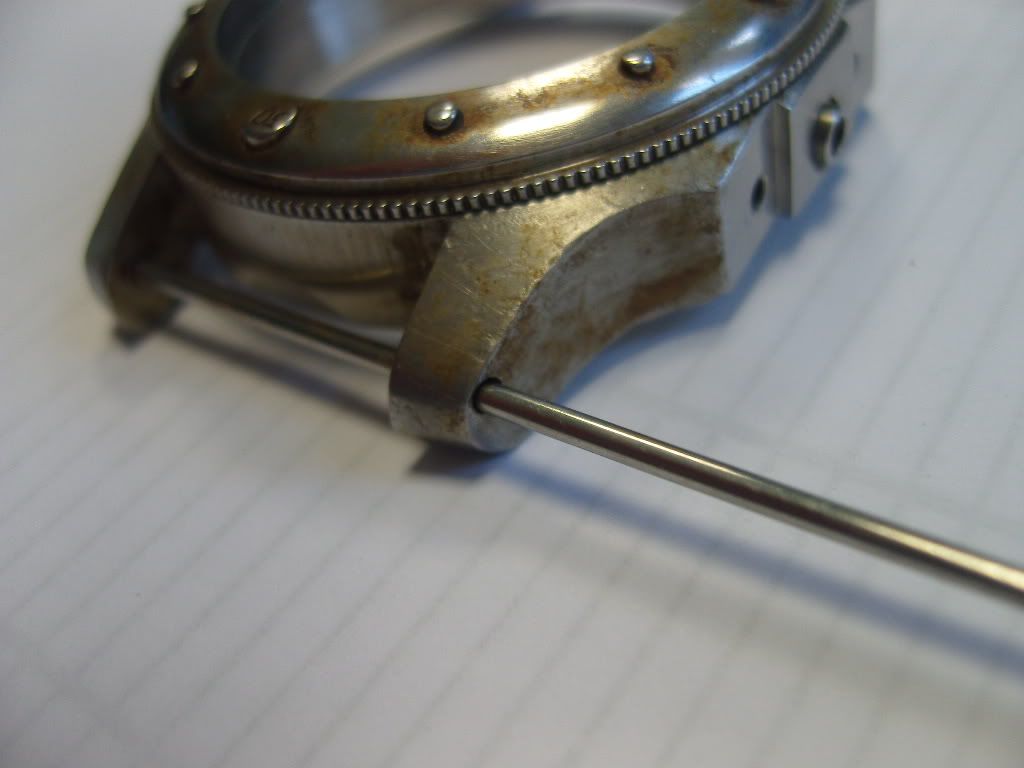
Then I cutted the lug bars to the required length and screwed them into the lugs
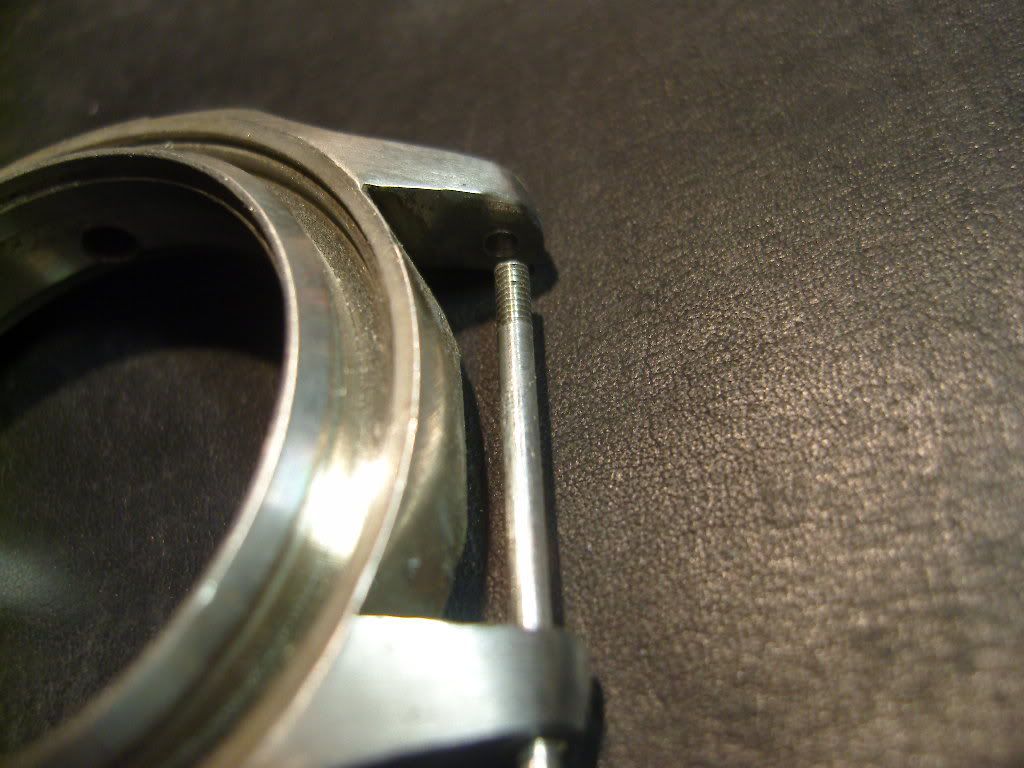
Now I need a small saw to cut a slot tot he tips oft he lug bars. All my saws are too big fort hat job.
OK, my aging job is now destroyed, I have to do it again.
 :bang:
To be continued…..
-
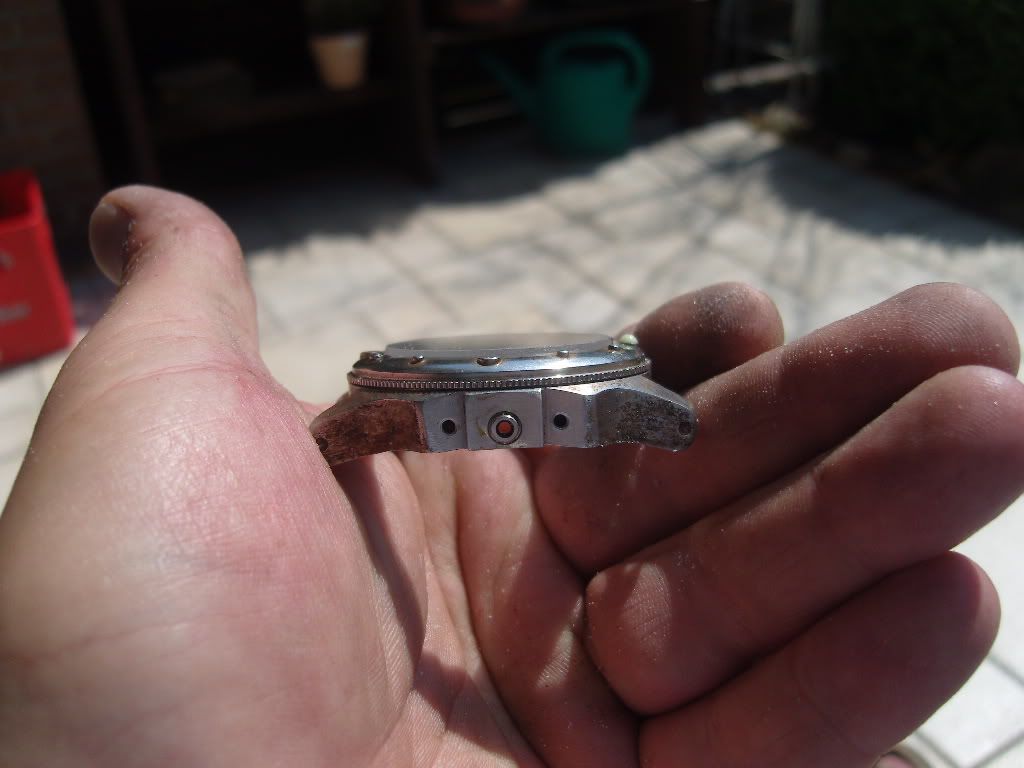
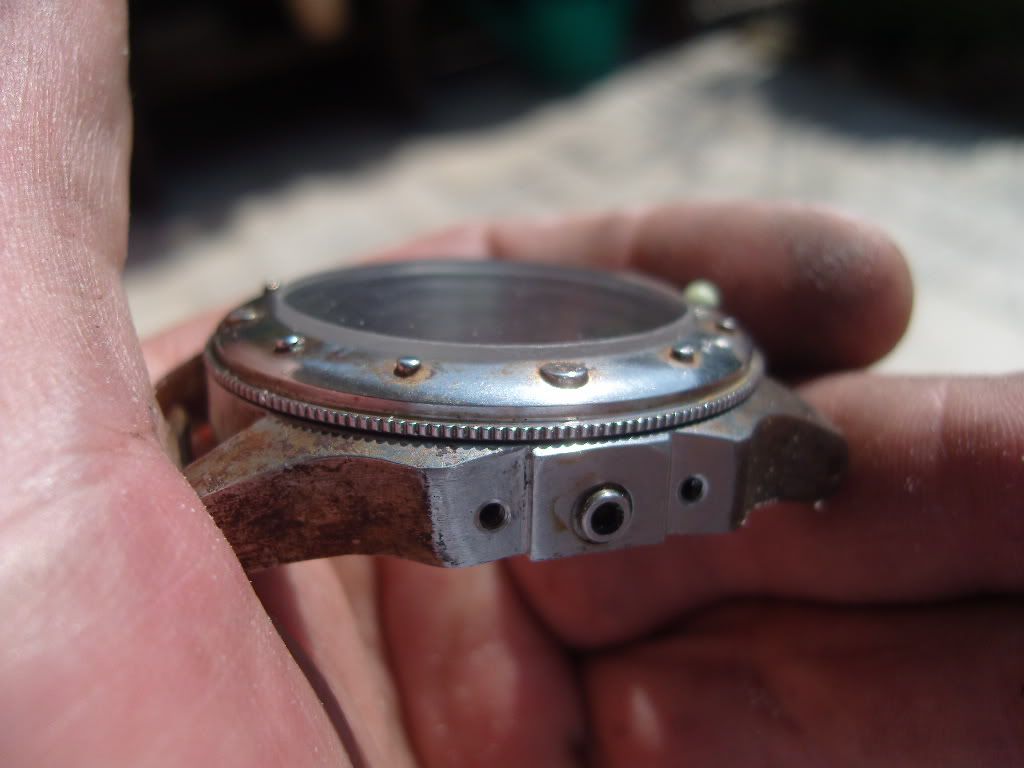
Today we went into our workshop, my welding supervisor ( indredible welder ) and me.
At first I made a test with 1,6mm welding wire to see if it fits the holes
Was ok for one side, the other side with the thread was smaller ( used 1mm wire )
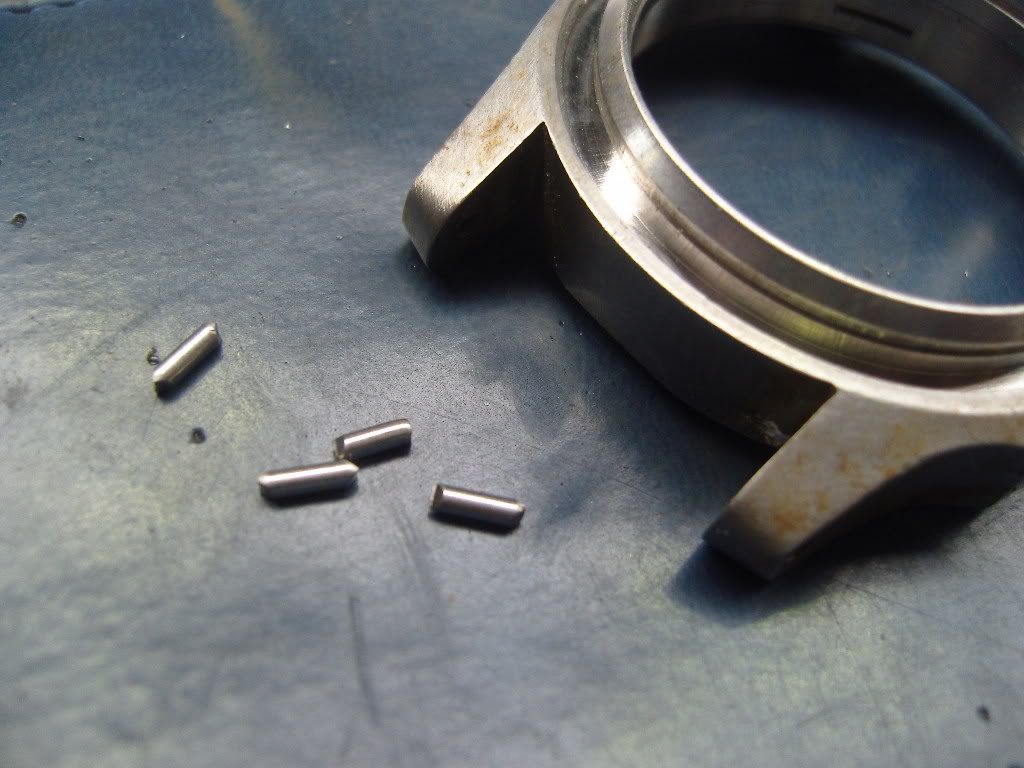
I’ve cutted the wire in small pieces with 2mm extention out of the lugs, that was necessary
for melting it into the holes.
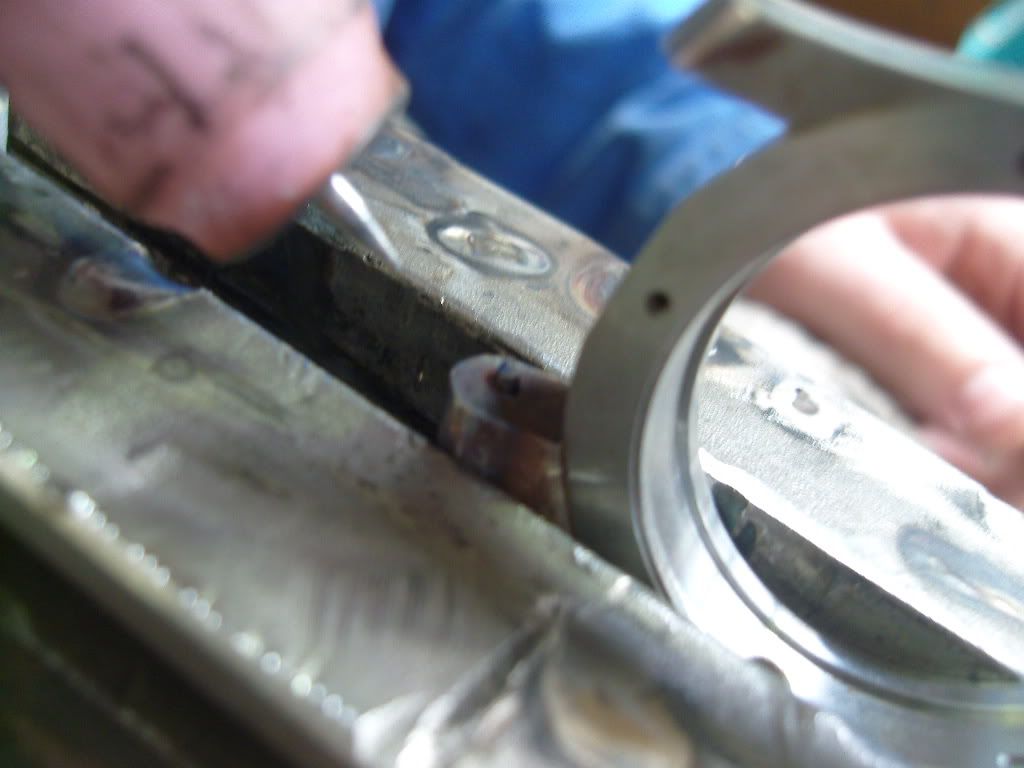
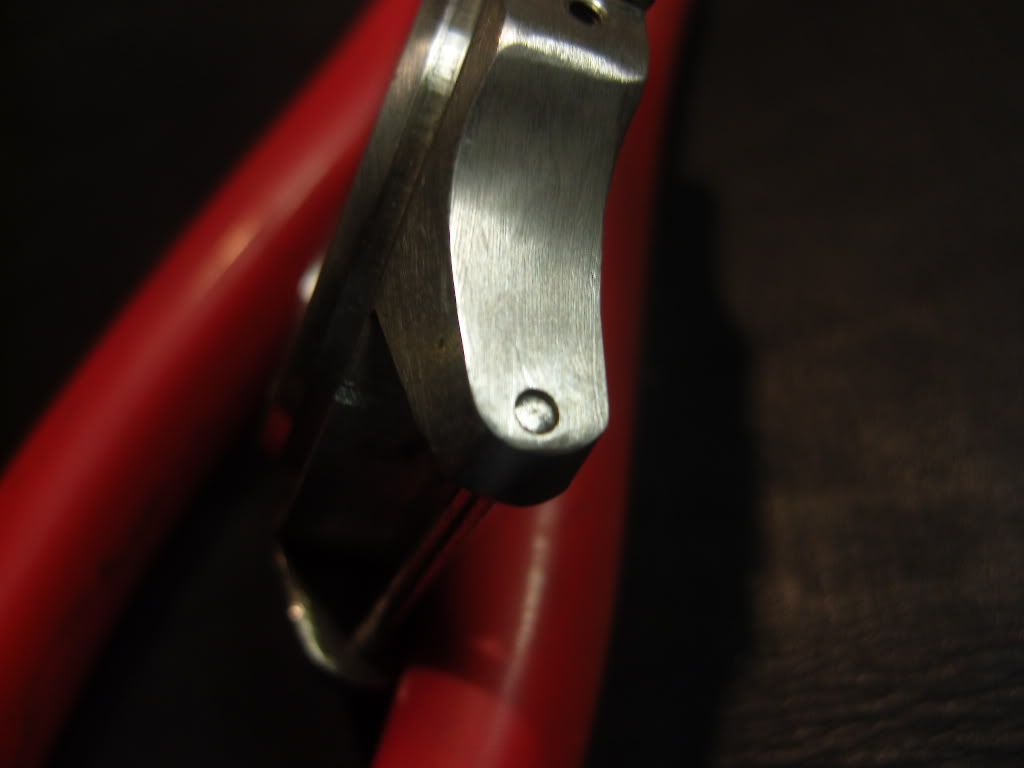
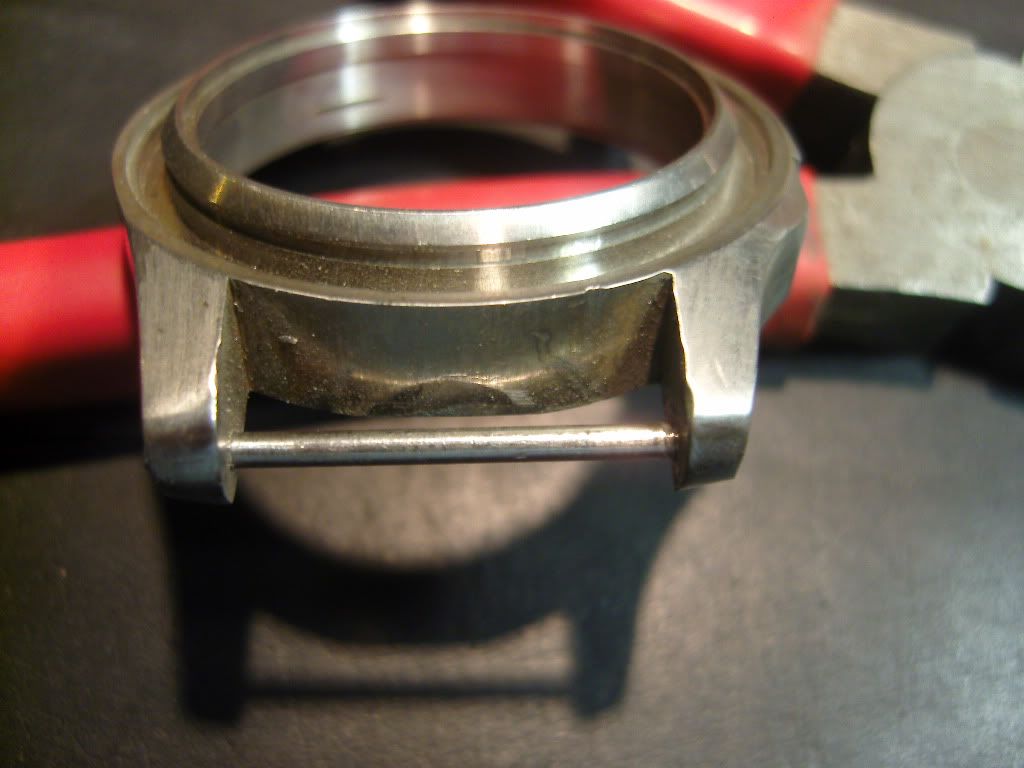
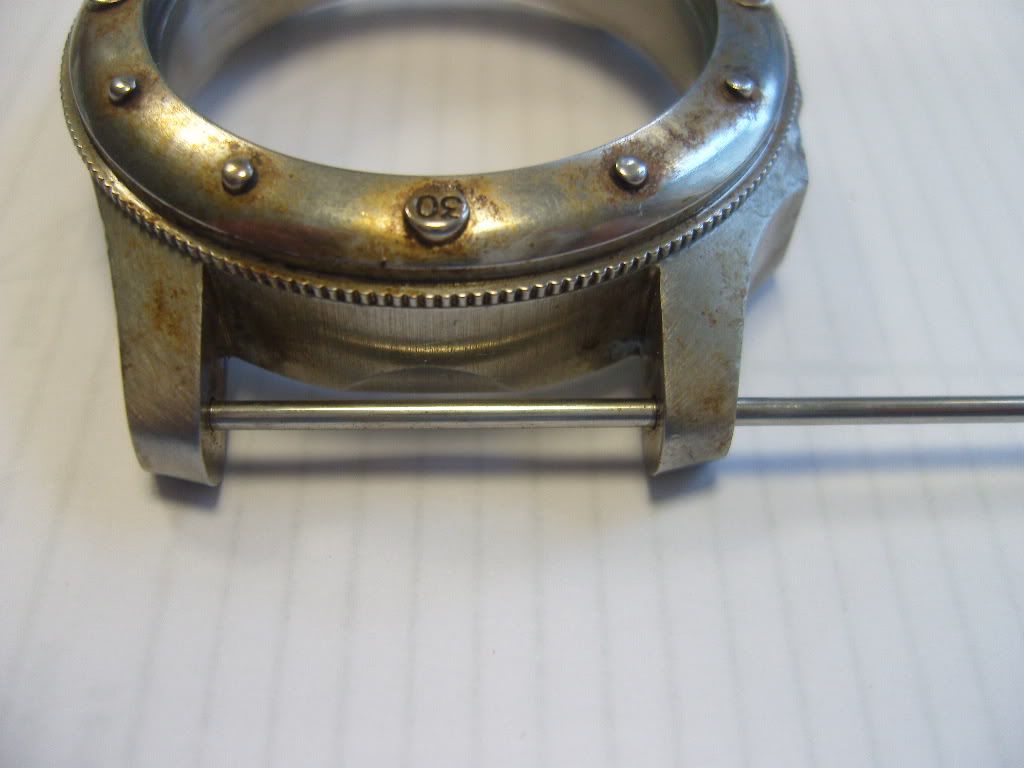
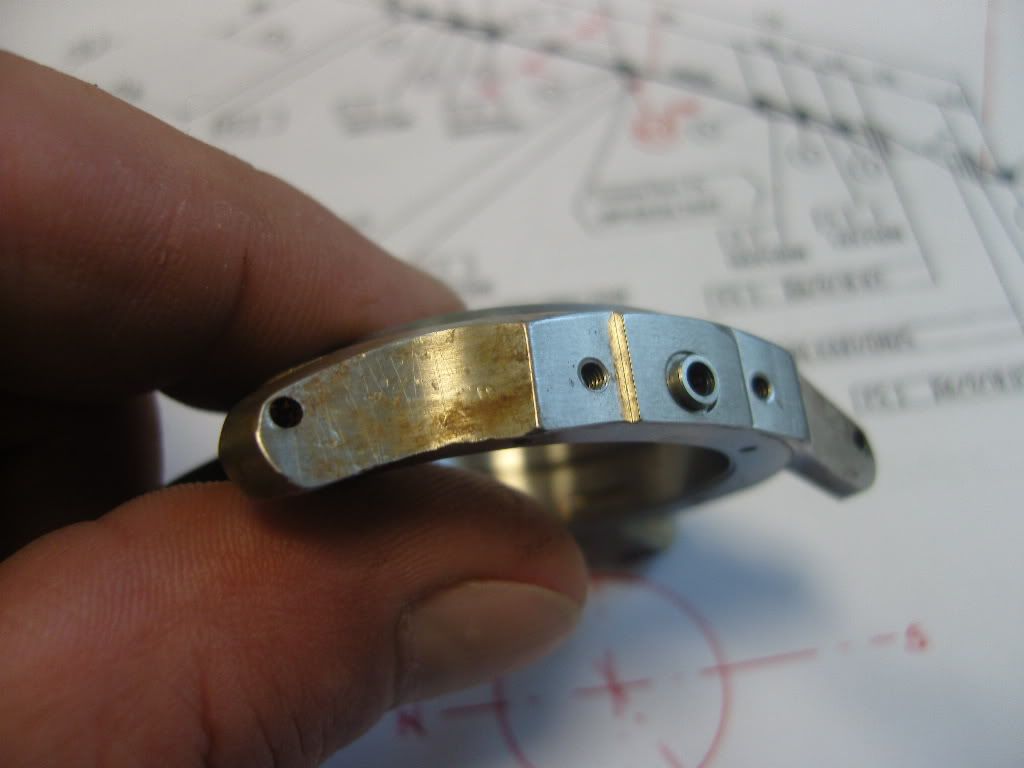
Now a view with my welding artist at work,
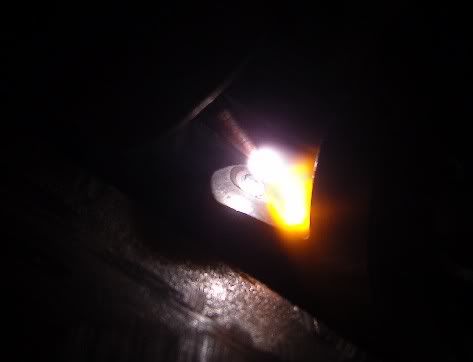
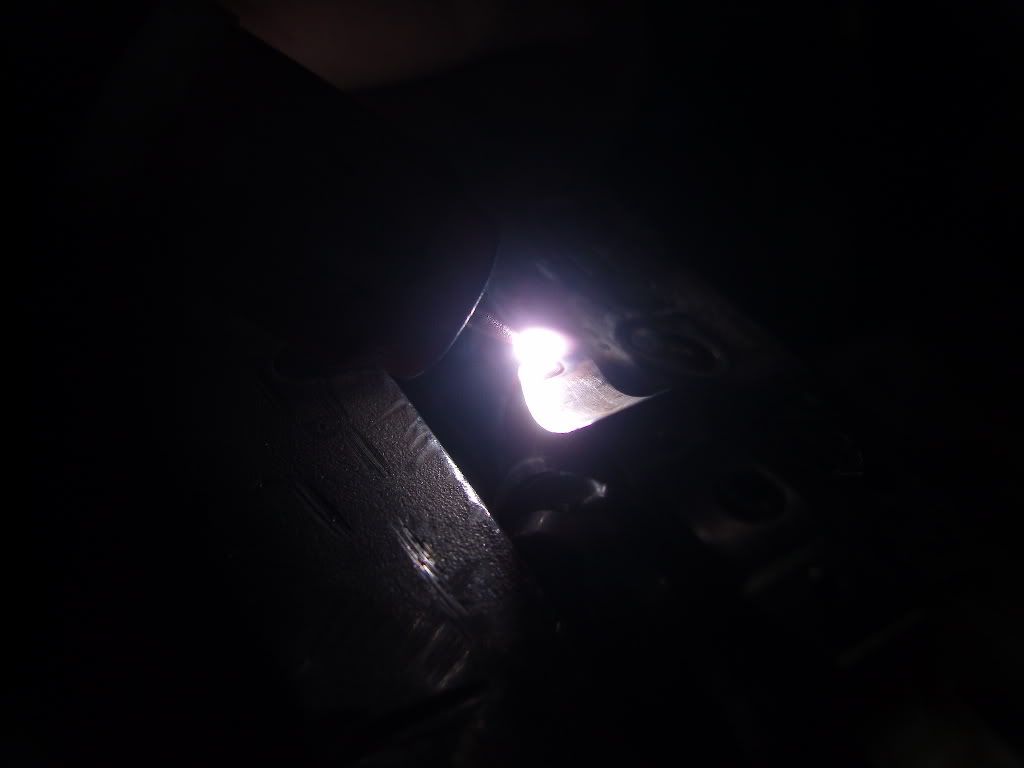
Welding is done and the weld dots came out flat and massive
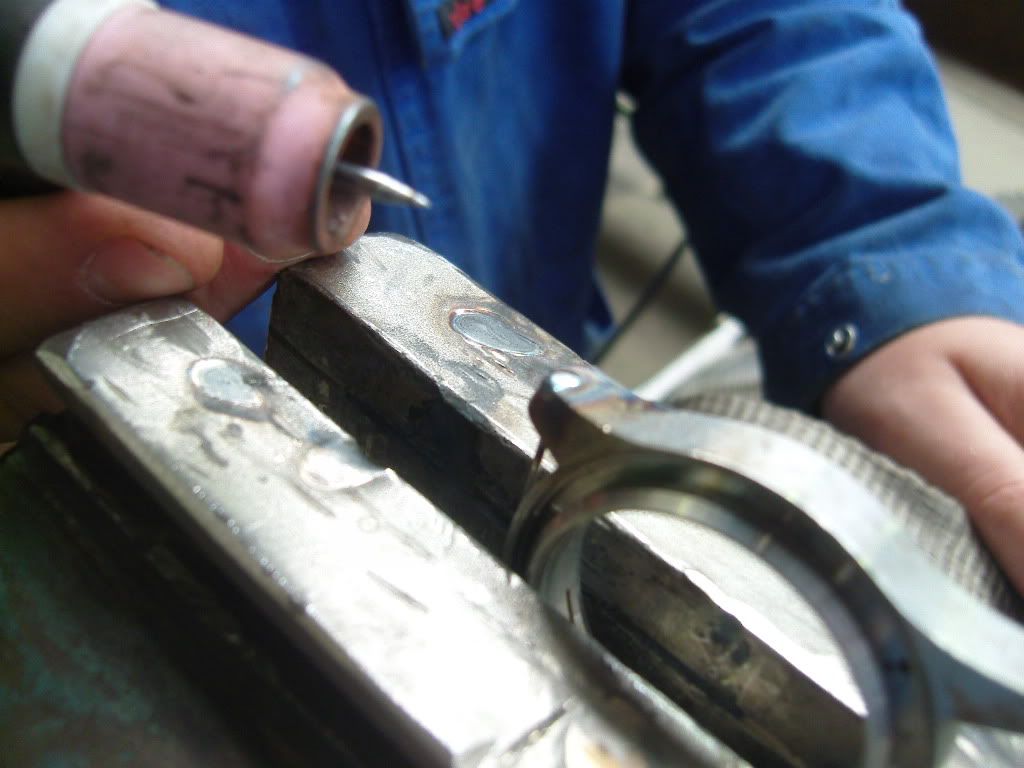
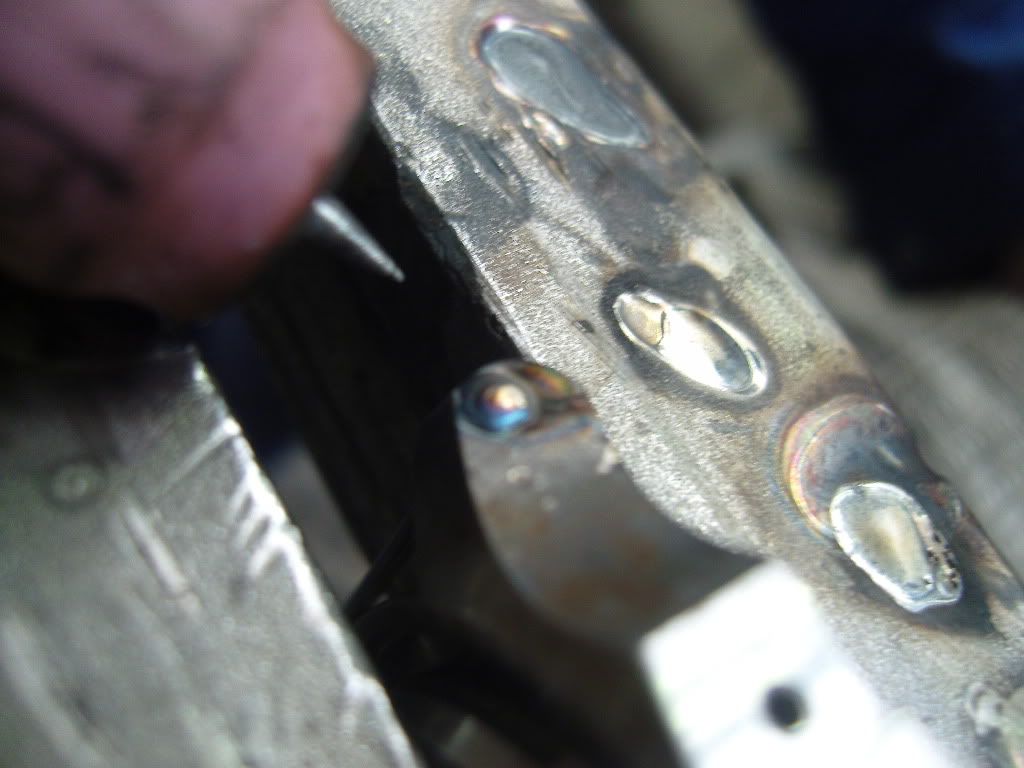
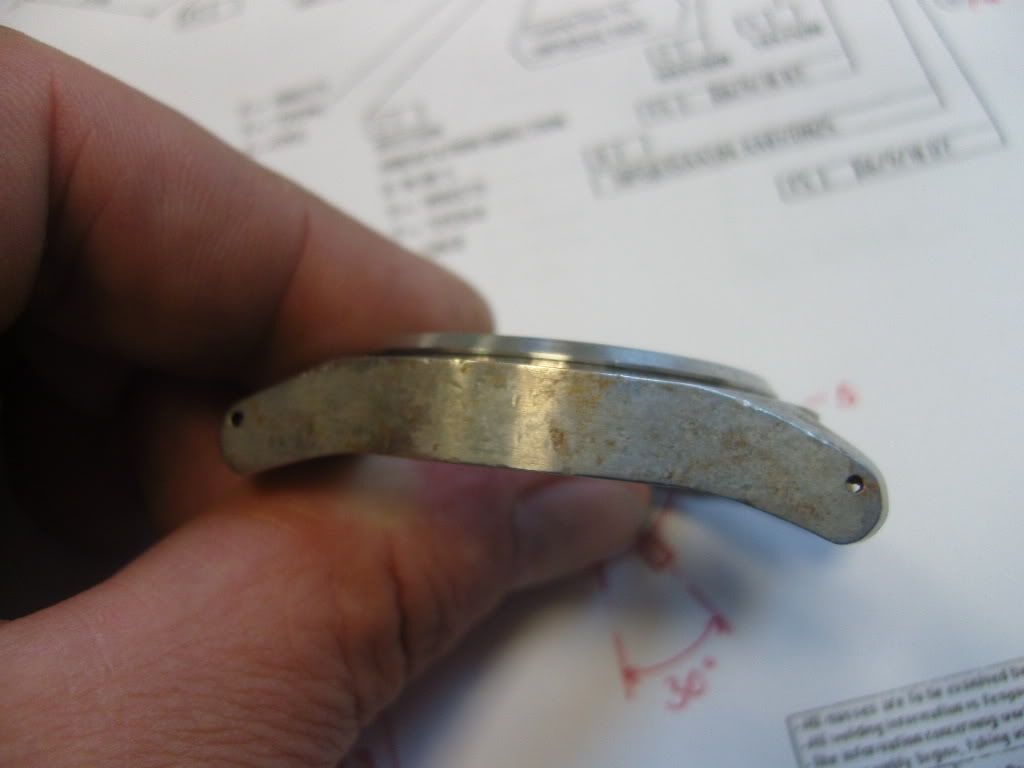
Here are detailed views of the welded lugs
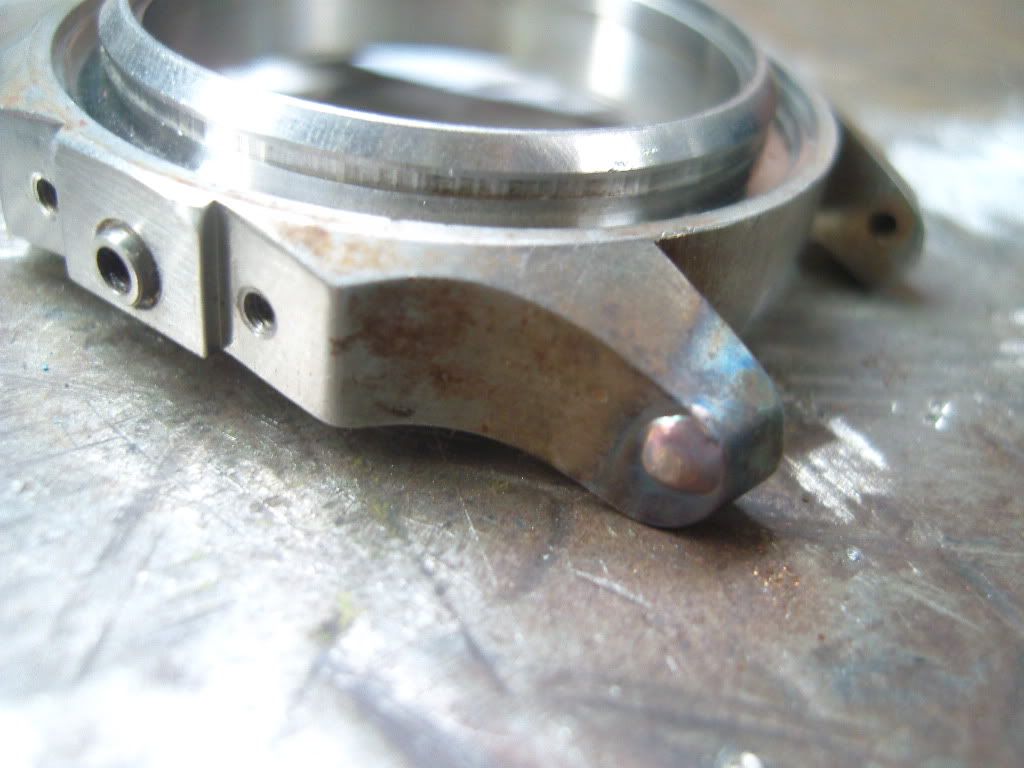
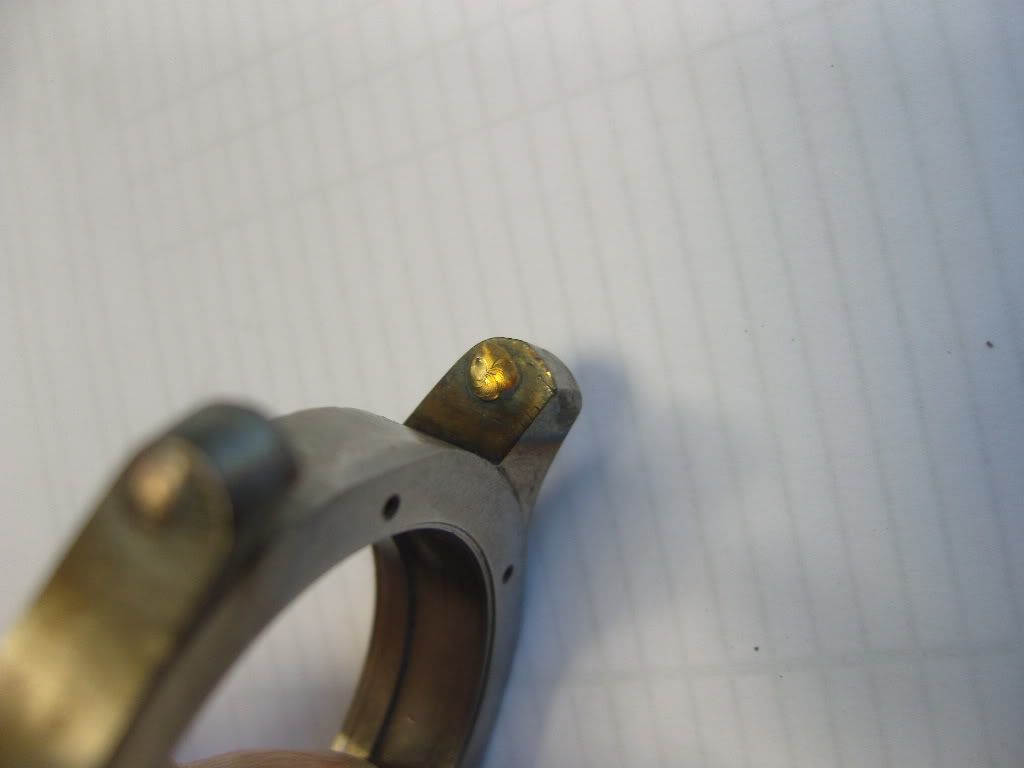
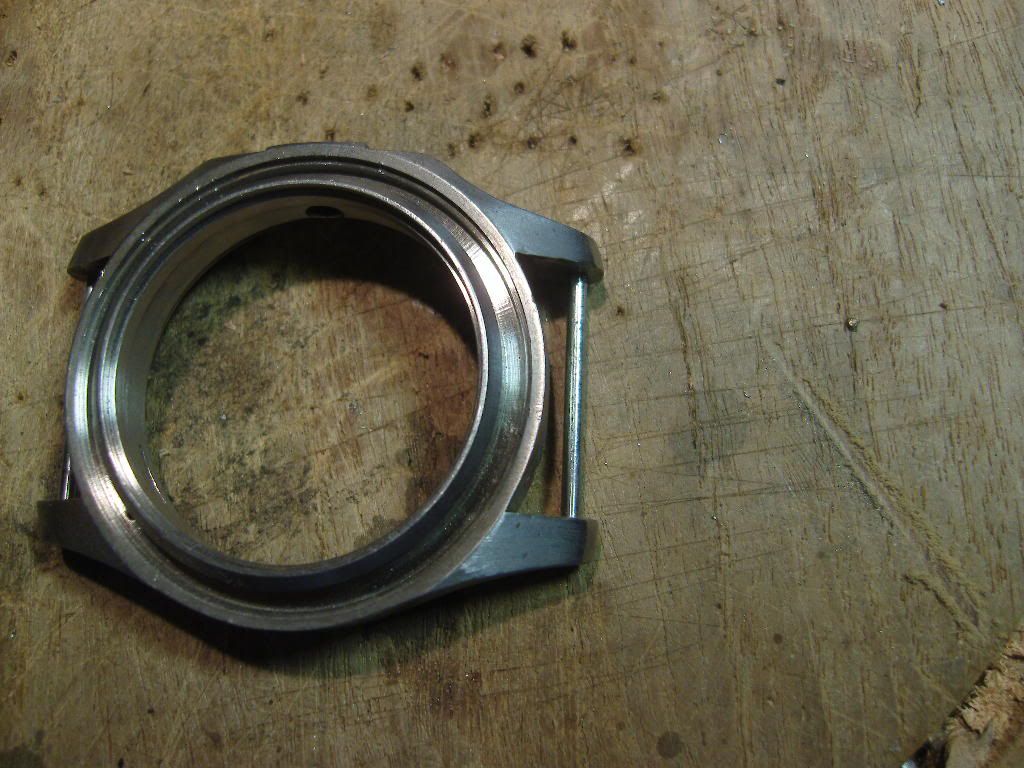
Next step is filing the lugs back to the shape they had before, after that I have to drill new holes for the lug bars.
To be continued….
-
Thank you guys, this is just the result of the summary of what I've learned here and at all the other forums.
It is only a simple try of payback.
Thank you for looking
Greetz
Uwe
-
hope it won't last long until the final result is there.
Greetz
Uwe
-
Thank you K.
I am also looking forward for the final result.
Greetz
Uwe
-
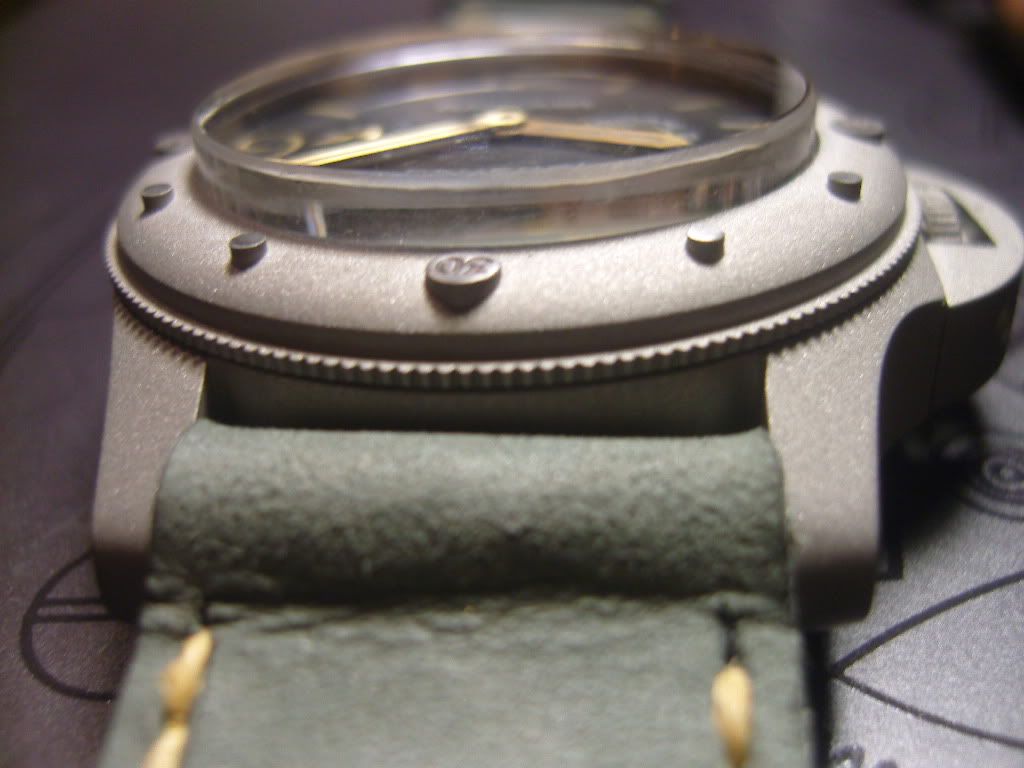
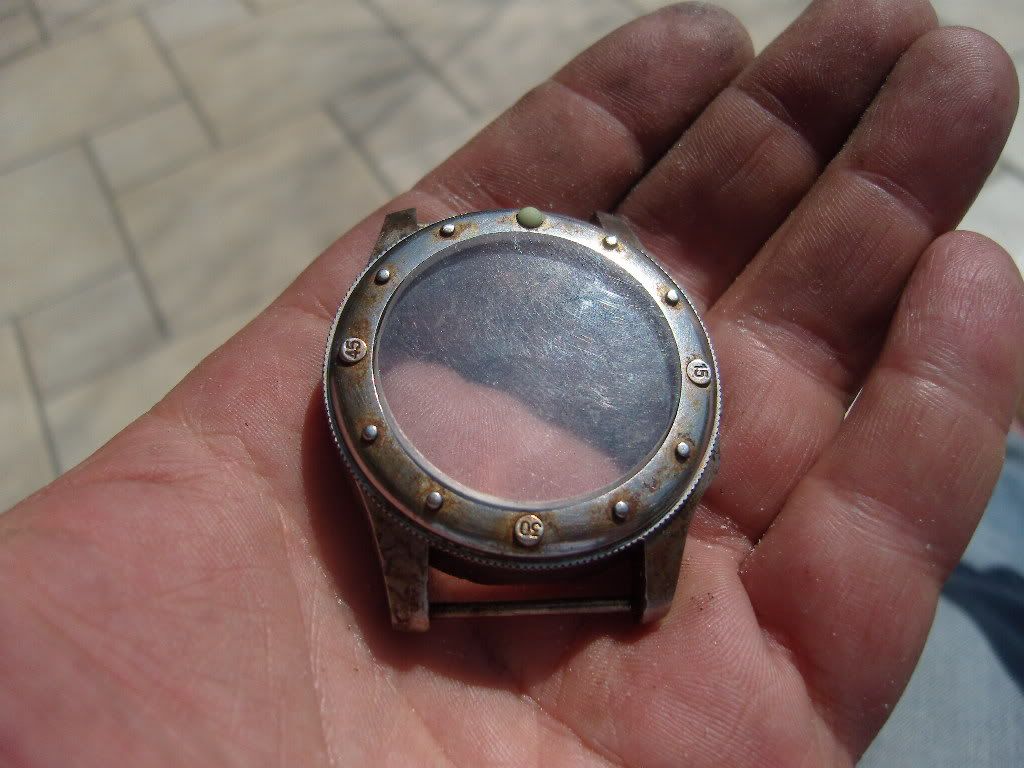
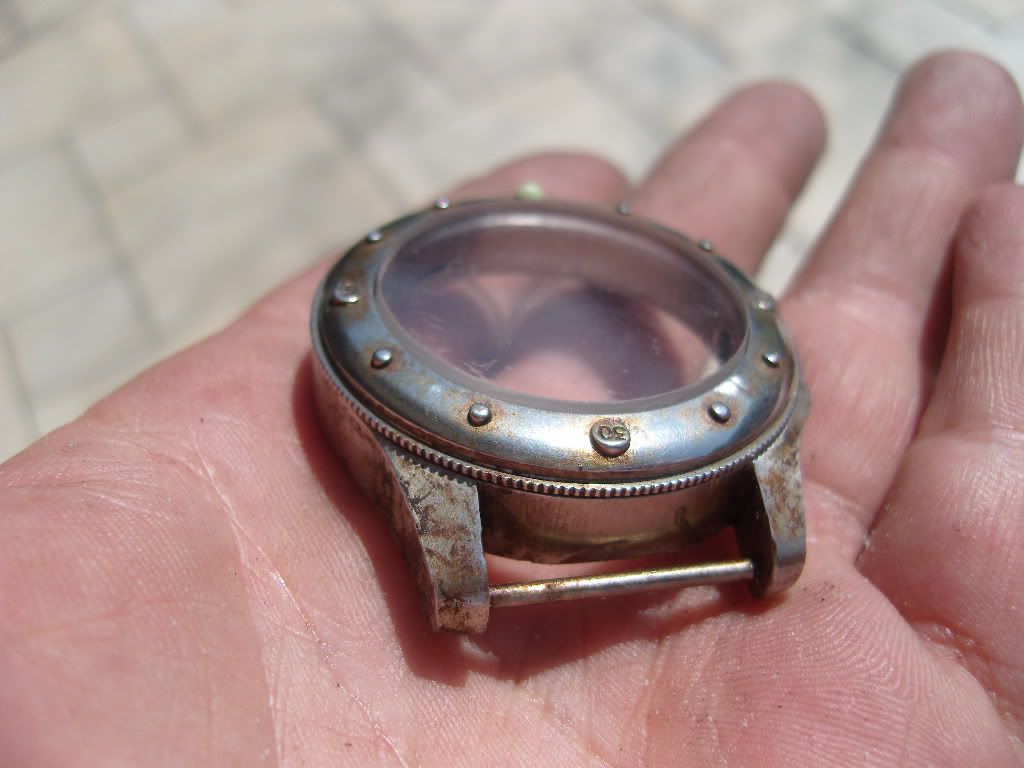
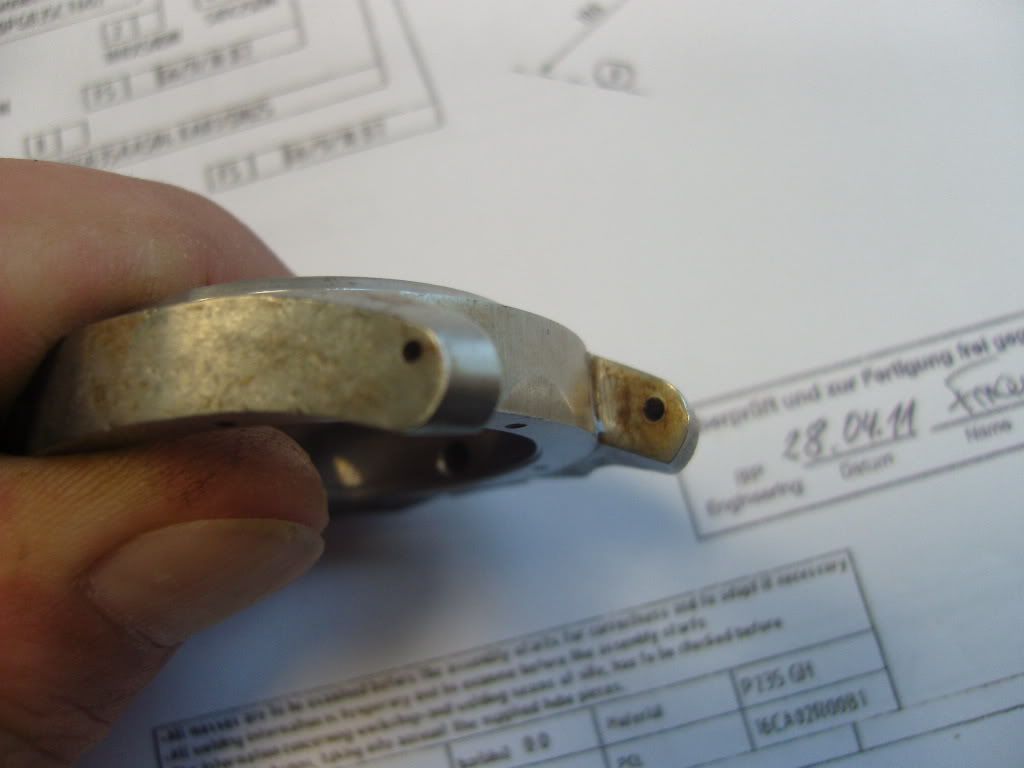
Hi Members,
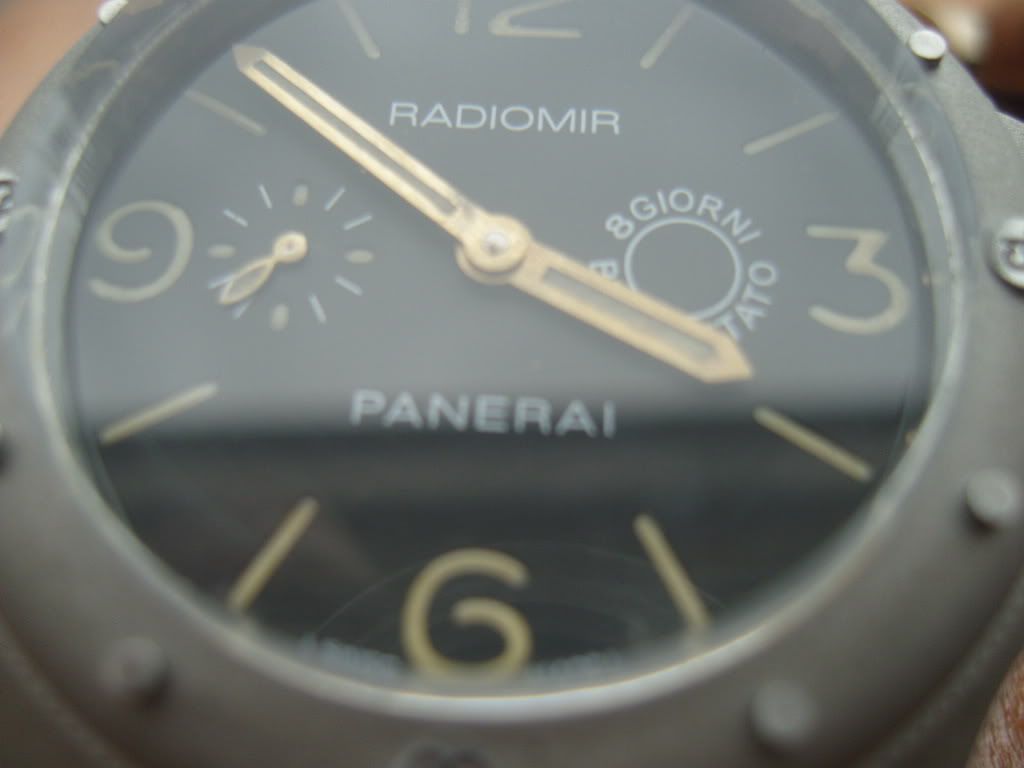
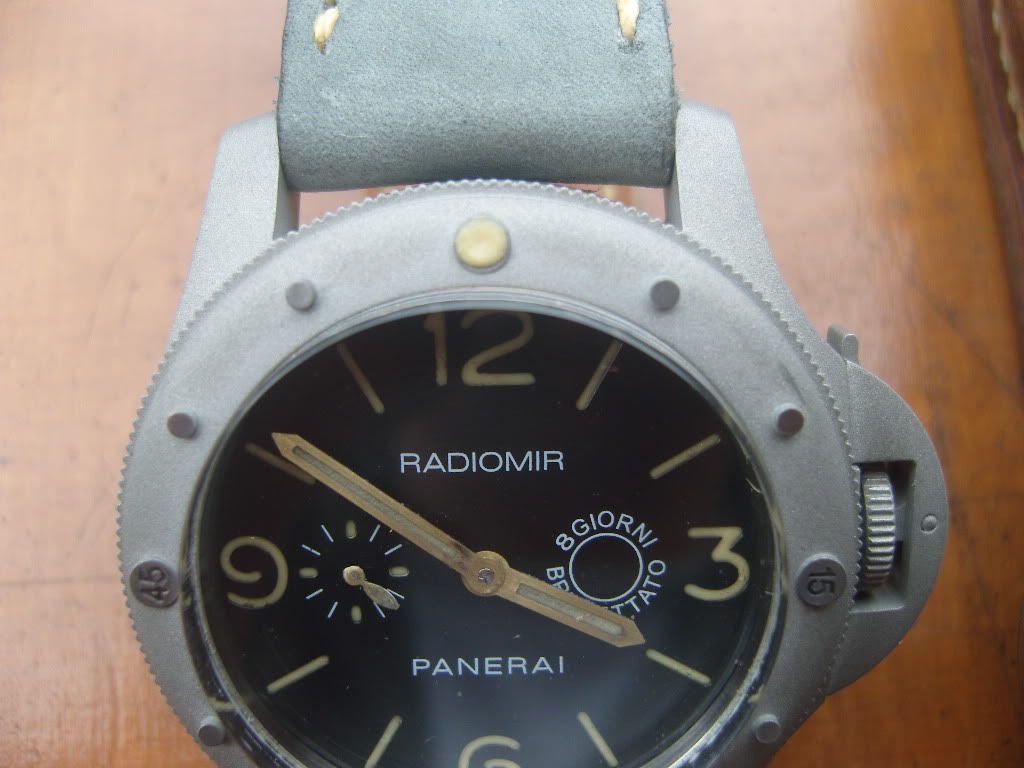
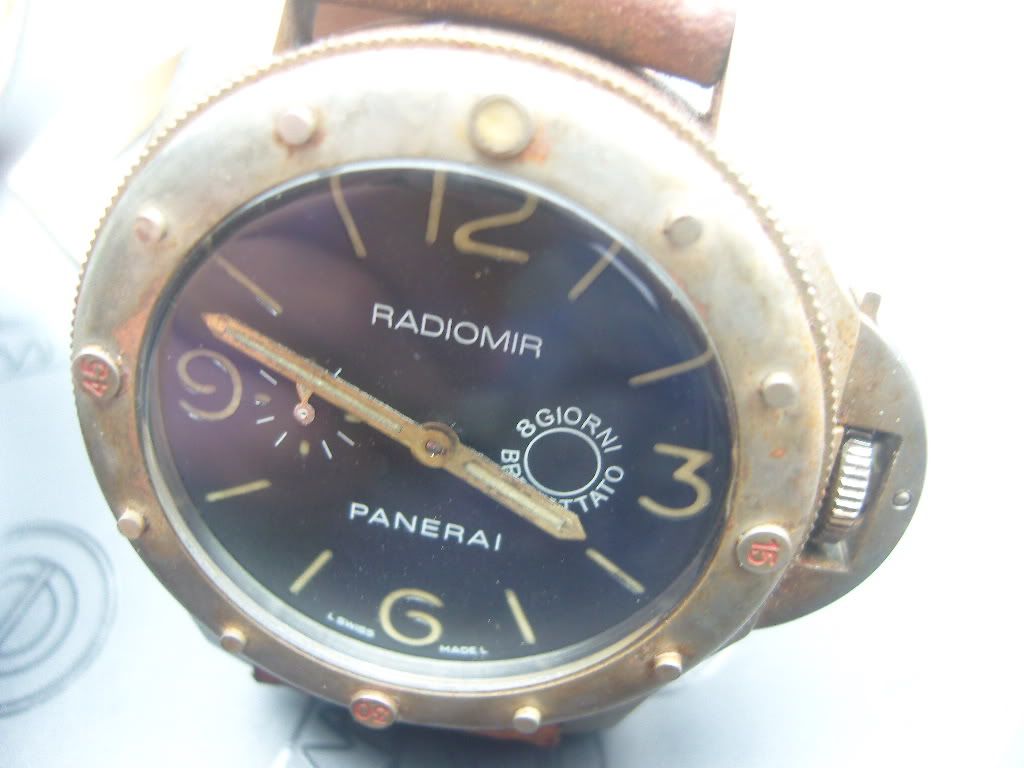
I decided to age my 47mm Egi.
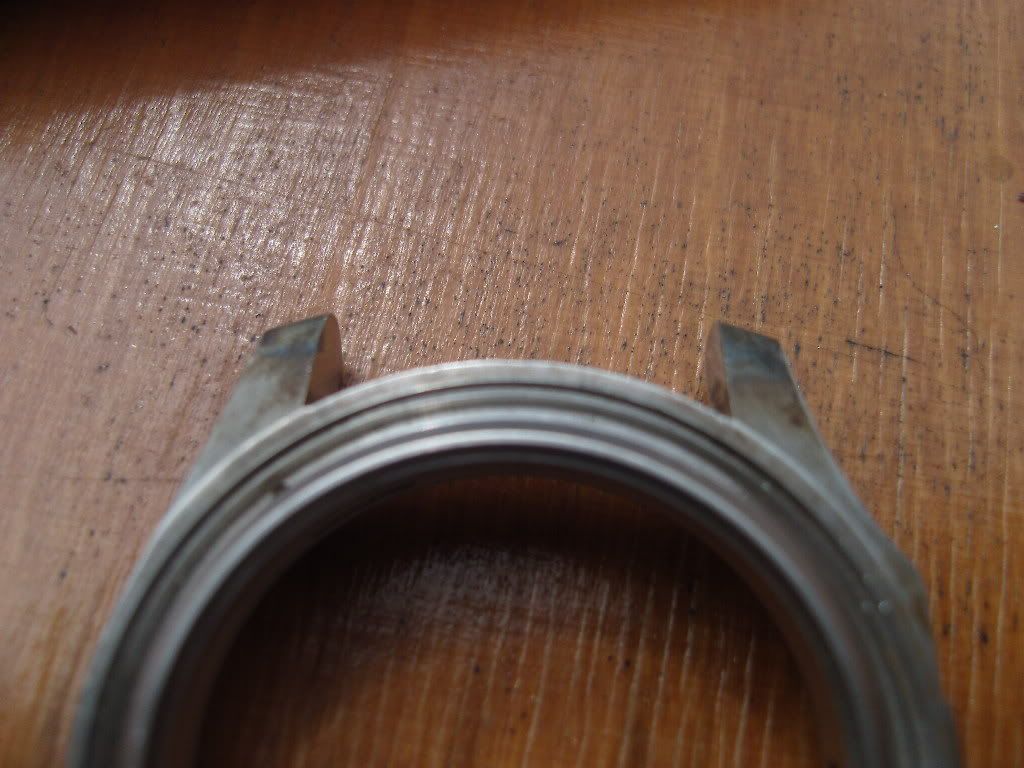
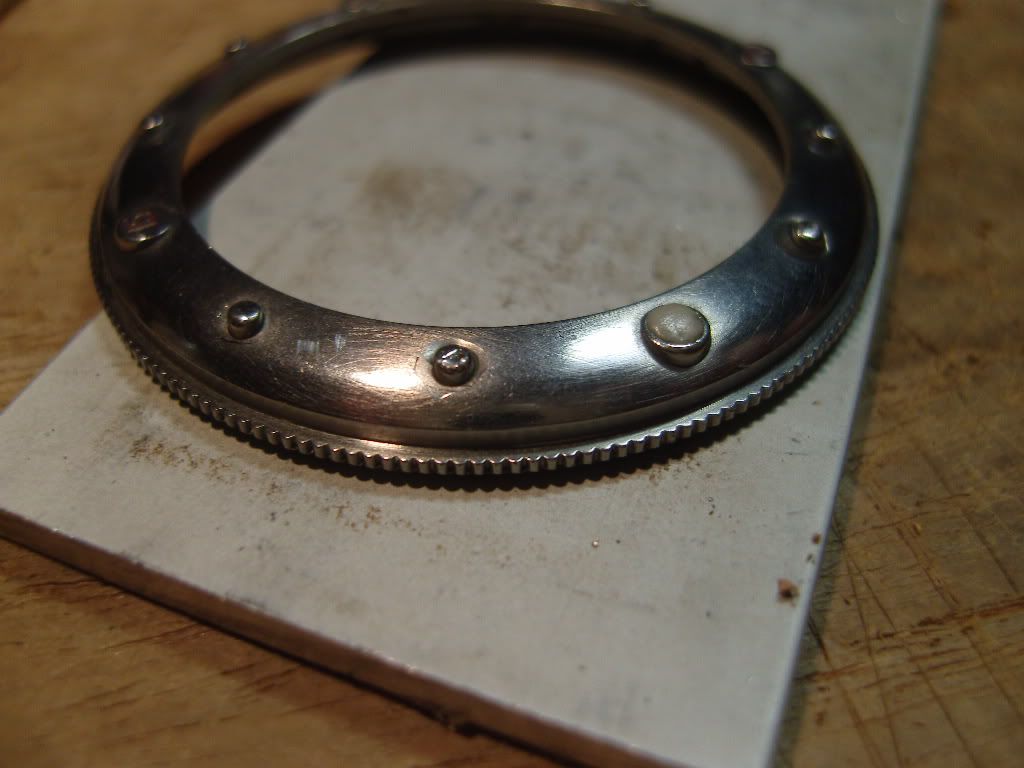
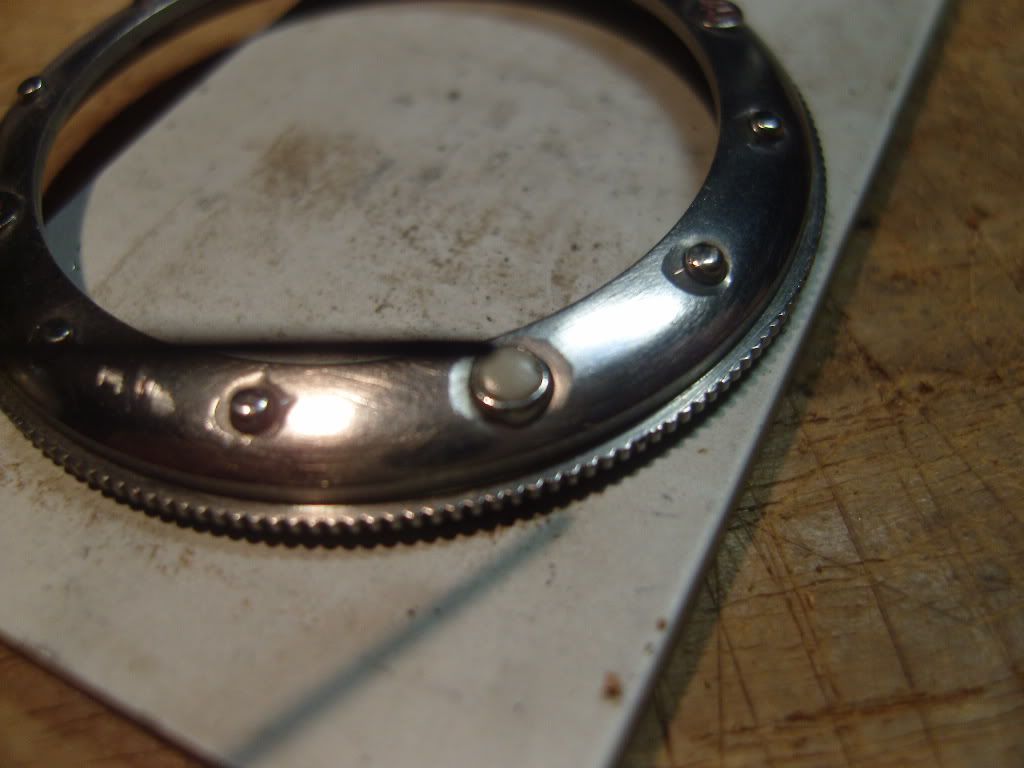
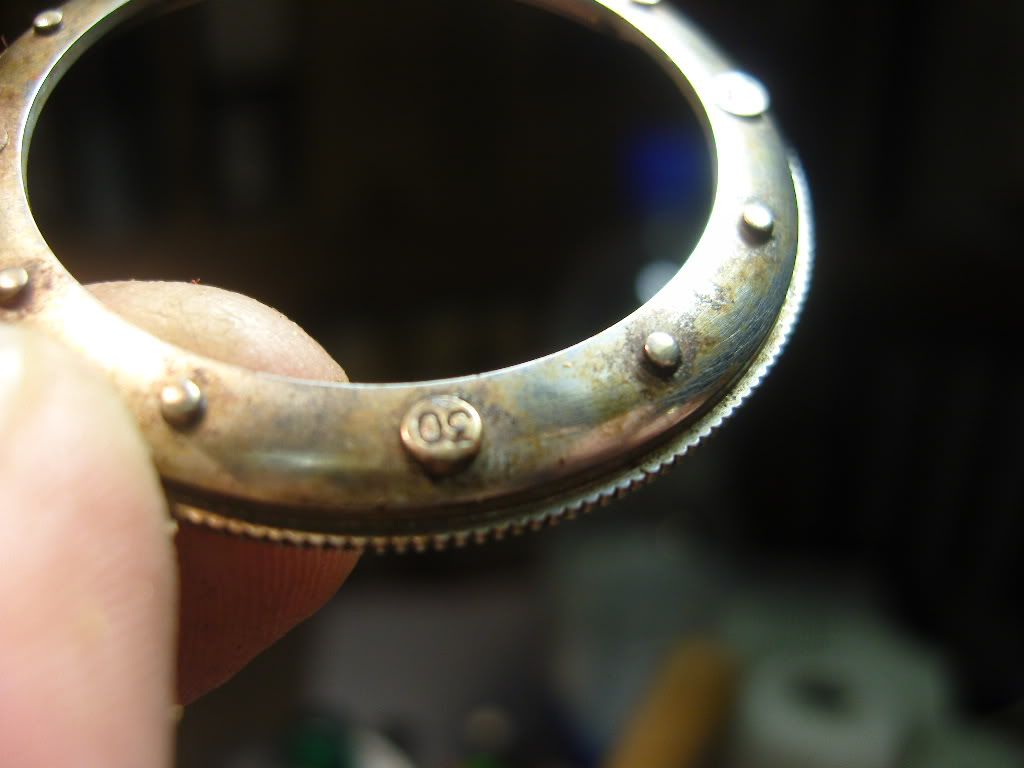
Here is the bezel I’ve started with. I wanted to get some contact corrosion through the contact
from stainless-steel with carbon-steel in connection with some moisture
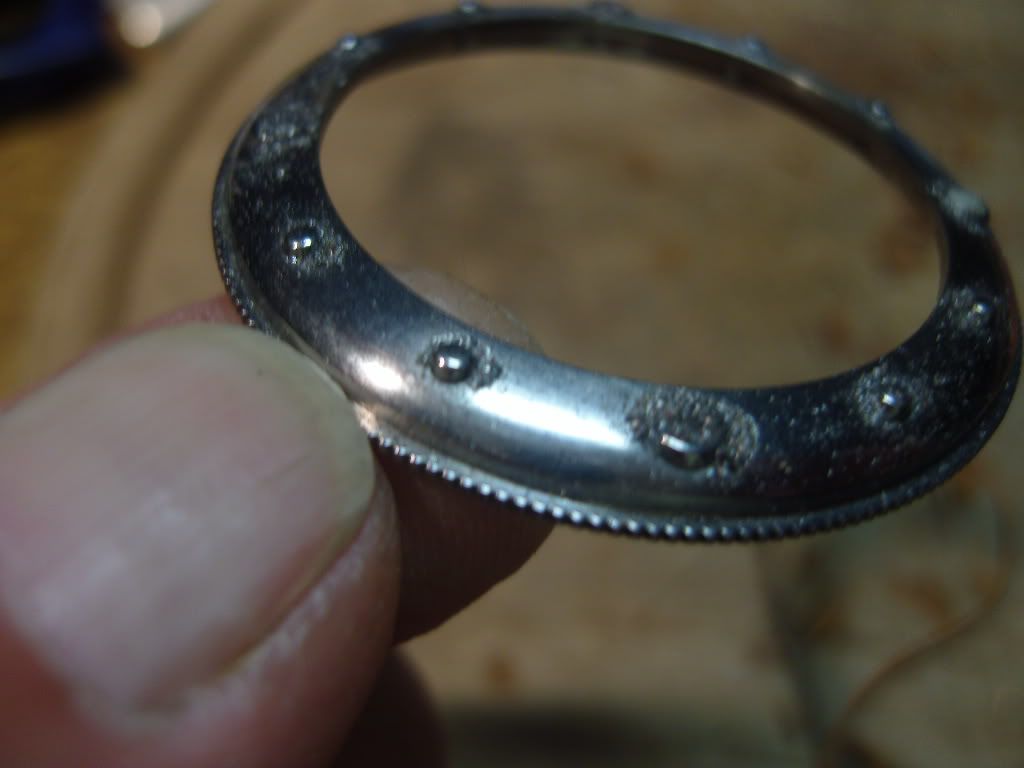
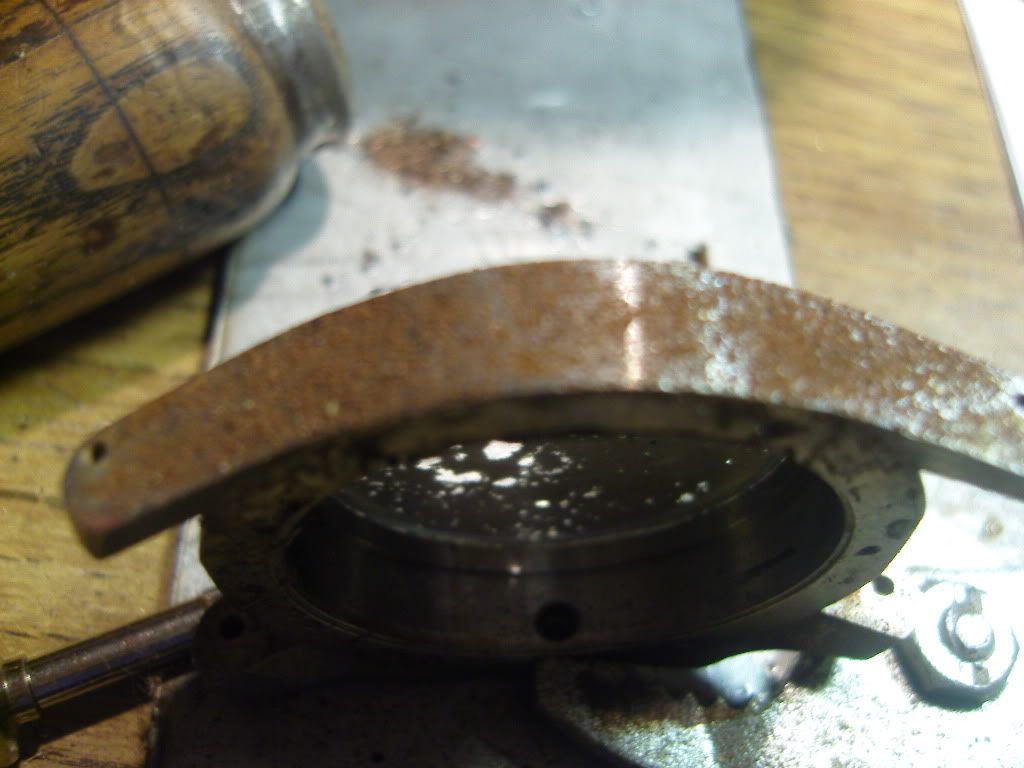
The bezel was polished with cape cod and the bezel pearl was made with laquer and lume powder. I applicated a drop of water on each pin
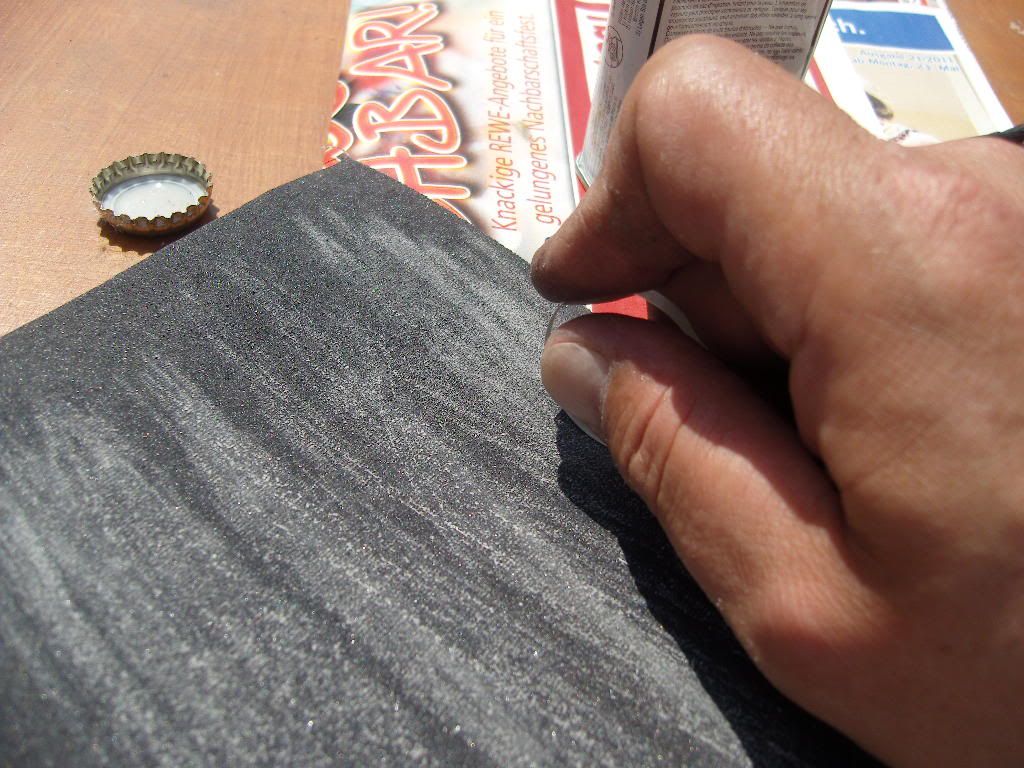
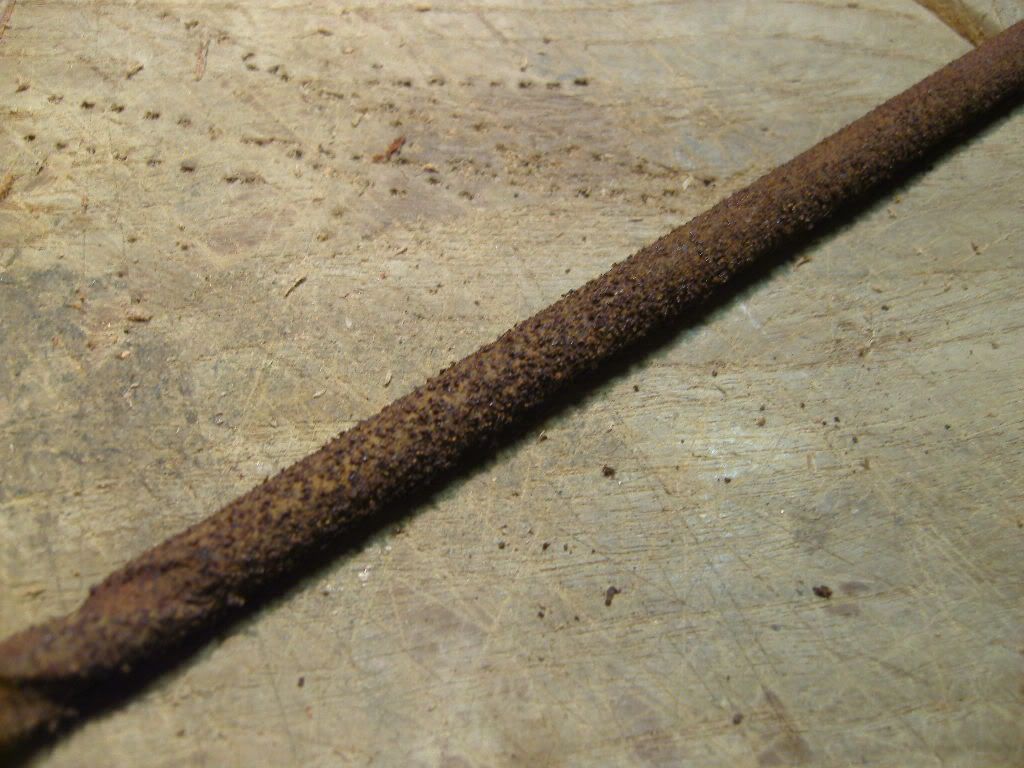
I used a file and an old scrap Metal from carbon steel to produce some Iron powder
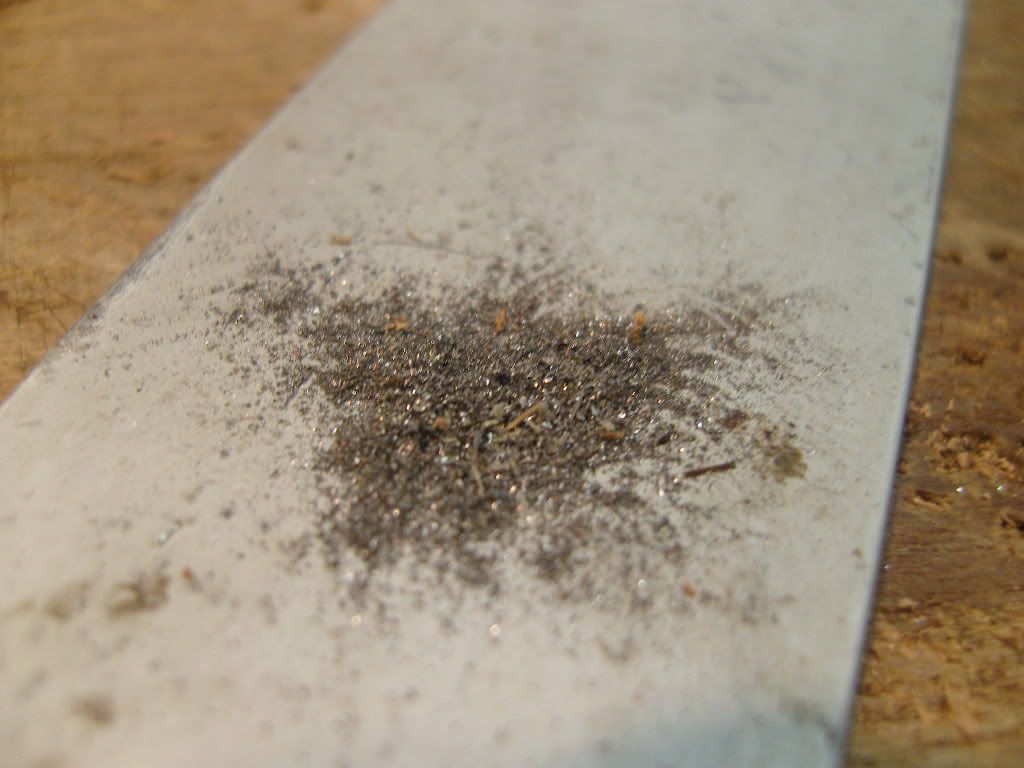
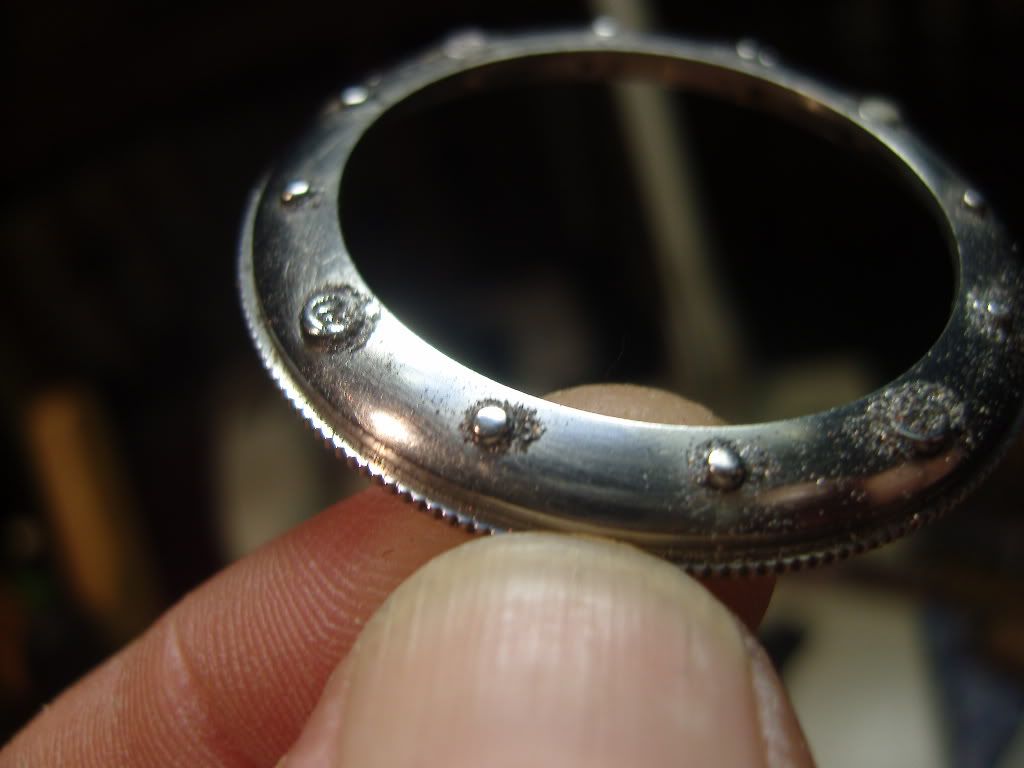
Then, I sprinkled the powder over the bezel
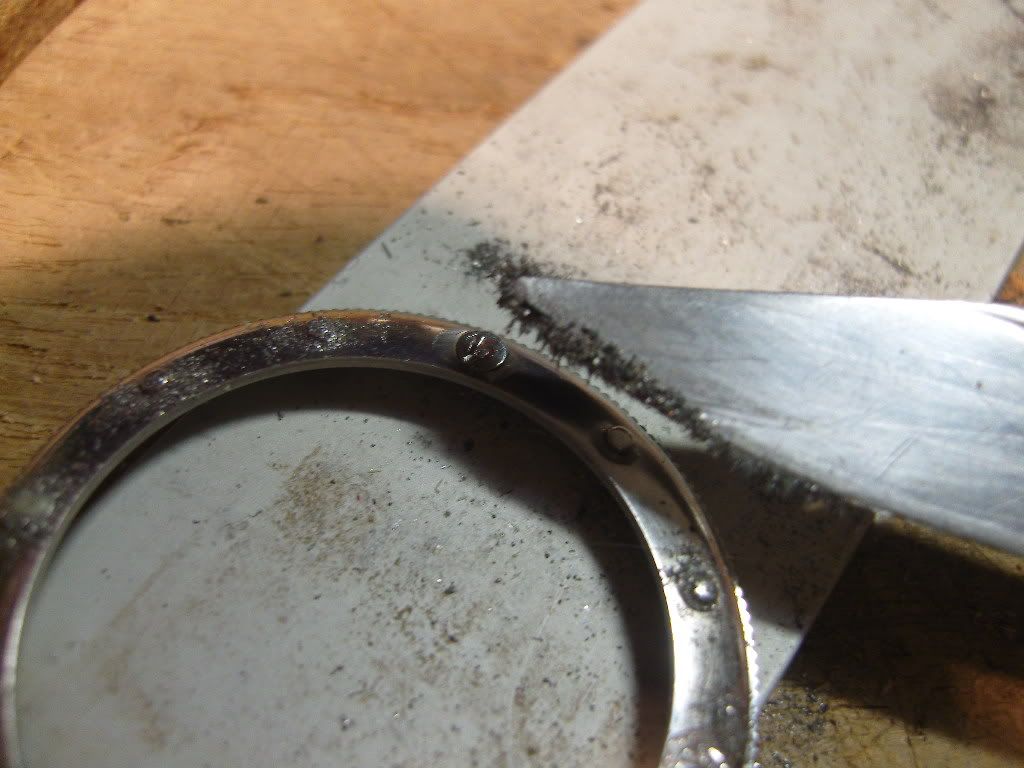
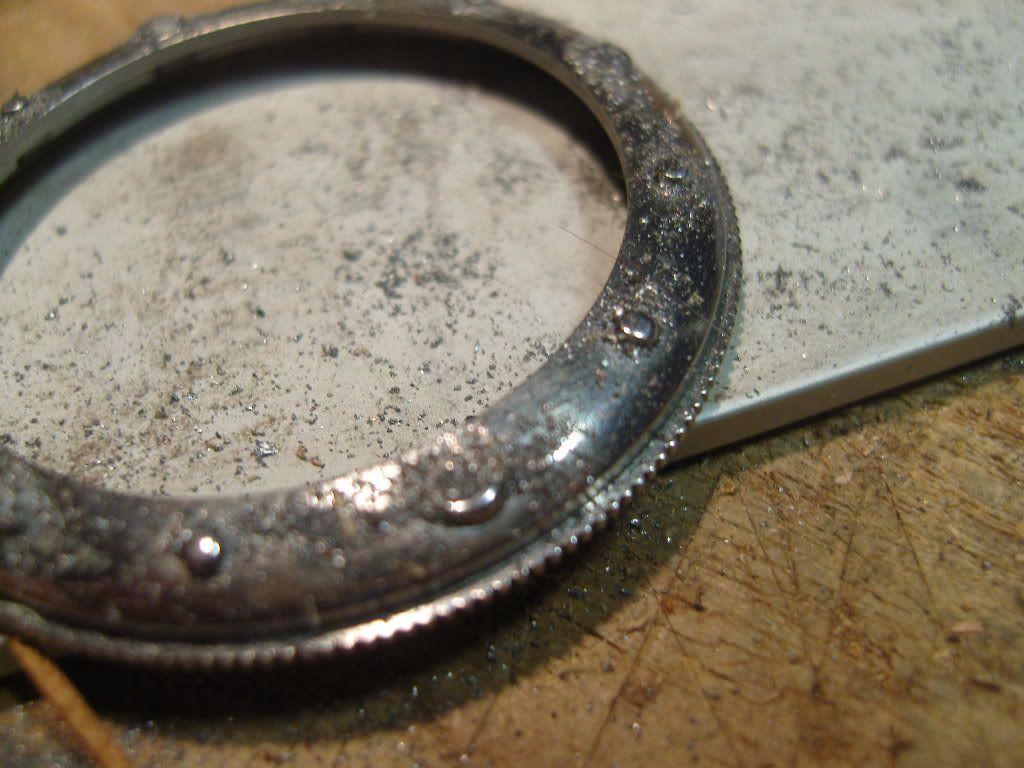
The redundant powder was blown away carefully. Only the powder around the pins was left, because of the moisture from that drop of water.
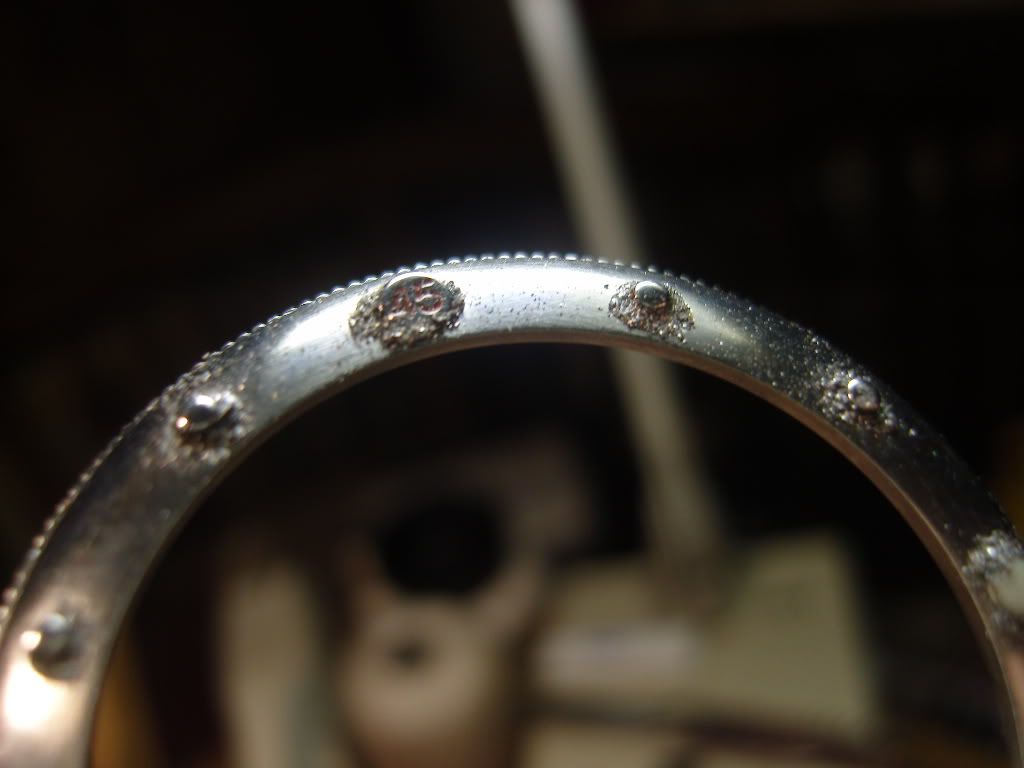
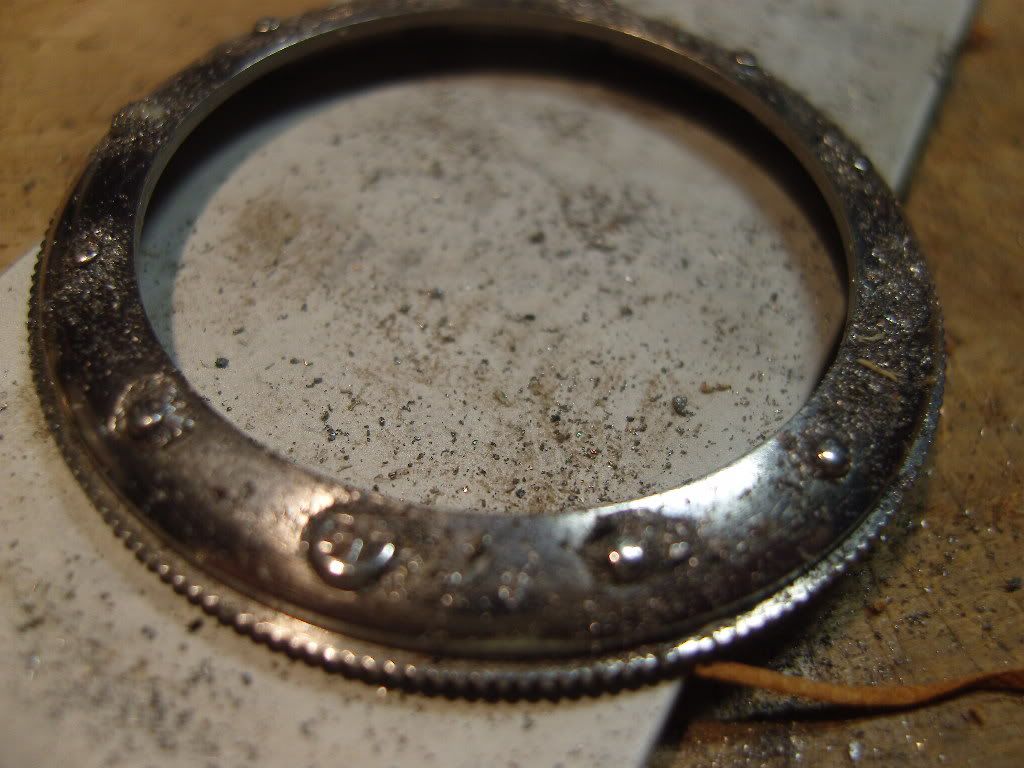
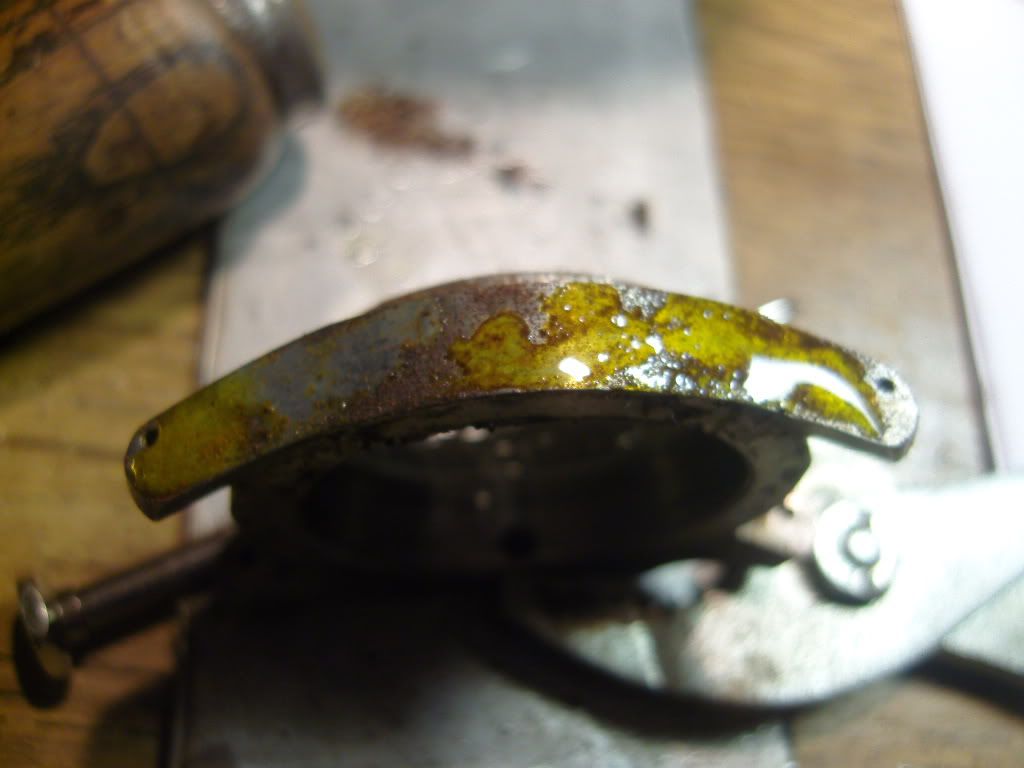
I placed the prepared bezel in a container with some water ( for a moist climate ) at the bottom.
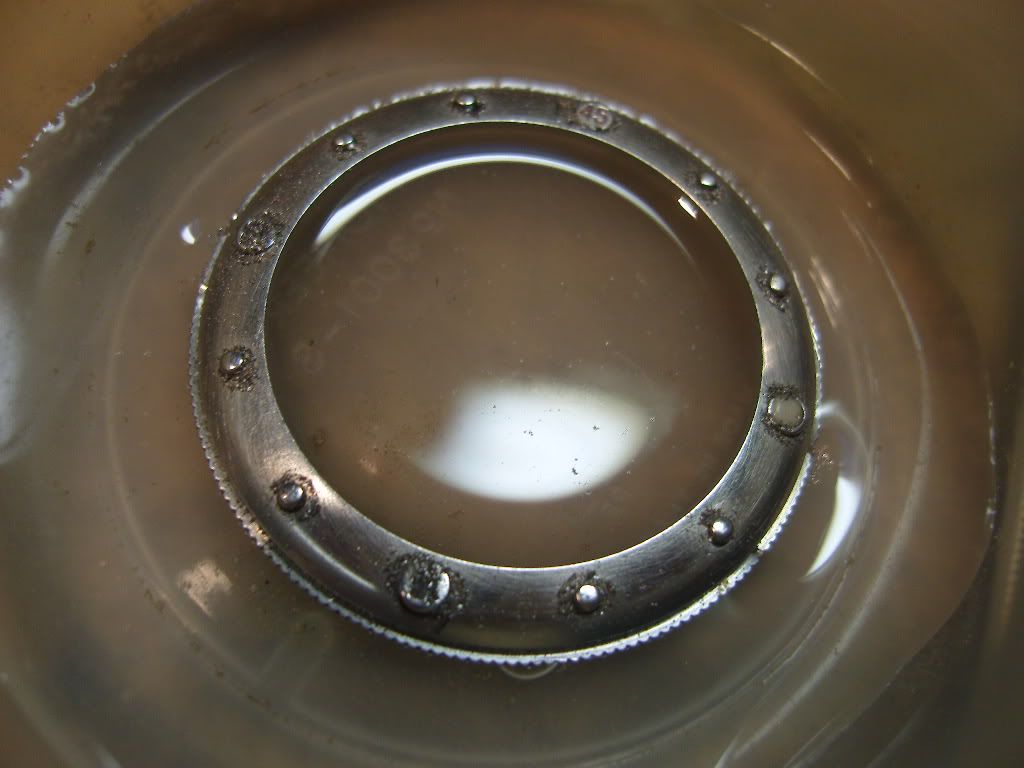
After three hours, the bottom from the bezel started to get a little rusty
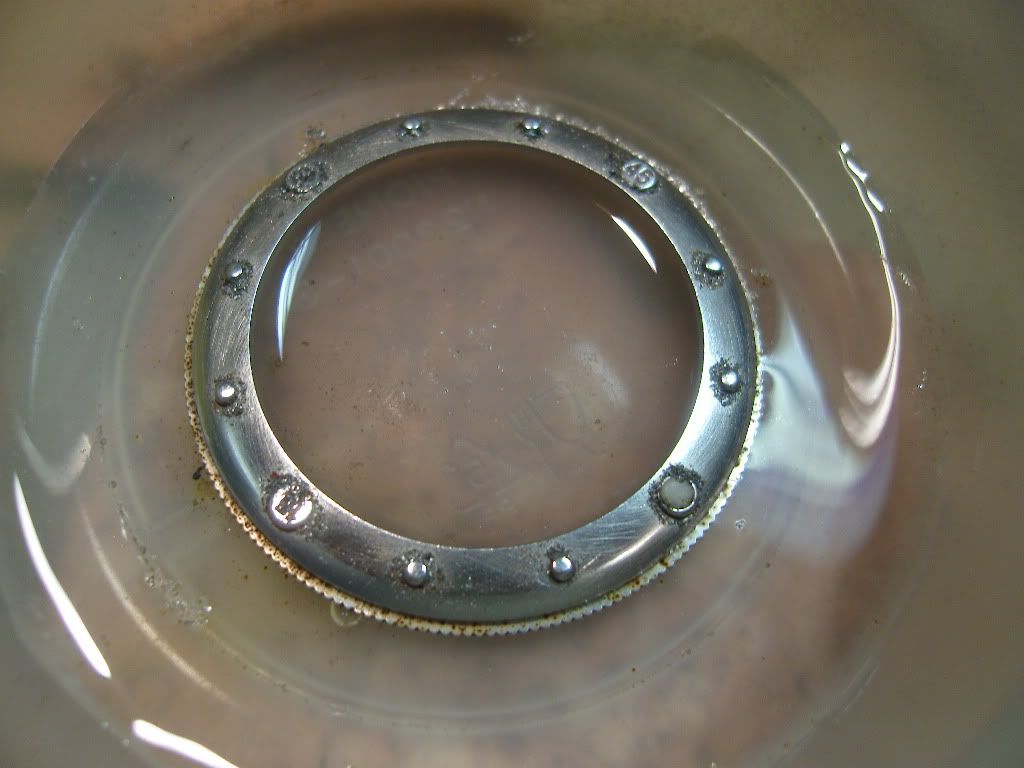
After one day, about 28 hours later, the bezel got a real rusty surface. Not too hard, but also not simple to remove. I rubbed with a cloth over it and it was still there.

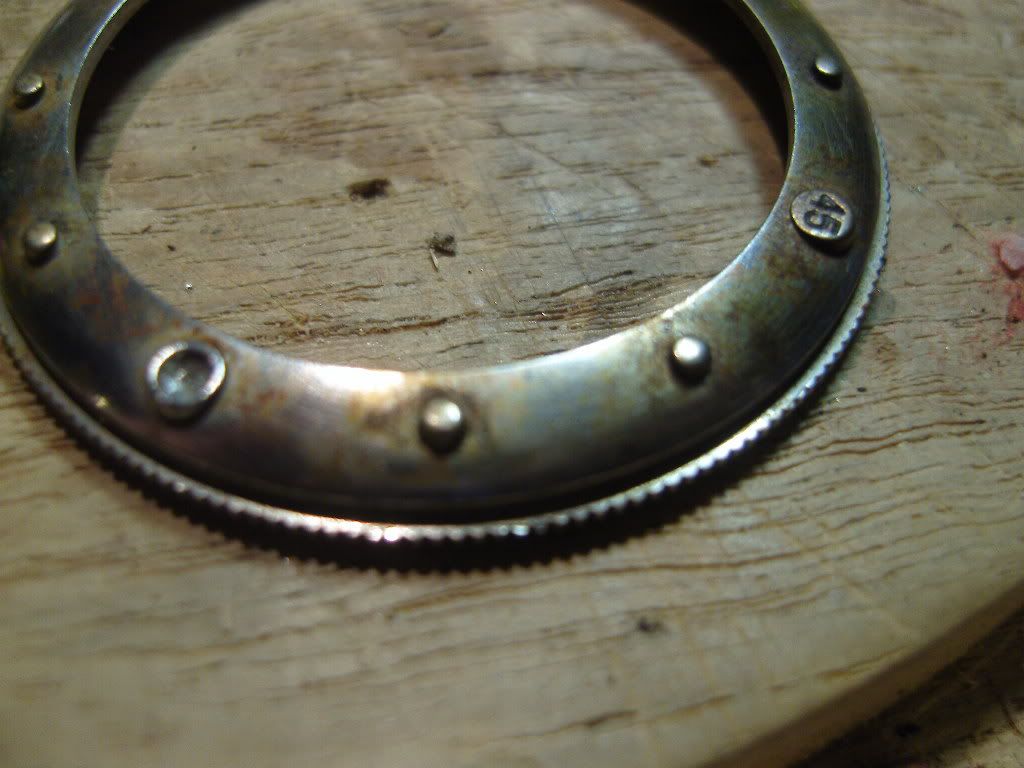
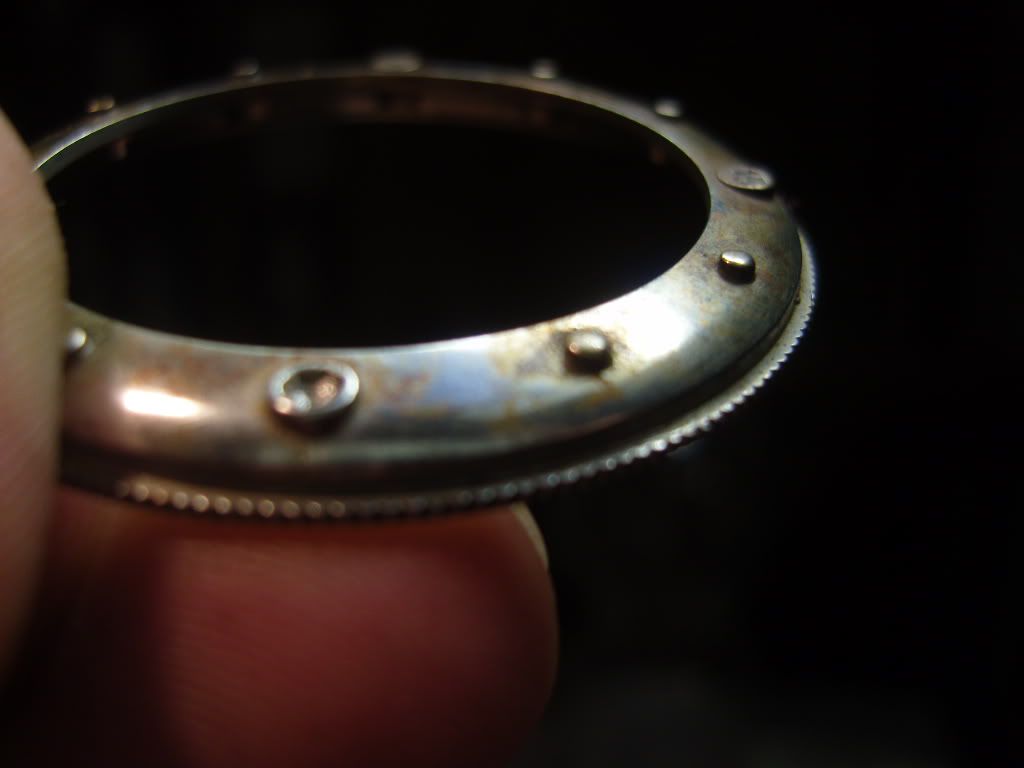
I also removed the pearl, it needs a more aged one.
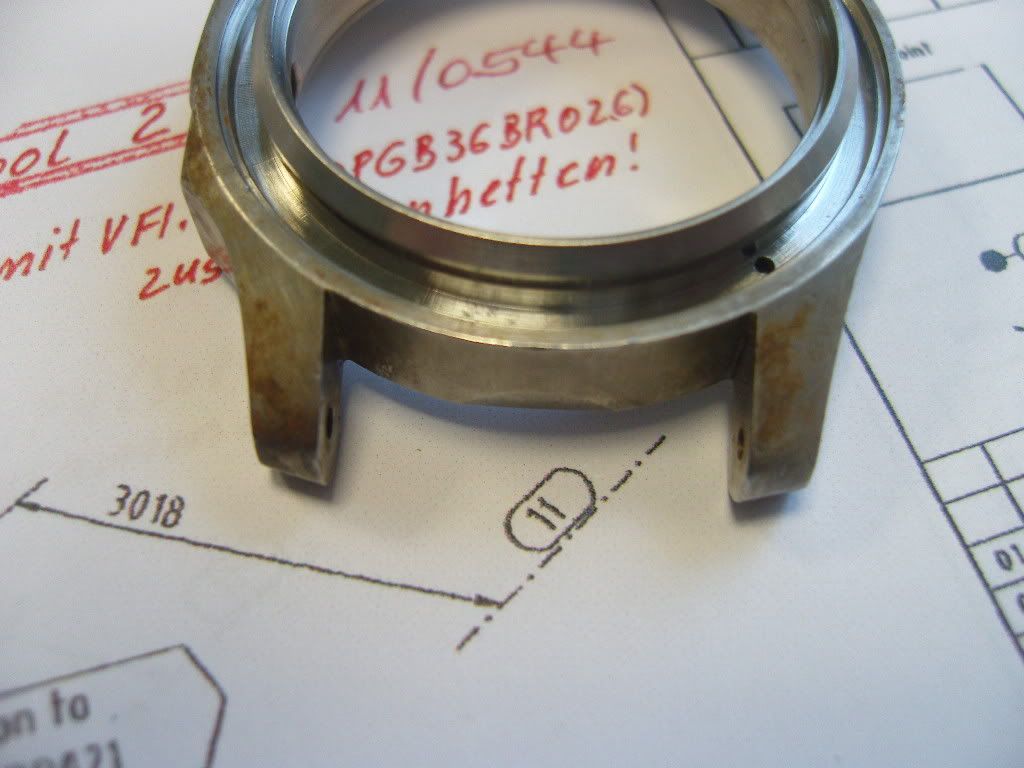
The next thing I want to age is the case. It is now in a container, treated with the same procedure.
Thank you for looking
Greetz
Uwe
Ok Guys,
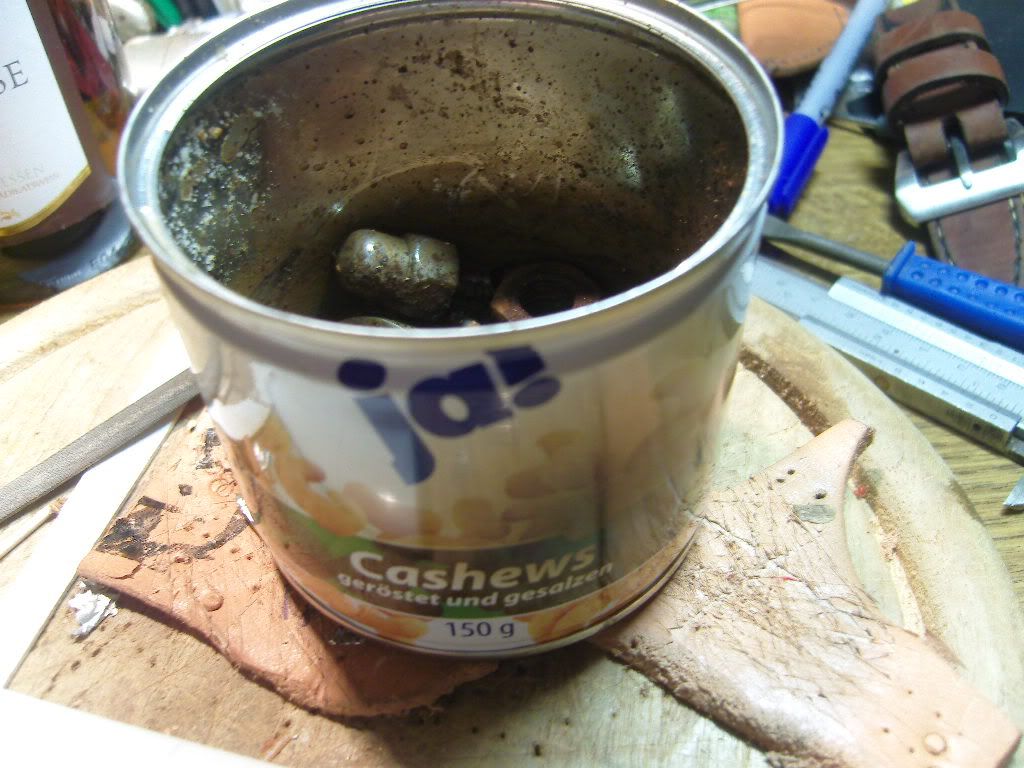
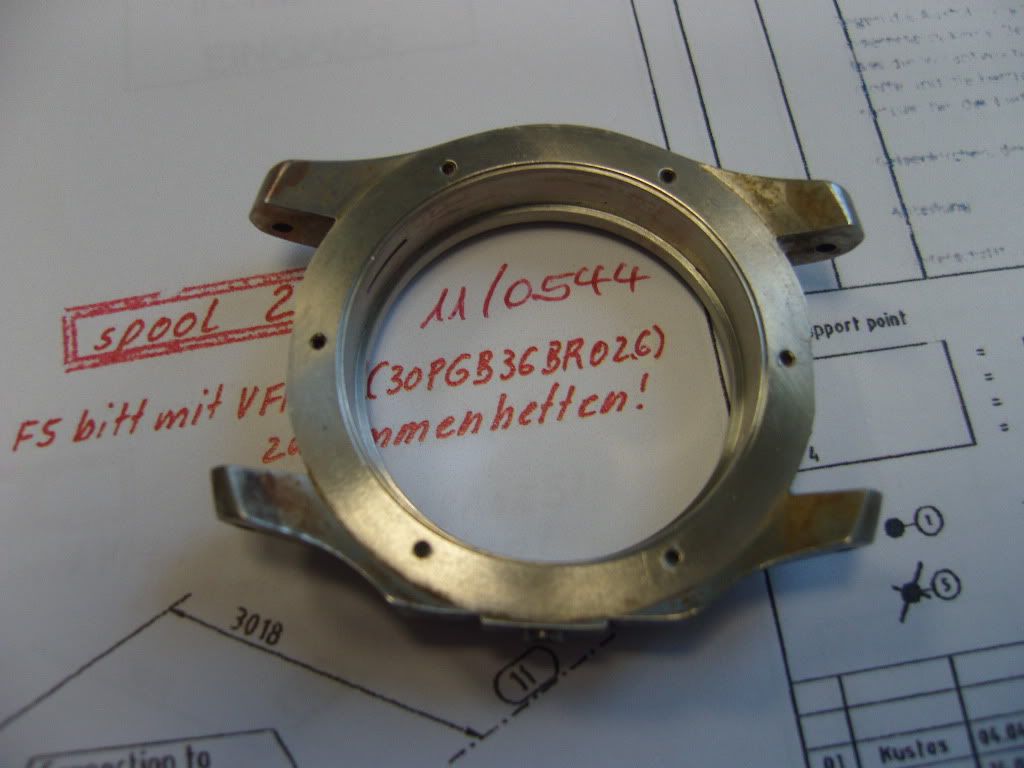
busy again yesterday. I took the case the day before yesterday in a can, together with rusty screws and some other scrap metal, added some water and were waiting for results.
Here is the can with the case and the rusty stuff
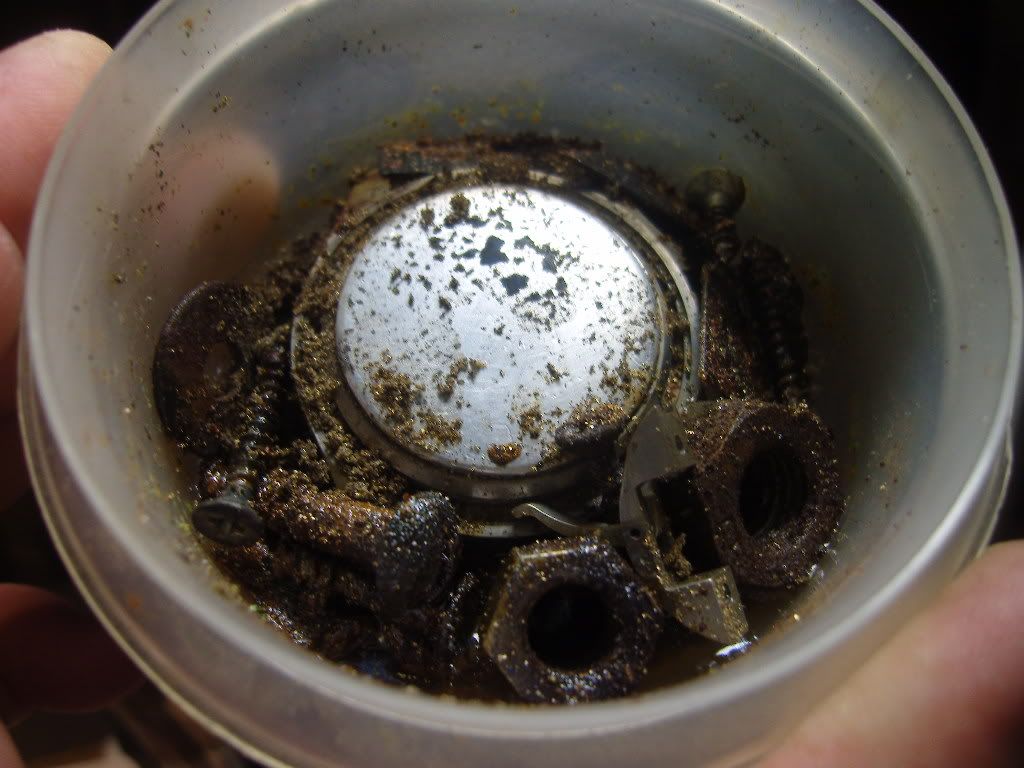
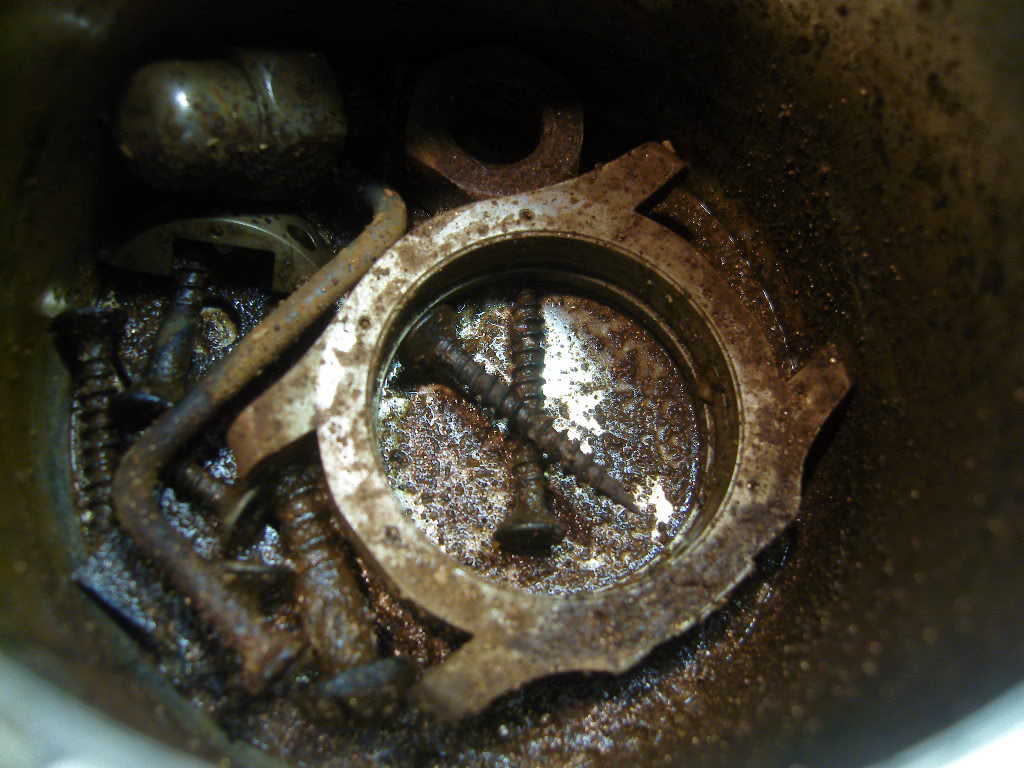
And this is what came out yesterday evening after about 24 hours
This was not the result I’ve expected. The rust was not permanent enough.
I guess the case is made from ahigher grade stainless steel, maybe more chrome in it.
So, what now ?
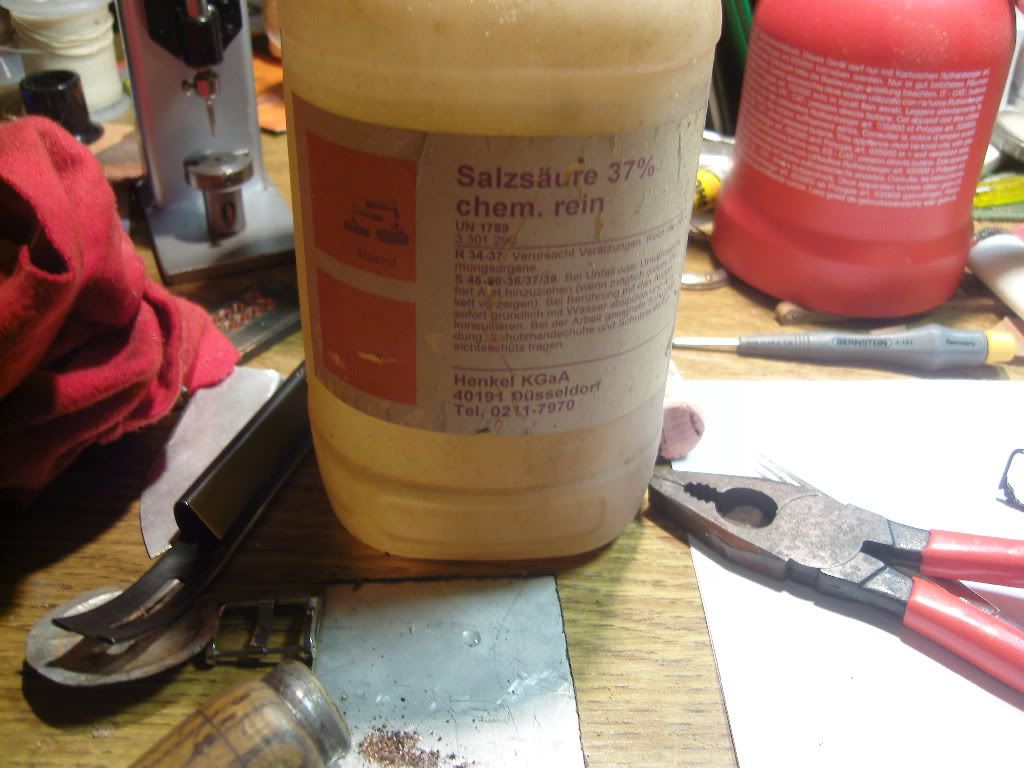
I had some muriatic acid and a rusty drill
Scratched the rust from the drill, applicated it to the case and added some drops of acid
Until the surface was dry, I took the case back in the can with the rusty stuff.
Added some water and cooked it with a propane burner until all water was vaporized.
Now the result was more in the direction I wanted.
But still not permanent enough. Now came the time to go the harder way. The case or me
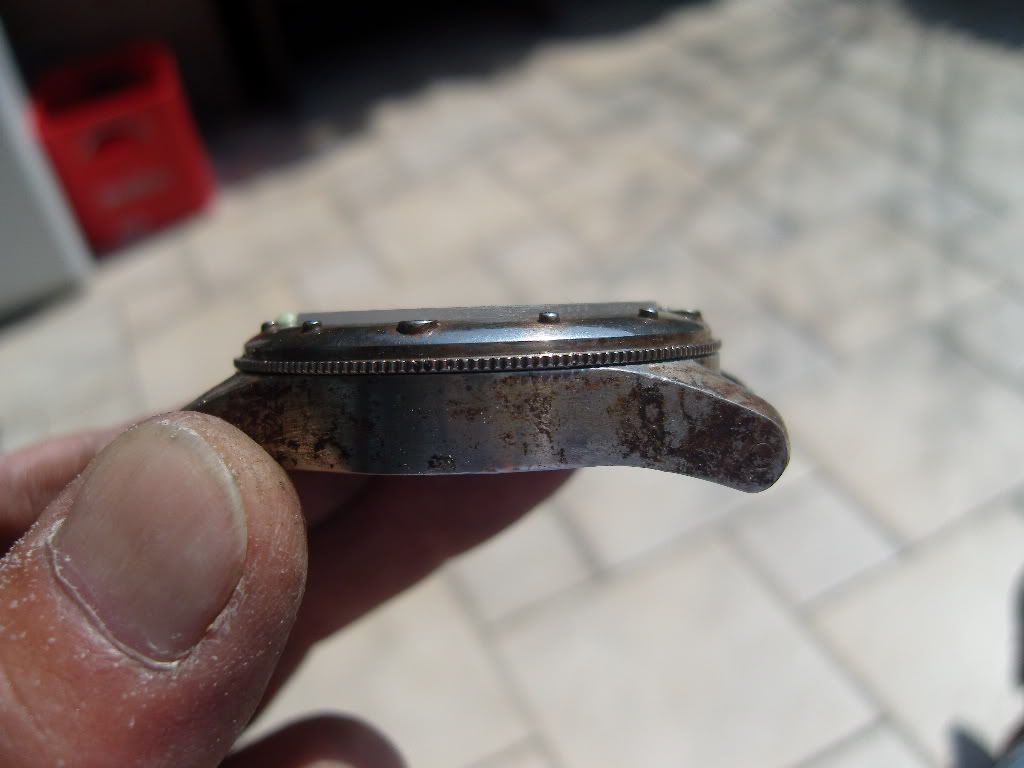
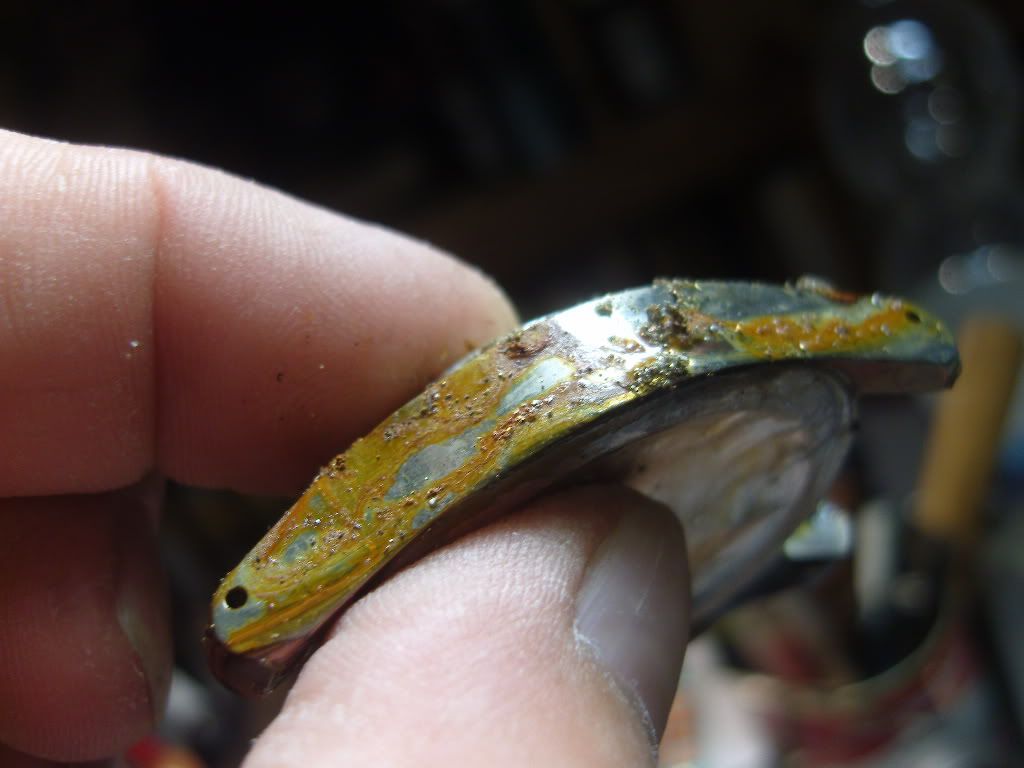
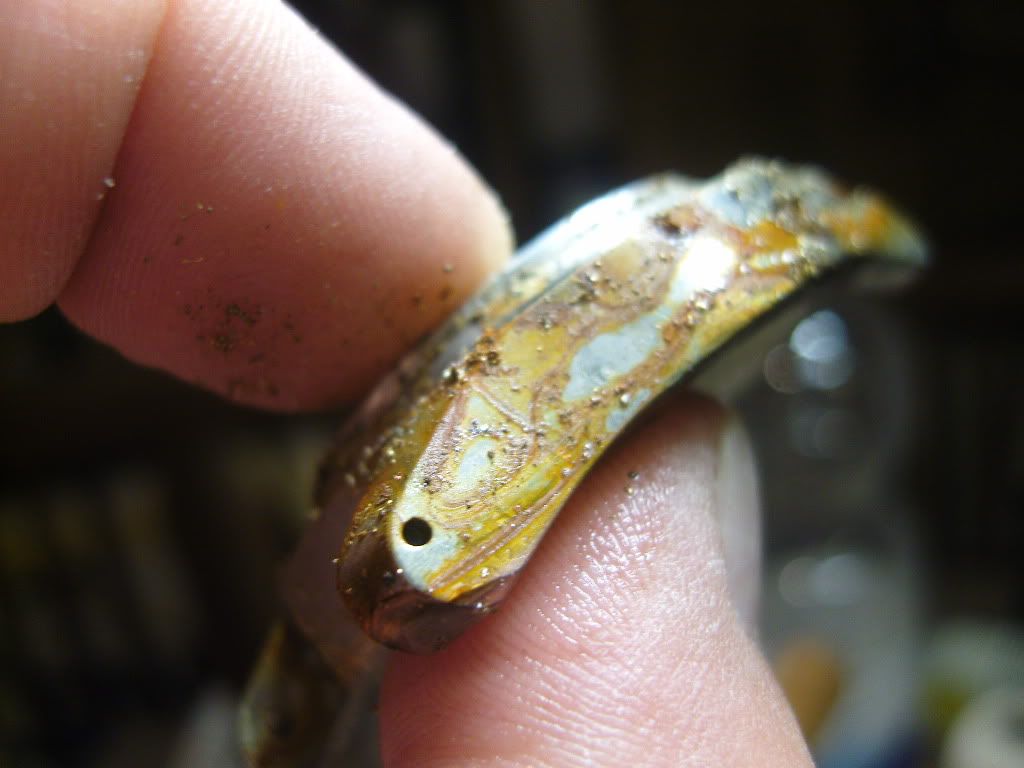
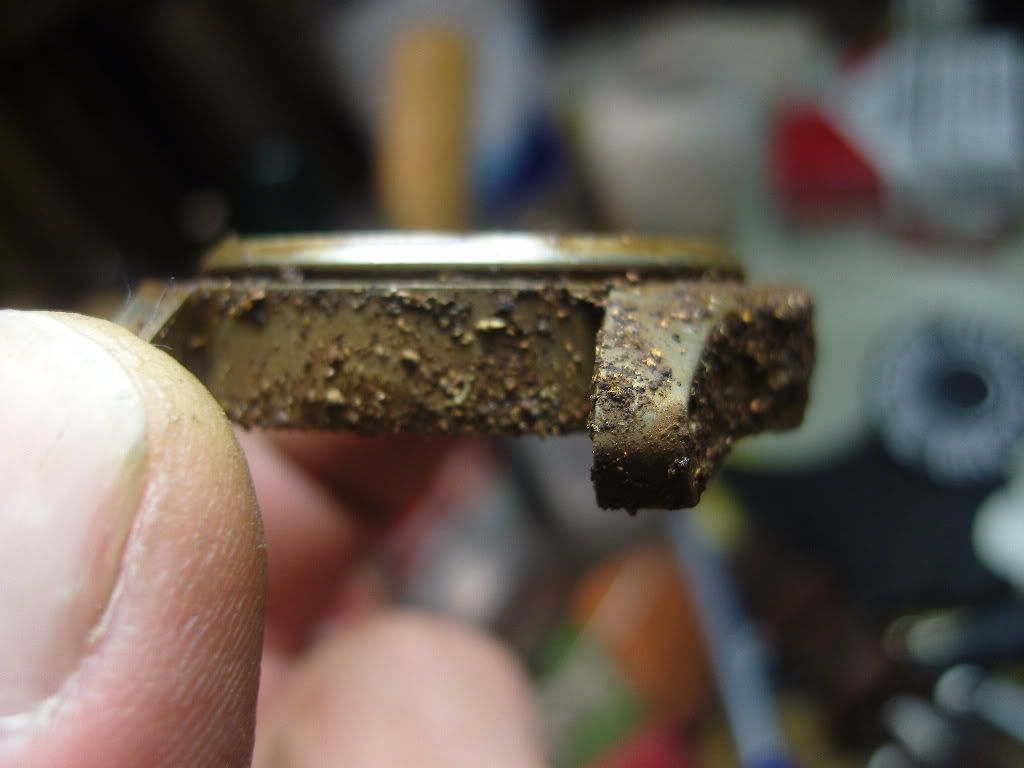
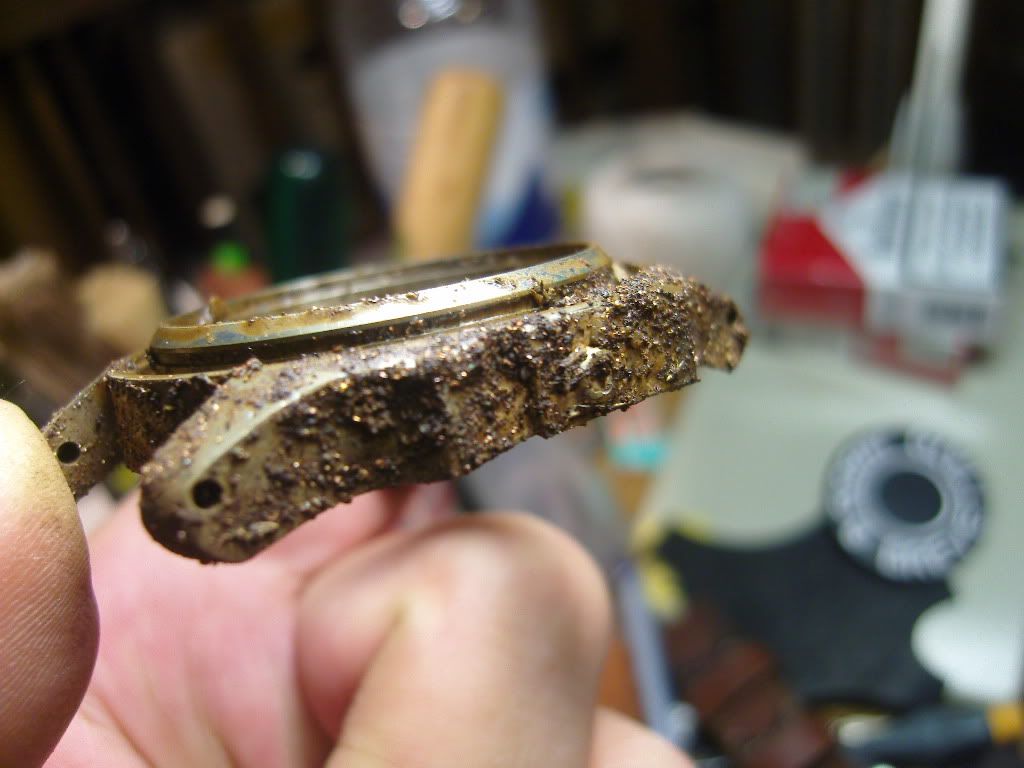
I grabbed my good old propane burner and started the final treatment. I’ve heated the case up with all the rusty and rotten goodies on it, all or nothing..
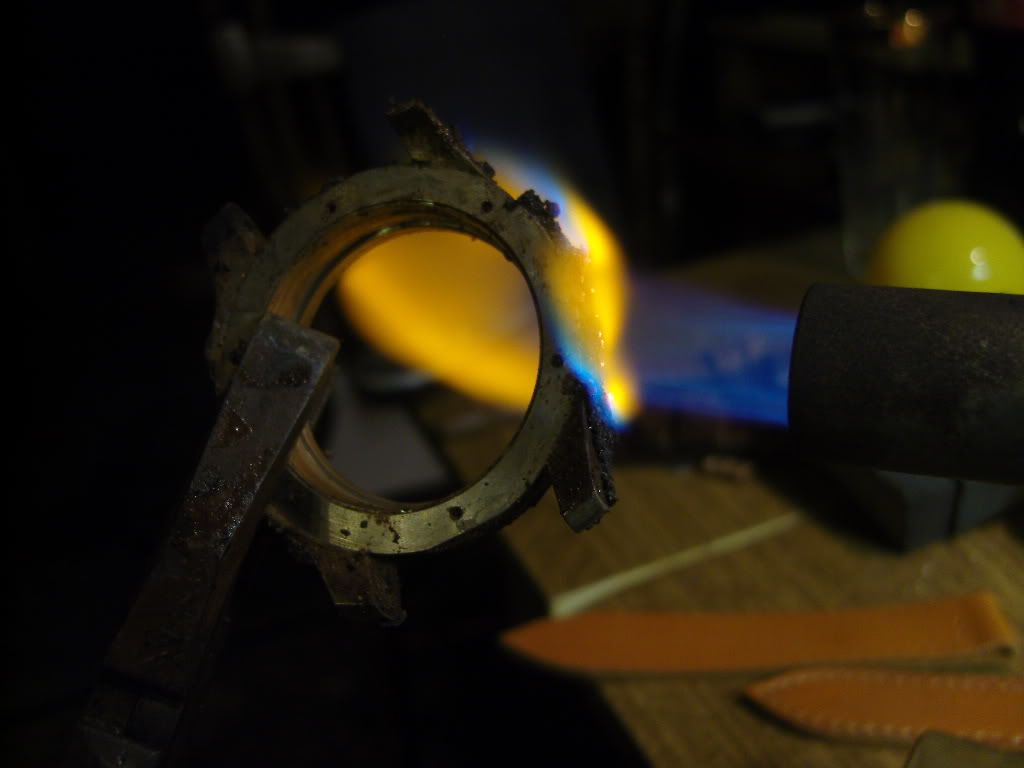
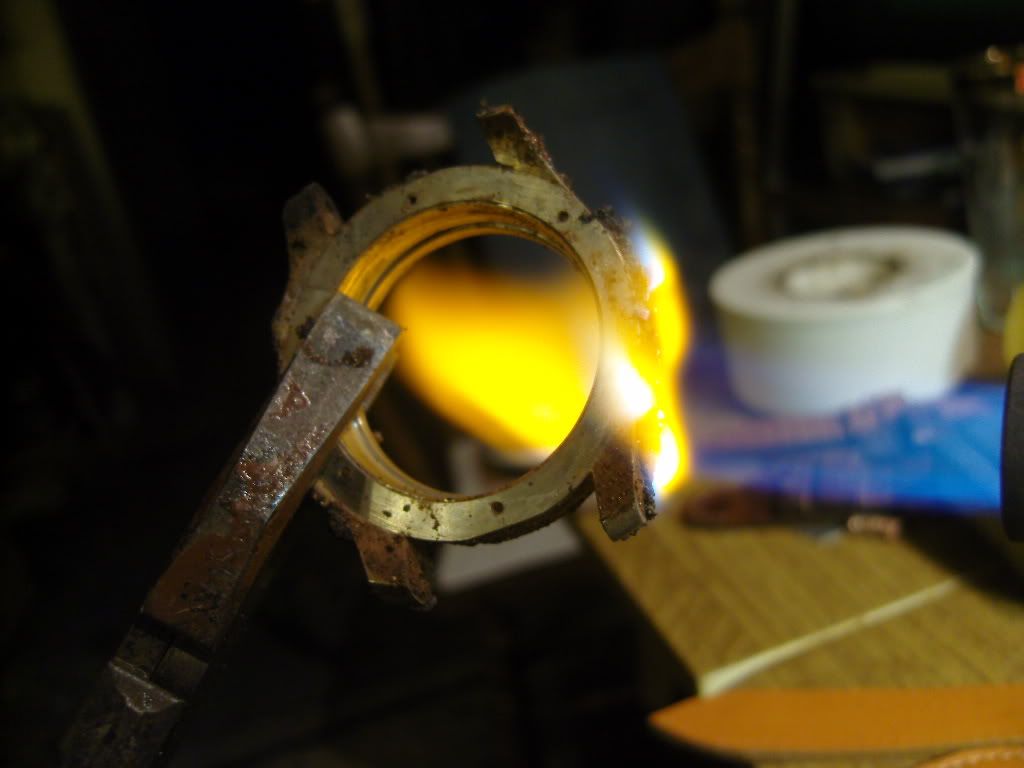
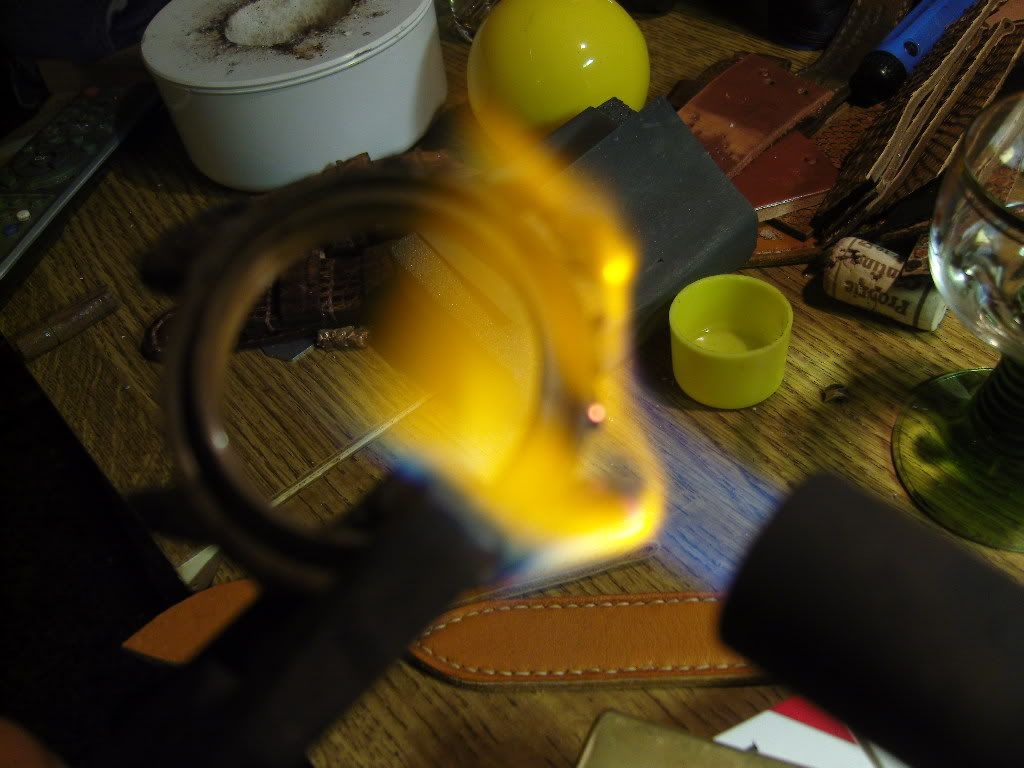
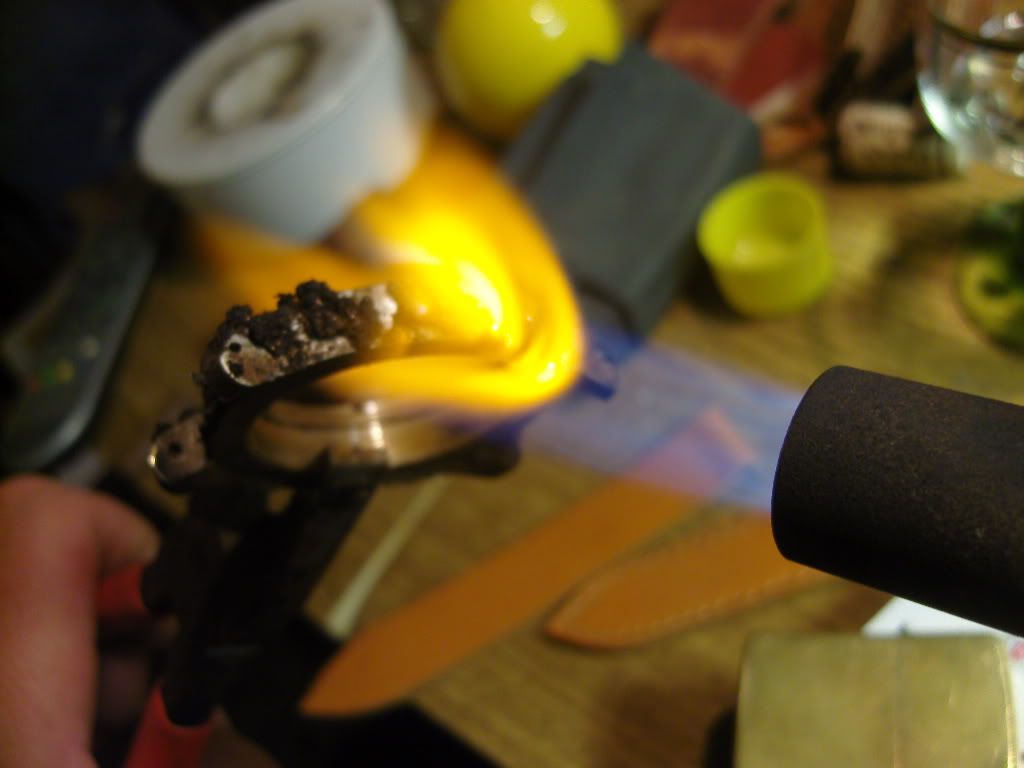
OK, it looks like destroying the case, but it allowes a hard treatment.
I didn’t went over 250 - 300C°.
Fast quenching with cold water dripped area by area made the finish.
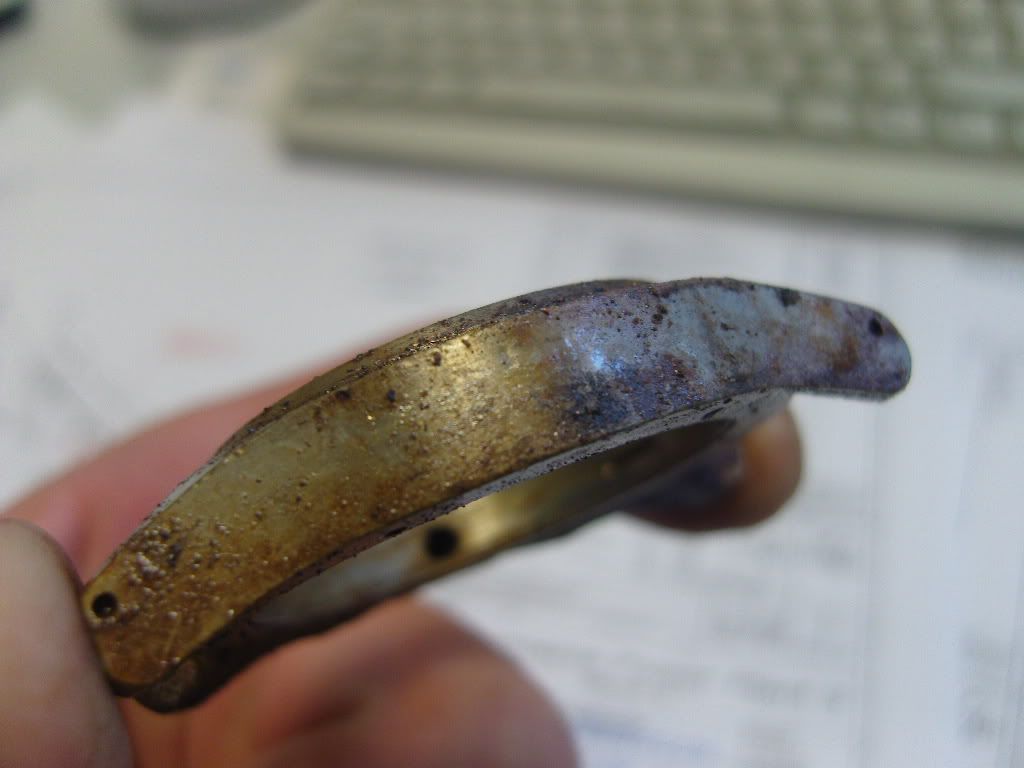
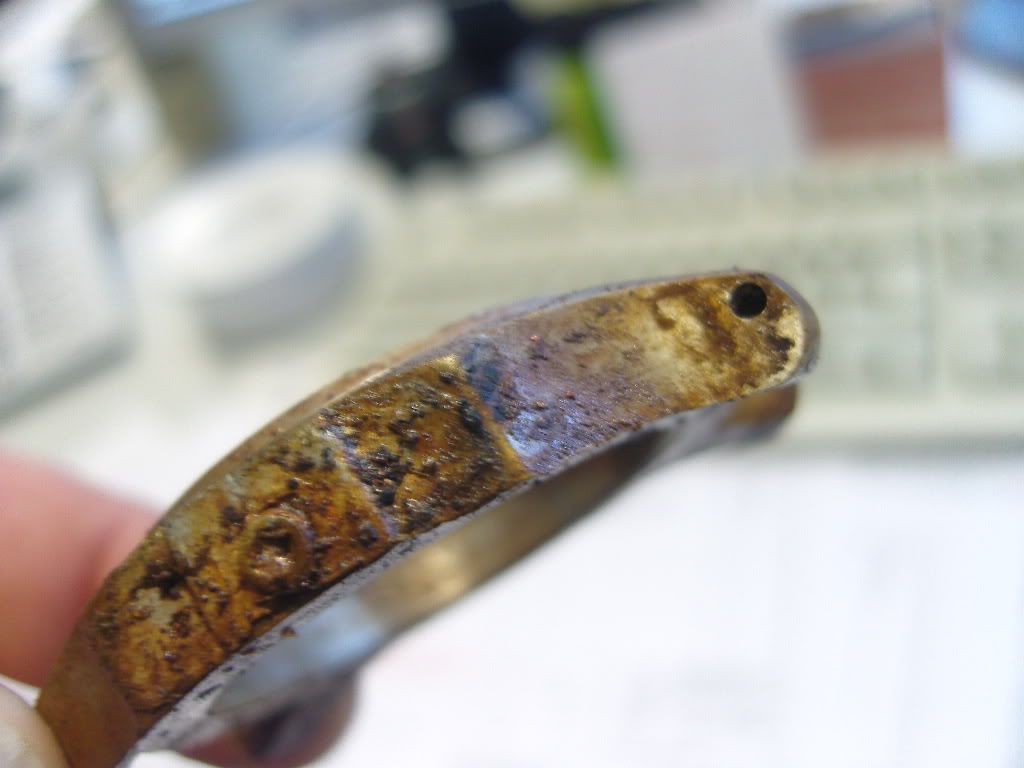
Enough work for one evening
( Aging of the hands and the dial was also done as a sideline, I will upload the pics later)
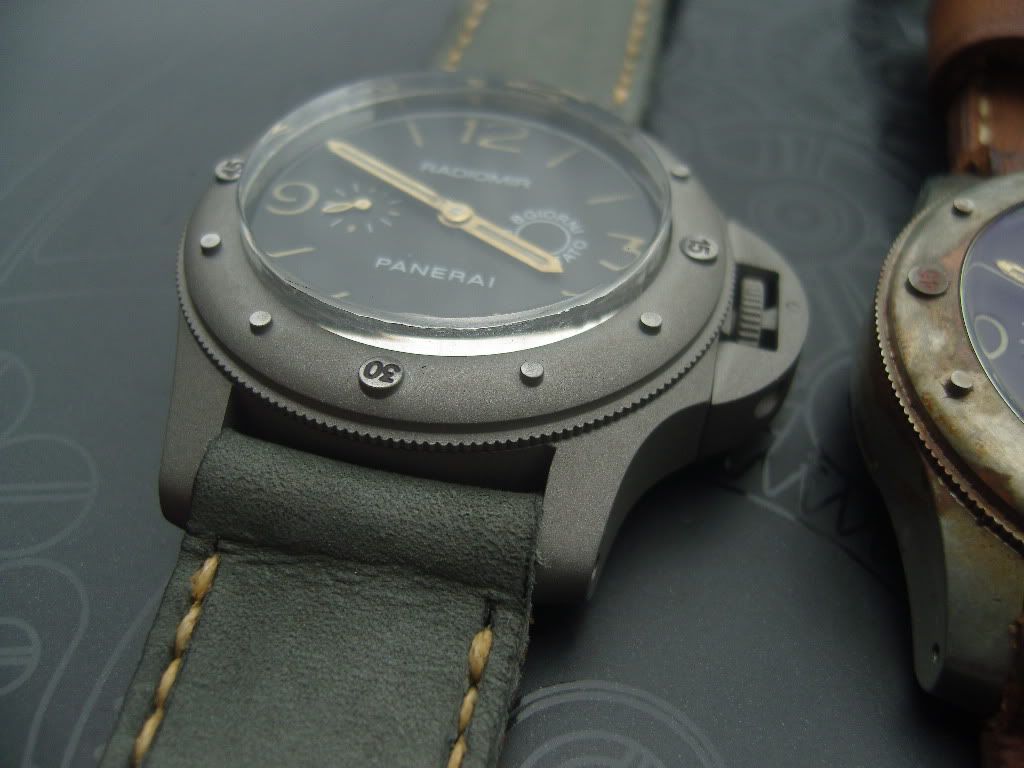
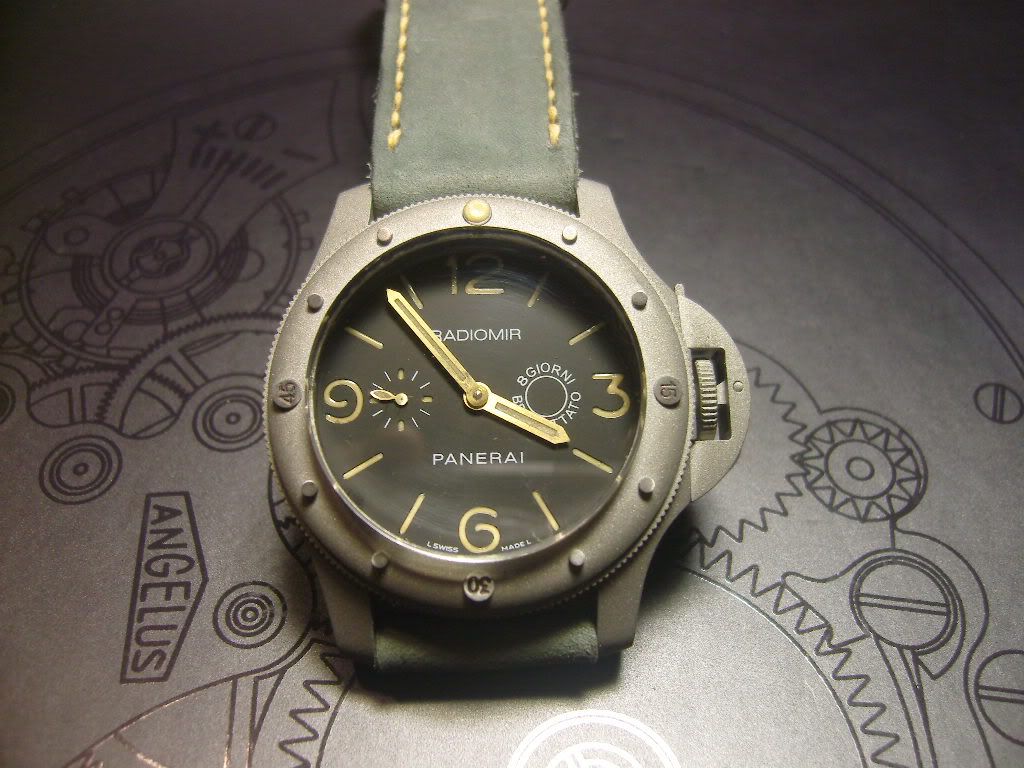
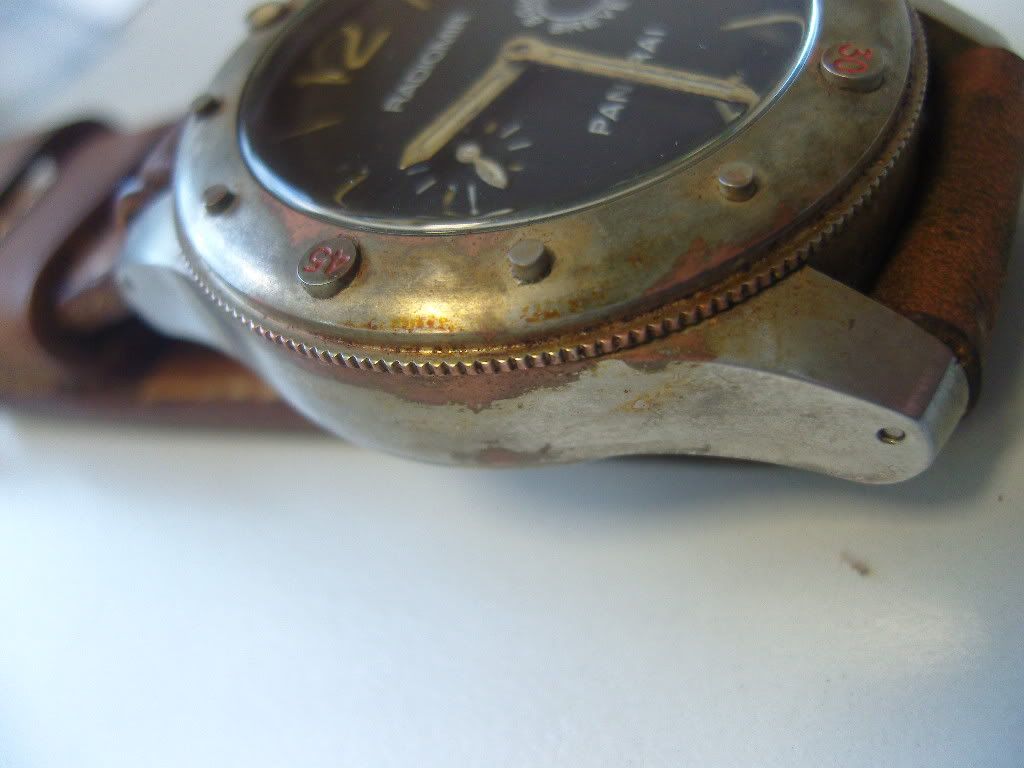
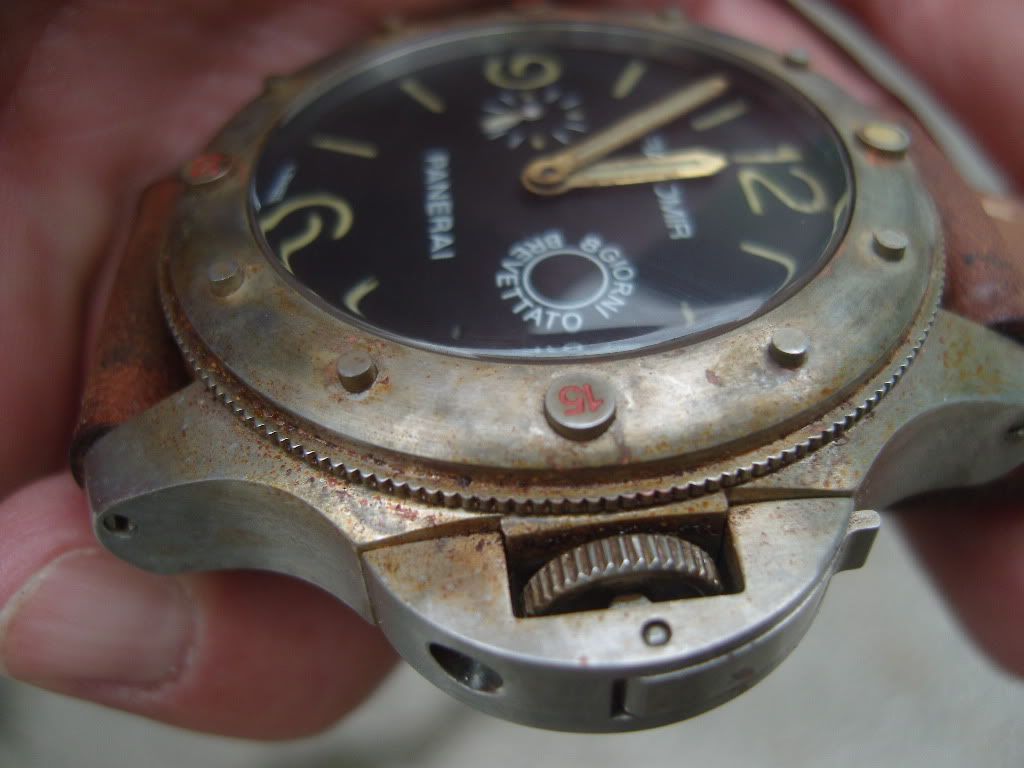
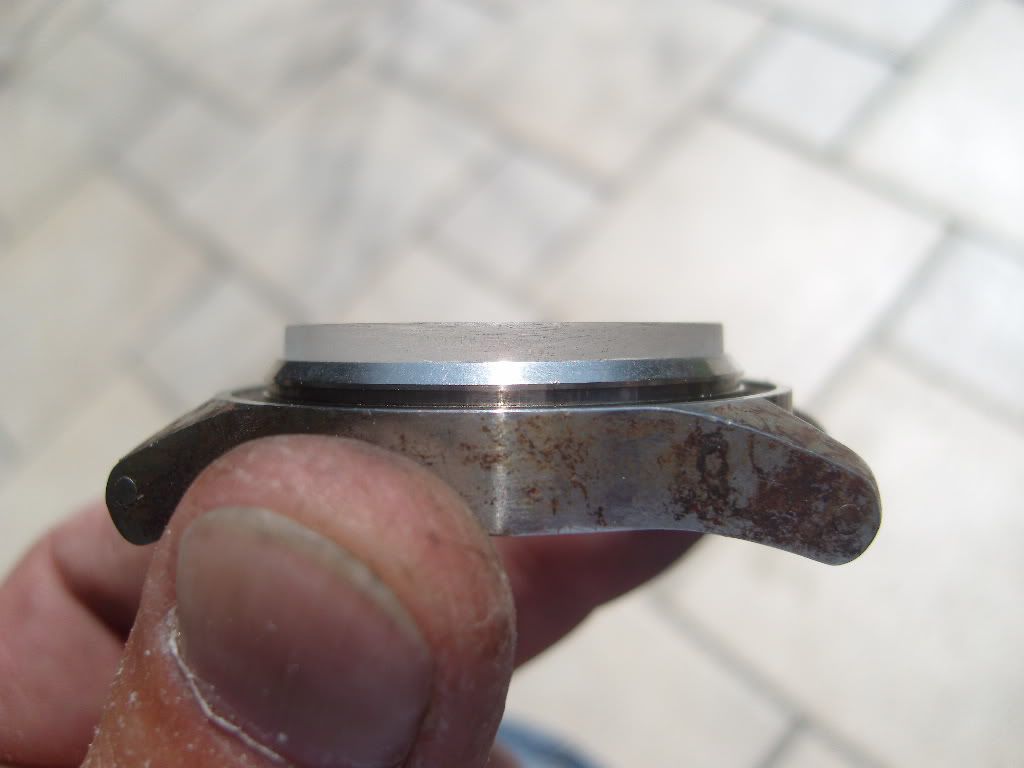
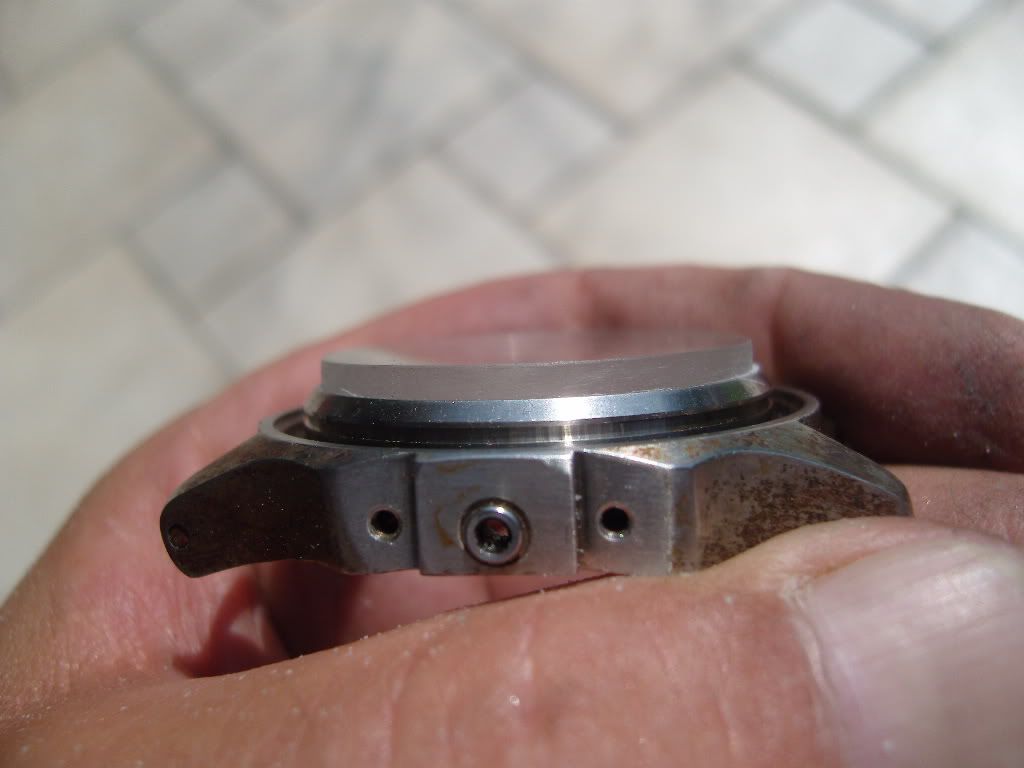
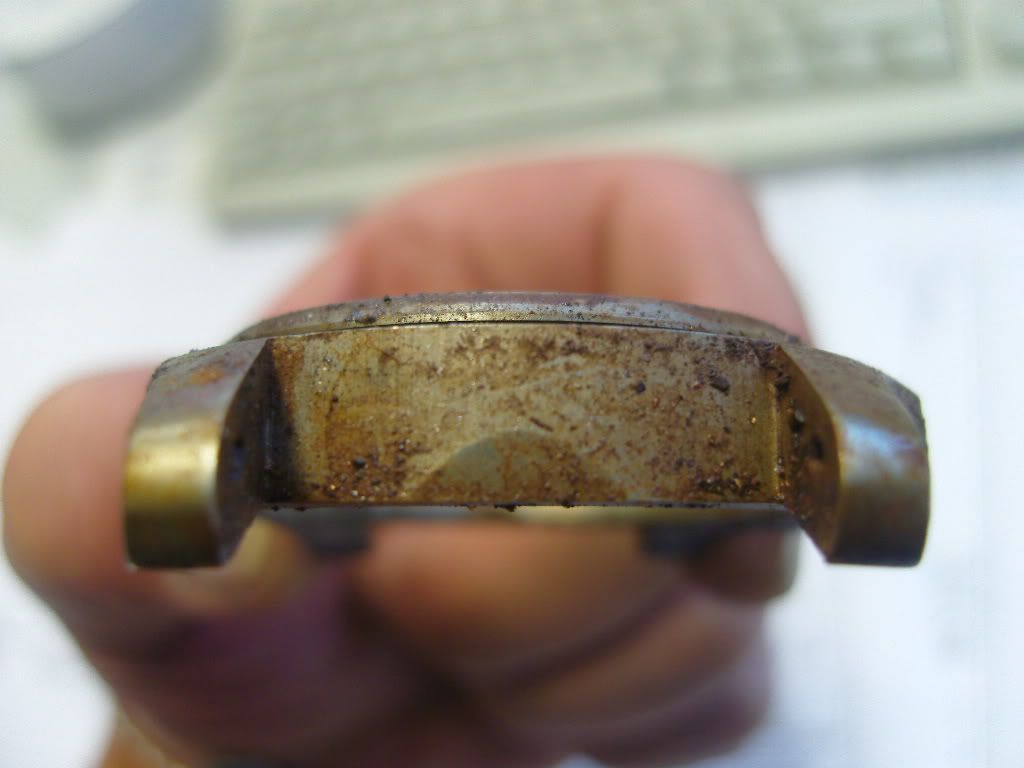
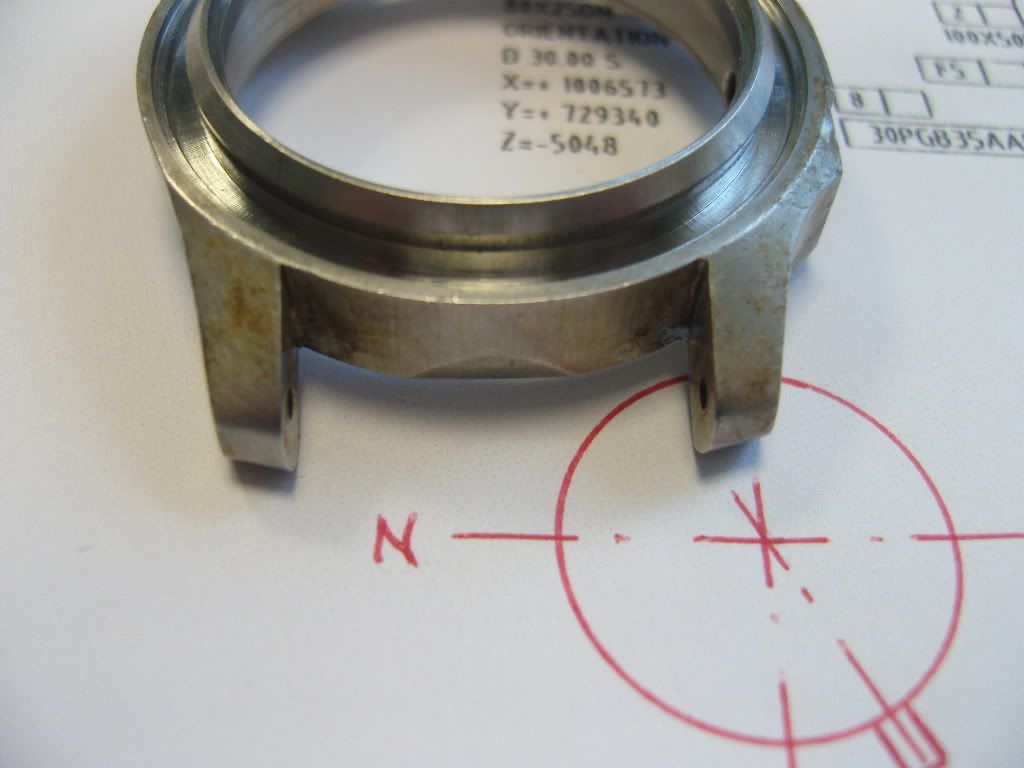
This morning at the office I cleaned the case and this is what it looks like now
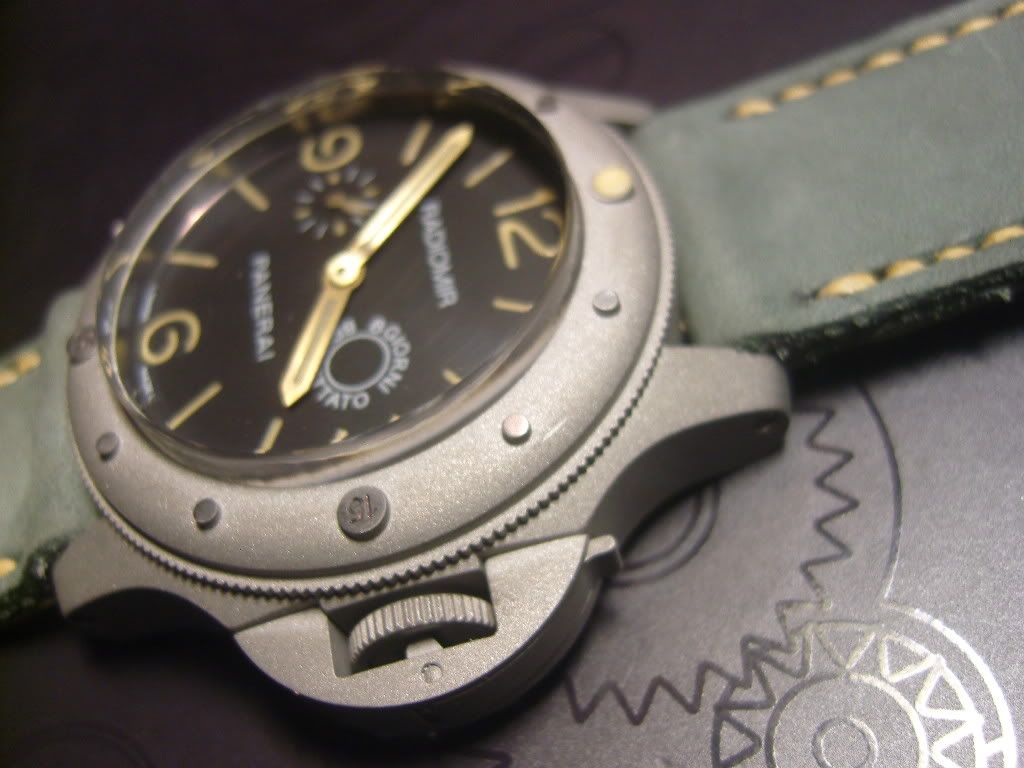
The crownguard is still in the can, it was also cooked with the rusty stuff.
For me is the aged look of the case good enough, not too hard and not too soft.
Let me know your opinions
Btw, I need a new, higher plexi anyone out there who can help me with that ?
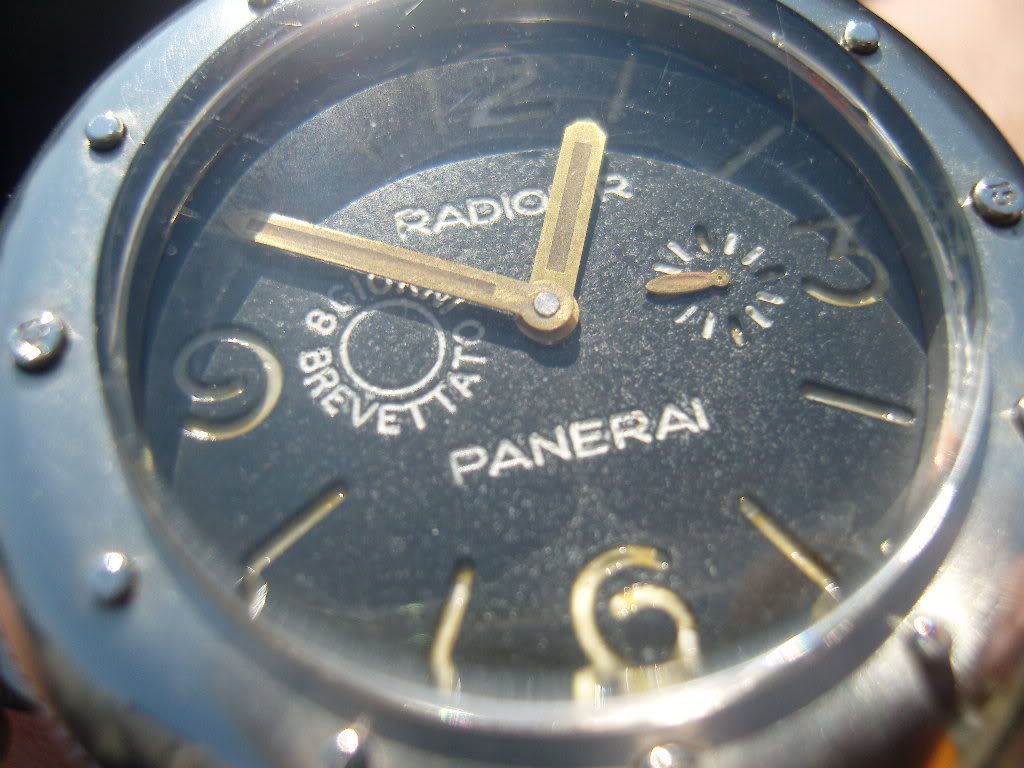
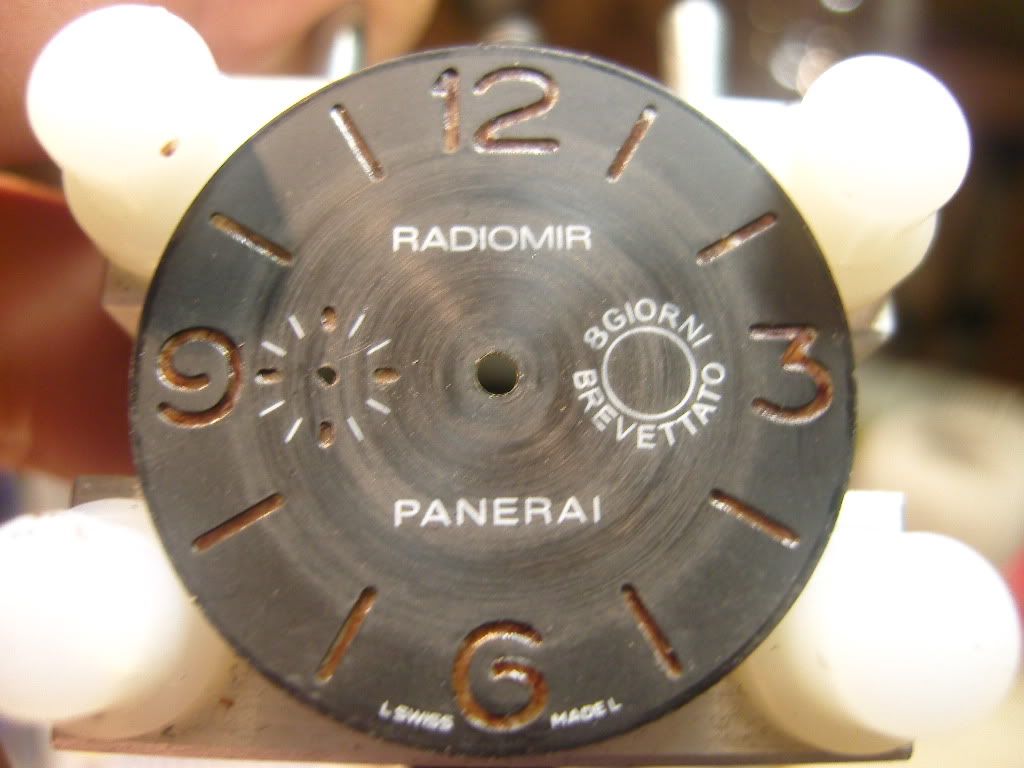
The next step ( done during waiting for corrosion ) aging the dial and hands
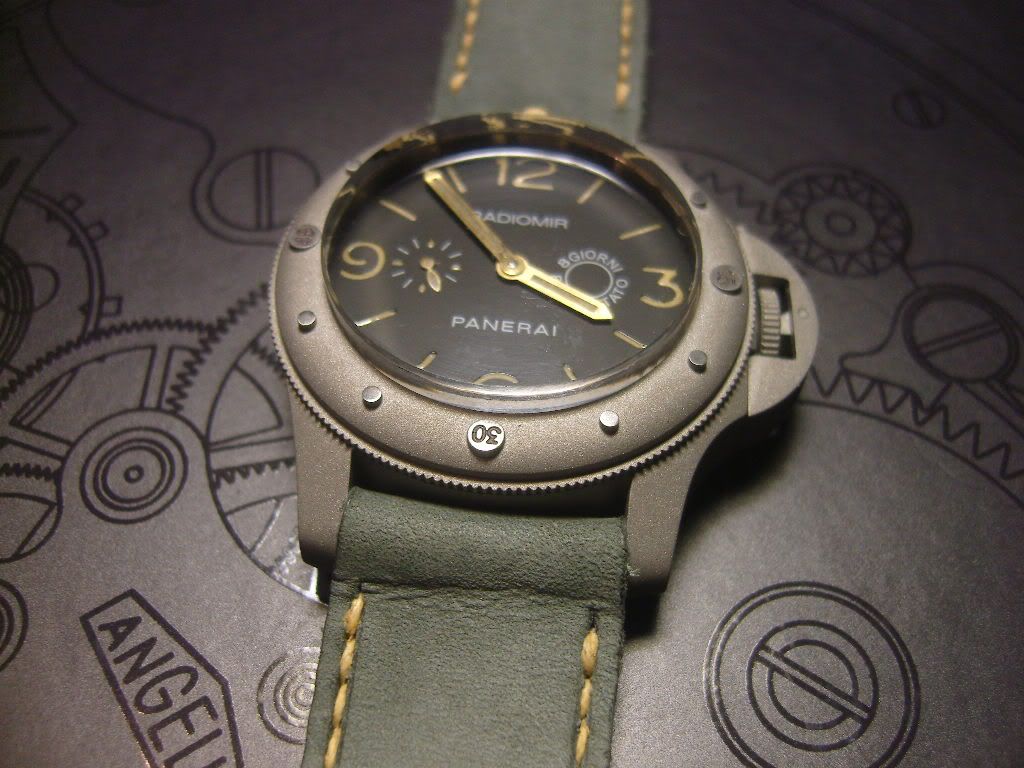
Damn, I just wanted to show the bezel aging, now I am nearly done with the whole watch.
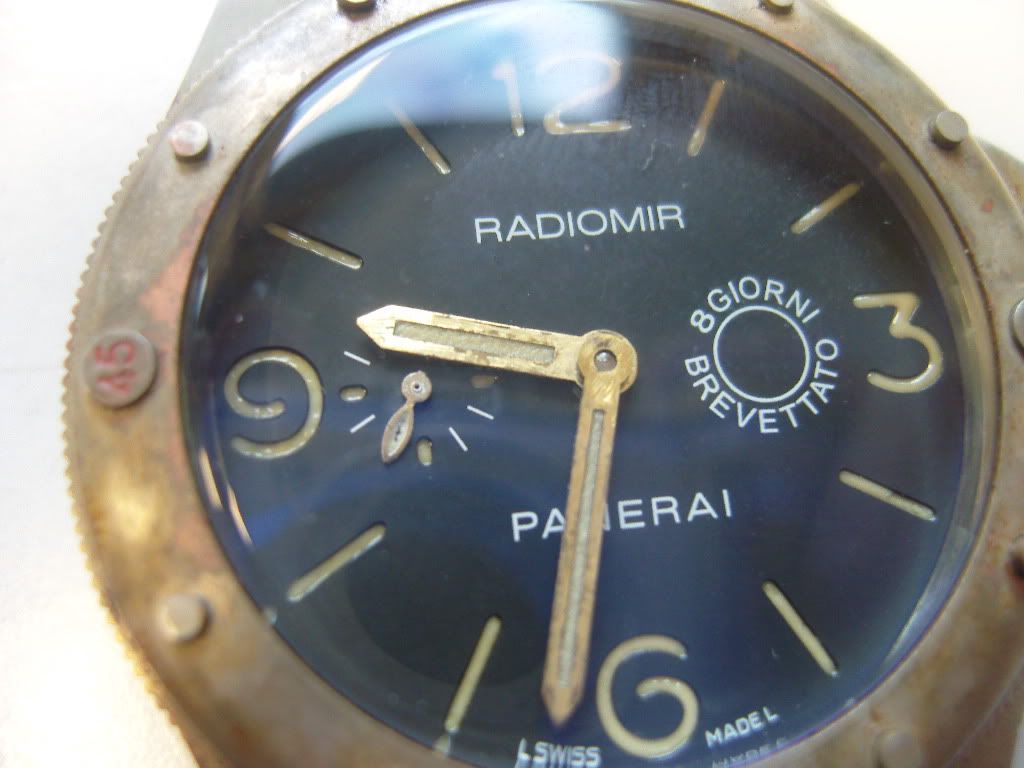
Here is the dial that came with the watch. I’ve relumed it with some lume I got from the nice member homecd. I also bleached it a little bit with wet 2000 grit sandpaper.
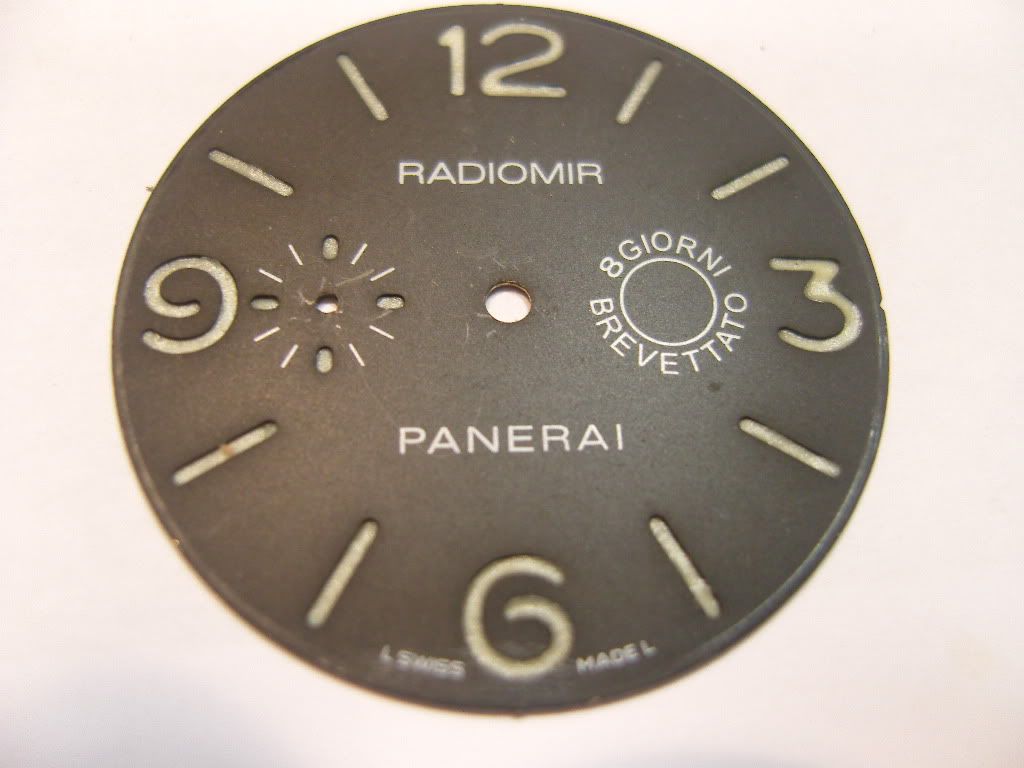
I applicated some chestnut wood staine to the backside

But nothing came through to the frontside, so I used a toothpick and applicated the staine to the numbers and indices at the front ( Not really my favourite kind of work )
I also thought it would look nice to have a scratched circle in the diameter of the hourhand.
I cutted a disc in the necessary dimension and made a hole in the middle.
Connected it with the most useful tool, the toothpicker to the dial.
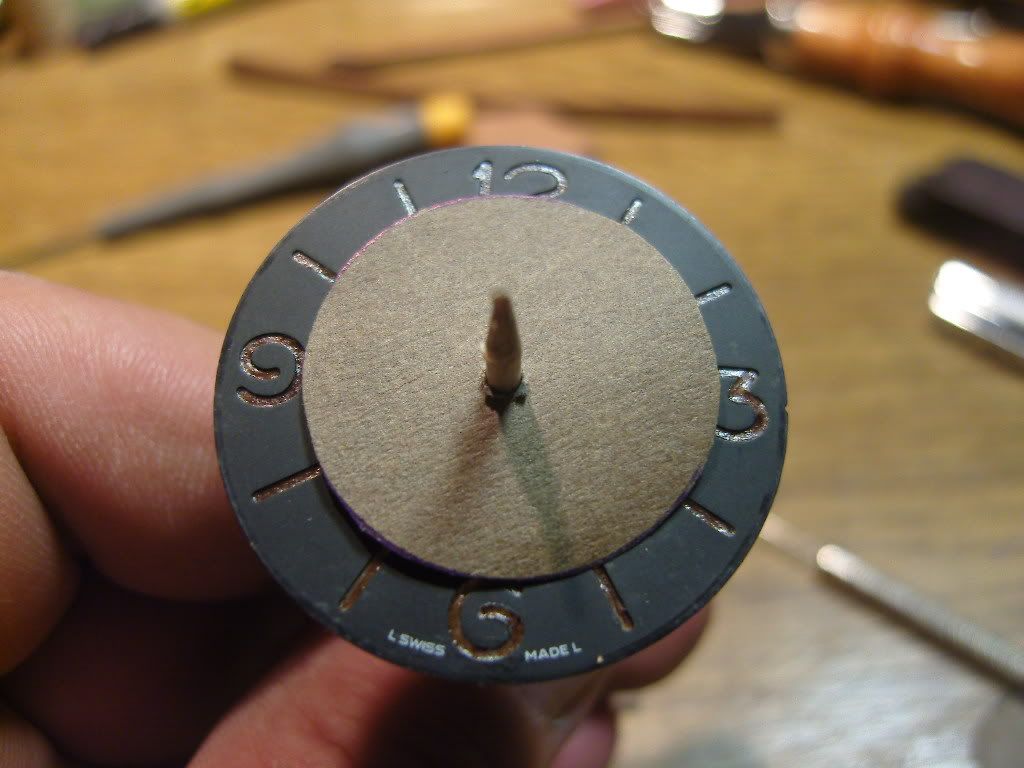
Than I had to move the disc with soft pressure in clockwise rotation against the dial.
The dust needs to be wiped away, but the result so, far, was good enough for me.
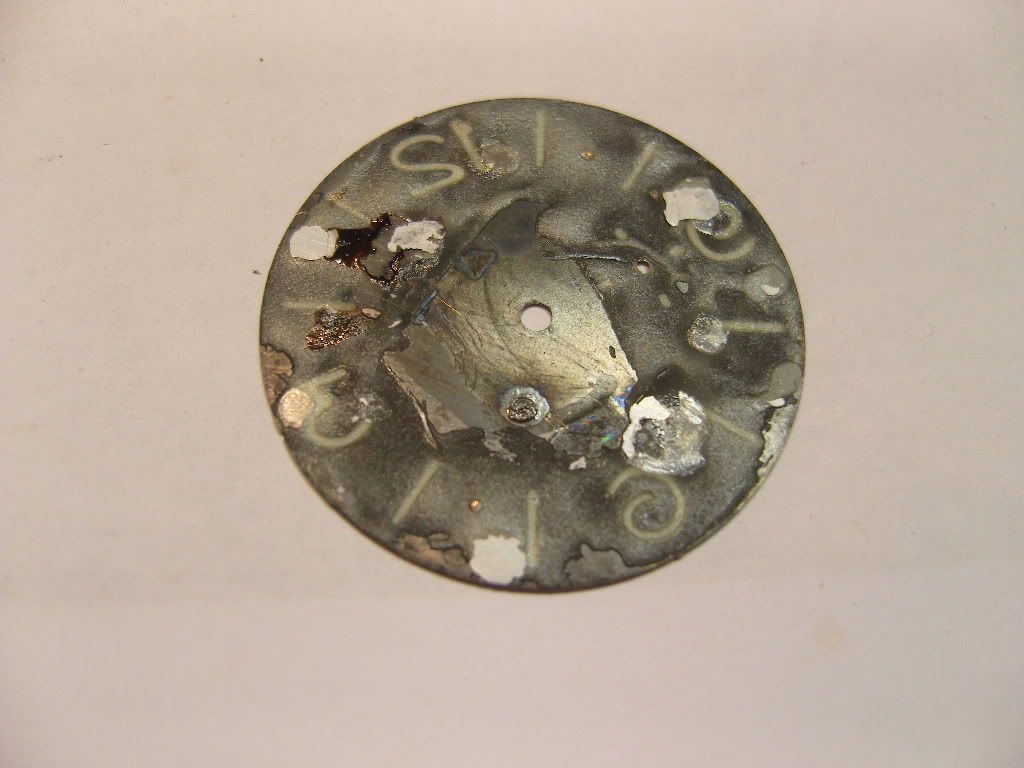
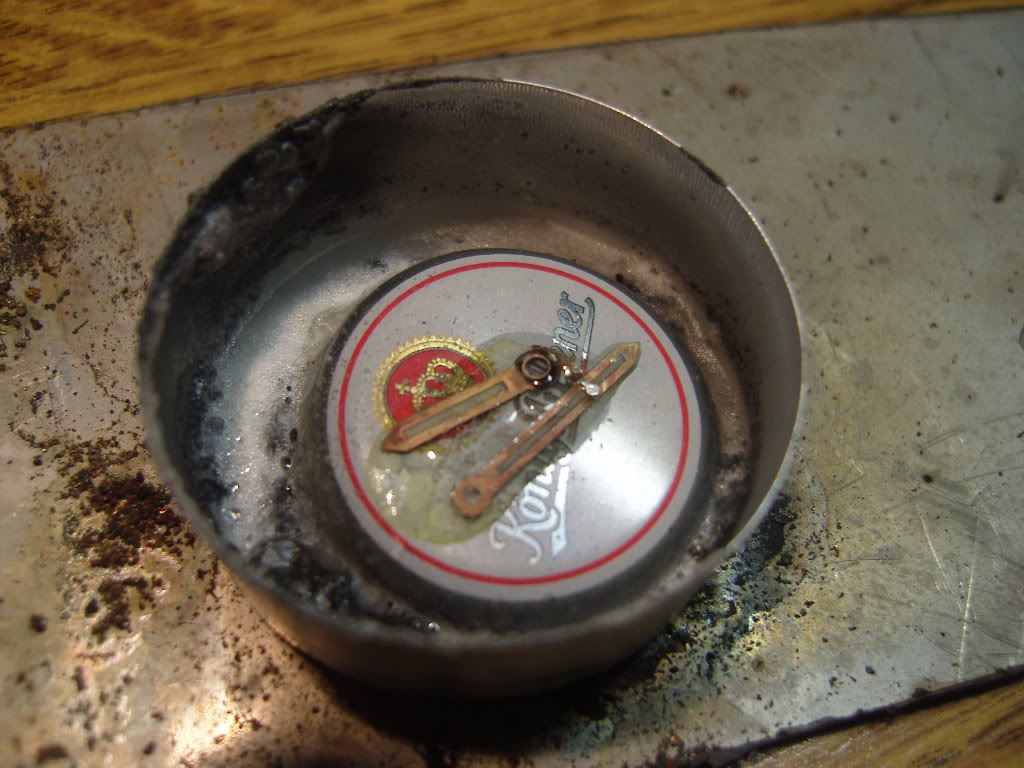
Now I came to the hands, it was also logical for me to use muriatic acid, because the sulphur in it reacts with the brass from the hands
I placed the hands on a bottle cap of my favourite beer ( König Pils ) and added some drops of acid to it
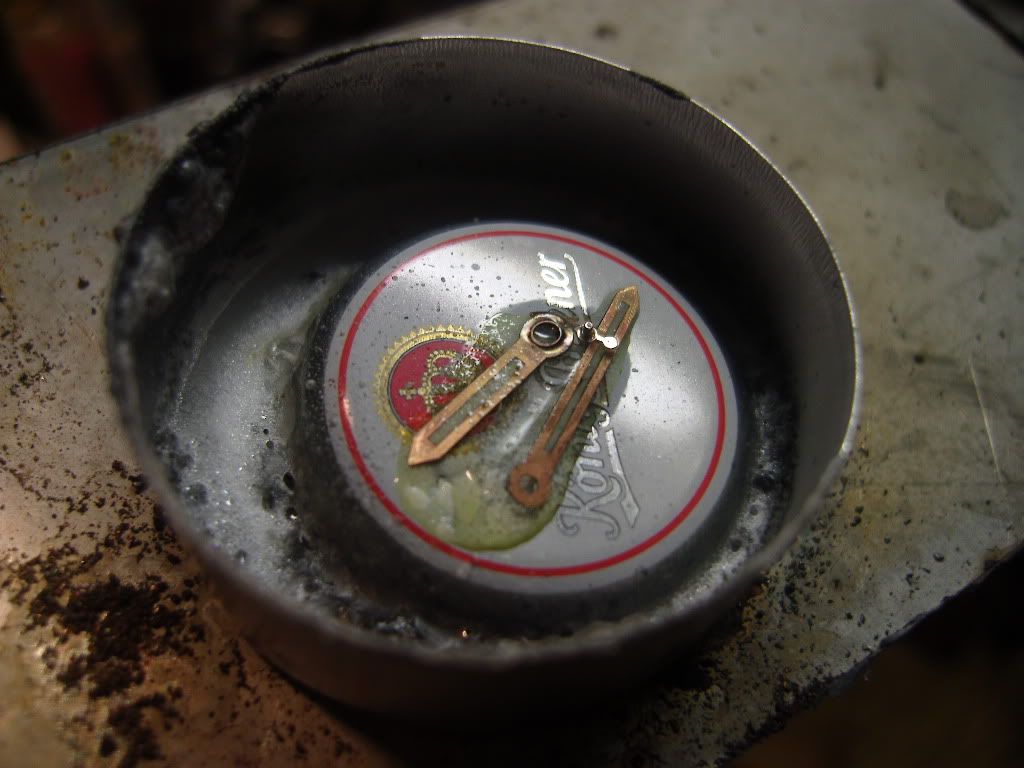
After neutralizing the hands with water and cleaning the dial I’ve mounted the dial and hands to the movement

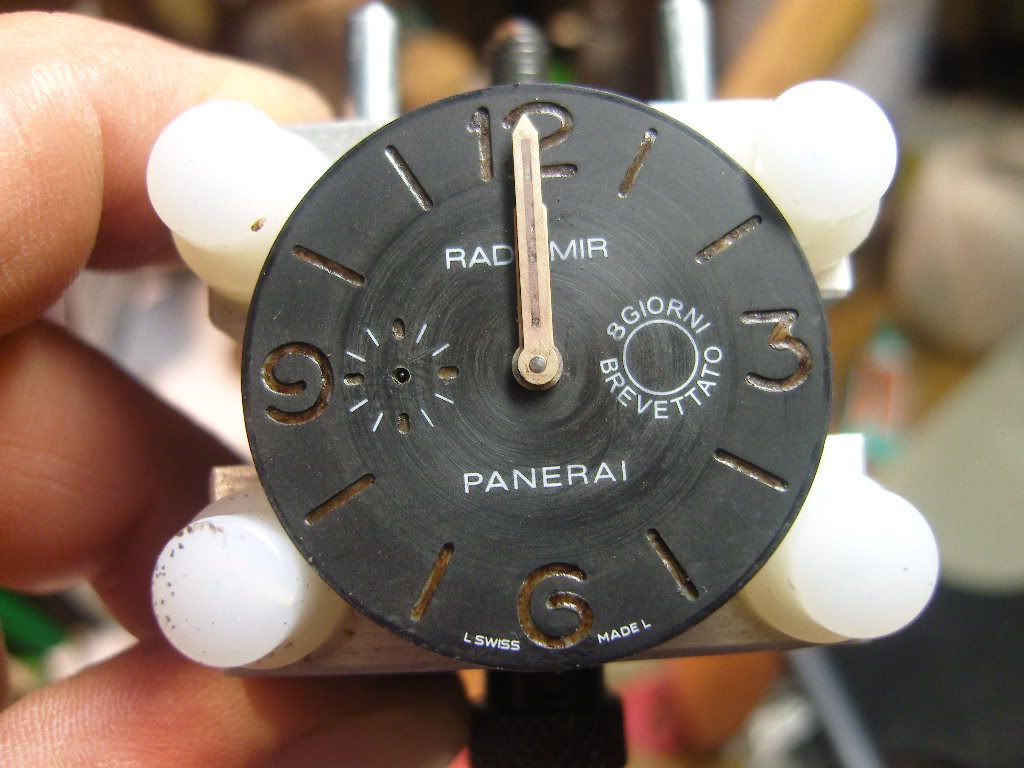
So far so good.
Next thing will be the crownguard aging
Now I need the higher domed plexi, compression lugbars ( Dow provides me with them, Thank you mate ) . I have to go outside and have a look at the contamined, sandblastet piece of stainless steel. Will post pics of it later today.
Thank you for looking and all the replies.
To be continued…….
-
Thank you for your pity,
enjoy your rubber straps.
-
You are right rafi, but sometimes you are lucky and get some of this great skin.
This handbag came from the netherlands.
Easterdays were very lucky days for me, I received a 6m long snakeskin from a real
big snake, called Anaconda
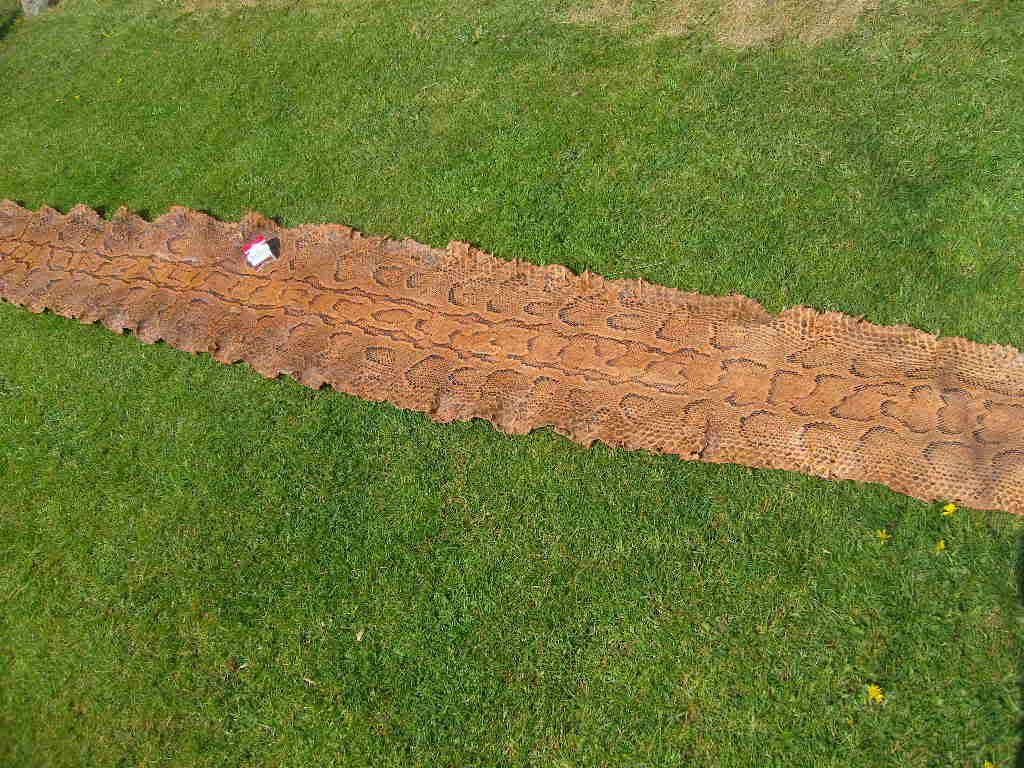
There are a lot of straps in it
-
@ Physher007 : Thank you mate, which size do you need ?
-
Thank you cornerstone
-
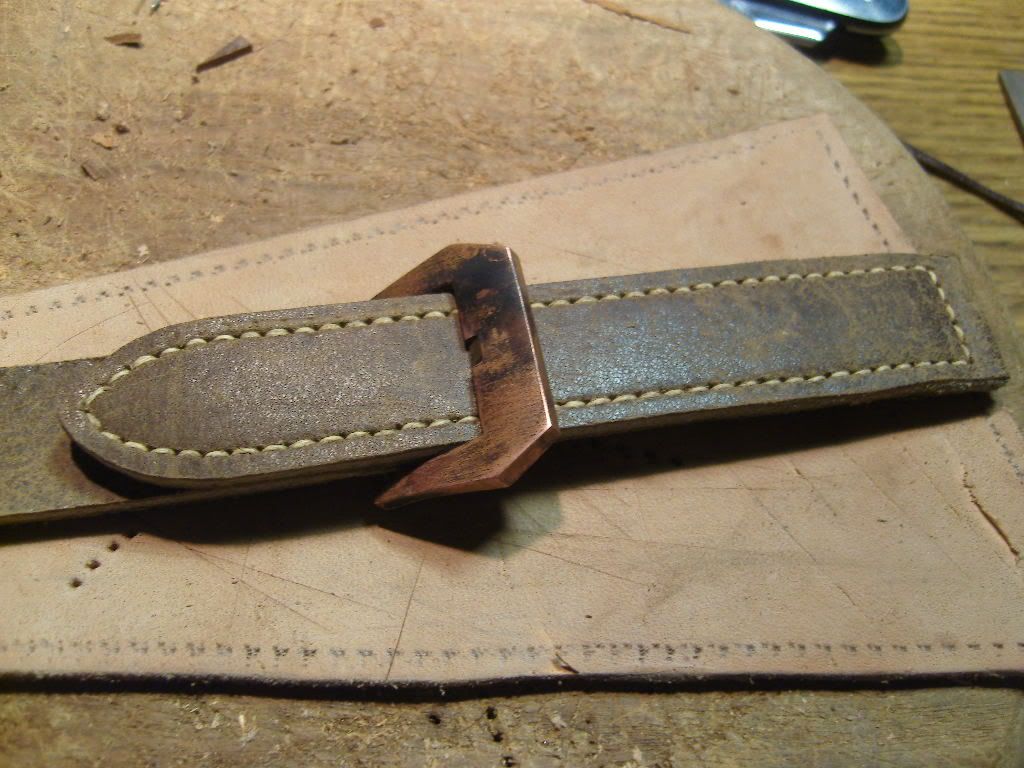
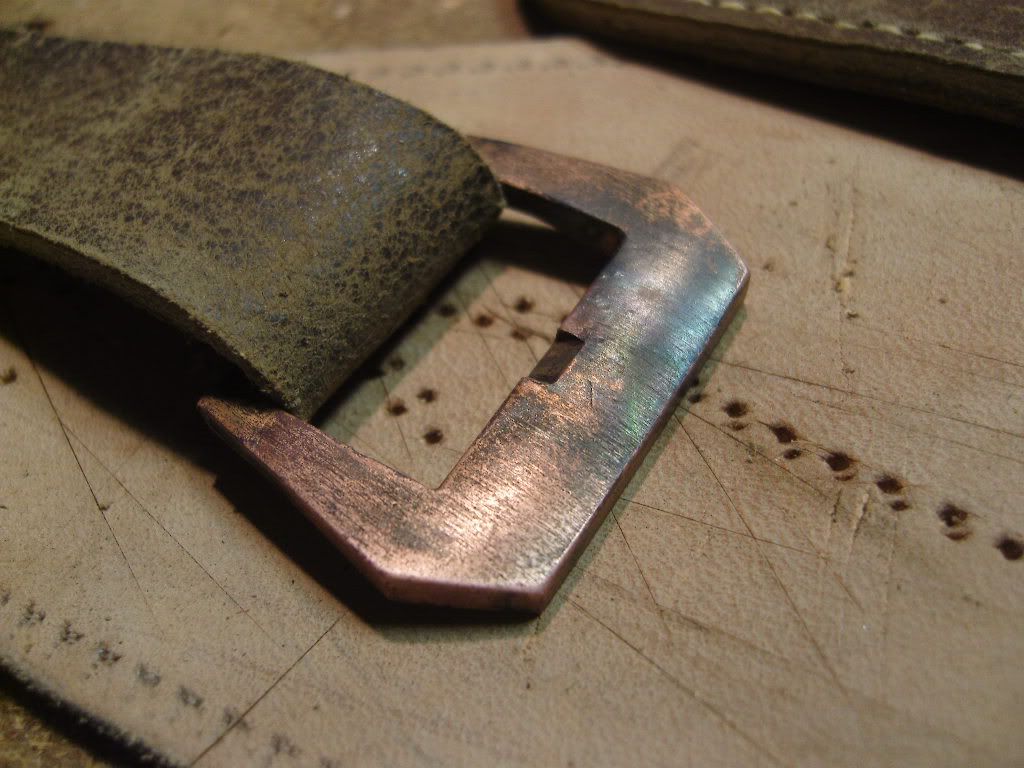
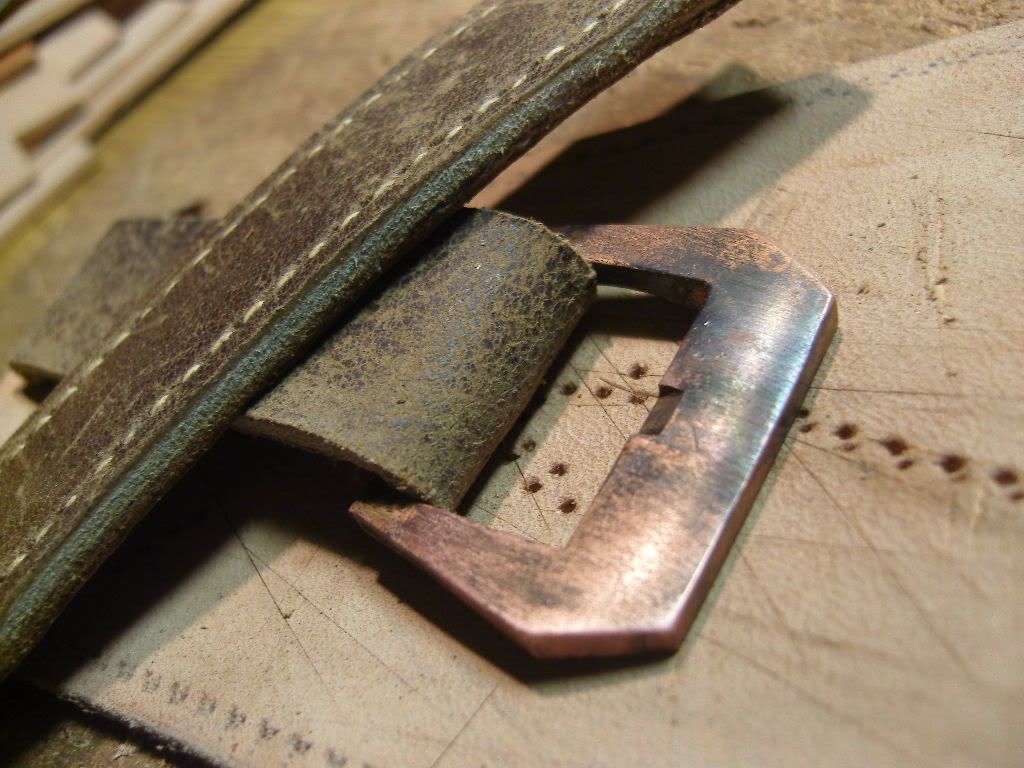
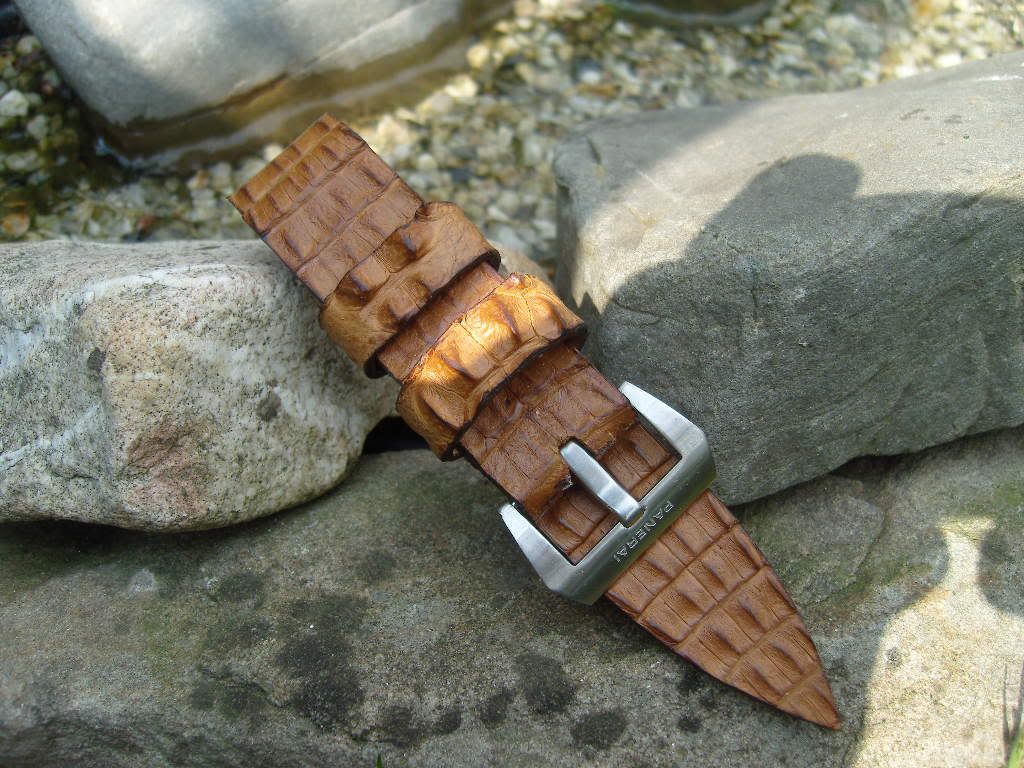
Hi Members,
I found some copper pieces in my Dad's Garage. They were used to hold flower boxes at the wall.
I always wanted to make a Copper buckle. Here was the Material for free nad I've made one.
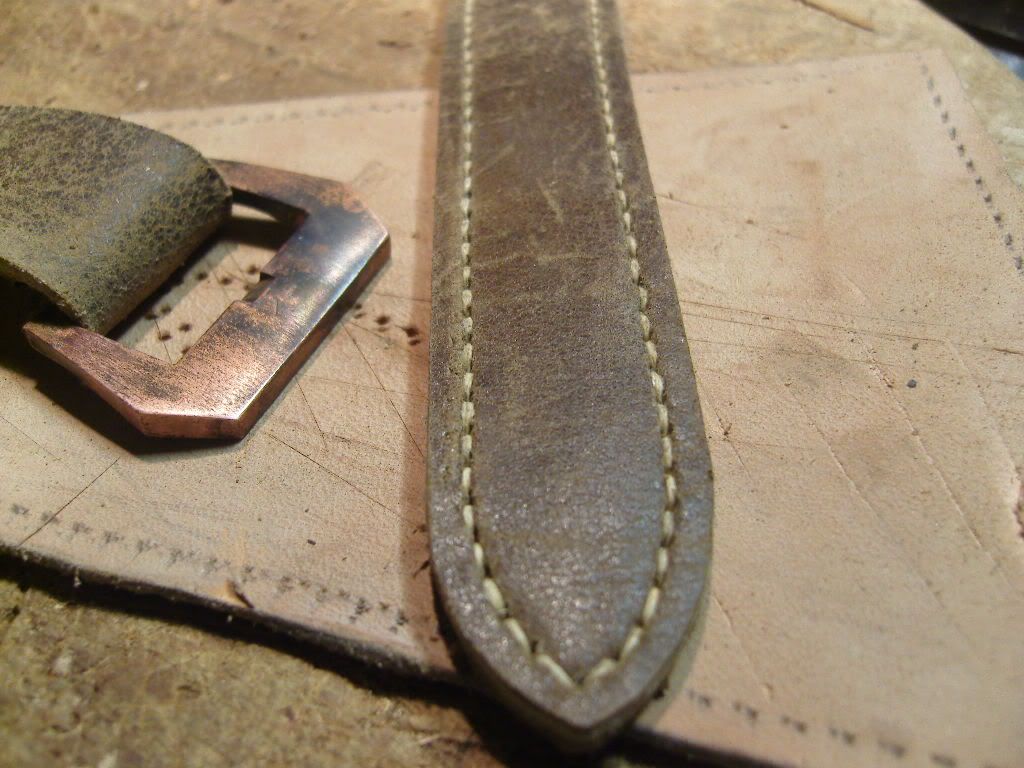
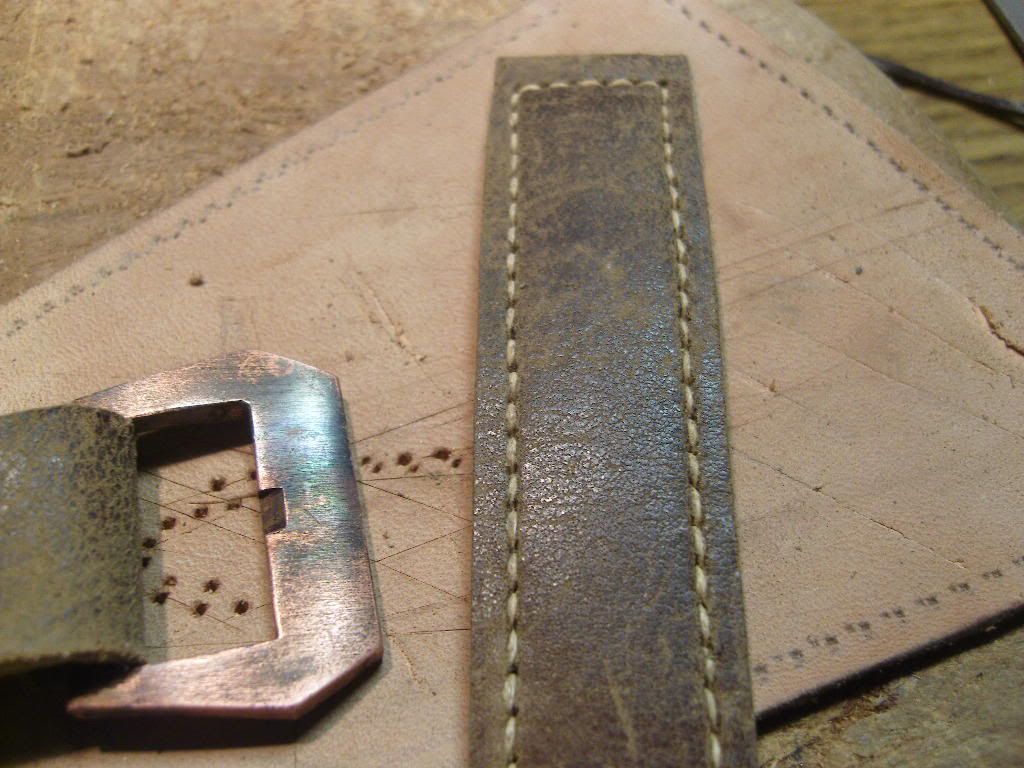
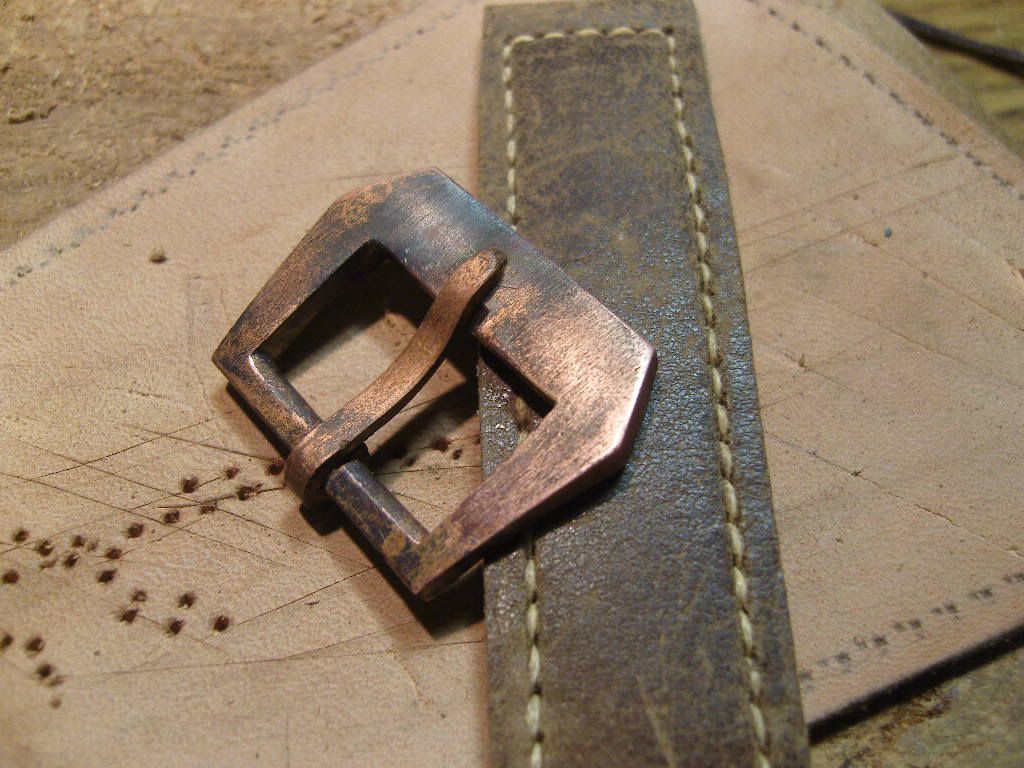
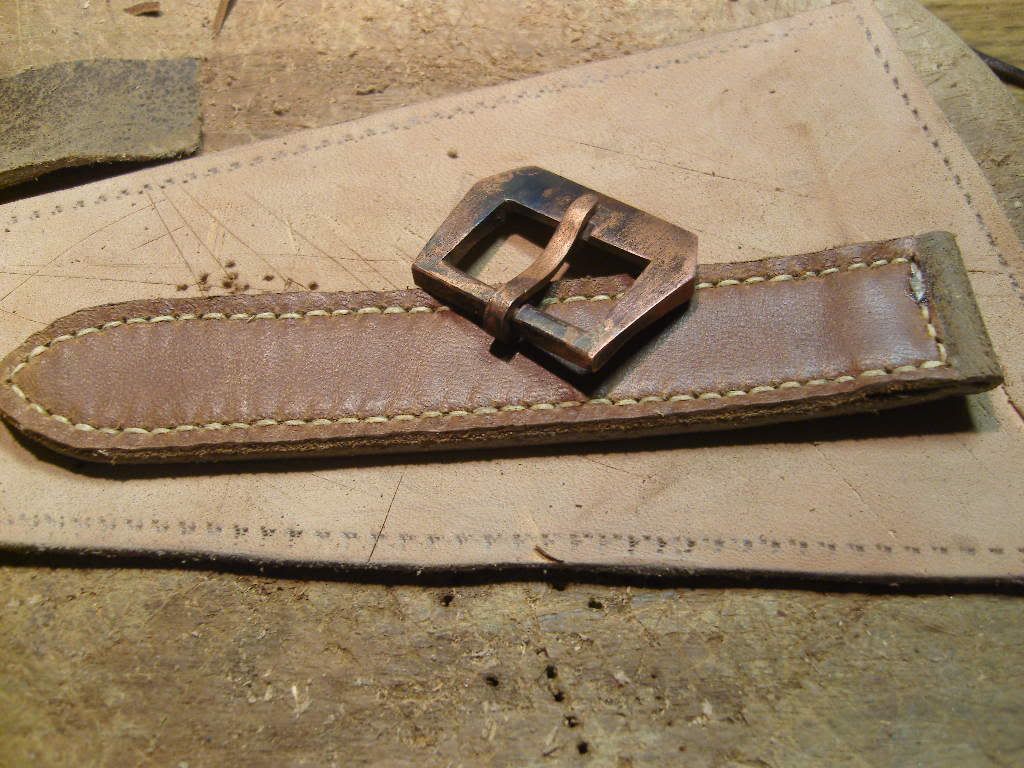
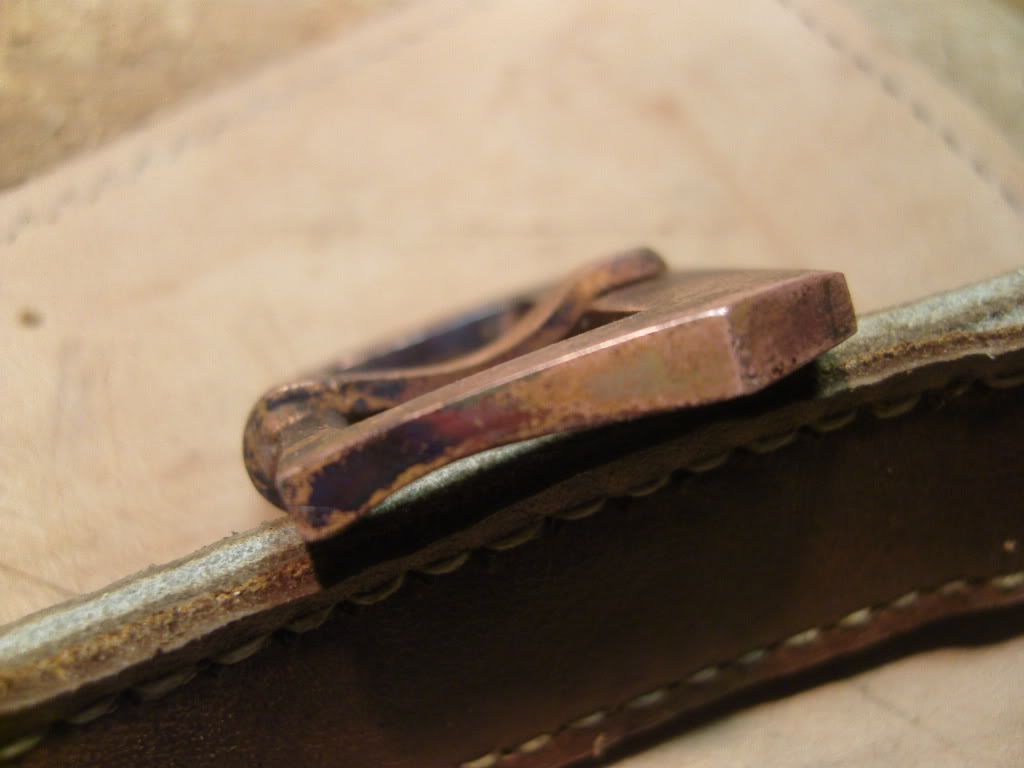
Thank you for looking
Greetz
Uwe
-
Thank you guys, nice to read these positive replies.
It is 26 x 26 Robert
Nice Combo O. Makes the strap looking much better than I have it in memory
-
Thank you Whoever
Thank you Mike,
yes, if that problem wouldn't be in germany, I guess a lot of great straps
came out in the forums.
Greetz
Uwe
-
Bag? Why buy a bag? We got gators walking around down here in the Everglades all over the place.
In germany we have just rabbits running around, bad straps I guess
I will let you know Mike, the problem in germany is the CITE for protected animals.
Very hard to get croc skins.
Greetz
Uwe
-
Wow, thank you Mike.
I'm very proud to read this from you.
If you can find a bag with similar horns, let me know, we can make a deal
Best regards
Uwe
-
Hi members,
I bought an old handbag that was made in about 1950.
It was made from a very small croc, so therewere only horns for one strap. Here are some pics
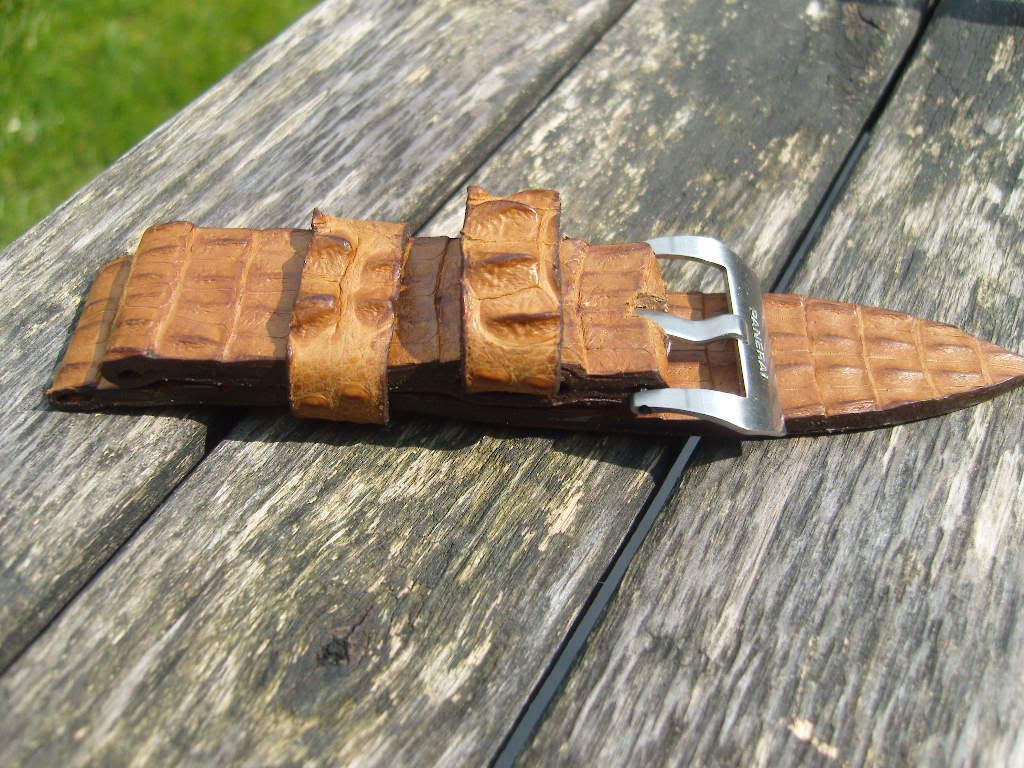
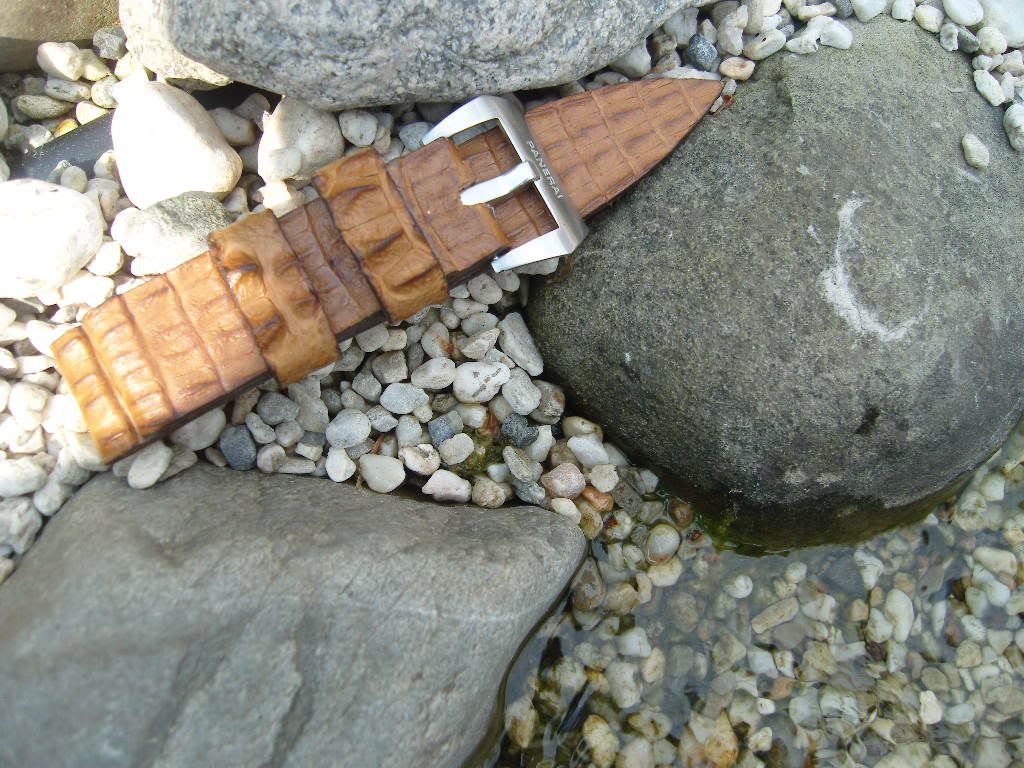

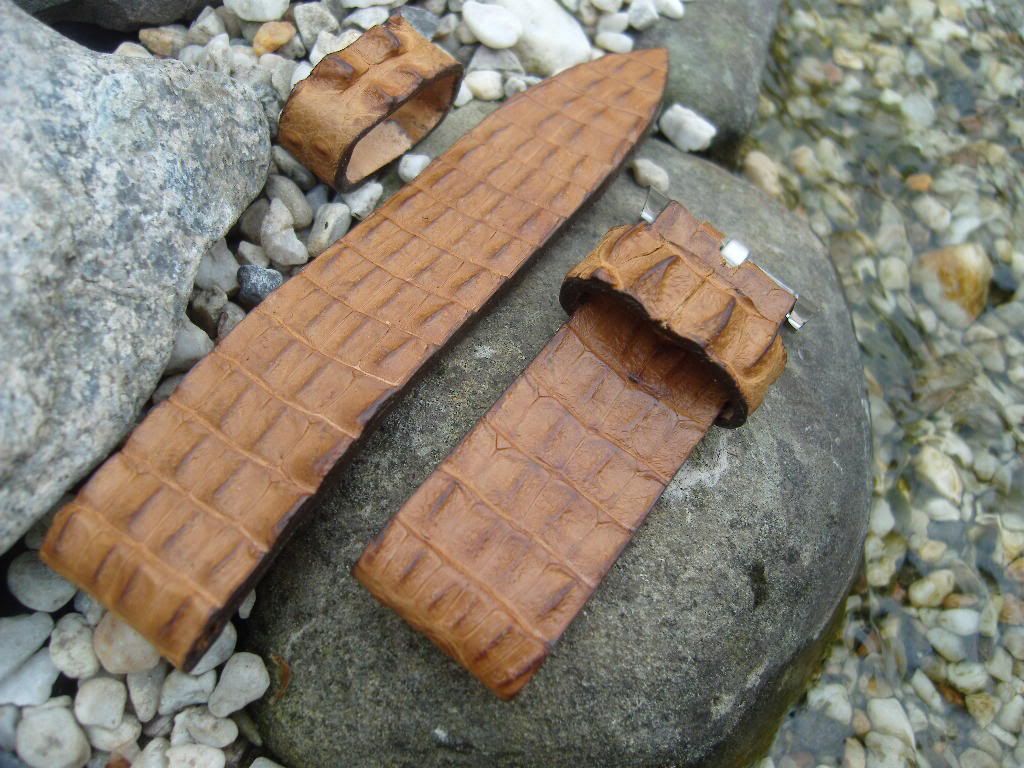
Greetz
Uwe
-
Danke für's Lob Deniz.
Schönen Gruss vom unteren Niederrhein.
Uwe
Some EGI builds
in The Panerai Area
Posted
Hey mate
there is a making of in my signature.
I hope it helps.
Greetz
Uwe