

Tiyal
-
Posts
360 -
Joined
-
Last visited
Posts posted by Tiyal
-
-
I'll chime in with a fast Double Red Phantom Insert
-
Just sell it to me and your problems sloved !
No more slipping GMT hand. I wish BK would do another run of these. Hint hint
-
No pictures here either

-
DIY New dial feet to fit a dial made for other movement
3 Oct 2011
When i wrote the How to mod a mqj guidei promised i would find a better way to mount a dial
made for Seiko/ETA then gluing it directly to the movement and now i am finally done.
So here it is this is the poor mans version, i am sure there are more and better tools for making the same thing
but i like to keep this guide budget for those that want to try out modding using cheap Chinese materials
"Tools" needed...
The dial feet i use are Bergeon#10040i payed less then 10$ for a 100 so buy one bag and it will last.
1 eraser or any soft material that you can press down the dial feet into.
One shaft, the same diameter as the middle hole of your dial (i used a springbar).
And some jewellers epoxy, or any epoxy i guess, but i ordered some of this from Ofrei while getting some
parts so this is what i will use.

Press down the "shaft" in the middle to serve as a guide for the dial

Scratch of some lead from a pencil onto the old dial feet

press down the dial along the guide pin and while keeping it horizontal press down the old dial feet into the eraser.
Mark out the 12 and 6 on the eraser.

The lead from the dial feet should leave a mark and the this is where you insert the new dial feet

Like so...

Mix the epoxy., trying not to succumb to the horrific smell of the hardener (is there anything so stinky ?)

Add a small amount of glue to the top of the dial feet

And slide down the dial along the guide shaft lining up the 12 & 6 markers carefully
(remove old dial feet first ofc and make sure you have a flat and clean surface for the glue to stick to)

I should have stuck some more dial feet into the eraser to support the dial now i had to balance it on a paper clip,
but this is only a demo dial so no biggie.
let the glue dry and now you have a dial that fits without permanently gluing it to the movement !
Complement:
Repair foot length a little long. Bergeon #10040 need grinding.
Because It's stop the winding rotor spin .
yukiwatch p.s: This method may not 100% fit for all dial have date window (movement with date).
Author: Pompe
http://www.yukiwatch.com/articles/article/7390084/160035.htm
-
 2
2
-
-
Lions beat the Bears 24 -13, its safe to come out now
-
TGIF!
-
The timing is better but fast now. The regulator is what I don't touch (and hope that I have returned to its normal position) Or in this case is the spring stud what I monkeyed with and I adjust with the regulator arm? Thanks I'm going to the beach!!

-
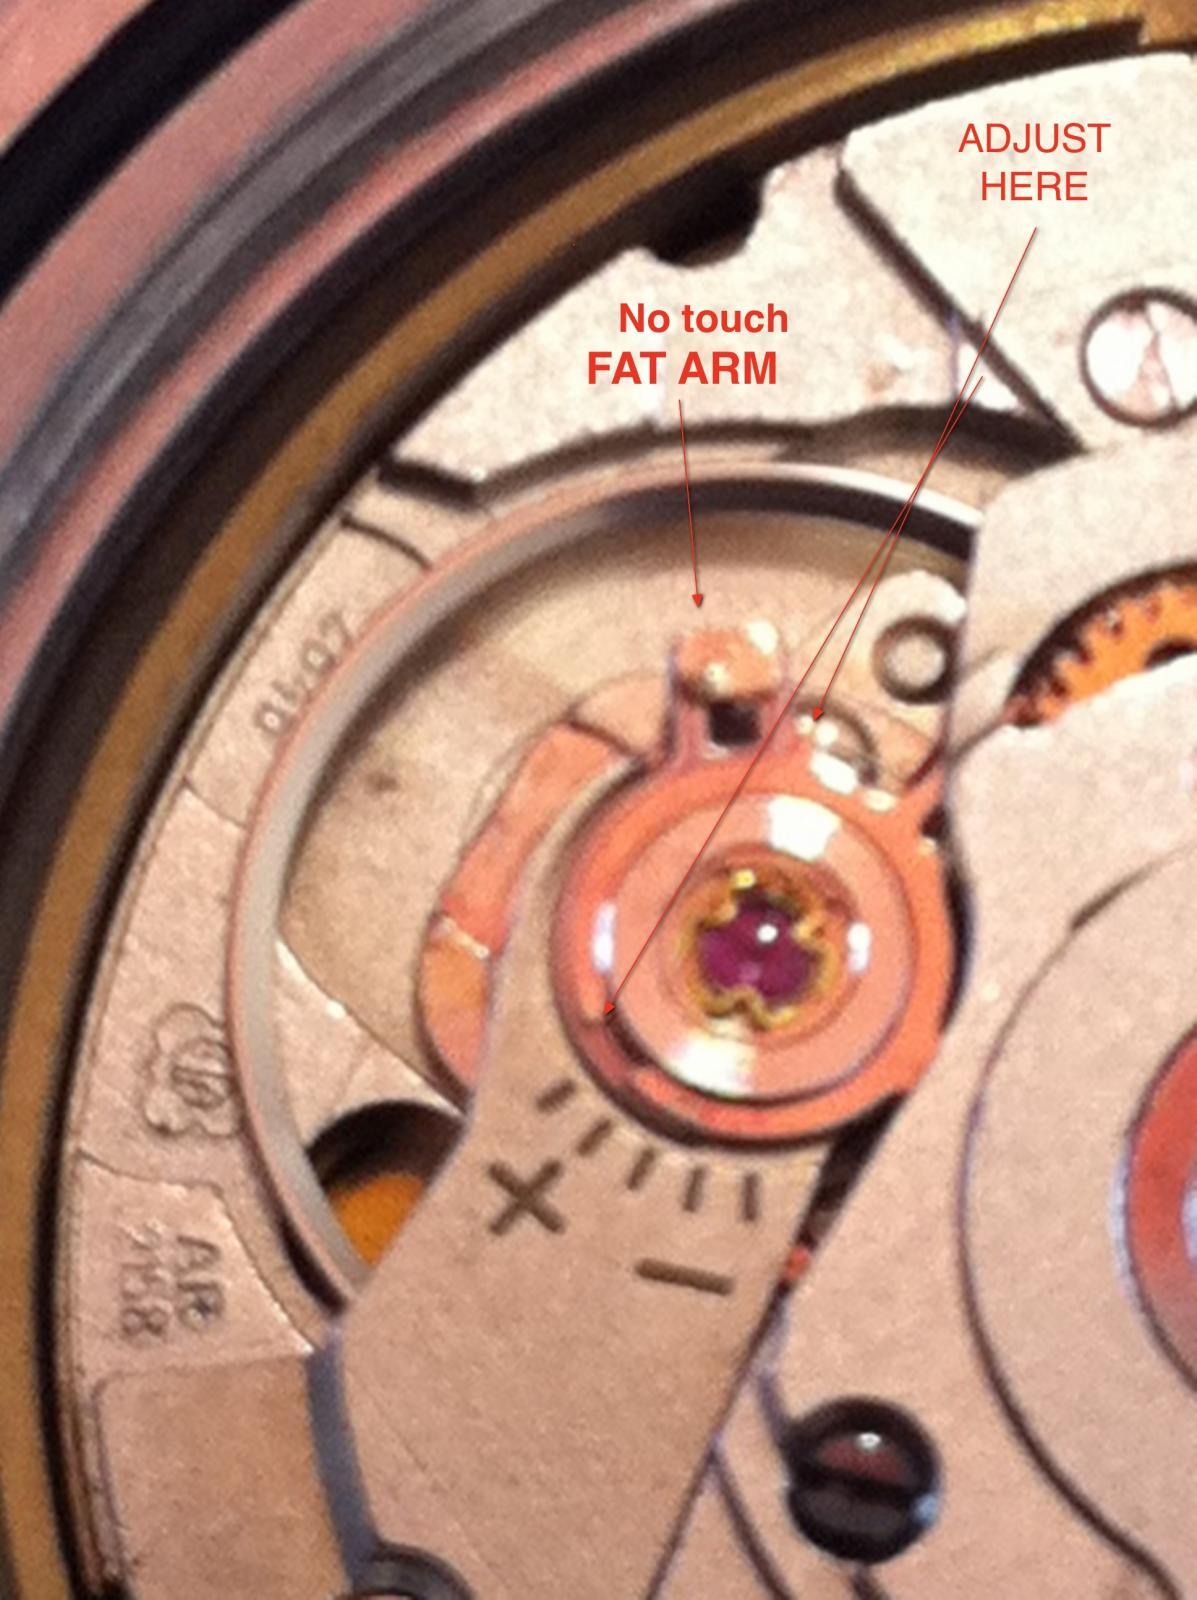
I got lucky and found a photo of the movement prior to my gorilla hands having a free for all in my ETA. Using my computer, I'm timing the reset movement. Looks like Ive picked up 8sec in twenty minutes
 . Here's the old photo showing where things approximately are. Now what?
Thanks for the guidance so far
-
The real question is whats the field elevation at OTZ Ralph Wien?
Seriously Looks great !!!!!
-
Id really like to do it my self, Ive got it going the other direction now, its gaining a minute an hour or so. is there a central point for the fat arm??
-
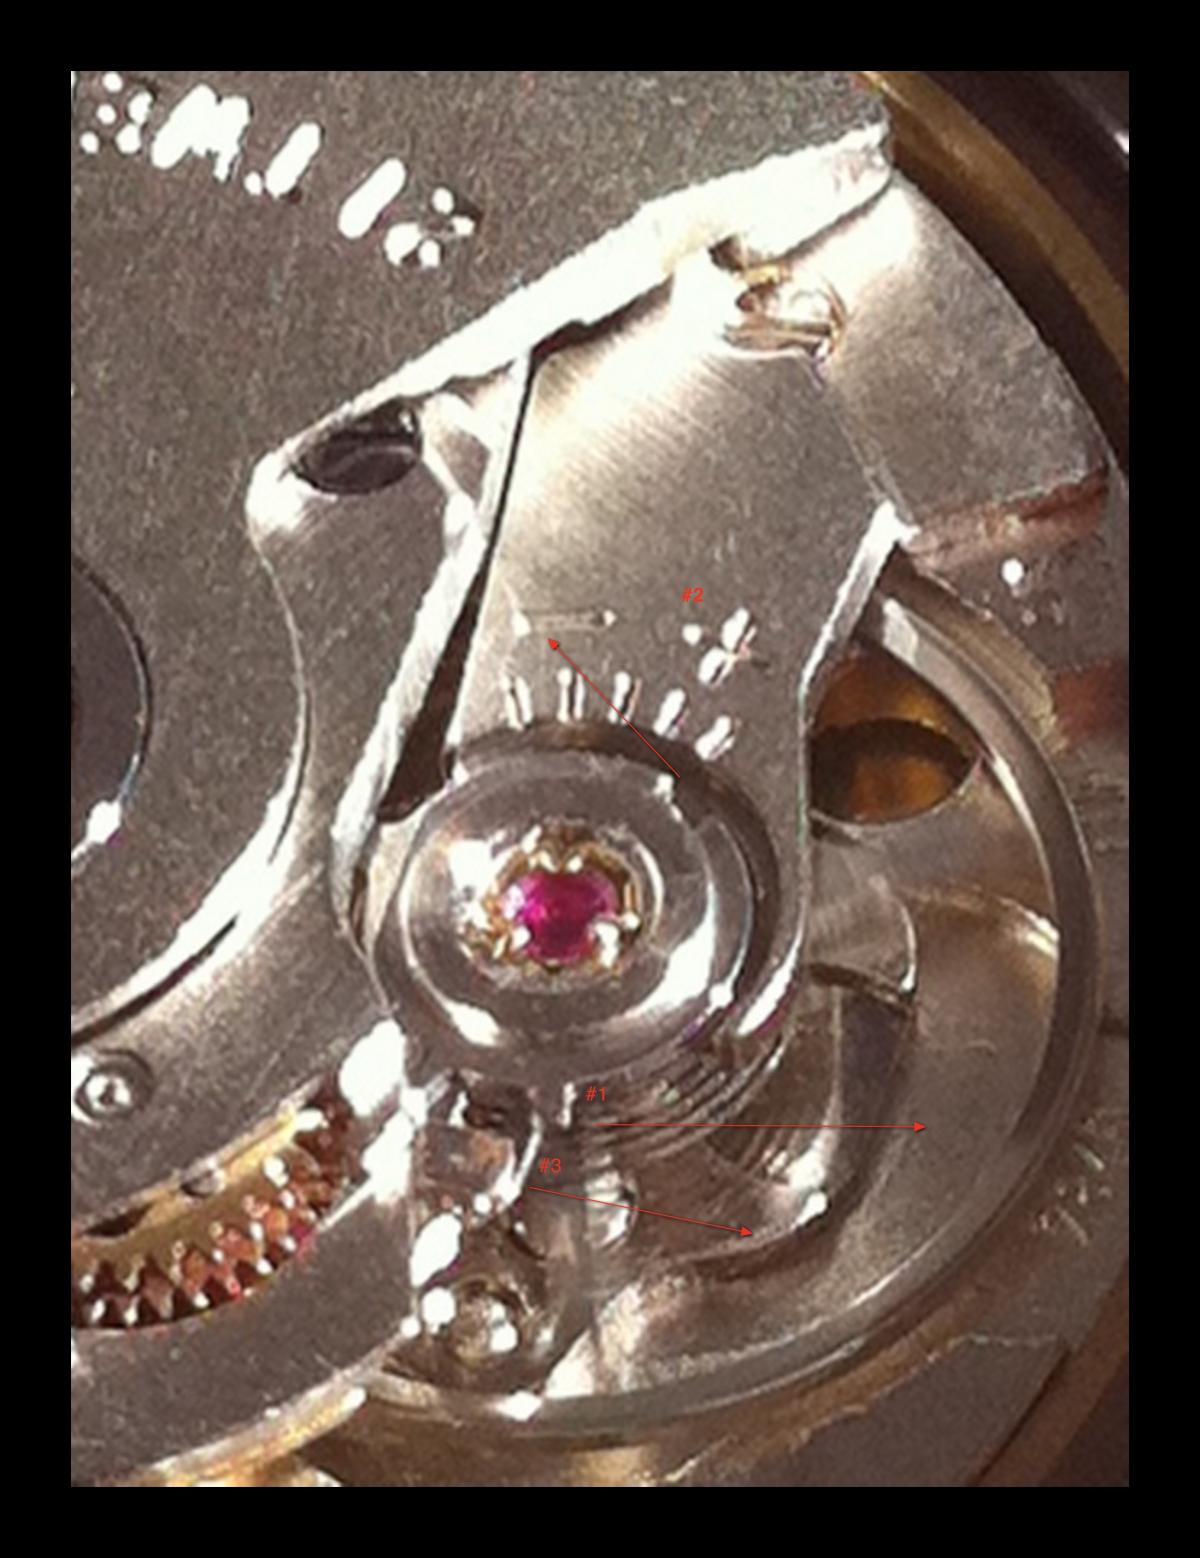
My movement has been fast by 30 seconds a day. Not satisfied i popped the case and started moving whatever I could find that would move
 , + - and the bar thats south of the +/- now I'm twenty minutes slow.
  . Ive searched to no avail on the proper technique, the best write up on regulating / regulation is by Gioarmani (http://www.rwg.cc/to...ps-timing-beat/) but its old and the photos are missing. Being completely illiterate, photos would be great! So far i believe Ive changed the stroke
  , which was not my intention so now what? Does anyone have good photos are where and what my normal position should be? And where do I go from here??
Thanks

-
We need this updated!!
-
Please don't make me look at this dial any more
it' s scratched and the lume is everywhere (does glow like a torch) but I really need a new dial or three I can properly destroy ...and then make beautiful.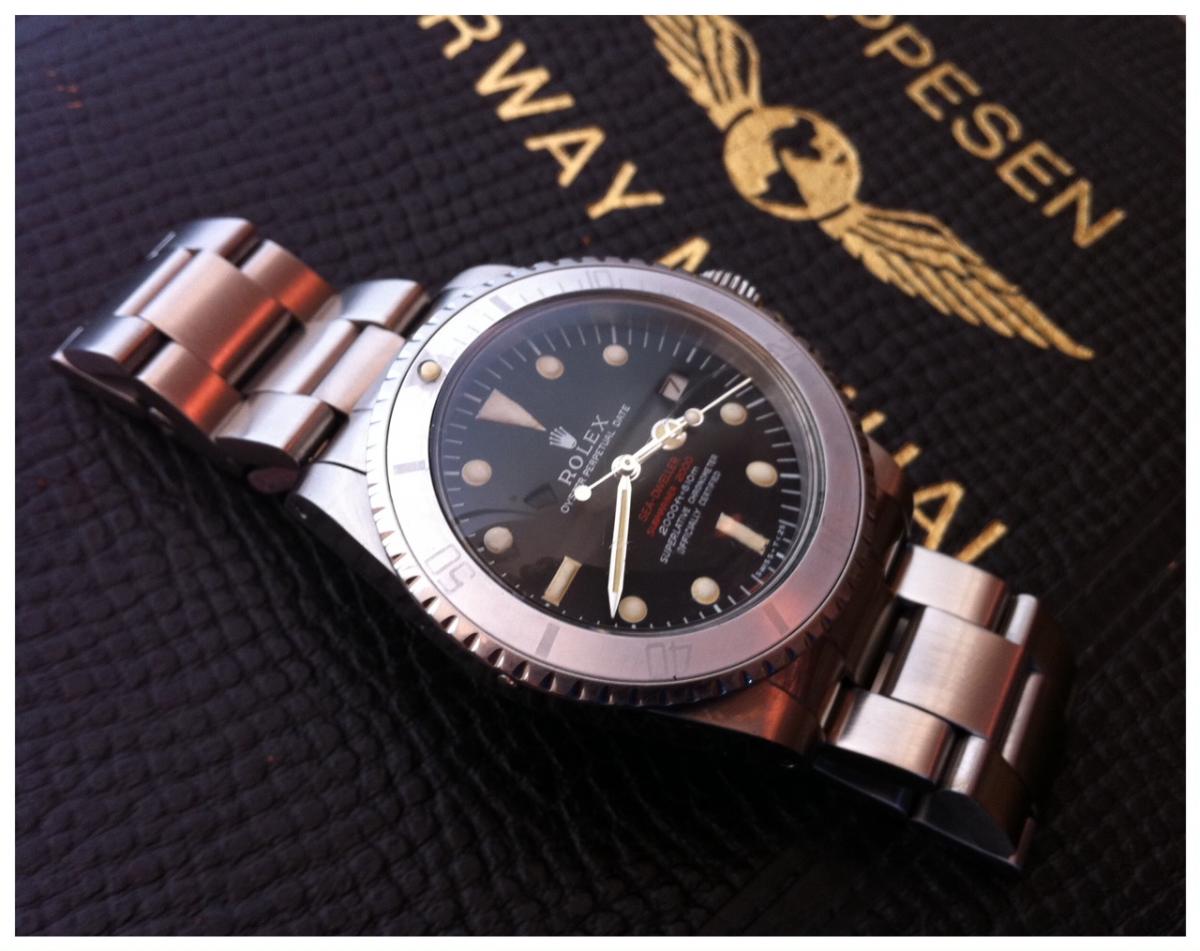
-
-
In the pool
-
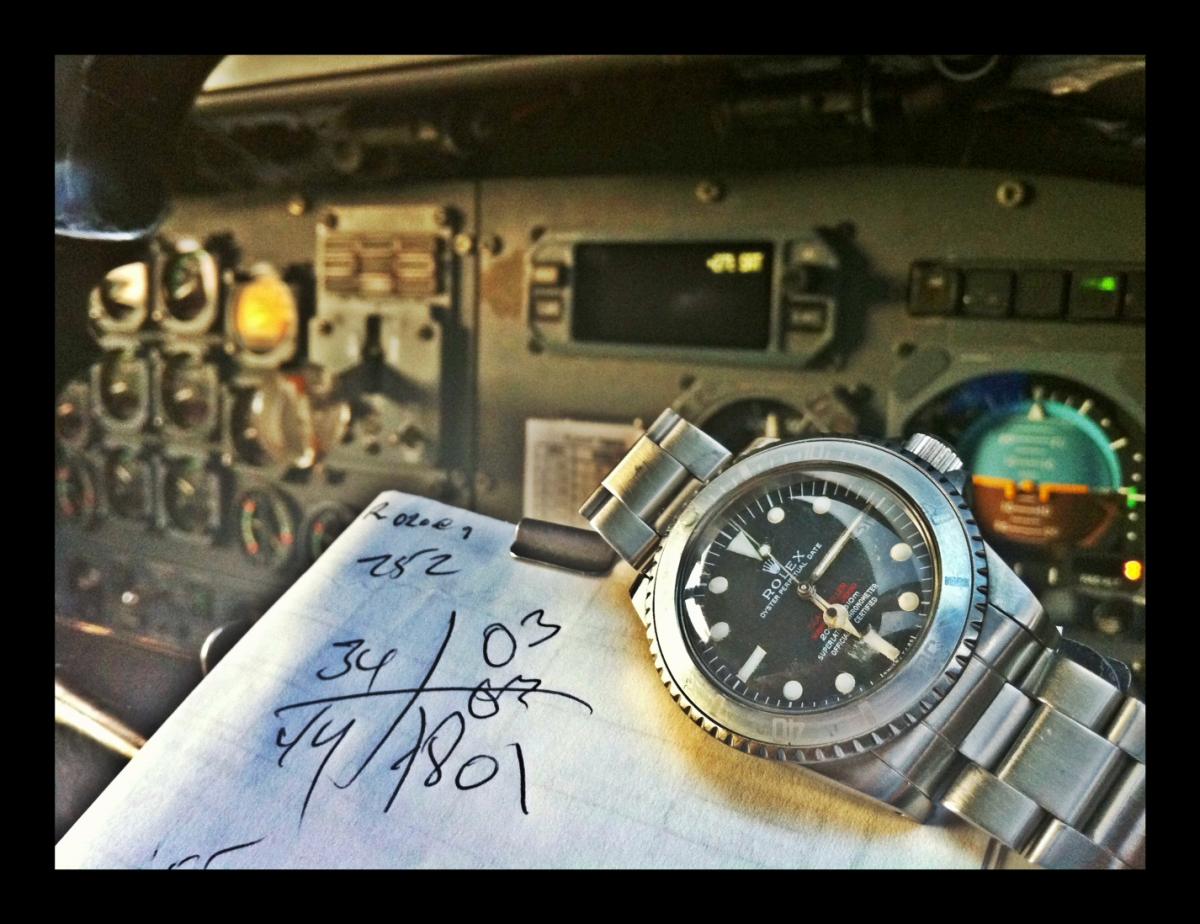
A little Daily Red
-
Congrats!
-
Looks Awesome, what was your technique for the hands? what brush or tool size did you use? Did you remove the hands to paint? soo many questions LOL thanks for your reply
-
THE GRAND?
-
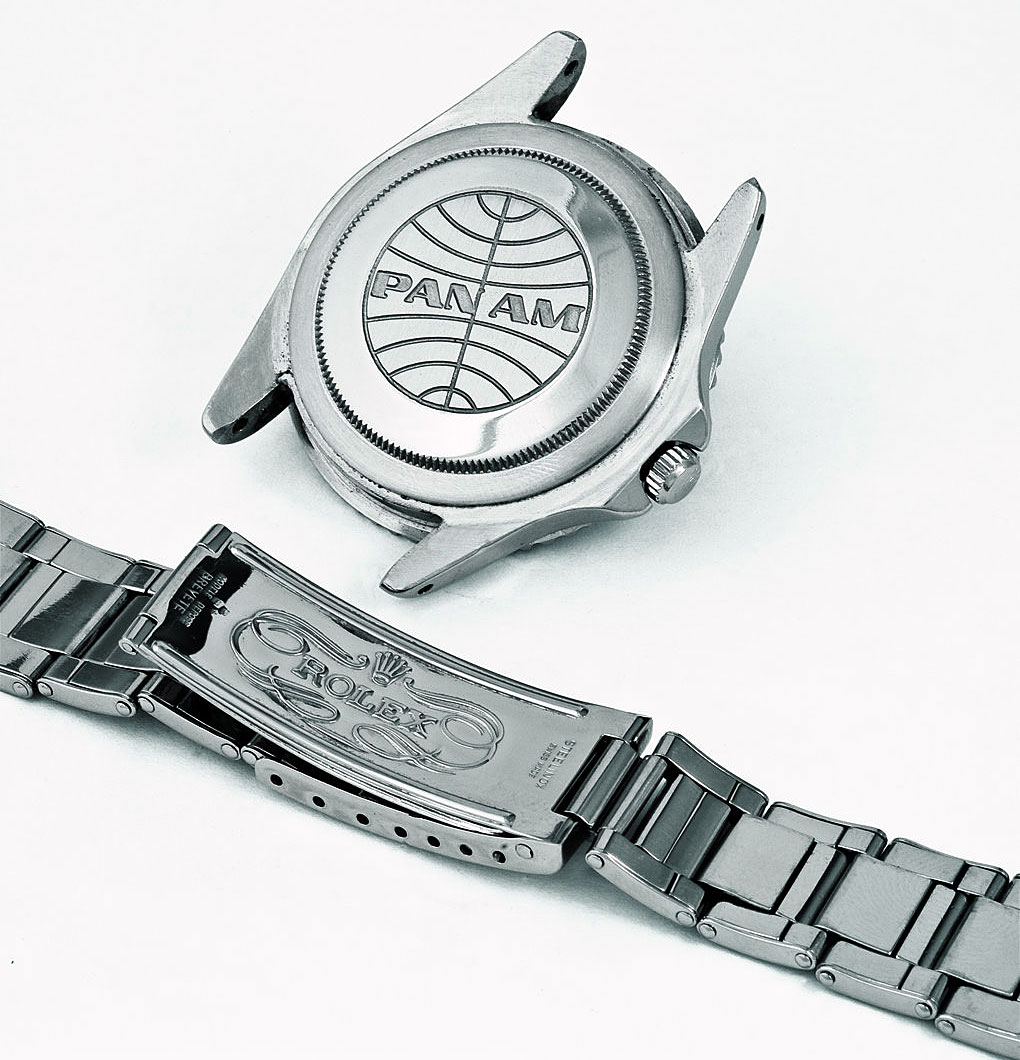
Funny, I spent the entire evening thinking about this same watch. Love the 1983 16760, would like to see a gen crystal in it. Or, an aftermarket crystal that has the black hole affect. I'm considering a CHS, lugs drilled, lumed, with a Pan AM (going out of business) logo case back.
-
Looks pretty awesome man! You've come a long way. I've been meaning to get a PT vintage. The lug holes look nice
Thanks Man!
Dude, I gave away your Vac'd GMT the other day. That watch handled! I was hanging out with a good friend who had given me a EK commando Knife a while back, so this year I paid it forward and stoked him out with the GMT!
-
Thank you, Thank you,
@JKAY, that's in the works
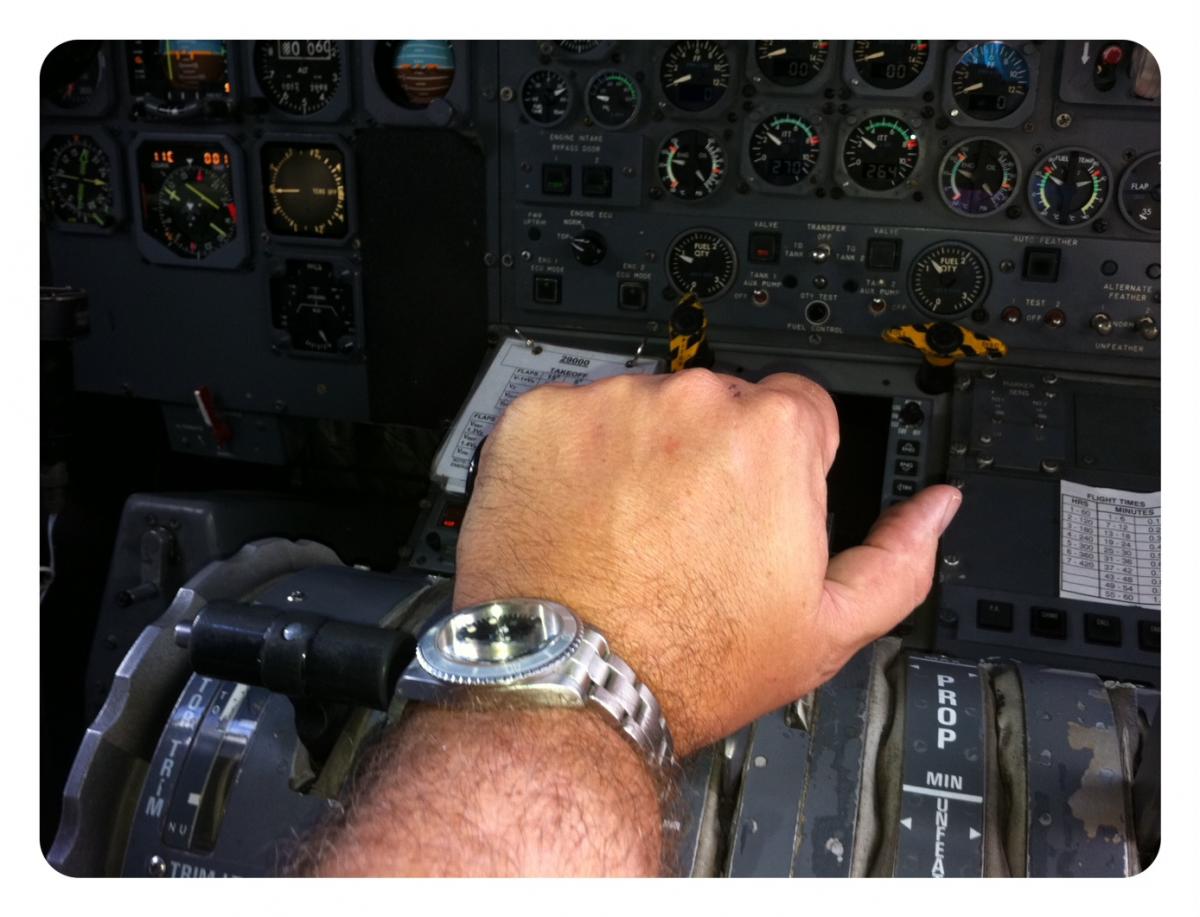
@Nanuq, 121 carrier. My job is to look window and hold +/- 5 kts.

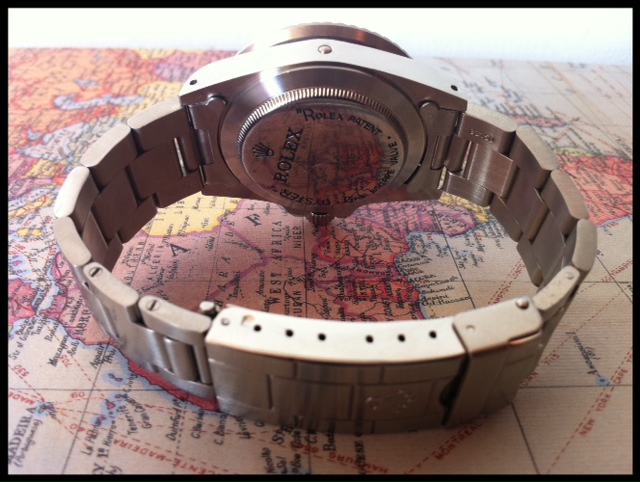
The watch pressure tested to 150ft+ which is great.
My bezel is excessively lose, I may have put the retainer in upside down but it all seemed to fit correctly?
-
see how you can see light through the endlink? its 1/2 a mm off, that would make me a little nuts. Especially at $205, josh I'm sure has a great one.
Nice watch though, a friend has one and it looks great.
-
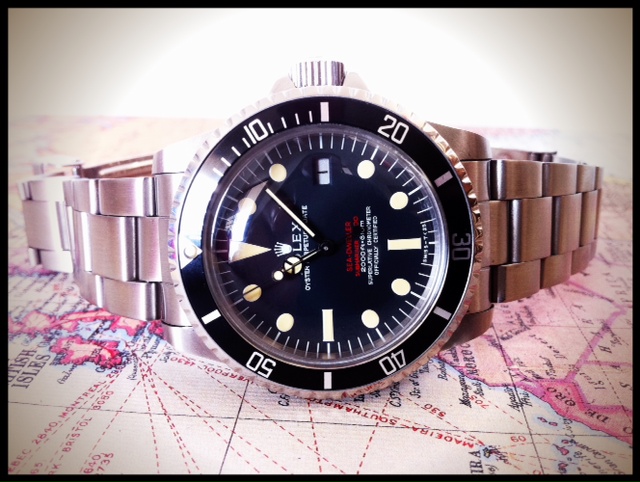
Aloha All,
I just completed a really tough training program for my new job and thought it fitting to reward my self with a fresh wristie. My love for GMT’s is deep but I pulled the trigger on an Angus Double Red 1665.
It would seem like you have to play it cool with Pure Time and just let them work at their own speed and communication level. It took just under 2 weeks from payment to tracking movement and another week to the door.
WOW nice finish and detail out of the box! The dome is big and the links are smooth and shaped nice. Dial has great printing although the logo crown could use a little help, and I wasn’t to hip on the yellowish dots and hands. But still nice watch!!
The finish is soo good that I had expected to sand and buff and sand again but absolutely no need. The lug holes are a perfect 1.2 mm so no drilling (I bored them out any way). The crown is just awesome. The band even with its great shape and finish does have two cracked links, which look like when it was pressed together it split the link. (still awaiting a reply from Angus on this). The two broken links really don’t bother me at all.
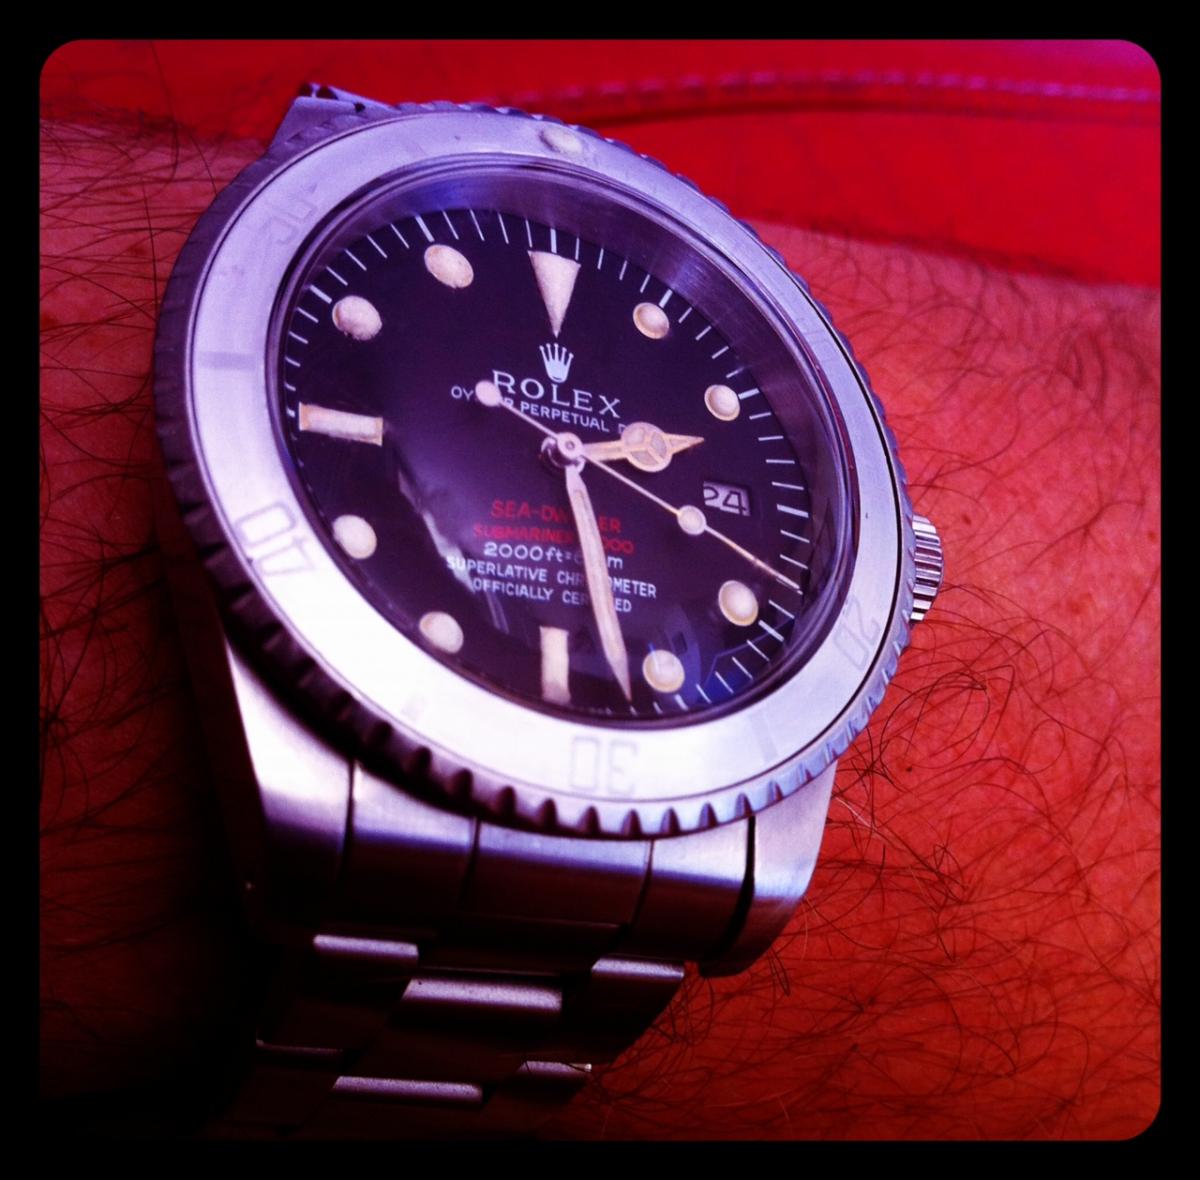
Now they say never fix something that is not broke but it was time to make this watch mine! Step one: remove the crystal and bezel assembly gently with a pocketknife. I removed the bezel and completely over-bleached it!
Using chlorine base drain cleaner and water I soaked it for maybe three minutes, my goal was to see the light swirl or fog of paint being removed, and I when I saw a little movement I pulled the bezel but it was overkill !!! no paint left ! I had modded 3 1680 bezels from josh that handled the Clorox but not this one.
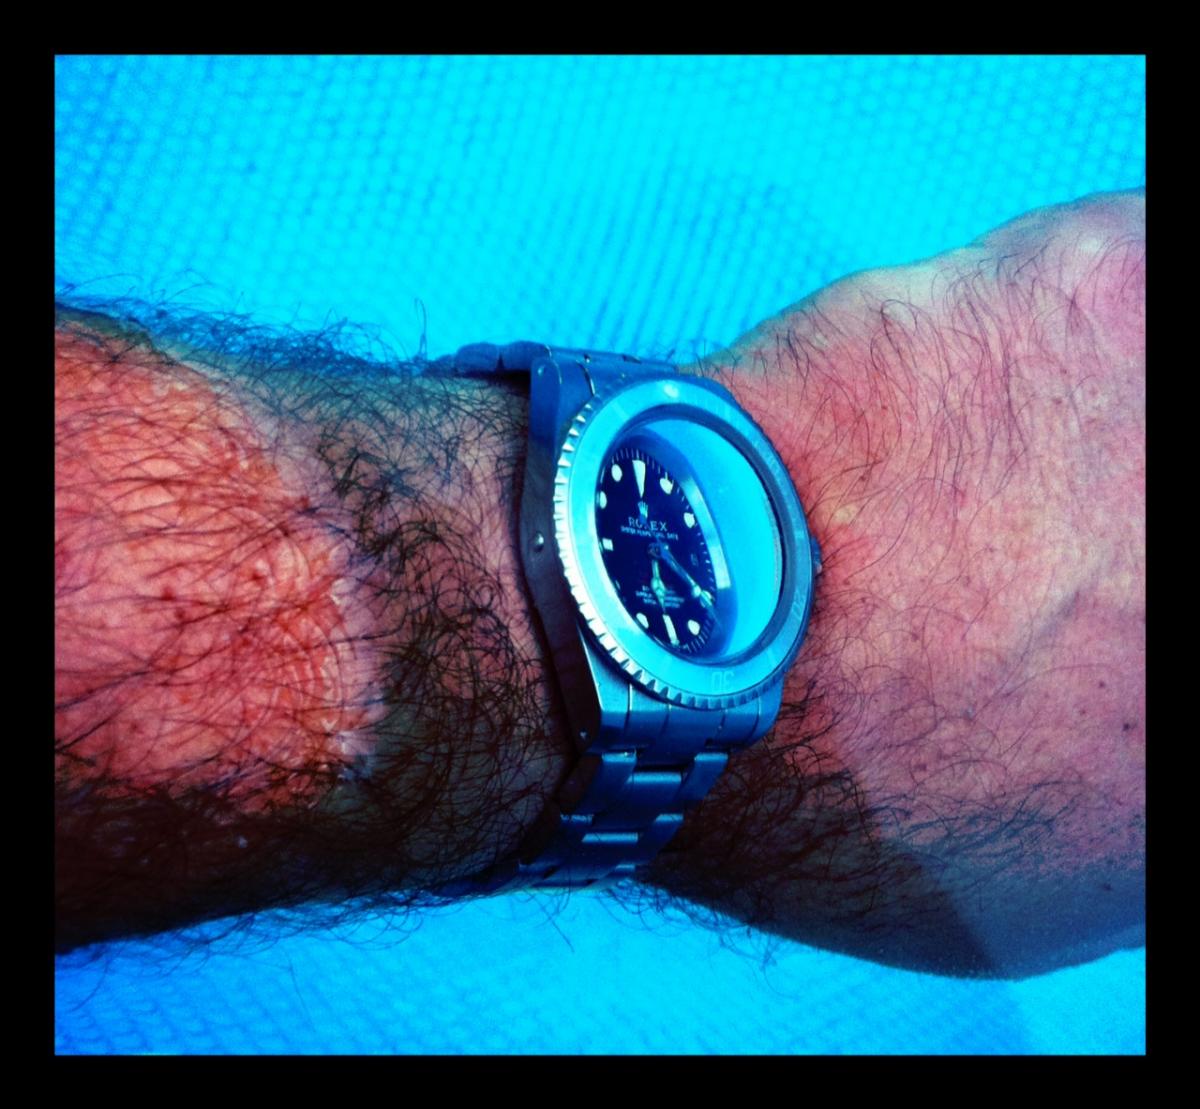
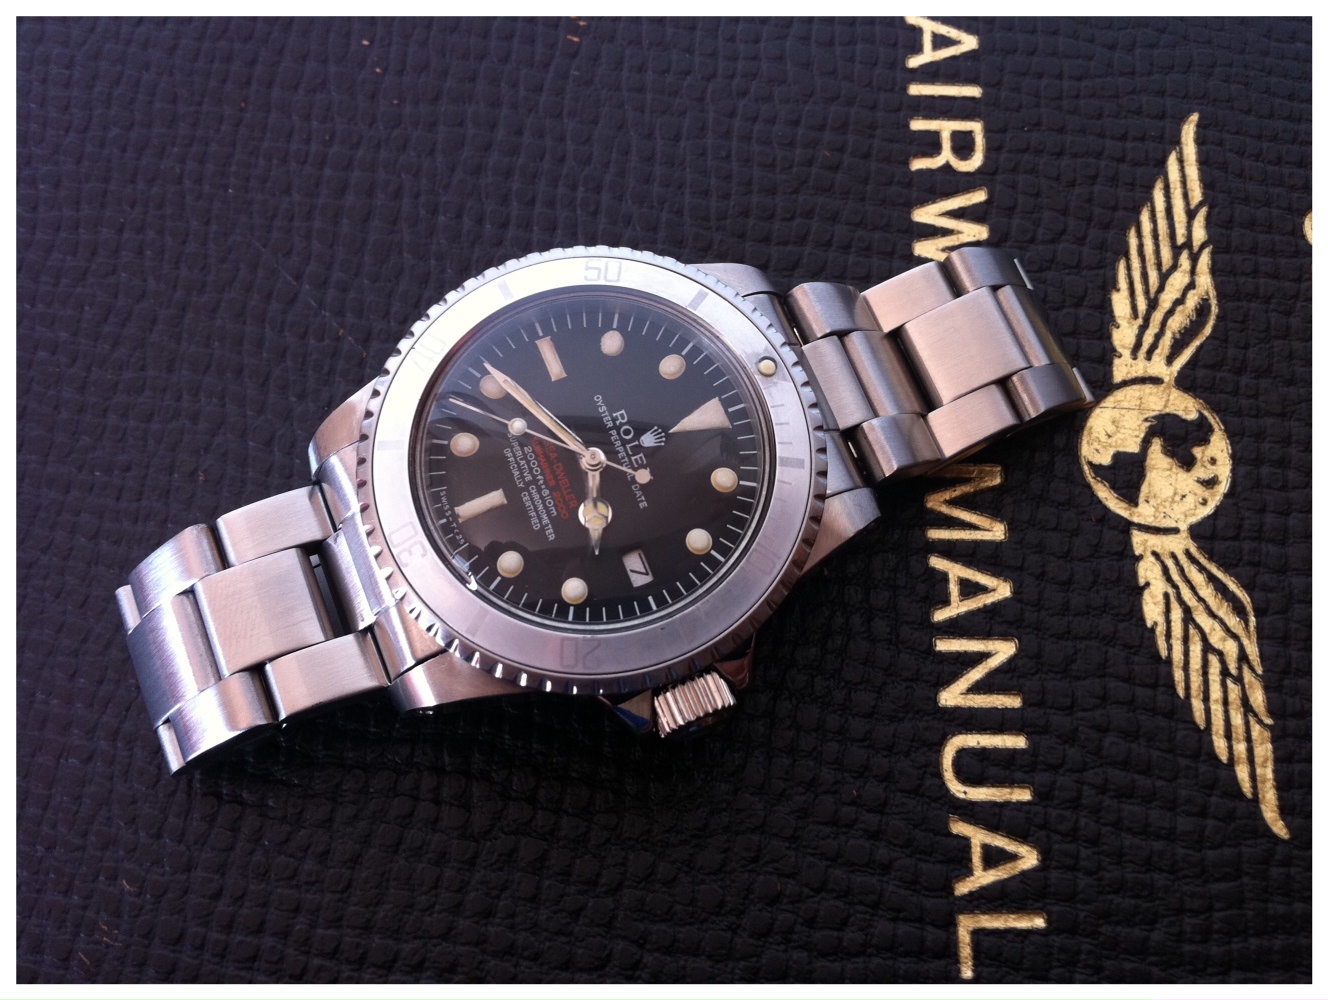
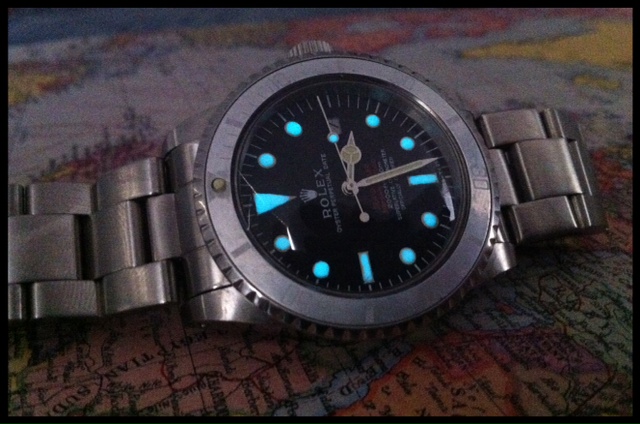
Step 2 lume, I know it’s a classic and my not glow any more but I enjoy the glow !!!
This is my forth dial I’ve lumed and it is no joke, HARD. I used a hypodermic needle that I flattened to hold a small drop of lume. I worked around the dial a couple time building up the dot and then hit the triangle at 12 o’clock. The triangle is soo tough!!
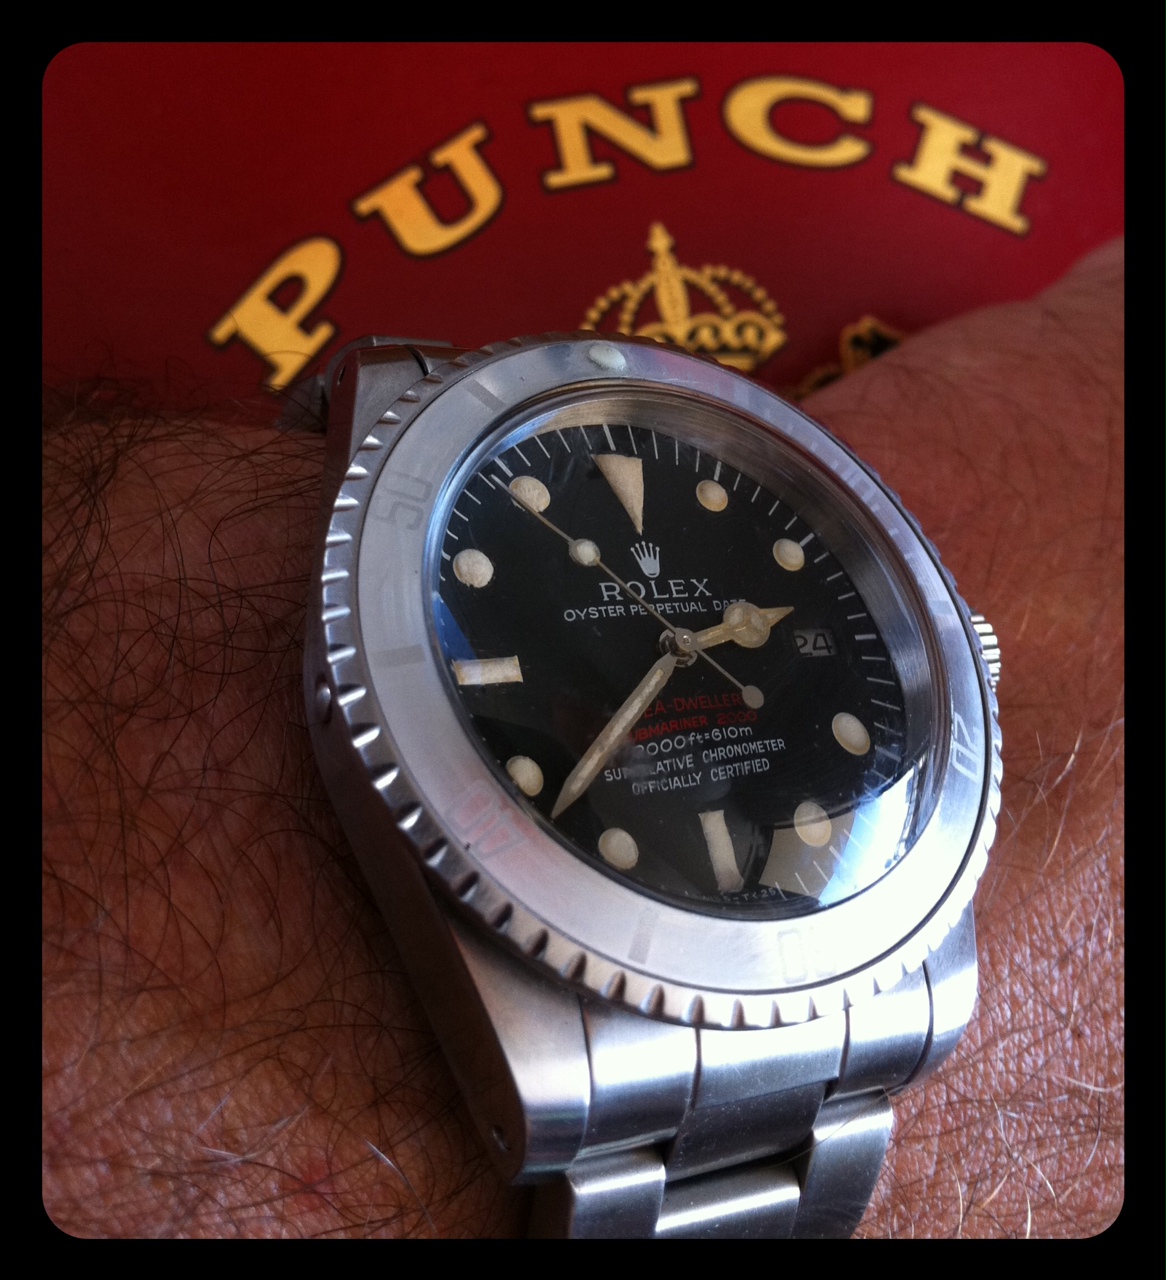
Seriously the dial is ruined to the trained eye, I was so frustrated by the dial that the next day I went back at it, this time sanding the triangle and dots down ant then just massaging the overages and its not perfect but I LIKE IT!!! Not even going to touch the hands
Step 3 gasket lube
Step 4 enjoy
Enjoy the before and after,
Thanks for reading
Tiyal


thursday wristomatics
in General Discussion
Posted
Faded Vintage 1680 1665