When you buy through links on our site, we may earn an affiliate commission.


shacomm
-
Posts
14 -
Joined
-
Last visited
About shacomm

shacomm's Achievements
")
Newbie (1/15)
4
Reputation
-
This thread needs a hijack... whats the best sub?
-
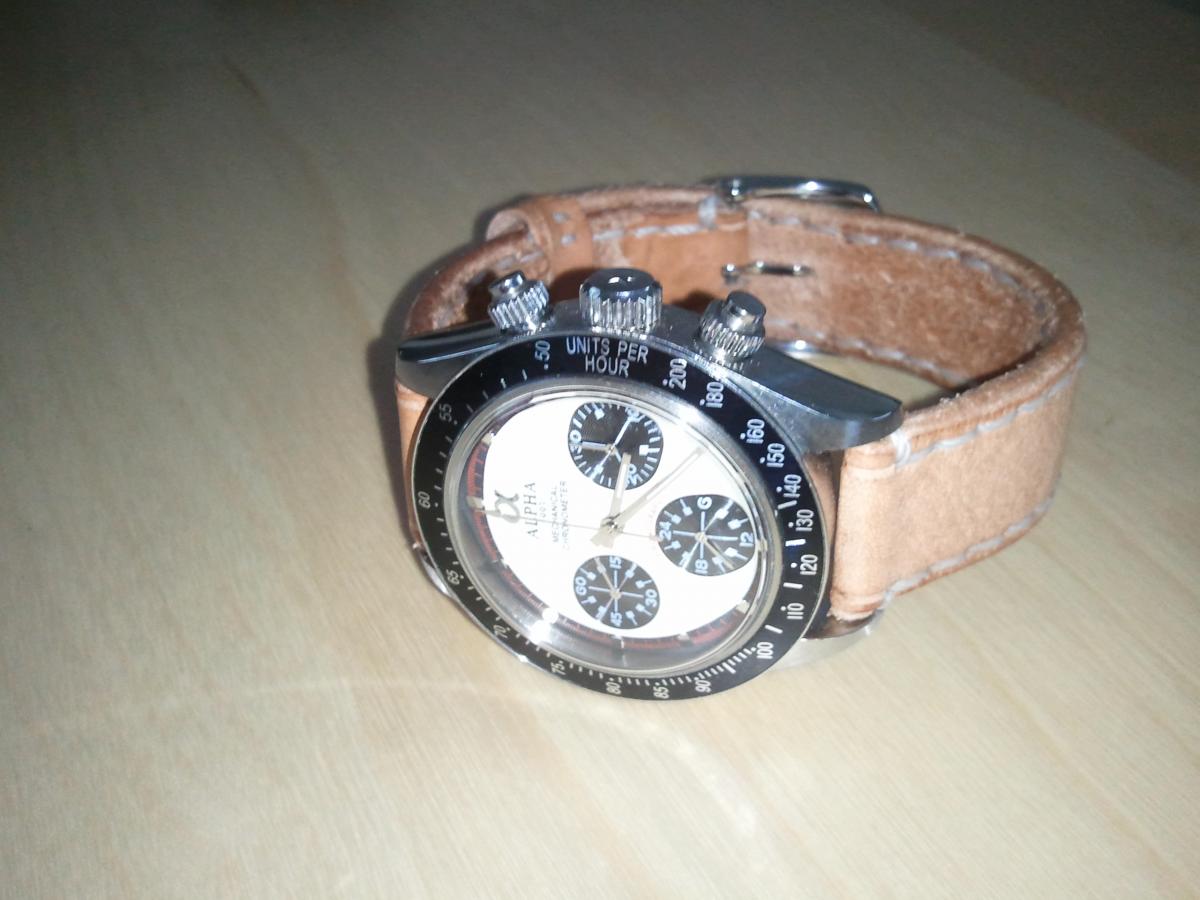
3 CROC Dial Paul Newman White dial / black sub dials
shacomm replied to danielv2000's topic in The Rolex Area
does the donor have a V72? What are those going for these days? $1500ish? -
There have been several of these showing up on the bay. They look like gen ETA7750, what are the odds they are actually Breitling? http://cgi.ebay.com/ws/eBayISAPI.dll?ViewItem&item=140864159995&ssPageName=ADME:B:SS:US:1123
-
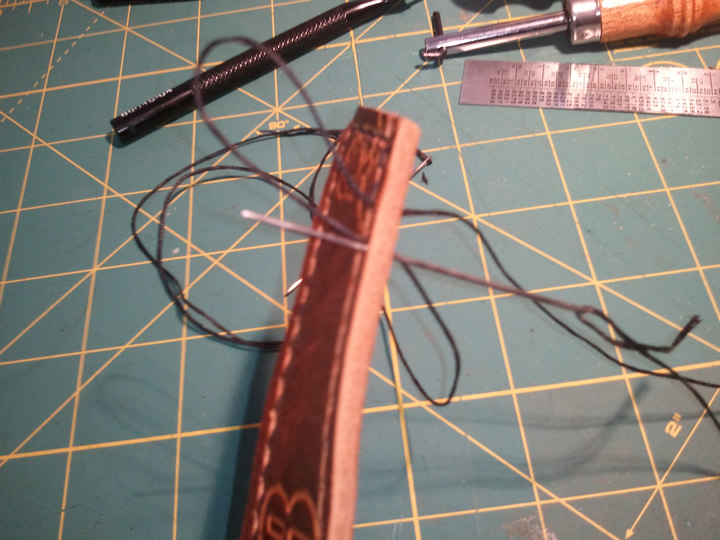
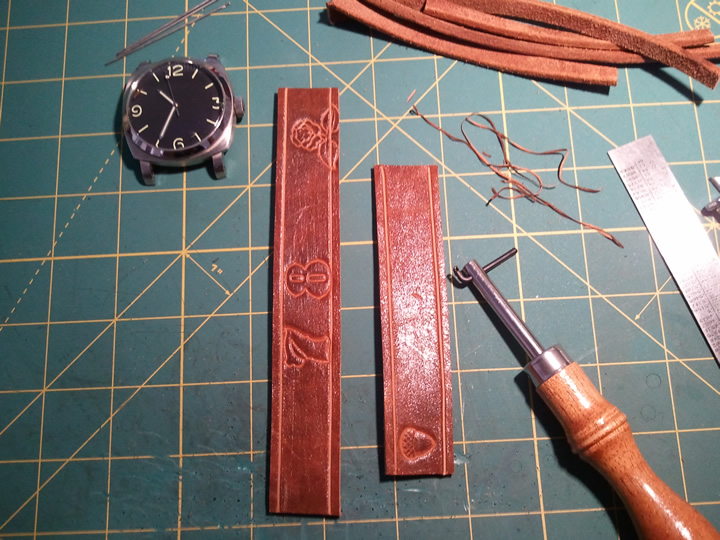
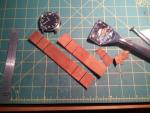
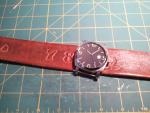
So on to finishing the strap. Use the edge tool to take the corners off the top and bottom of each side of the strap. Take your edge tool, wet the edges of the leather and rub back and forth vigorously to heat and seal the edges. It's looking good but it needs some stitching weight. Maybe this thread would work on a dress watch strap with smaller stitch spacing. Again any suggestions or insight from the professionals is welcome!
-
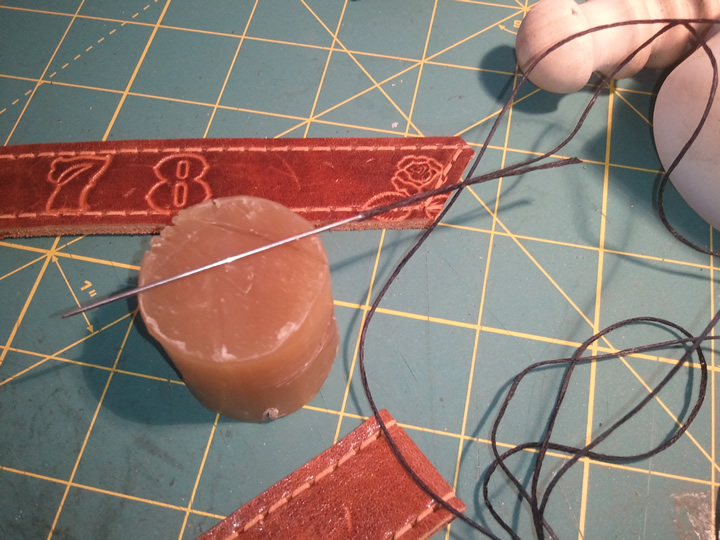
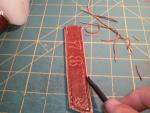
Next is the sewing. Wax the thread, thread the needles and sew it while watching tv. Every time I do one of these I learn a little more. On this strap I tried a new type of thread. My leather store was out Black of waxed cord so the guy working there suggested I try embroidery thread. I bought some black embroidery thread from the local craft store. After sewing these... I was not happy with the weight of the thread (too light) so next week I will be removing the stitching and getting a heavier cord. This is how you learn...

-
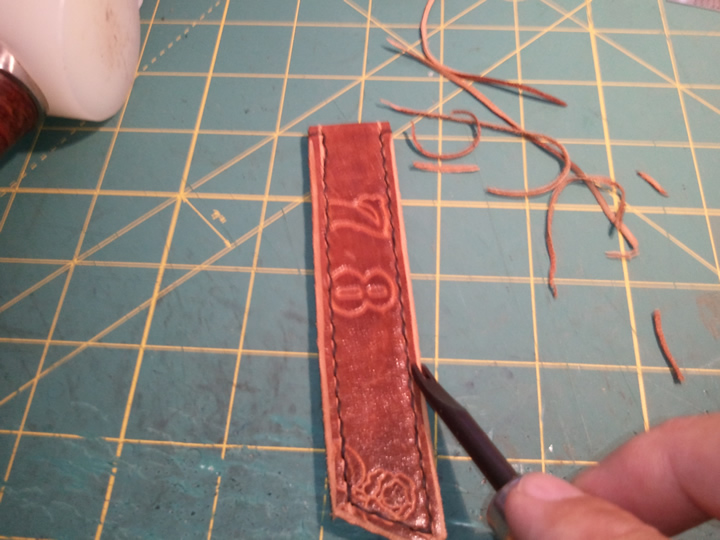
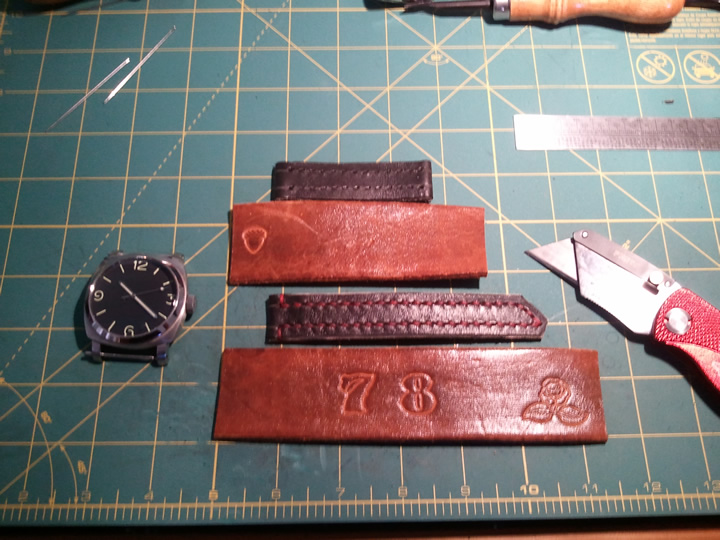
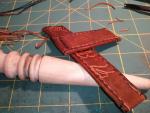
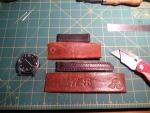
A little more work on this project... The real strap makers will use an awl and punch the holes one at a time. For my purposes I have been using the lacing chisel. This makes slightly larger stiching holes making it easier for a beginner to sew.
-
I'd love to read those posts Timeband makes great straps! I searched on Find Author: timeband and didn't see them. I'm not sure what HF & WC is... Am I missing something?
-
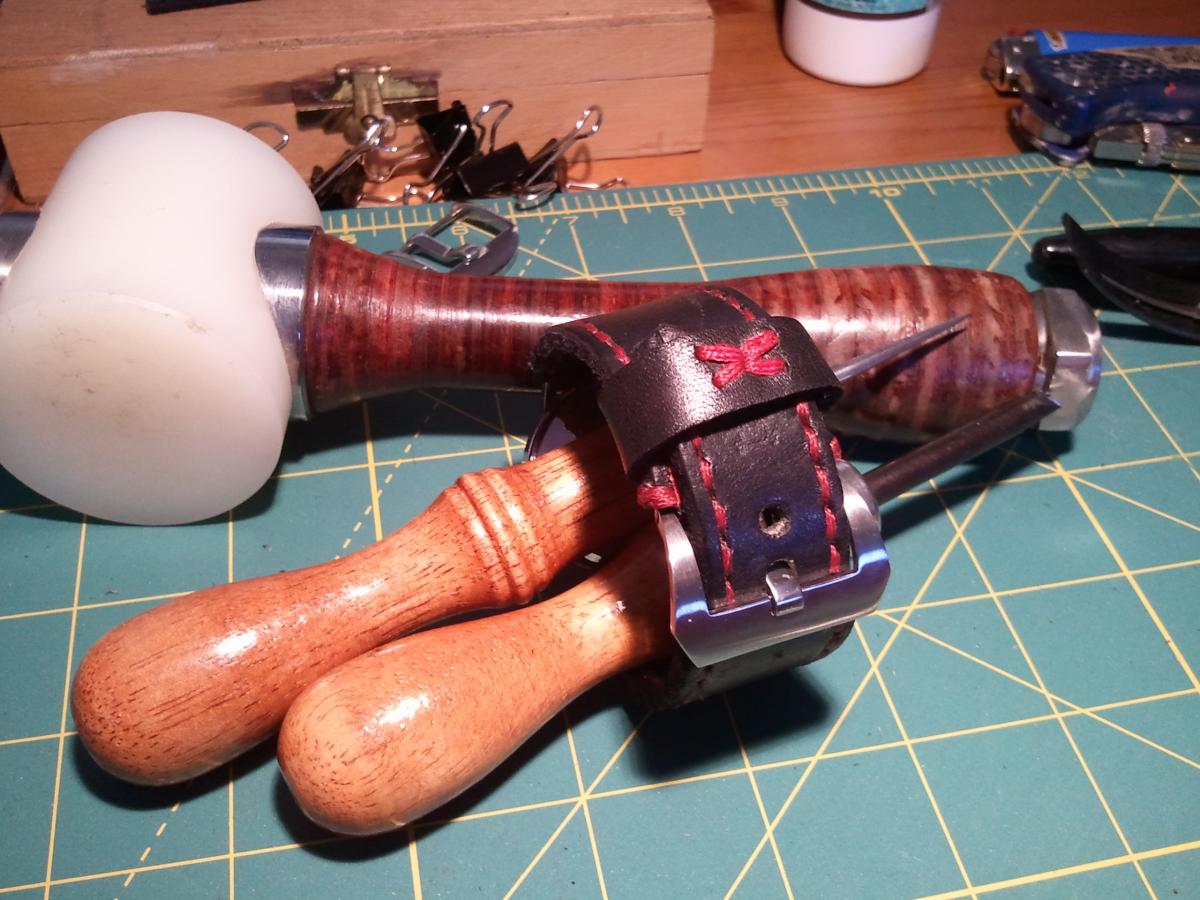
Nice vintage tools!
-
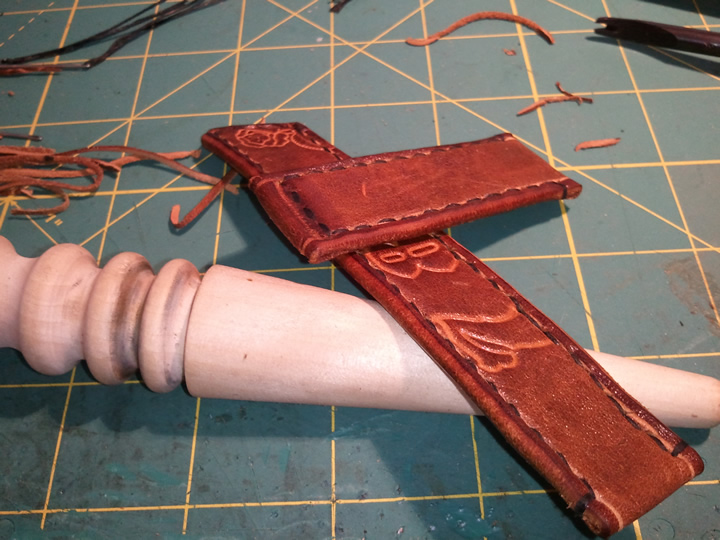
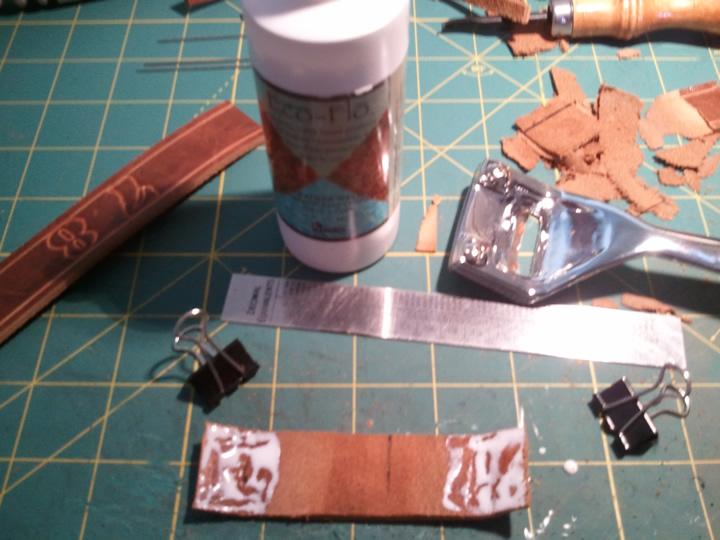
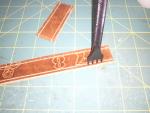
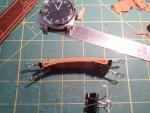
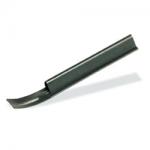
STEP 3 - Turn your straps over and you will "Skive" the leather which will thin the ends to half the width. This will allow you to fold the ends over making loops for the buckle and springbars. STEP 4 - Glue the edges and clamp and let dry. Next up we will burnish the sides and do the stiching.
-
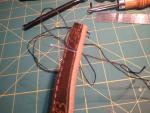
So here I go... I'm making a basic vintage strap. I'm starting with a $2 belt from the Goodwill. Thi is verified vintage as "Bob" made it for his "Camporee" in "78" Step 1 - Cut the leather to length and width using a razor knife and metal ruler. The length should include an extra 1" on the short (buckle) side and an extra 1/2" on the long side. This will be used to fold over. Step 2 -Use your adjustable groover to make groves on each side that will hold your stitching. This grove gives your stiches a plave to sit and helps you keep your stitches straight.
-
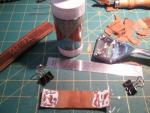
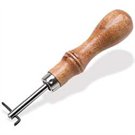
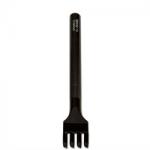
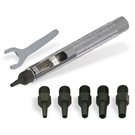
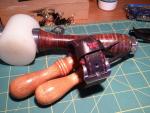
So... on to tools. First of all a disclaimer. I asked all of my artsy friends if anyone did leather work and if I could borrow some tools. I was fortunate enough to find someone who loaned me most of what I needed to get started. So no I didn't go out and buy the fancy $90 hammer you see in these pictures. But it sure is nice! Of all the tools in the box these are the tools I used. Must Haves: Beveler - This will let you thin the leather where it folds over the spring bars. You will thin the leather to half its thickness, fold over and glue. Otherwise your straps will be really fat at the ends. ~ $7. Adjustable Groover - This you can not do without if you want to do stitching down the sides of the strap. It will make a "track" along the edge of the leather that your stiches will sit in. This is the key to making your stiching look straight. ~ $20. Lacing Chisel 4-Prong 3/32 - Use this to punch the holes for your stiching. You can use an awl but this will make it look a lot more professional if you are a beginner. ~$11. Stitching Needles - $2. Waxed Nylon Thread - $3. Nice to have, but you can get by without:Hole Punch Set - You will want the big one for those fat Pre-V buckles. ~ $15. Edge Beveler - Use this to make the edges rounded. ~$9. Edge Slicker - Use this to seal the edges of the leather. You wet the edges and rub it with the stick the heat and moisture seal the leather fibers. ~$15. Other Items You will need: [*]Box Knife - (with a brand new blade). - To cut the leather. [*]Metal Ruler - To measure your 24mm width and length and to use as a cutting guide. [*]Hammer (with soft head) - To hit your Lacing Chisel, the soft head will keep you from mushrooming your lacing chisel.) [*]Glue - Tandy has a new leather glue that works like Elmers (dries clear). [*]Cutting surface / Pounding surface.
-
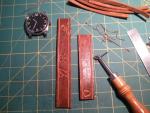
Great question I thought it was just me. However as mentioned there are many sources that will allow you to "piece" it together. 1st place to start is to YouTube Deluca Straps. He shows you in a six part series how to make a strap using an old belt. The next step is to YouTube leather stitching. A favorite of mine are the ones by MaineLineIndustries. Now that you have seen the basics go to Tandy Leather (or any local leathercrafts store) and get your tools and supplies. My next post will show you tools you need and then the steps of making the strap. I will use the strap I'm working on now which is only my 3rd strap ever so this will be a tutorial for beginners by a beginner and I will welcome any insight suggestions and tips from others who will surely have far more experiance than me. As a teaser here are straps 1 & 2.


-
First off that looks great! The retro feel of the strap is perfect. I'm curious about your decision to punch the stiching holes around the adjusting holes and buckle. Did you reuse an old strap or were you just going for the vintage/salvage look? Its a cool detail and really adds age to the strap build. Also the mixed metal and leather keepers are a great touch. Overall I love it, thanks for sharing it!
-
Edge great post and second post, thank you! I'd like to suggest an edit to your original post the link is dead... but a resulting Google search turns up a new site (with new owners). It appears is no longer a safe haven of good information. For verification see this post from the author of the book and original owner of the website. http://www.rwg.cc/topic/126724-replicawatchreport/#entry919973 An edit would be helpful to help new readers avoid this rabbit-hole. Again Thank you for sharing!