When you buy through links on our site, we may earn an affiliate commission.
Search the Community
Showing results for tags 'franken'.
-
This tutorial explains how to build a frankenjust (i.e, franken Datejust) from scratch, or at least how I did it. The specific model I built is a reference 16014, but I think the concepts apply to other 16000-model types, too. I geared the level of detail in the steps and descriptions below to novice modders, and to those on the fence about trying their hand. As a result, much of the following will be too simplistic for the more experienced. In the interest of getting it right, please correct and add comments where you see fit. I wrote this guide (1) to pass on some of the information I've picked up from research on several watch forums (see these excellent posts by KBH, LHOOQ, and TxRub779), (2) to build up the confidence of beginners, and (3) to increase the number of Datejusts in the world, since they are such beautiful watches. A Datejust is a great choice for a first franken: they are relatively budget-friendly and their assembly process is straightforward. I had a lot of one-on-one help along the way. Thanks especially to KBH, Preacher, and Tomhorn. If anybody has questions about the following, please PM me, and I will try my best to help. Now, let's build this thing! Step I: Source the parts 1. Case a. midcase b. tube c. crown d. case back e. bezel 2. Plexi crystal (ref# 25-135) 3. Gaskets (tube & crown for 6mm, and case back is a ref# 302-86) 4. Dial (for a 16000 case) 5. Movement (ETA 2836-2) a. Stem for movement b. Dial spacer 6. Hands (Clark white Tudor dress for 2836-2) 7. Movement Ring (Raffletime #2) 8. Case clamps for a 2836-2 9. Bracelet/endlinks/lugbars to fit 20mm lugs. 10. Datewheel overlay I found my 16014 midcase/caseback, crown, bezel, and tube for sale on the forums. But, they go up on eBay & VRF all the time. Make sure you read the fine print; sometimes sellers like to split up the cases and piece them out. My steel is all gen, although it might be possible to substitute rep parts in some places (e.g., a 6mm crown). Source your gaskets from a watch parts outlet--I used Esslinger. The 16000 case takes gaskets that fit a 6mm crown/tube, and a 302-86 case back gasket. See here for a good breakdown of which gaskets match various Rolex case backs, based on the case numbers. Ebay & VRF are also good sources for dials, but you have to be patient. I wanted a silver linen dial (which I am told is technically called a silver "florentine") since it seemed an elegant touch for an elegant watch, but only gold ones kept coming up. As I wear a platinum wedding band, I chose to wait. Or pay $350+, which is what some sellers demand. Crystals are also easily found on eBay. The 16014 uses a 25-135 crystal. I used an aftermarket version, from Clark watch parts. You can find movements from many watch parts suppliers. Ofrei is a good one in the US. Cousins in the UK. I chose to use an ETA 2836-2, since I happened to have a spare. Others have built these watches using 2824-2's, which are a slightly different dimension as far as stem height. I can't speak to their suitability, or what mods (if any) you need to make to fit them in a 16000 case. Nothing prevents you from using a clone of these movements, rather than a Swiss version, for budget purposes. Although perhaps less reliable, they work well enough in my limited experience with them. In most cases, the stem is movement-specific. If you buy a movement from Ofrei or Counsins, it will come with a correct stem. But if you transplant a movement from another watch, the trimmed stem length might not match the correct length for your frankenjust. Both the 2824-2 and the 2836-2 have a stem diameter of 0.9mm, which happily fits right into the gen Rolex crown. The movement also decides the hands, since the hand-hole diameter must fit over the movement pinions. Fortunately, 2824's and 2836's share these specs. I bought silver Tudor dress-style hands from Clark, since they are very close to the hands that Rolex used for vintage Datejusts. You can find ETA case clamps from a supply house or on eBay. The movement ring is a Rafflestime #2. It does a good job. But, I've read excellent things about Stilty's rings. Unfortunately, I couldn't get in touch with him or otherwise find one to purchase. I bought a 20mm rep jubilee bracelet set, but you can find gens on eBay or VRF. The right model for my watch is a 62510H with 555-stamped end links. They run a little pricey. You can find lugbars from the usual sources. Most vintage Datejusts used a Rolex 3035 movement. Because the datewheel on an ETA movement turns in the opposite direction to the 3035, you can't just slap the latter's datewheel in there as an overlay. If you're stuck on gens, you can use a 3135 datewheel, since it spins the same way, although you might have to sand down the back for clearance between the movement and the dial. I found that the few overlays I have in my parts drawer didn't fit properly in the 16014: it's window is a little further to the right so that the text looks left justified. I like the look of the vintage overlay (font with open 6's and 9's), and these are hard to find so I decided to try and print my own. It's getting there, but I haven't quite perfected it yet. Step II: Tools you will need (in no particular order) 1. Precision screwdrivers 2. Watch tweezers 3. Plastic tweezers 4. Hand presser 5. Hand removers (I prefer levers) 6. Pin vice 7. End cutter pliers 8. File/sandpaper 9. Caseback opener (I usually use a sticky ball) 10. Movement holder 11. Dial protector or similar 12. Dial dots 13. G-S hypo cement 14. Silicone grease 15. Xacto knife 16. Loupe (I prefer a headset) 17. Bezel press (or a custom tool to do the same) 18. Movement cups (optional) 19. Dust blower (optional) 20. Movement pad (optional) 21. Watch paper (optional) 22. Rodico (optional) 23. Springbar tool (optional) 24. Caseback knife (optional) 25. Finger cots (optional) Much of what you need can be found in the RWG/Watchbitz toolkit. I highly recommend it as an excellent resource of quality tools for any modder. The tools list is pretty self-explanatory. You can substitute in some places, but you will need/want pretty much everything above. The nice part about buying all these tools is that most are one-time expenses. And once you decide to open up a watch case, you won't be able to stop, as I have discovered. Step III: Make the watch Earlier, I claimed that the DJ assembly is straightforward, but I should qualify that. Truthfully, several frustrating little problems will pop up during rep building. But for me it's a rewarding feeling to solve them and admire your new creation--way better than just buying it. Like KBH says, half of the fun is finding a way to assemble things that were never meant to be put together in the first place. And you will know soooo much more about your watch than the average gen owner. Here's how you do it... 1. Remove the Rolex dial feet Dials come with little metal feet. These feet slip into the movement and, along with the handstack, align the dial correctly when it's seated on the movement. For whatever reason, the feet positions are often movement-specific, even for movements with similar diameters. As a result, porting a dial from one movement to another involves snipping and filing down the original dial feet. So, to fit your gen dial onto a 2836-2, you need to remove those pesky 3035 feet. Whenever you handle a dial, but particularly an expensive one, it's a good idea to either wear gloves or synthetic finger cots. I prefer cots since they allow the rest of your hand to breathe (avoid cotton cots when handling movements, since they will leave tiny bits of lint everywhere). While holding the dial securely, take your pliers and gently press them up against the back of the dial around the foot. Grip the foot and cut it off, then do the same to its twin. You will find a little nub remaining in each spot. To prevent it from interfering with the operation of the datewheel, you need to file or sand it off. I just used some fine sandpaper that I picked up at Home Depot. Although I have one, I didn't use my diamond file, as I found it awkward to handle in this application. Be careful to (1) hold the dial firmly enough so it doesn't slip, but gently enough so that you don't bend it and to (2) sand with precision. Take your time. A slip here and you will mar the dial. Now, blow away the tiny metal fragments from the back of the dial You don't want them wandering around inside your watch case. 2. Attach the movement ring and dial spacer to the dial The movement ring is a metal washer that is used to prevent the movement from sloshing around in the case, side-to-side. It surrounds the movement and gives it a snug fit inside the case, so that when you pull out or push in the crown of the finished watch, the movement sits firmly in place beneath the dial. The Rafflestime #2 ring does a pretty decent job ensuring a snug fit. It leaves a bit of space around the movement, but not enough to really notice when everything is put together. Most movement rings rest above the stem; in fact, they leave a little gap for the stem to fit into the movement. So, it's a smart idea (in the absence of dial feet) to just attach the movement ring to the dial itself. If you align the center of the gap to the 3 o'clock marker, it gives you some confidence that the dial is in the right position when you eventually peer down into the overturned case, and go to tighten the case clamps. You can use a little G-S hypo to join the dial and the movement ring, but be frugal. Too much glue will either wick up the side of the dial and perhaps onto its face, or make a big splotchy mess. Another solution is to use a tiny strip of dial dot. Use an Xacto knife to slice away several small bits of the double sided tape and go to work. I found dial dots easier to handle, and they offered a stronger stick. 3. Set and align the date wheel overlay ETA date wheels don't line up with Rolex date windows. You have to place an overlay on the 2836-2's date wheel to get the calendar to show up in the window. And to do it properly is harder than it sounds. At first, I used a date wheel from a donor rep submariner. It's smart to use plastic tweezers in this step, as the overlay is delicate. I often leave my movements on a movement pad (or rest). Before you do this, it's a good idea to remove the rotor to avoid stress on it. A dial spacer sits atop the movement, and forms a seat for the dial so that it clears the date wheel and the overlay. Otherwise, pressure from the dial will--at best--interfere with smooth date change operation. Enough pressure to can even cause something delicate to break. Make sure your dial spacer is thick enough to provide sufficient clearance. The flip side of the clearance problem is that the more space you leave between the dial and the movement, (1) the less space you leave yourself to press the hands down properly and (2) the further down you push the stem slot. Depending on your case (and movement), (2) can be a problem when you finally go to push the crown & stem into the movement. The "fit equation" that must be satisfied is: dial width + dial spacer + stem height = center of tube height from top of the dial ± ε The stem height is the distance from the top of the movement to the center of the stem hole. In the equation above, ε represents the "slop". Things rarely line up bang-on: if you're close, you're probably in business. You just don't want to put so much pressure on the stem that it snaps off in the movement. I had some dial spacer issues at first. This one ended up not working too well, but I found a decent enough version in my parts drawer. Now, attach the spacer to the dial using the same method as you did for the movement ring. That way, when you set the dial down, everything will be in place. And ready for alignment... Ultimately, your overlay alignment can only be as good as your overlay. If the font is off (left justified in my case), then the best you can do it to make everything equally off-center. Knowing that, insert the stem. Gently. You may need to turn it slightly as you do so. As long as your keyless works are in order, and you're using the correct stem, the crown will snap into place. With the dial off, put maybe 10 small dots of G-S hypo cement along the top of the ETA datewheel. G-S has a tendency to string up, so be quick. And don't leave enough so that it seeps down into the movement. Best to practice, first. Set down the dial, and make sure it's lined up with the stem. Fortunately, my linen dial had a convenient market right above the stem hole, making my job a bit easier. To align the wheel, make sure your calendar appears nice and centered in your date window. Do so by lifting the dial and using your plastic tweezers to move things around. Using a magnifier will help. Pull the crown into the quick-set position. Advance the date by 15 or so clicks and look at the date centering. Do your best to line things up. Repeat this process. When things are about equal, advance 7 clicks. Now you're on the other diagonal. Center things up. Advance 15 and do the same. Eventually, you will get things as centered as they can be. Note that things can sometimes look different when the date advances normally, versus the quickset. It's a good idea to check. OK. Now you're getting close. 4. Case the dial & movement With the overlay all set, it's time to pull out the stem. For most watches this isn't the case. You would have to set the hands first, before you case everything. However, the hands and crystal for the 16000 series can easily be set in place after the movement is cased. This is a good thing, since sometimes you need to fudge a little with the hands to make them fit properly under the plexi. I use a movement cup, because it is an easy way to turn the movement over (to press the stem release), without hurting the pinions. With a cup set, you're bound to have one that fits the movement diameter pretty well. Flip the movement onto the cup. Put the crown in the winding position. On a 2836-2, use a min. 1mm screwdriver to depress the stem release button. VERY GENTLY. It won't take too much pressure. At the same time, just slide out the stem. If you press too hard, you can screw up your keyless works. And then you will have to take everything apart to re-set, and go through the entire process of overlay alignment again. Now put the movement pad soft-side down on top of the face-down movement. Flip everything over again and you've got the stemless movement ready to be cased. Carefully, slide the case down over the dial. As you do so, make sure the tube is lined up over the three o'clock marker, and that the rehaut is evenly spaced around the dial. If you're ham-handed, you can scratch the dial. And that would suck. Again, a bigger movement cup forms a really easy rest for the movement/case. Just flip it over. At this point, I like to insert the stem, to make sure everything is lined up right. Just place a finger on top of the movement (being careful to NEVER touch the balance wheel) and slip the stem in. (As long as you adhered to the fit equation, you'll probably be OK.) Putting the stem in this way helps to keep everything (dial and movement) lined up when you screw down the case clamps--especially in situations where you don't have any dial feet. Of course, I didn't think to take pictures showing this little gem... Case clamps keep the movement centered between the dial and the back of the case. They provide pressure, in fact, so that the rotor doesn't scrape against the case back. Use tweezers to transport a clamp over to the movement and line it up. Then, drop in a screw and tighten it just enough so the rotor clears it. Do the same for the other clamp and then tighten everything up. Add the case back here. Well, first place the gasket that you've been soaking all the while in silicone grease . Whenever I screw it down, I like to use my hand at first to turn the case back counter-clockwise against the case threads until I feel/hear a click. Then screw it in, normally, by hand at first. If you encounter no resistance, use your sticky ball or equivalent. This helps you avoid cross-threading (hat-tip, Bonesey). Up to now, you've been using a generic crown and stem, right? Well, take the stem out and use your pin vice to switch crowns. Then, use the pliers and a few stem insertions to get that stem to the right length. It should be long enough so that the winding position is clear of the tube, but short enough so that the crown spring can easily get the crown to the tube for screwing down. Again, I sit the case on a movement cup and test the date wheel form the quick set position, and also by normal time-set advancement. If everything looks good and you don't get any resistance, it's time to move on to the last few steps. 5. Install the hands The 16000 crystal/bezel set affords you the convenience of doing this step after the dial and movement are set in the case. When you've done it a few times, hand setting is no big deal. But you have to tread carefully because it's easy to scratch the dial. So, use a dial protector. My dial has stick markers, which preclude me from using my RWG/Watchbitz-toolkit-sourced-Bergeon. Instead, I "customized" a bit of watch paper to perform the same function. Always use a loupe when installing hands. They are small. Rodico is your friend. Press it down (gently, to avoid bending) onto any hand at the tip. Guide the hand over to the cannon pinion and line up its hole. Then install. Hack the movement. It's not really necessary, but it makes things a little neater since you don't have to worry about the hands moving around while you take your time. For the hour hand, I usually just use a cheap set of plastic tweezers. First, slowly advance the crown in time-set position until the date snaps over. Then press the hour hand home so it points directly at 12. Advance the hand until the next change occurs. If it's off, you can use the plastic tweezers to nudge the side of the hand a bit, to line it up. Keep doing this until you have it straight. You need to use the hand presser when installing the minute and seconds hands. At first, I was really worried about snapping off the seconds pinion when using the pen-type tool, since you are kind of blind once you lower it to make contact with the hand. But if you're gentle, you can actually move the presser slowly around and feel the seconds pinion is inside the hole at the end of the presser. Once you're sure about that, just press down. But not too hard, or you could break a jewel. Make sure to move the hour hand over to point directly at another hour marker before you install the minute hand at 12 (3 o'clock, 6 o'clock, and 9 o'clock work well). When hour and minute hands are on, use the crown to turn the hands all the way around the dial to make sure they don't hit each other, but also so that the minute hand crosses 12 when the hour hand strikes an hour. If not, go back and use your plastic tweezers to nudge the minute hand into the right position. Advance the hands again and check your work. The seconds pinion it TINY. So if you haven't been using a magnifier, use one now. Again, line up the hole over the center of the cannon pinion using Rodico. The bottom of the seconds hand has a tiny female part that caps the male pinion. It really only fits one way. When you think you've got it right, press down very gently with the presser. If you pull away the presser and the second hand is still sitting up there, you're almost done. Just press down with the presser using a little more force--that should seat it. Unhack the movement. If the seconds hand starts to move, you're nearly done. Now pick up the watch and turn it around and upside down. Check different positions. If the seconds hand slips around the dial, it's not on firmly enough. Press down gently again and check. If you need to remove the hands at any time, a piece of advice... I much prefer the hand-lever style removers to the presto ones. With the levers, you are in complete control of the amount of force applied. While using your dial protector, just place the tips of the levers against the base of the cannon pinion (levers at 45-degree angle) and gently press the held ends of the levers toward the dial. The hands will pop off. Use Rodico to pick them up. 6. Seat the crystal and press down the bezel The DJ crystal is plexi. It fits over the watch really easily, and serves as its own gasket when the bezel is pressed down. Once you've set the hands in place, you should test fit the crystal to make sure it doesn't interfere with the hands at all. In my case, it did. I only realized it when the movement stopped after I pressed down the bezel--the curvature of the plexi caused the arrow-straight second hand to jam. So I had to pop everything off again, and make the fix. Since you're smarter than me, you will remember to check first. If the hands are a problem, just remove them, bend them a little, and repeat step 5! Once the crystal is on and everything is working OK, make sure the cyclops is properly aligned over the date window. I don't know if this method is correct, but here's how I do it... Using a magnifier, I place myself directly above the cannon pinion and twist the crystal into place. Then, I lower my sight line until I'm just opposite the crown, and the handstack is lined up with the 9 o'clock marker. Checking that the cyclops edges are parallel, I go back and repeat. Cyclops alignment is a little more difficult than it seems, at first, because it can play optical tricks on you. When you're satisfied, it's time to press down the bezel. I have a caseback press, by my dies are too shallow. Instead, I found out that a PVC t-joint worked wonders. Just make sure that you use a little frog tape or something to soften the plastic edges and protect your shiny bezel. Place the bezel around the crystal, line up the PVC joint and press it down. Shouldn't take more than a couple tries to make sure everything is in place. If for some reason you need to remove the bezel, I've found that the best way is to use an Xacto knife to pry it up in one location. A case back knife does the rest. Just be careful to tape up any lugs if you want to use them as leverage. 7. Epilogue That's it. You've got your franken. A couple parting tips: if you scratch your crystal at any point, know that it buffs out pretty well with Meguiar's PlastX (found in an auto parts shops) or Polywatch. Various metal polishes can be used to get scratches out of the case itself. But scratces can add character, too, so whether you leave them is really up to your preference. Getting my 16014 together was just an awesome experience. I love it. It was my grail watch and now I have it. Joy. What's more: my serial number dates my watch to 1983. So, I feel like I'm bringing a little vintage back when I wear it. Which is like every day right now. I hope this guide helped you at least a little. I'm sure I've forgotten some important steps somewhere. But I'm tired of writing, so I'll just stop. In fact, I'm feeling like it's time to grab a drink. I'm just going to throw on my Member's Only jacket and hop in the DeLorean. If you're up for it, let's meet up. I'll be at the Mutiny, wearing this:
-
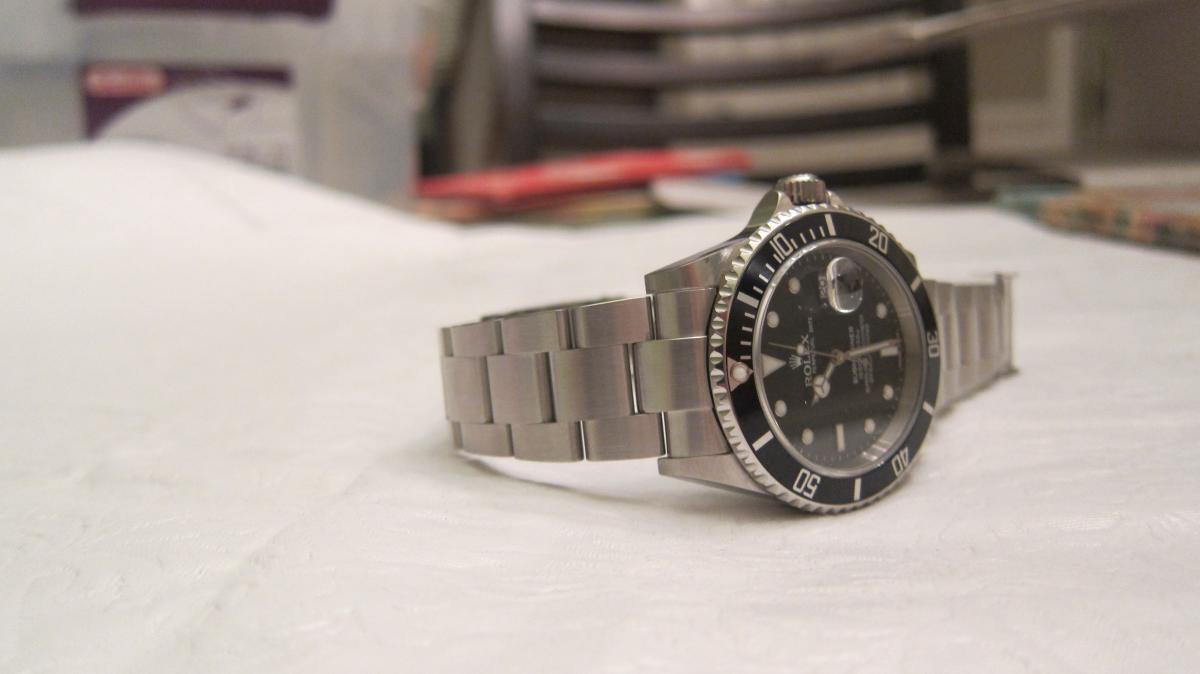
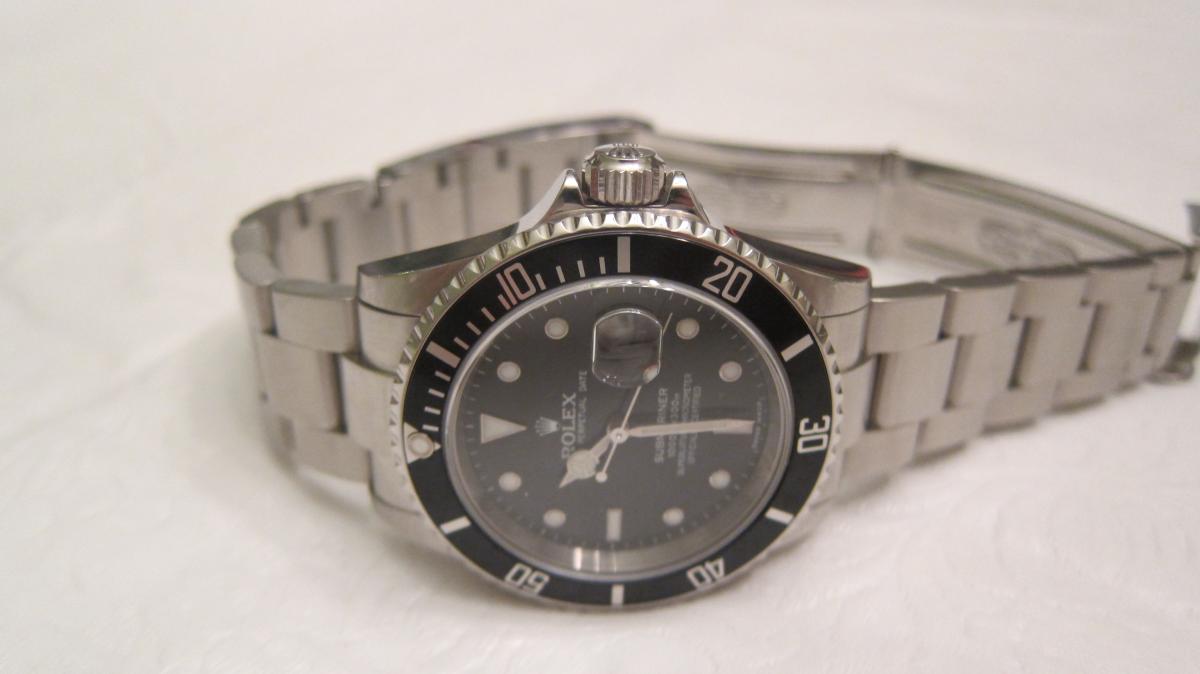
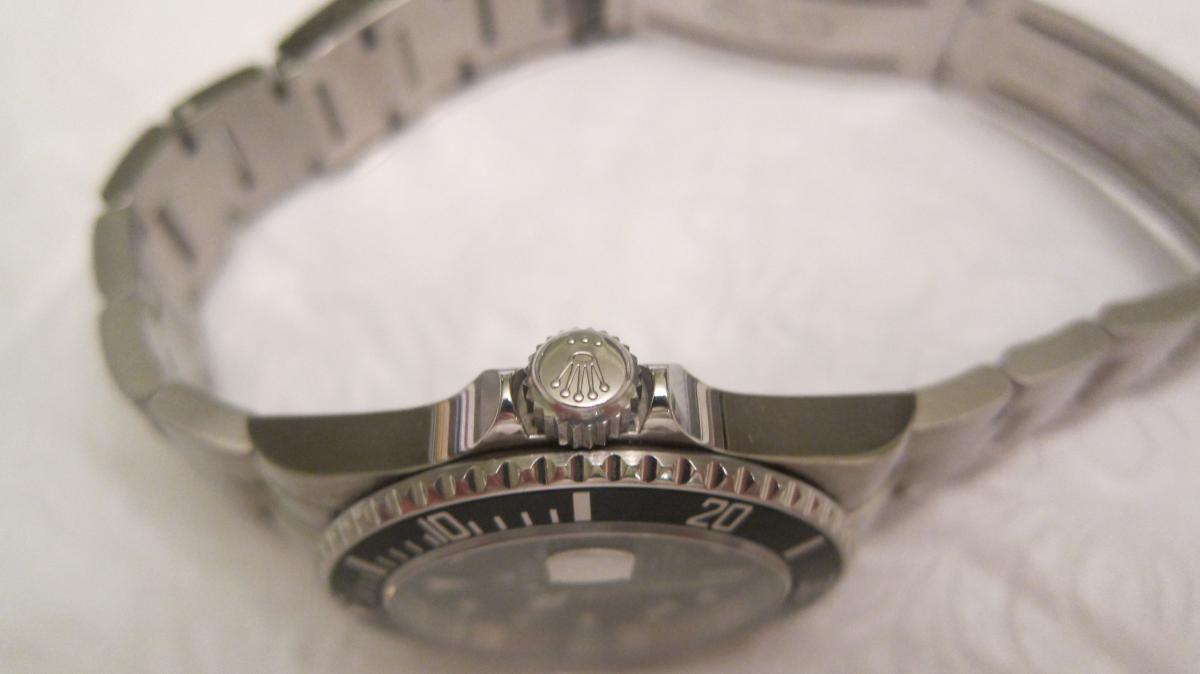
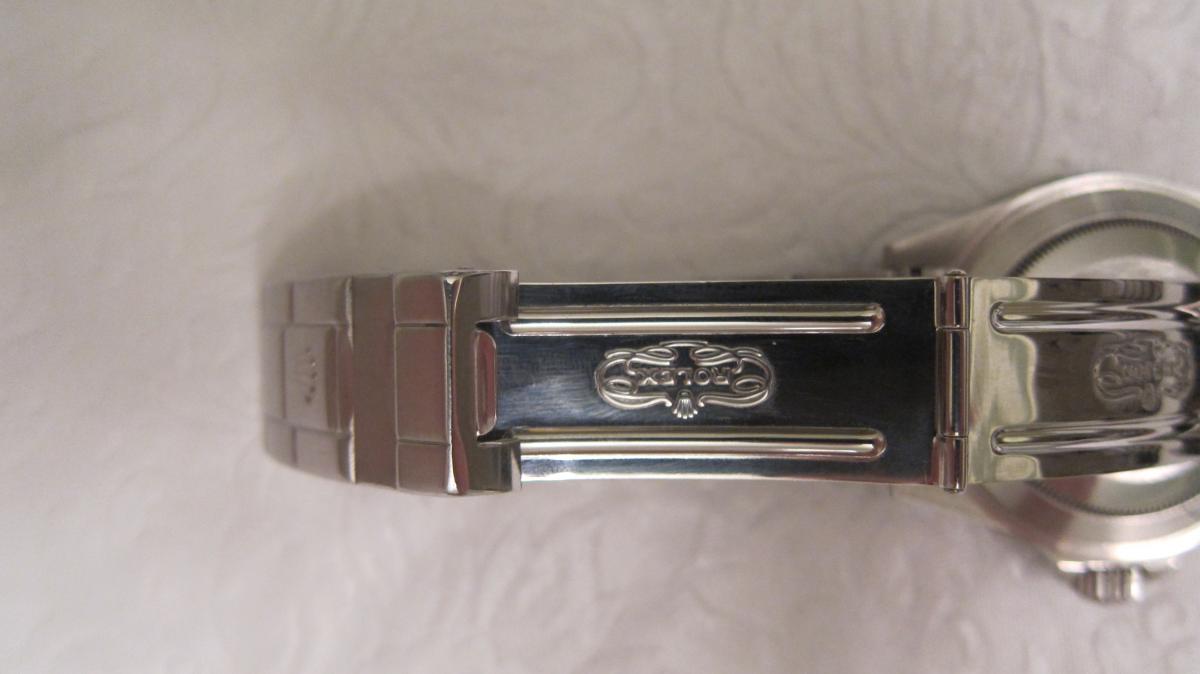
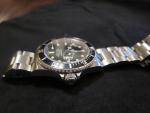
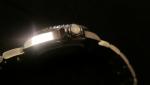
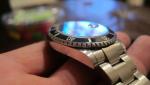
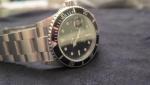
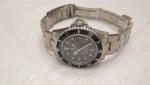
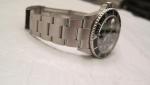
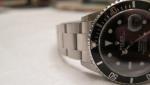
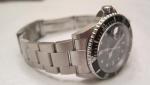
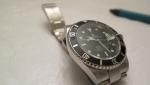
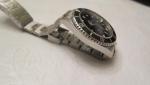
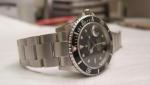
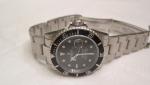
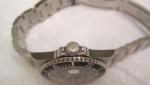
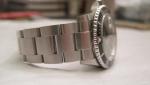
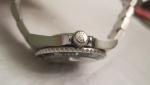
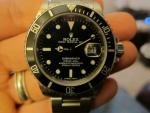
Hi Guys! I want to show you my last project, I bought this MBW 5512 from a member of spanish forum one year ago with those specs - MBW old school case reshaped and modded CG - Yuki Hands, Dial & Pearl - Brazalet CO - Endlinks WSO - PWMF Insert excellent base for make lovely franken 5512 And One month ago shipped the watch to my friend Rezarius (that He has done fantastic job!! ) for install those gen pieces - GEN Rolex Crown and Tube 720/7020 - GEN Insert - GEN Pearl with nice vintage patina - GEN Crystal T19 - GEN Swiss ETA 2846 low beat movement I'm very happy with the finally result Thanks for looking & I hope you like it
- 32 replies
-
- 2
-

-
- Rolex 5512
- Vintage
- (and 2 more)
-
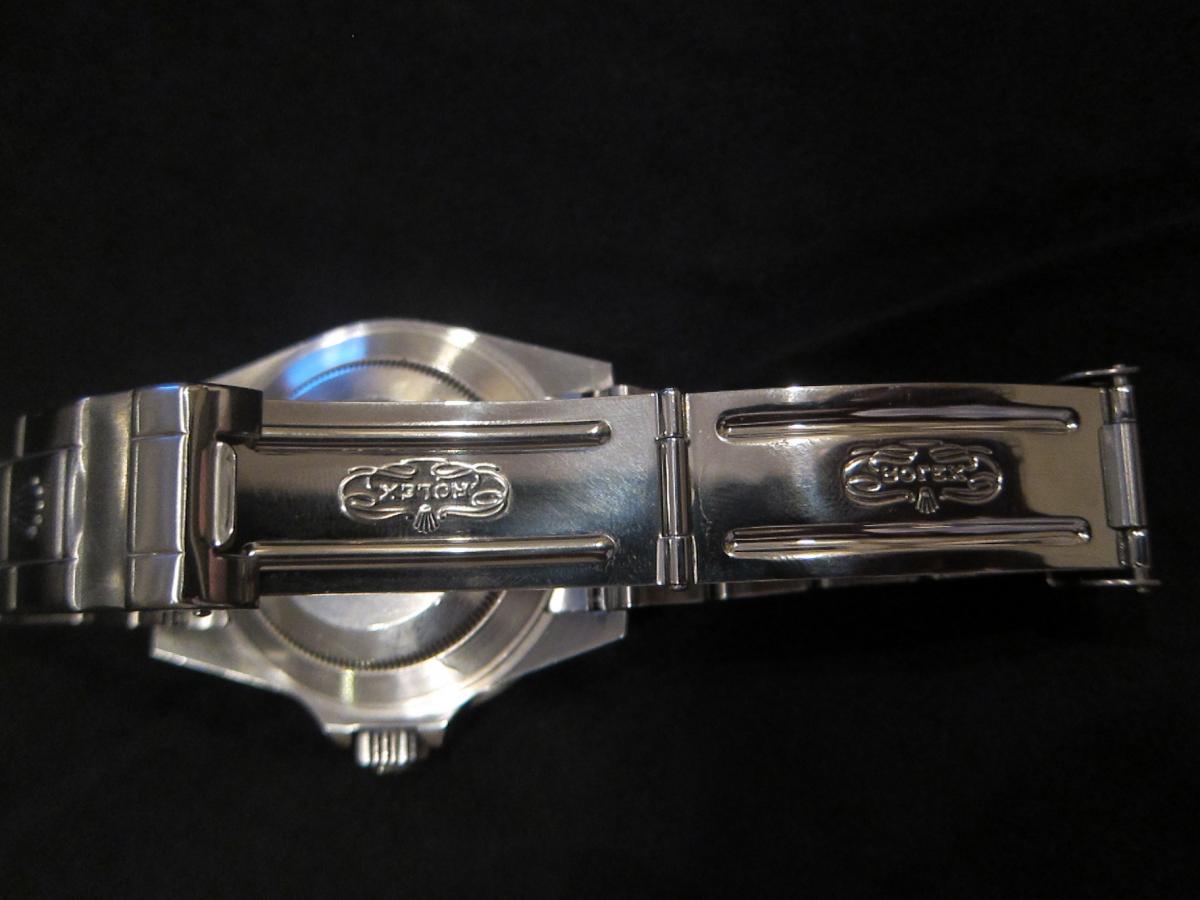
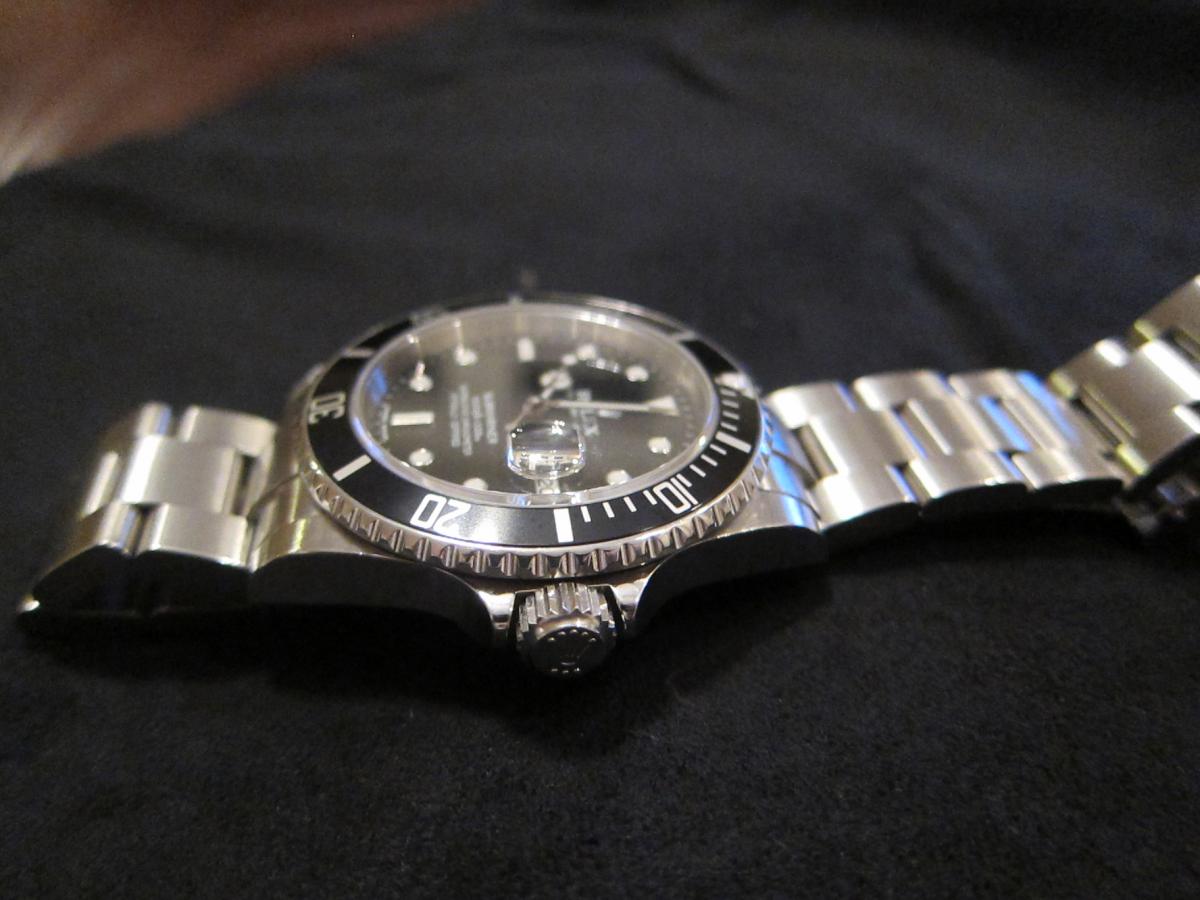
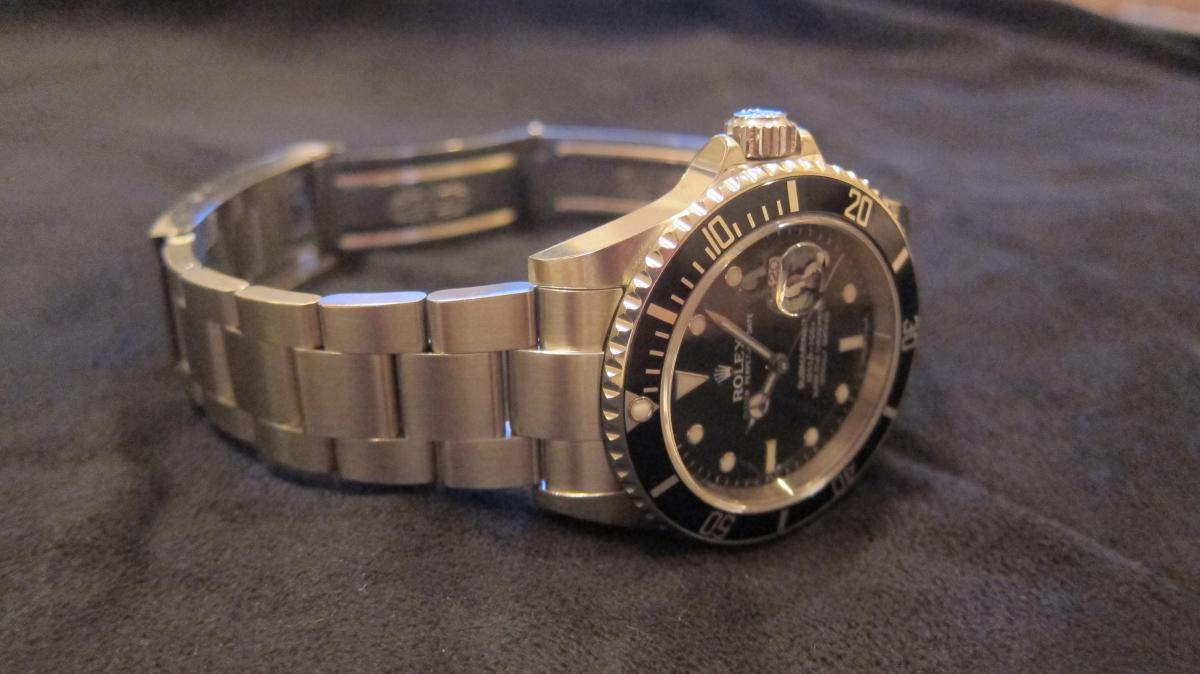
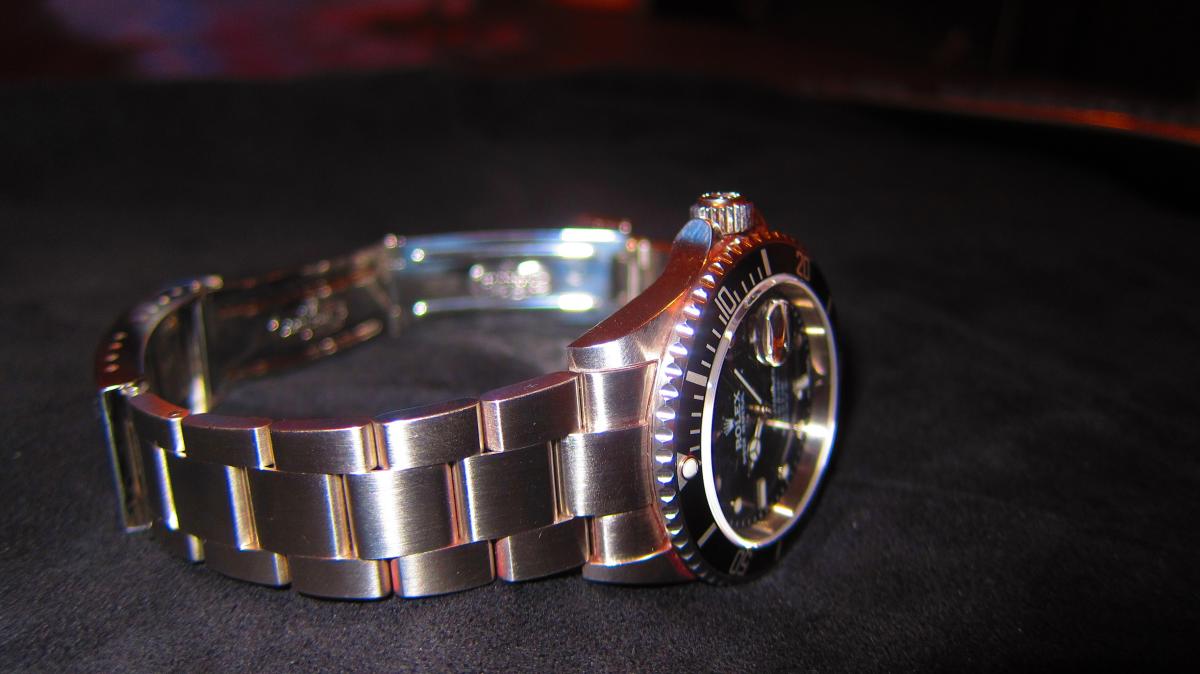
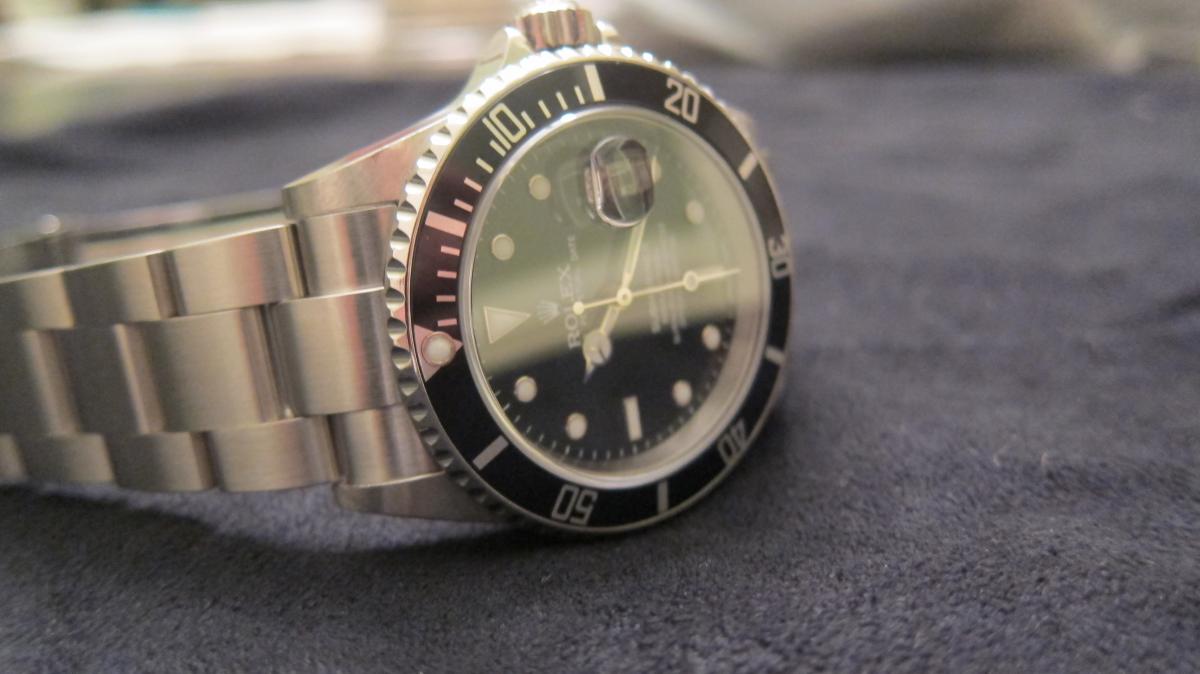
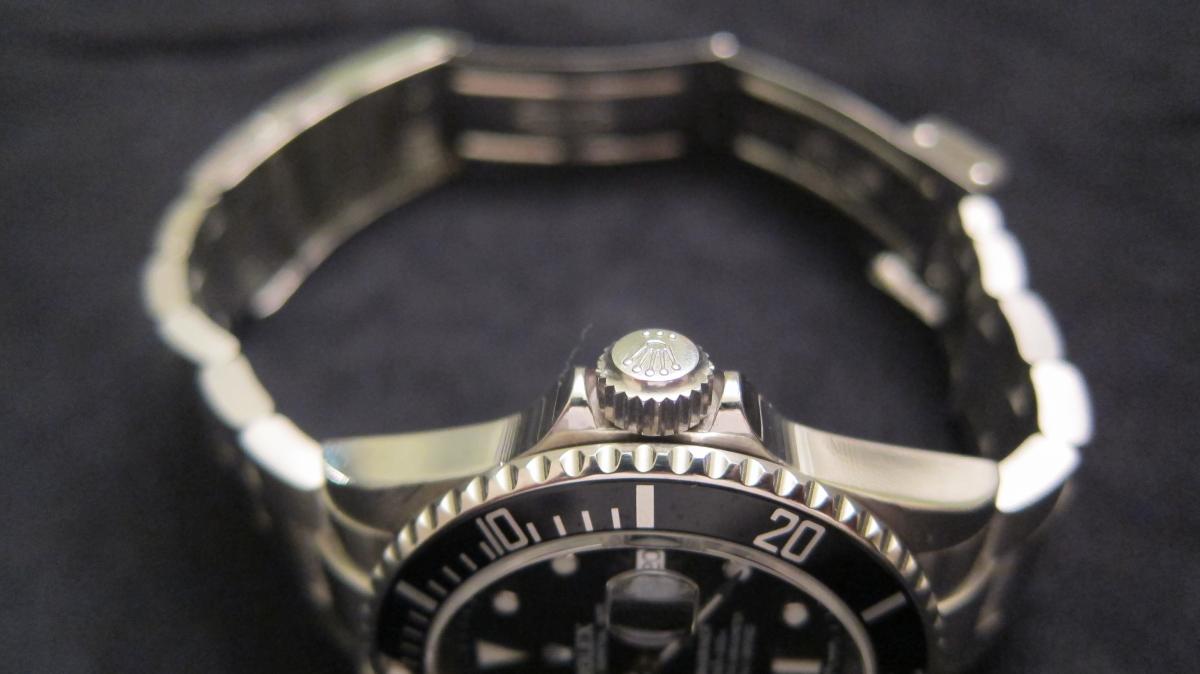
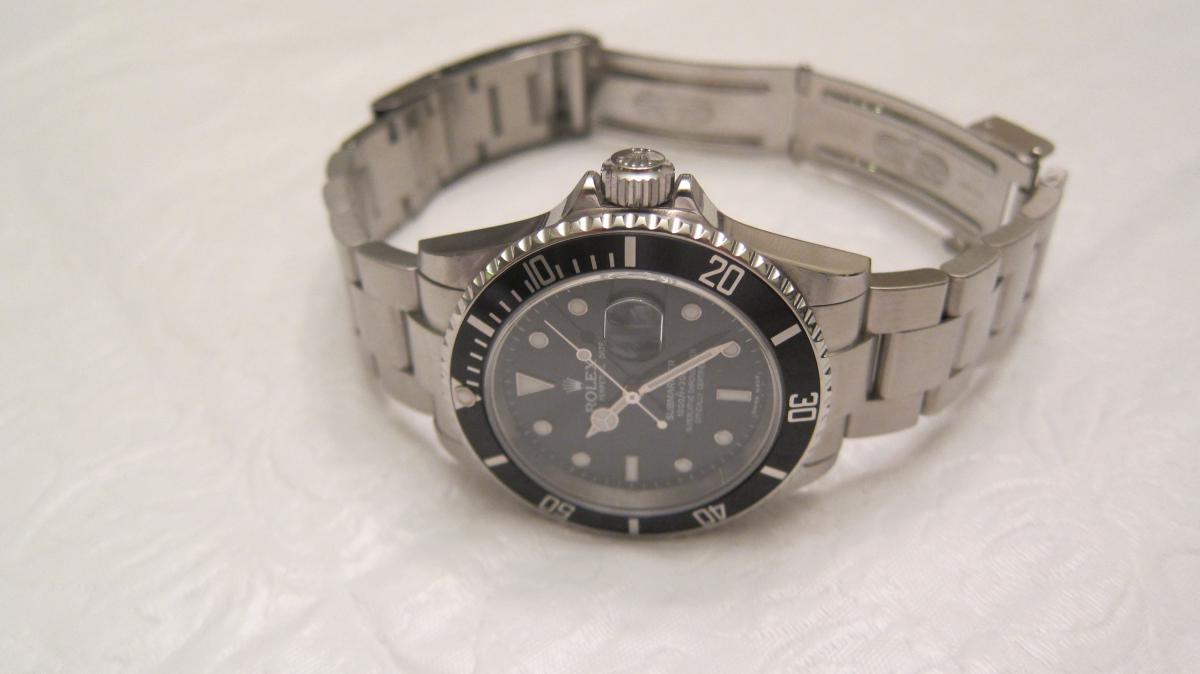
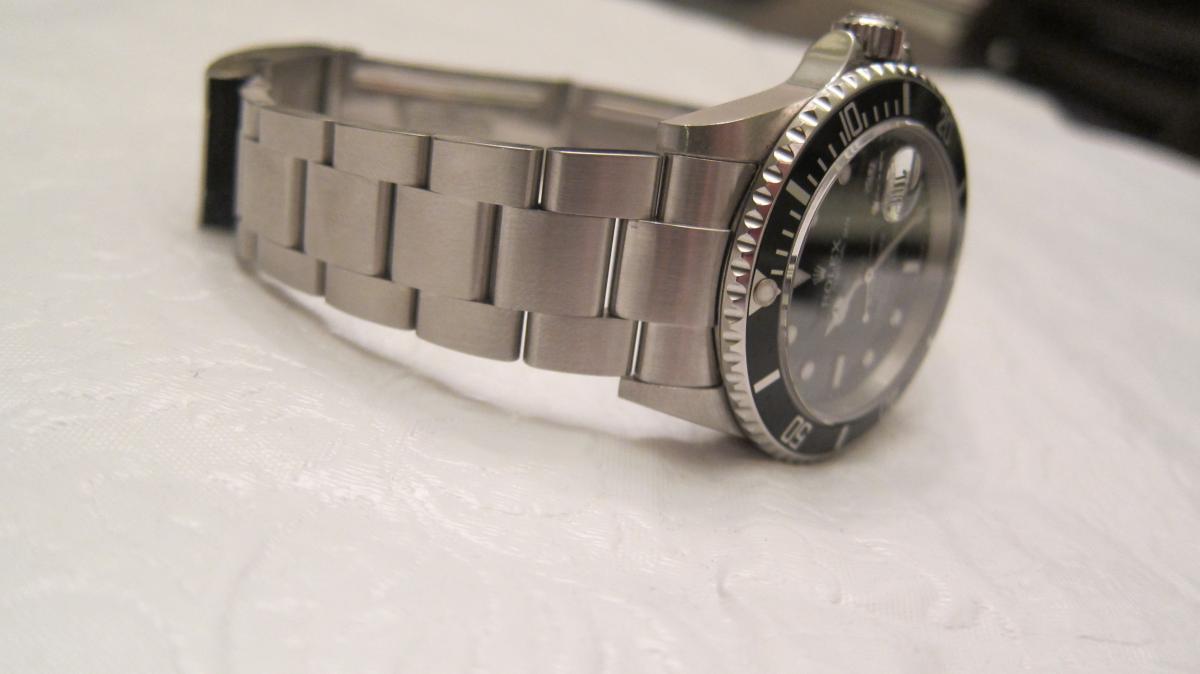
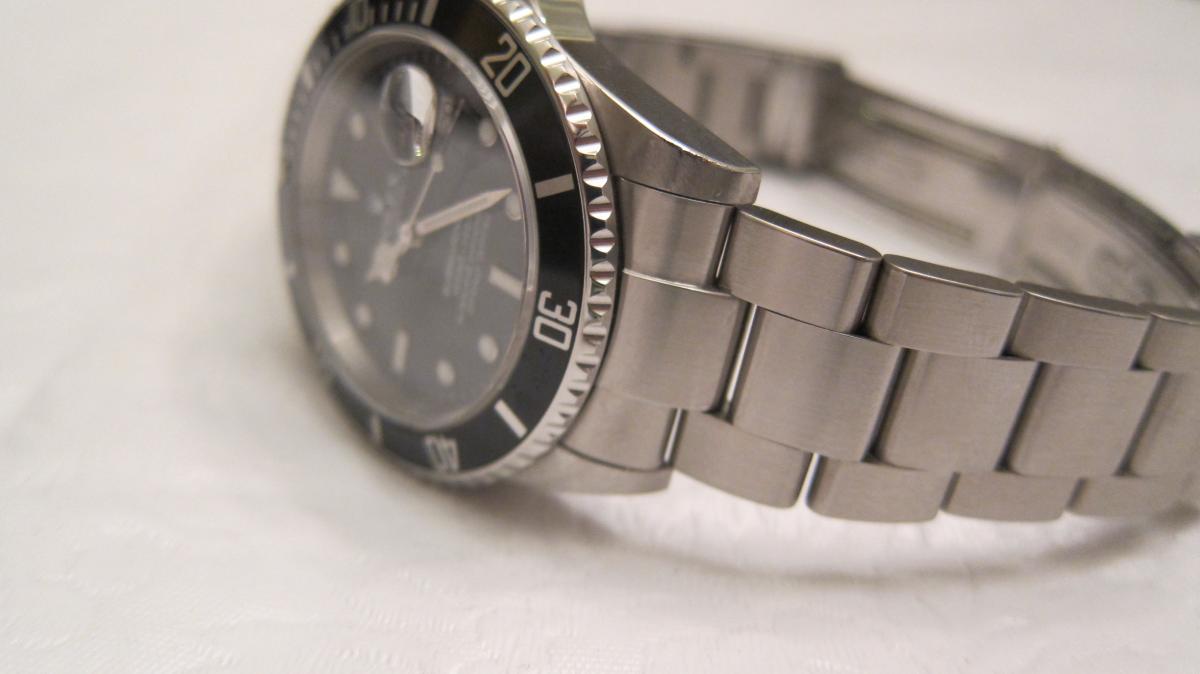
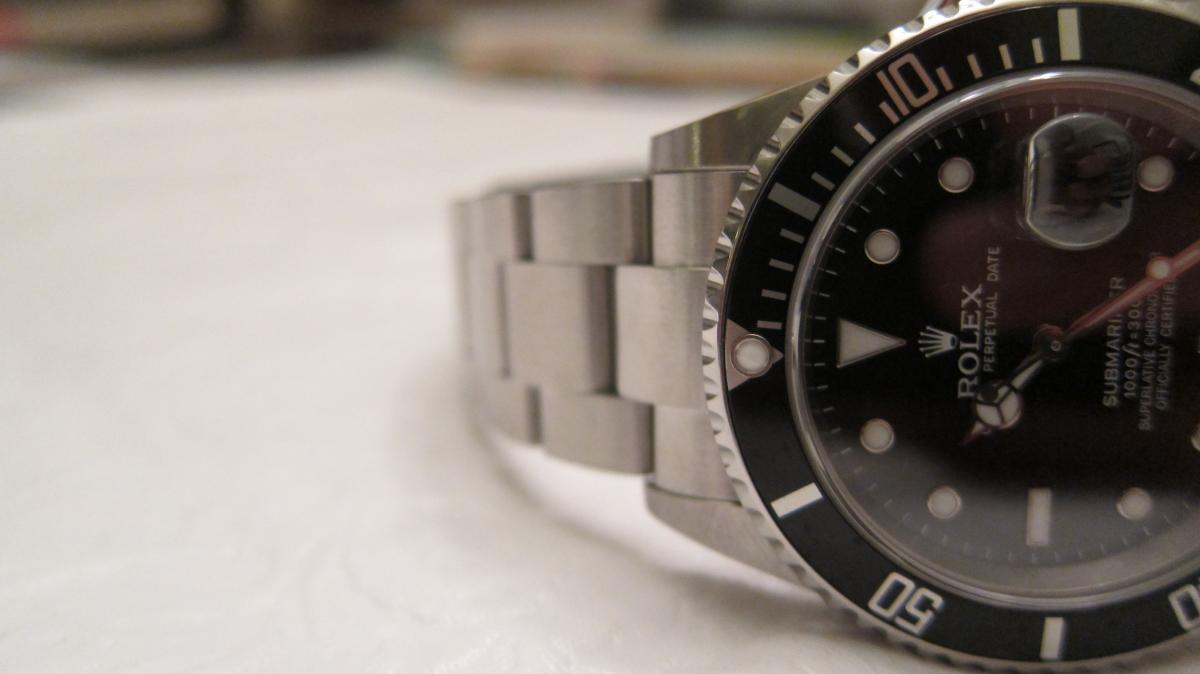
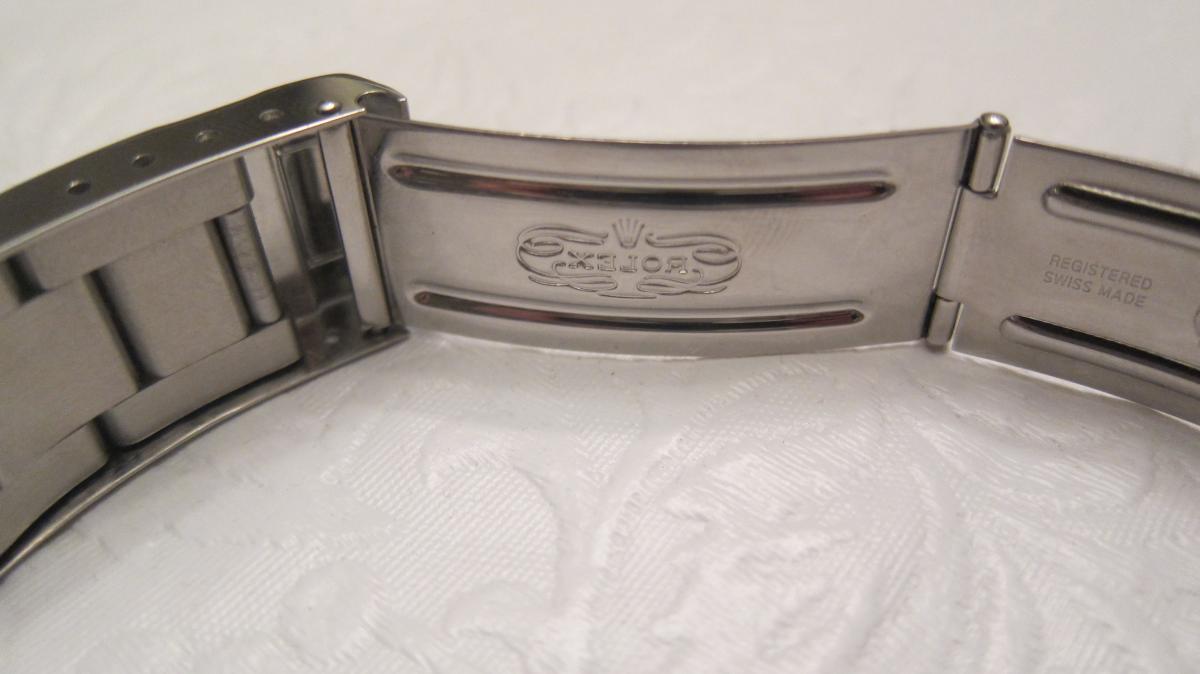
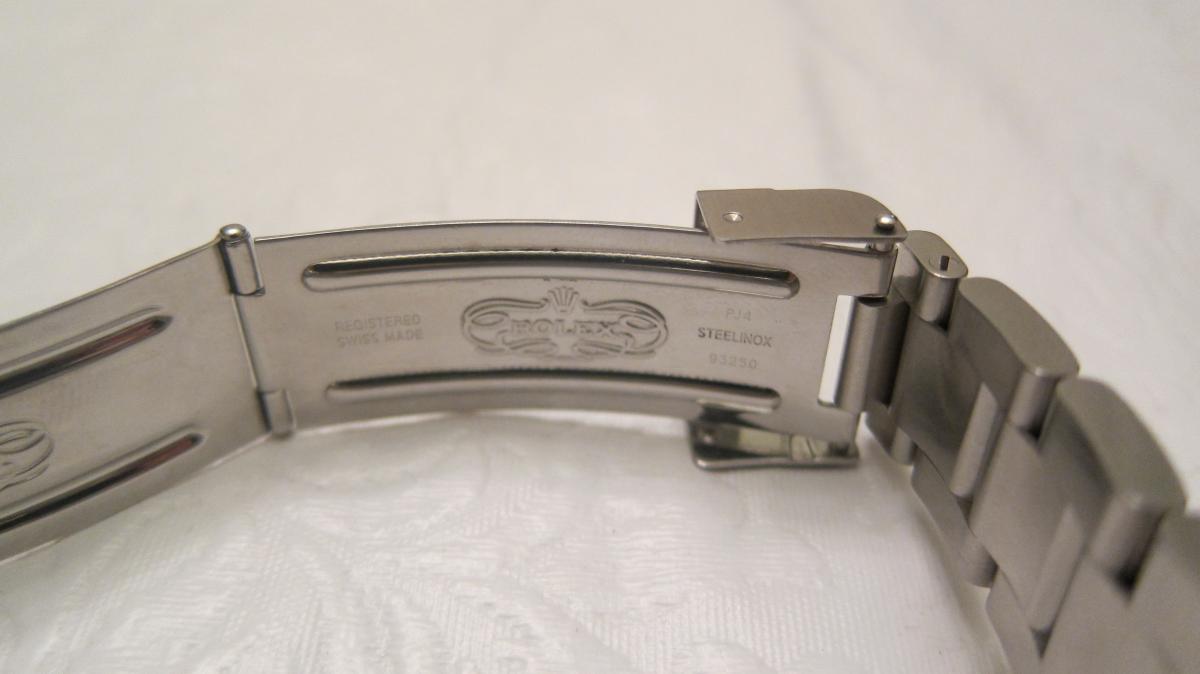
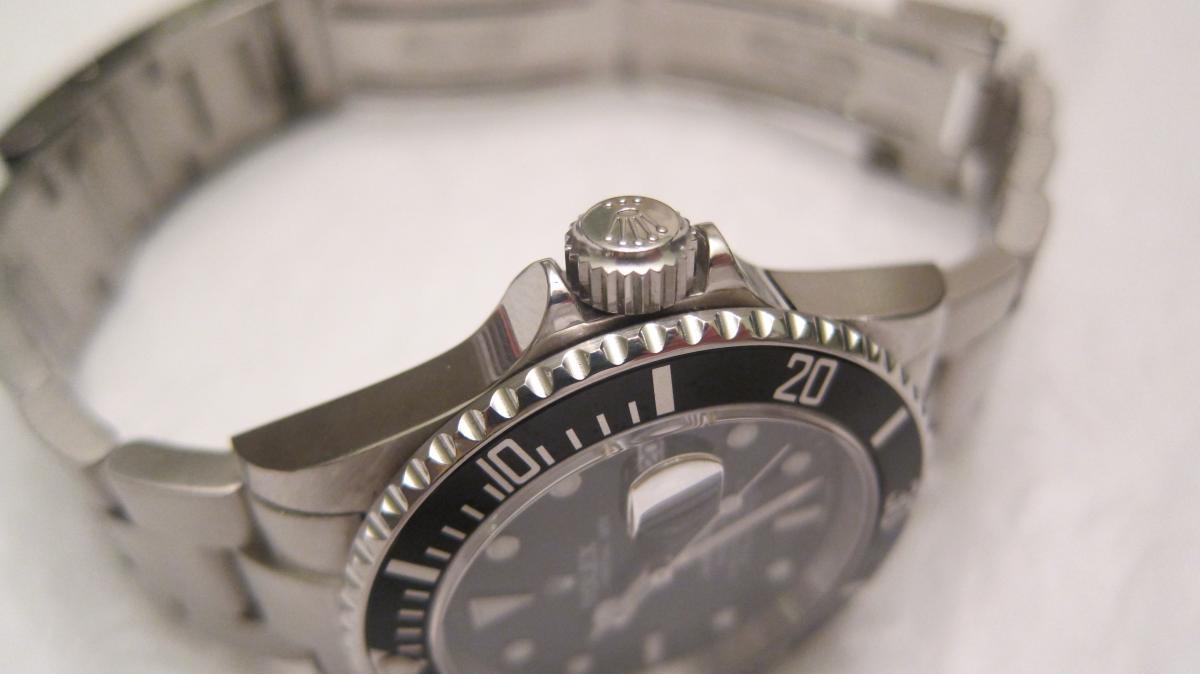
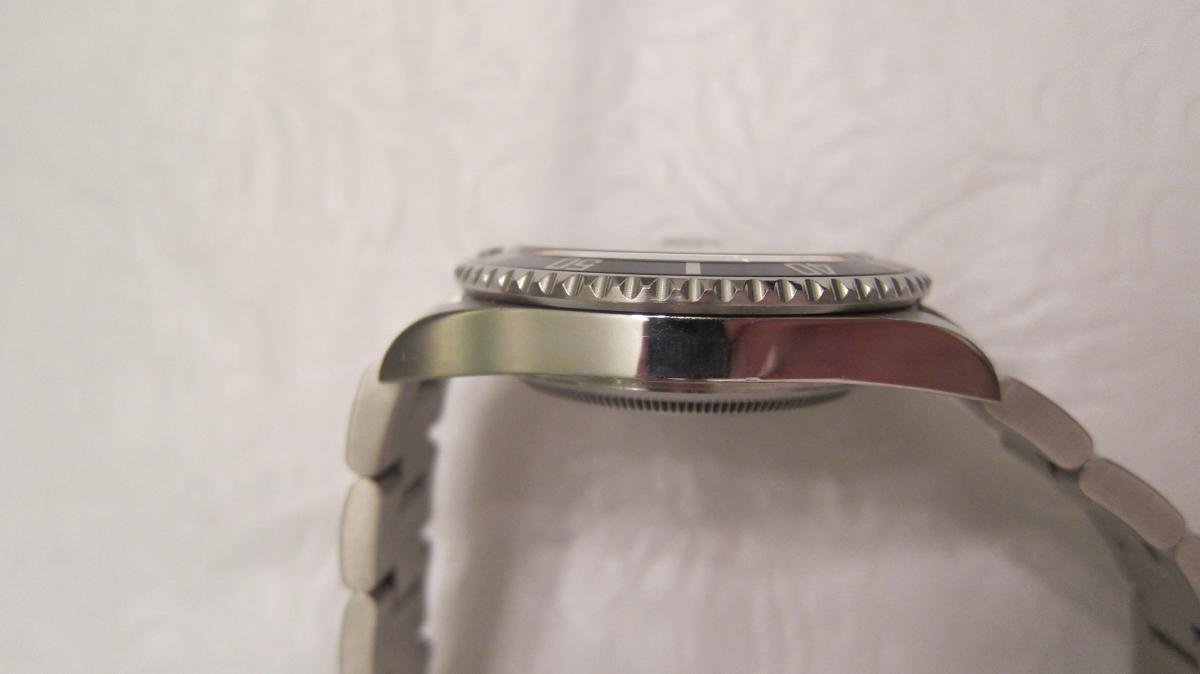
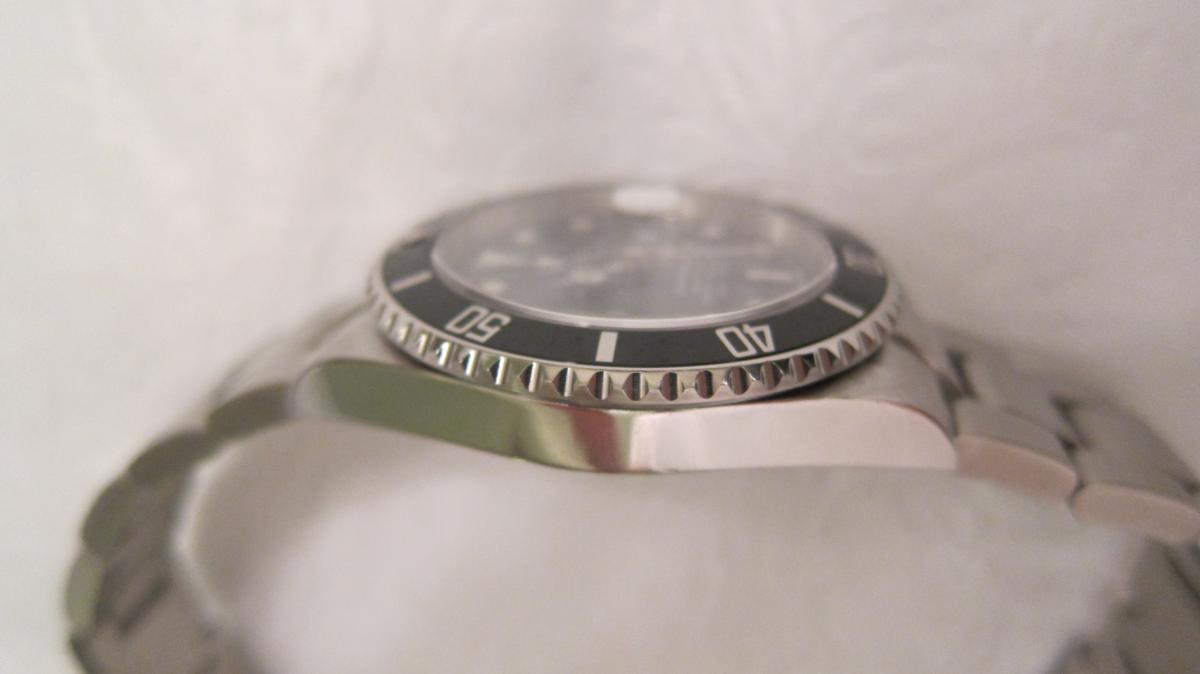
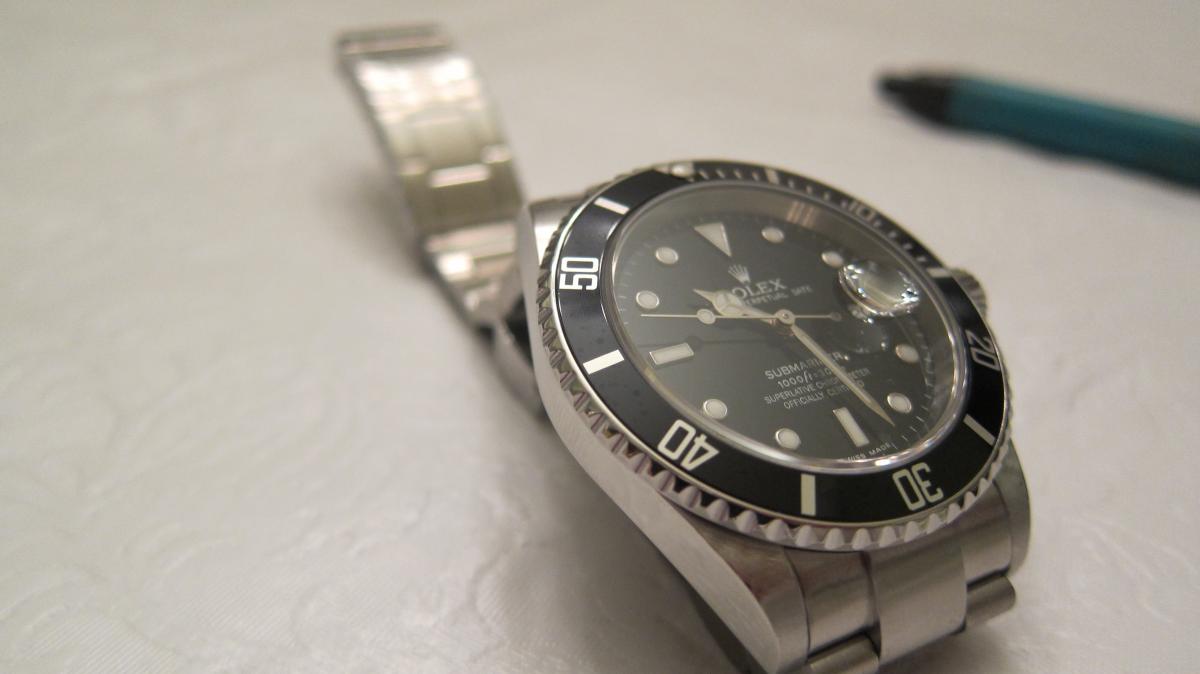
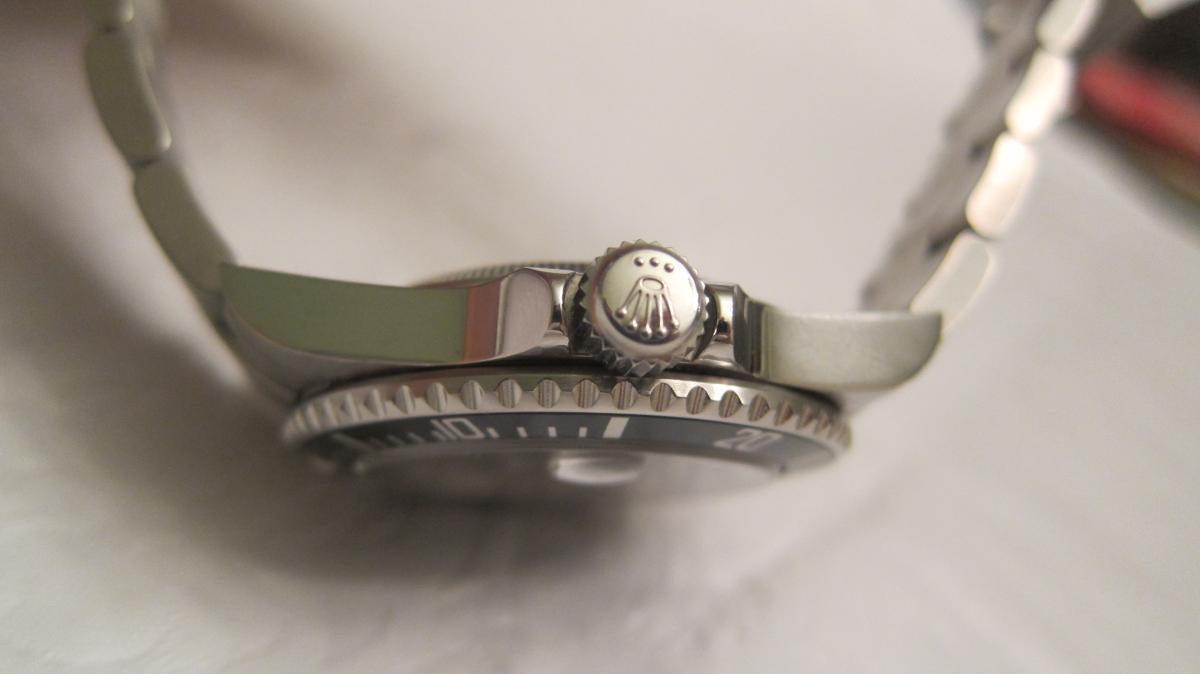
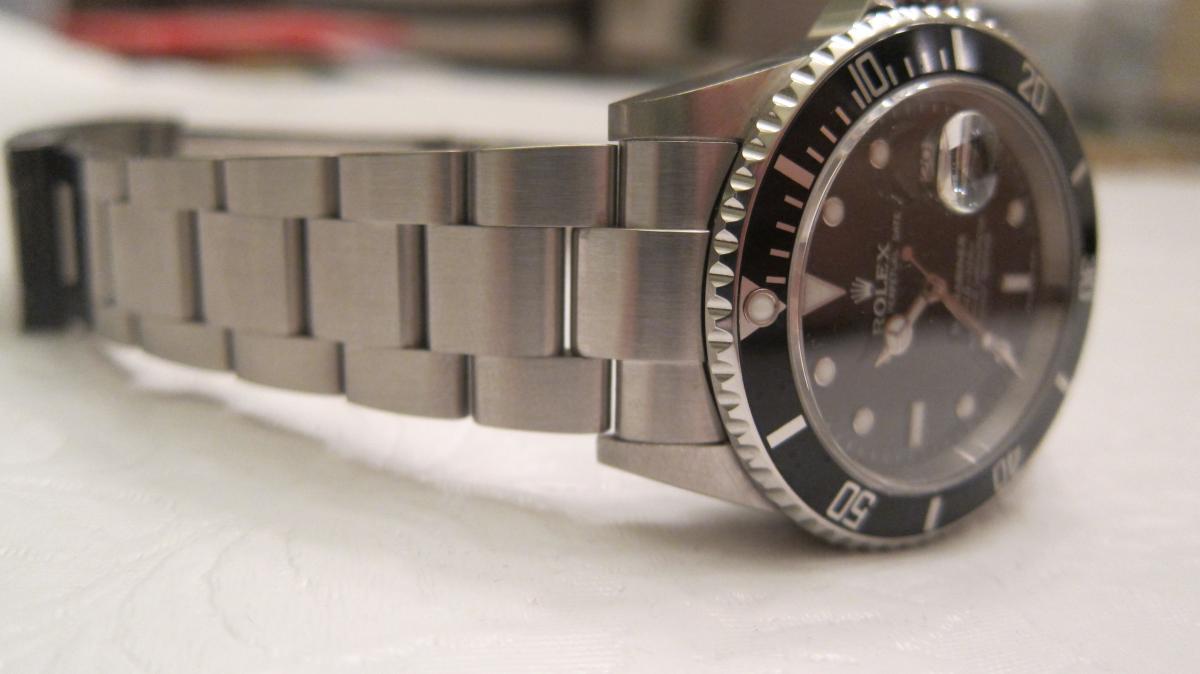
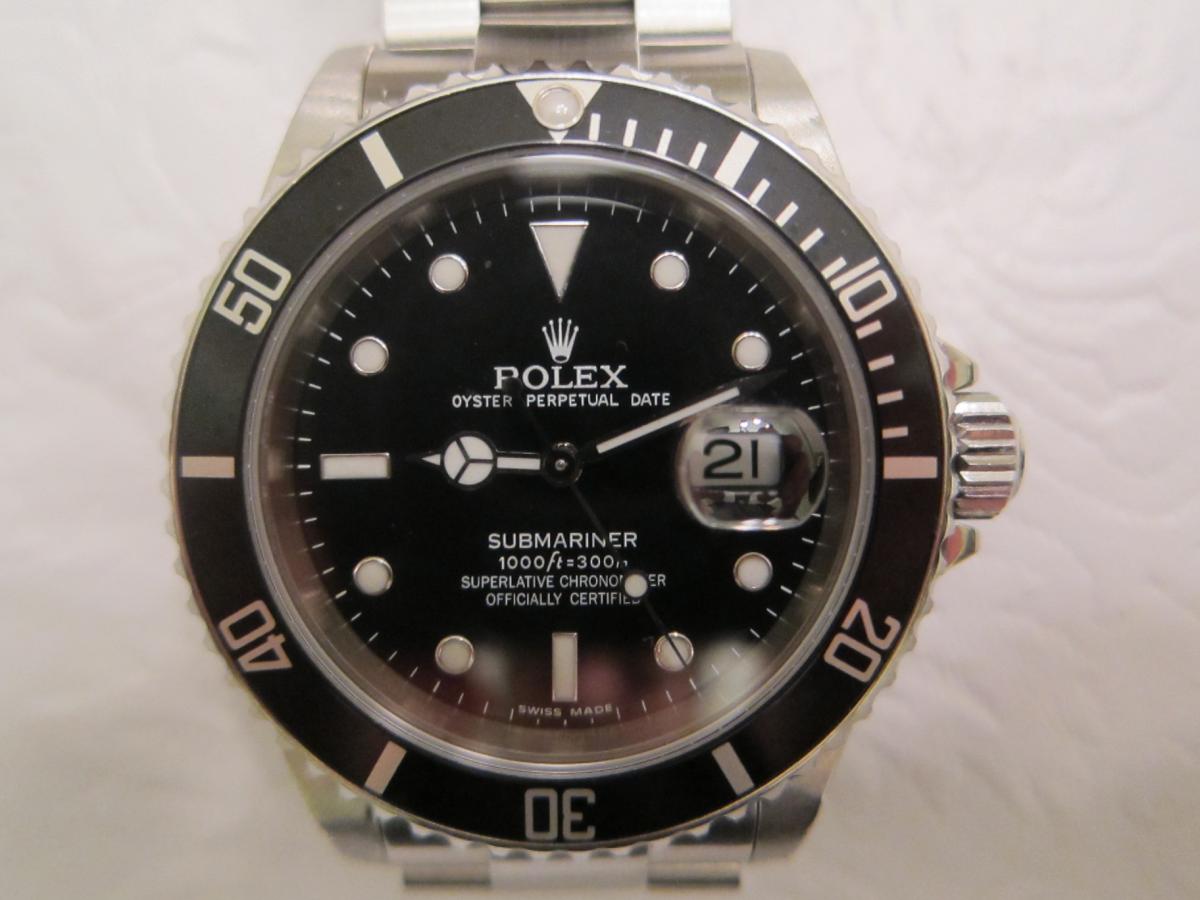
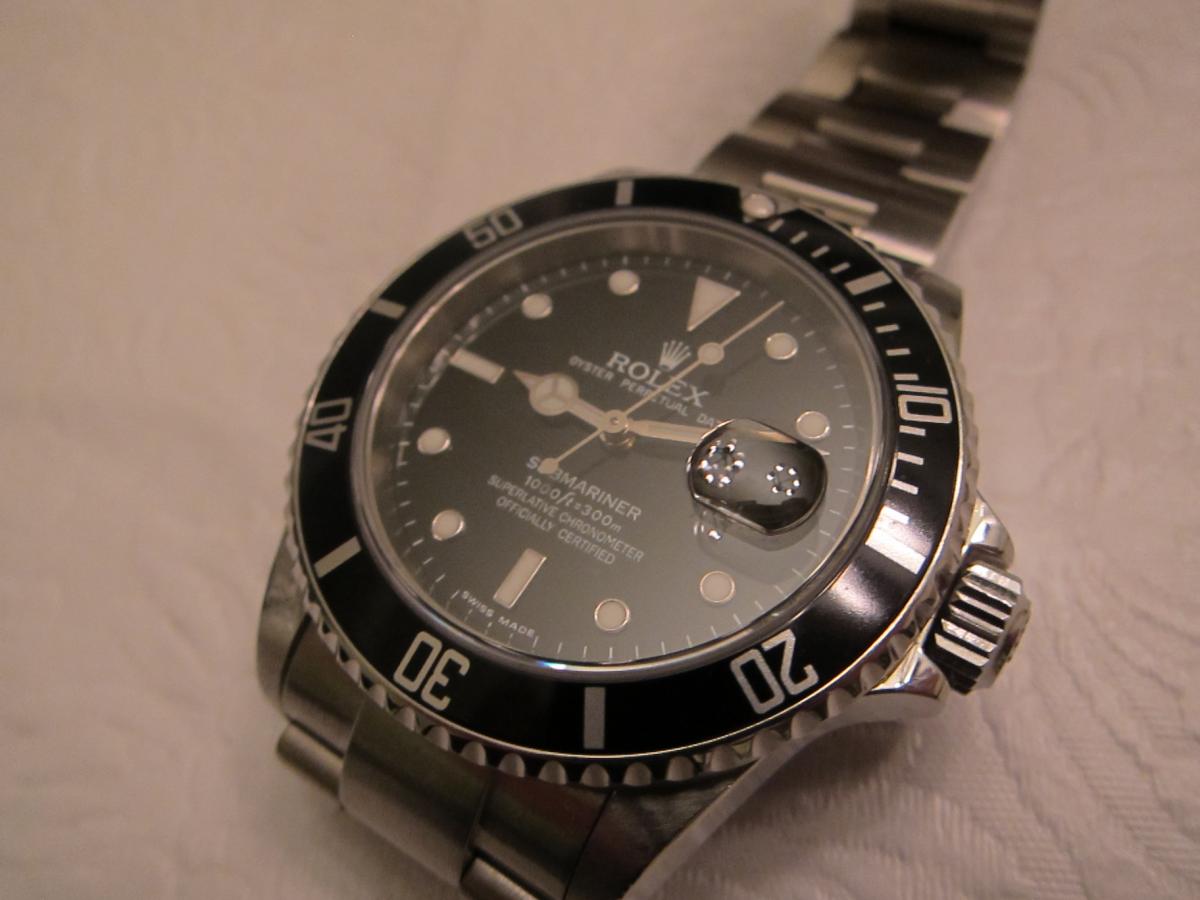
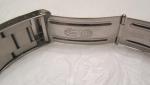
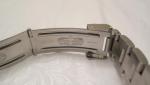
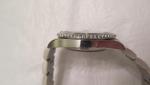
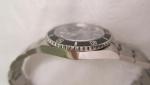
Hi All, I wanted to send out a quick thank you to Fidhle007. I think the pictures speak for themselves but I wanted to publically say thanks and give a huge endorsing recommendation. He was accommodating, extremely fast, trustworthy and a pleasure to work with. Anyone out there who knows enough to be dangerous but is a bit nervous about jumping head first into a watch build I highly recommend you get in touch with Brendan (Fidhle007). Stats TC V4 Sub w/o rehaut engraving: TC V3 Bracelet: V2 DWO: Gen crown: Gen Crystal (BNIB, with LEC): Gen Insert: Gen Retaining Ring Gen Bezel Ring: *Assembled, timed and sealed Thanks for looking!


-
 Dear all, before I start I want to thank this really nice community! I already bought some nice pieces here from some members and met some really friendly people - Also from Germany or Netherlands. Lots of support here!! I did not know that the scene would be so big in Germany too. Sorry to copy and paste that from my other two threads. But I am really impressed here! So this time no work log. I just want to show you my daily watch I bought from "dutchguy2" and of course I would love to read your feedback and I have one question. Specs: SSD V2 GEN crown CGs trimmed by Jackjo Bezel insert shaved by Jackjo Watchmaterial pearl installed by Jackjo Caseback and crown seal lubed by Jackjo Bracelet Lubed and buffed by Jackjo Relumed with Tritec C1 super luminova Movement serviced and regulated to +2 seconds a day First questions: What else should I change to GEN? I think this is already close to perfect. Might only consider a GEN insert with pearl. What do you say? The bracelet does not look as good compared to a GEN watch. What is closer to GEN? This? Any other ideas? I do not like the space between the links. Depending on the year of the watch I do not need to drill holes for the drill lug holes, right? So what are your thoughts? Any other ideas or hints or feedback? Thanks!!
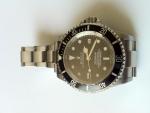


-
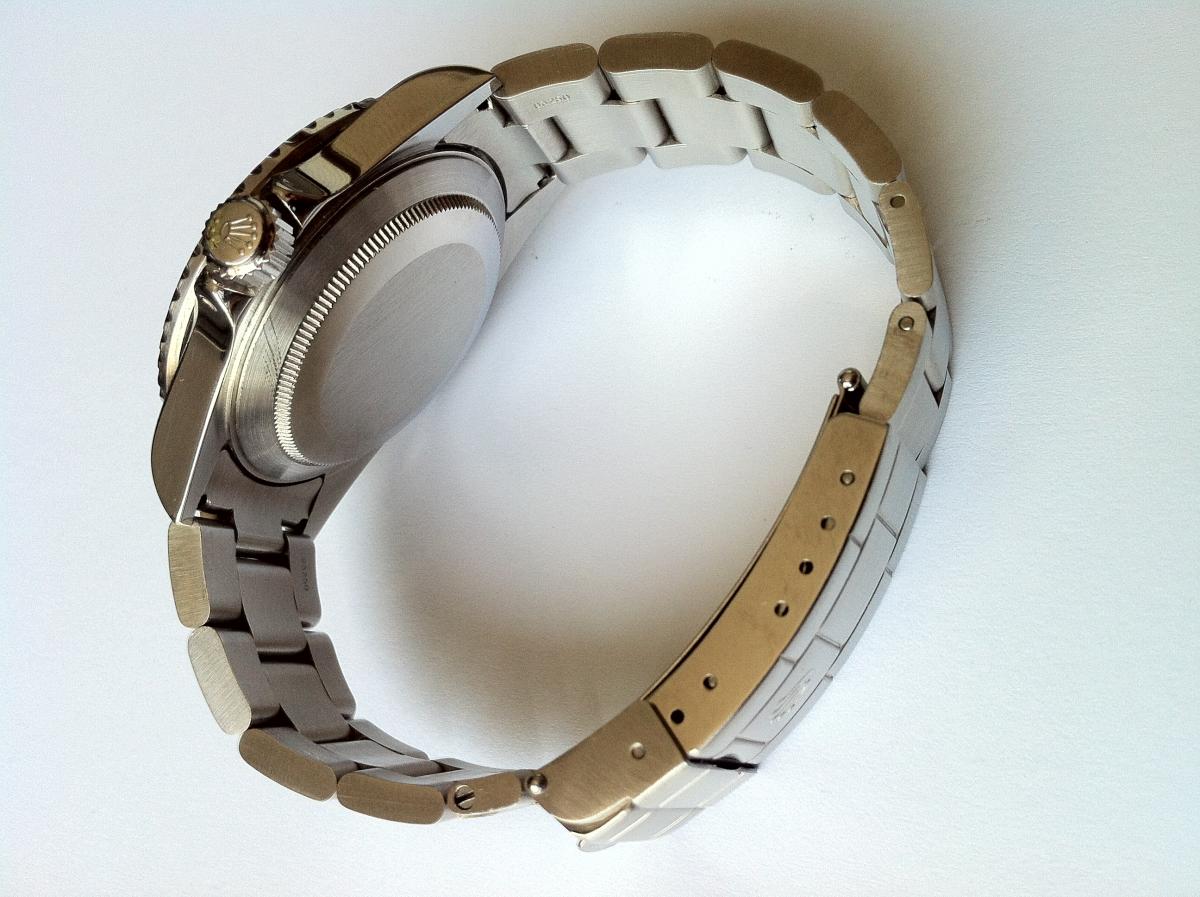
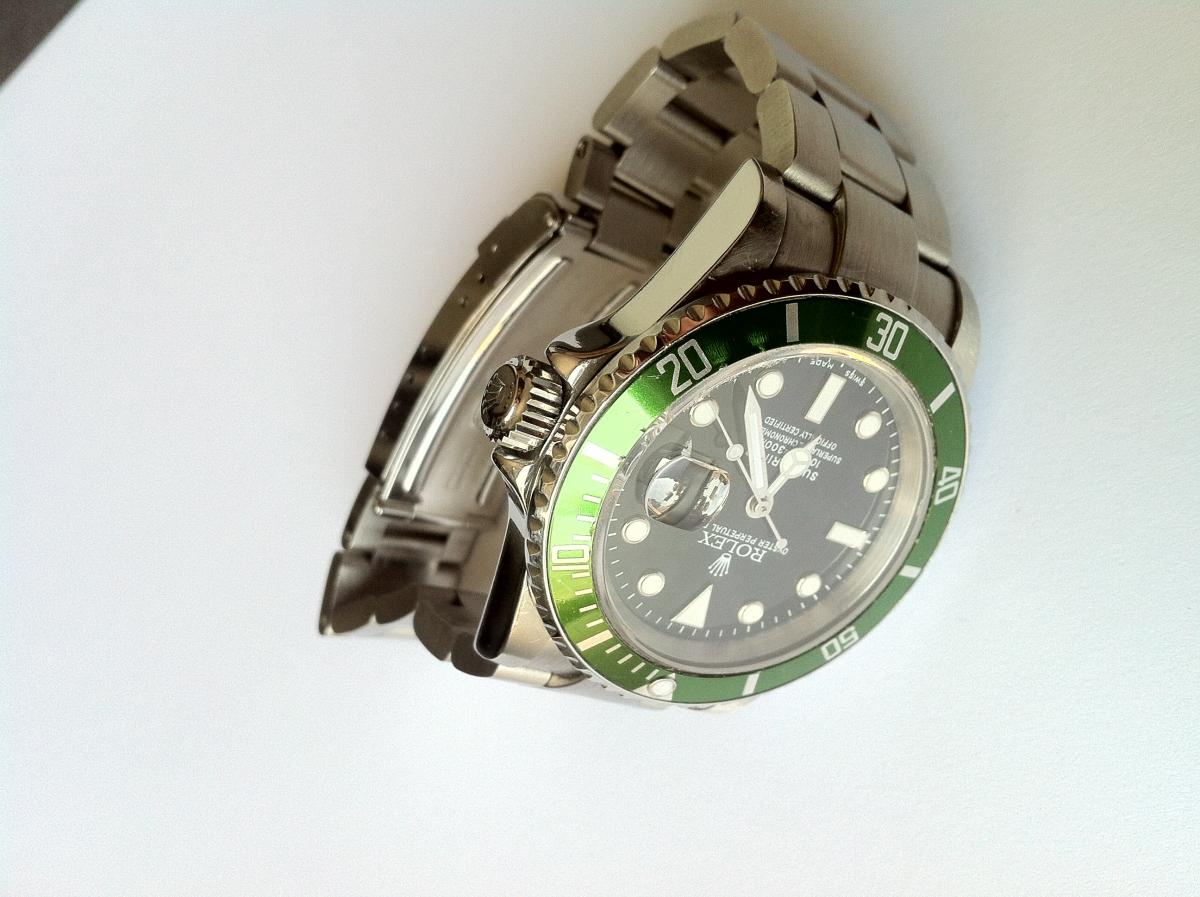
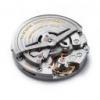
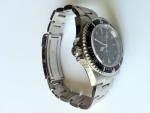
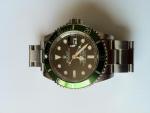
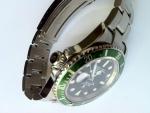
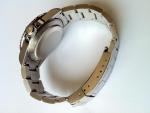
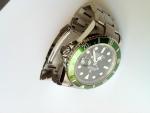
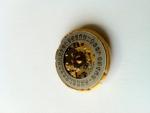
Dear all, before I start I want to thank this really nice community! I already bought some nice pieces here from some members and met some really friendly people - Also from Germany or Netherlands. Lots of support here!! I did not know that the scene would be so big in Germany too. Sorry to copy and paste that from my IWC thread. But I am really impressed here! So here is my work log for my Franken Rolex Submariner 16610LV and of course I have some questions!! What I have: TW-Best case (same case BK uses) 50th anniversery edition (green insert and bigger indexes) dial GEN crown GEN LV insert GEN crystal Yuki Tube Datewheel from the latest Seadweller Noobfactory bracelet (overworked) Cousins Bezel Click Spring The movement needs to be changed to an Swiss ETA 2836. Already have it here - See pictures below. First questions: Is this a good base to move on? Are there better cases available? Is the GEN dial worth to change? The bracelet is too short for my wrist. Is this the best REP bracelet I can get or would you recommend this. GEN is to expensive in my opinion. So what are your thoughts? Any other ideas or hints or feedback? Thanks!!
- 17 replies
-
- 1
-
-
- Franken
- Submariner
- (and 1 more)
-
With a little help from here and there i managed to assemble 2 x Franken Skylands! I used Trevors V4 as base and added gen dials with tachys/ hands. ETA 7750 (high grade) with Breitling rotors and gen date wheels were installed as new hearts! SLATE
-
Hey all, I'm looking for a nice franken Tudor for ~$1,000-$1,200. I like the 9411 model, and I'm comfortable using an ETA 2824 movement instead of a gen. Who is this 'Phong' guy I keep hearing about? Does he sell frankens? What's his deal? I've never built a watch myself, so I rather buy it 'whole,' or at least have the builder (concepta?) source all the parts. td
-
Hi I'll introduce myself properly shortly and give a full breakdown of my watch box in due course! Suffice to say that I've been watching from the shadows on here for a while, muddling along with my own projects with the help of a very friendly and capable watchmaker. However, now we've hit a wall and could really use some help! We've been attempting to build a 5500 Explorer Franken from the following parts: - Gen 15000 Case / Back / Bezel - Gen Crown / Tube - Tropic 13 Crystal (slightly loose fit, but closet I could find - needed a bit of glue to keep it in place) - ETA 2824 Movement - Yuki 5500 Explorer dial (with feet removed) - Yuki ETA Hands - Raffles Time No. 2 Movement Ring Now all has gone together just fine so far, with the exception of the last item (the movement ring). The ring fits the case and ETA movement perfectly, but there doesn't seem to be anything for the case clamps to fit onto (i.e. there is no groove in the case). It looks like the original movement (3035) fits in the case with no movement ring, and that the screws on the movement holds into the case thread. Not sure what to do next - ideally looking for a DIY solution that doesn't involve lots of specialised machining! Has any one else succeed in one of these builds? Would one of Stilty's rings work better that the Raffles version? Apologies to arrive with lots of questions... Any suggestions gratefully received...
-
My little project moves on, ever so slowly - partly because I have a lot of work and partly because the tools take a long time to get here. This time, it's the HE-valve: It's not drilled through - there is no screw or anything else on the other side. It would seem it's glued on (or stuck on the case by some other means). I can't move it in any direction. Granted, it's water proofed for sure, but I'd still like to stick my gen on there. I was planning on being able to "use" it (ie being able to screw it) but I'm thinking I'll just chop the gen valve in half and epoxy it. Probably have to drill it away, and hopefully without hurting the case. Has anyone who did a He-valve swap seen this before? I'd like to get some input before I start drilling away on the HE-valve.
-
 hmmmm, my franken 45...i love it, i really do-so why the urge recently to sell it on...hmmm indeed. i dunno, for months i've been wearing my 42mm watches, and my 45 has been sat away, pretty much begging me to wear it, yet when i do its just starting to bug me-like when a girlfriend wants you more than you want them...ha! but its just not doing it for me anymore...maybe its me getting older and not wanting something so loud on my wrist anymore...meh, i dunno, so what do you guys think? leave it locked away in the hope i may re-discover it in a few months? let somebody else enjoy/use it? or break the franken up and flog the parts? what to do, what to do??
 -
well hello on this lazy hazy sunday...around a week ago i posted my first topic to say hey and got a fabulous welcome from alot of like minded people on this forum-i then promised more pics of my collection by friday...but work had other ideas-so two days late here be my pics! apologies for some fuzzy-ness, its sunday, im still half asleep etc etc but you get the idea! hope you like and please post yours too with some words about your watches-always good to talk all things time is it not?! when im more awake and have more free time i'll try and get round to writting some specific reviews of the pieces i own to hopfully add to an already healthy community of information. the longines and rotary are gens, the orange 45 planet ocean is a franken with gen dial, hands and bezel, the 42 planet ocean has had a smaller He valve crown added for a more proportionate look. enjoy!
-
hi there, hows everybody doing?! i've been reading a few threads on this forum over the past few months and found them super informative and friendly-so i've signed up and thought id say hey. im james and i've collected watches for many years-both rep and gen.i'll upload some pics of all my collection over the next few days and hopfully will get some nice comments and get to know some people. i have a big love of all things omega, so below is one of my faves-it started life as a standard upo 45.5mm...a good few hundred quid later its now my super franken and i love it! it has: gen dial gen hands gen bezel the gen dial and hands made a MASSIVE difference, the lume is like nothing else i've seen! the bezel too just screams qaulity-the insert is one piece with the ring and not wanting to impose possible damage i went with the complete assembly glued in place-looks over function i guess! all the work i did myself, fiddly but a proud feeling once complete-if your gonna try yourself watch out for finger prints on the dial and hands! i had to do the work twice-second time with gloves! im now awaiting a gen rubber strap, black with orange stitching and deployment clasp, gen tube and crown and caseback-but will have to wait til after christmas for those... the bracelet it came on was ok-ish but just was'nt upto standard, so i mounted it on a 22mm mesh with "seat belt" omega style buckle-not to everybodies taste but i think it looks pretty damn fine! wears incredibly comfortable too. anyway onto the pics! hope you like...
-
Hello guys ! To start this topic I'm gonna quote Toad and his well known sentence : "What the @#%!$?? Another Omega Seamaster (SMP 300) Chronograph review?" Calm down ! it's not a review, I just wanted to talk about a project I had, a long time ago. (For those who remember, back in 2008, a friend gave me the parts that Omega replaced during the service of his gen SMPC http://www.rwg.cc/to...__fromsearch__1) I took some time to learn, find informations, get tools, parts etc. and a few month ago I started to build my SMPC ! First of all, the title is a joke !... Even the gen springbars don't fit !!! (ok, they fit but the endlinks are not perfectly acurate so the gen springbars are not usable with the rep bracelet. But I will talk about this bracelet later because there is a lot to say !) Let's start for real ! In it's acual stand my project is : - Gen ETA7750 - Gen Dial - Gen Hands - Gen datewheel - Gen rotor - Gen spacer ring, antimagnetic cover etc. - Main other parts are coming from a SMPC rep (from Tony) Assembly is not finished yet, due to a lack of time and because I wanted to waterproof the case before putting the mouvement in it ! So let's talk about waterproofing ! To test my case in the cheapest way, I have build a Nalgene tester as explained in the dedicated RWG topic ! That's what I used to do it : (Nalgene bottle, presto valve, pump with homologated manometer, duck tape, lunetz, ear protection, your empty case, water and white teflon tape) Now a few pictures because I know that's what you're waiting for ! Before testing I greased all the gaskets that are supposed to waterproof the watch. Below you can see the begining of the testing protocol (described on the dedicated topic) For my first attempt I tested up to 3.3 bars (3.1 on the picture) during 8 minutes. Unfortunately, as you can see on the next picture, this case LEAKS !!! Worse than wikileaks... Bubbles coming from under the bezel are normal but those coming from the pusher are not ! And there were bubbles coming from the He valve too... so... (I don't remember about the crown but that wasn't the biggest leak) And this leaking problems needs to be solved. First the He valve, because it's the biggest leak. The easyest way to solve the problem is to seal the fake He with epoxy. But I dont like this solution and I was hoping to find something more "elegant" ! In fact I have a genuine He valve but those b@$£##-$! from Omega screwed up the threads during the disassembly, so it's not usable, but I was expecting to be able to use only the "He crown", but unfortunately the replica is not accurate concerning the He tube... threads are way different. Here you can see a close up look of the two "He crowns" (Gen is on the right side) (note that the rep is already rusty !) (and note that those ******* chinese have forgotten to put a gasket in the rep crown, so I have used the gen's gasket for the waterproof test, but it's too small to be efficient) (Yes, it's the ETA fully Gen equiped that you can see in the background ) Another thing, while I am speaking about "He crowns" : The rep is not accurate ! It's way too high... So I was thinking about threading the gen "He crown" to fit the rep's tube ! But I don't know wich tool I could use to do that, so if somebody knows, HELP is welcome ! Now (if you're not too tired) there is this problem with the pushers : they are leaking and complicated to disassemble for greasing. Once again : I have the genuine parts ! but what is complicated is that I'm not sure that the threads are the same between gen pushers and rep pushers (I'm scared now with this big difference for the He-valve...) Moreover I need a specific omega tool to remove and install pushers without damaging them. (and this tool is expensive at Ofrei, I saw one on the bay, but it was still too expensive for a tool that could be useless if there is a rep/gen difference) (The omega pushers tool) So I tried to make my own tool, with a special plastic glue that melt in hot water and a screwdriver. Protecting the watch with tape and coating the pusher with WD40 to be sure that the plastic doesn't stick. Unfortunately the plastic tool was not strong enough to apply the torque that was needed to unscrew the pushers. (see picture below, gen pusher on the right side ) And the picture above is the occasion to speak about the bracelet, because it's not as accurate as you could think. In fact you can see the shape of each link is wrong, there is a "flat" on every end. And a quick look to compare with the genuine will show you that the links should have be rounded on each side. (Gen pictured below) This is not important if you have big wirsts, but with small wirsts this flaw is very important ! By the way it's usefull to recognize fake bracelets that could be sold on the bay. So I've started to modify the shape of some links with my dremel, but its pretty difficult and I'm not going to make all the bracelet. (I may devellop this part in a future post) A few pictures of the mouvement to end this presentation : I have not taken too much of them (and most were blury ) because there are already beautyfull topics explaining how to install valjoux datewheels on 7750 and how to replace your A7750 with a gen ETA. Here the change of the datewheel. It's very important to note that unlike the A7750, you need to unscrew two retaining plates to remove the datewheel. In Pugwash step by step tutorial, he was working with an A7750 and he could remove the wheel direcly, but if you are working on an ETA, read and trust the official Service Guide ! and remove the two plates. (I have scratched my black DW trying to remove it while it was still attached on the other side But it's not too bad because I will not be using this part) Last but not least a little photo of the gen dial on the ETA (looks like it's not aligned but I think that it's right now !) That's all for today ! Thanks for reading ! and Thanks to the forum that has leared me so much ! Next update in 3 years ! ( ) Comments and Help are welcome