When you buy through links on our site, we may earn an affiliate commission.
Leaderboard


Popular Content
Showing content with the highest reputation on 04/22/2016 in all areas
-
2 points
-
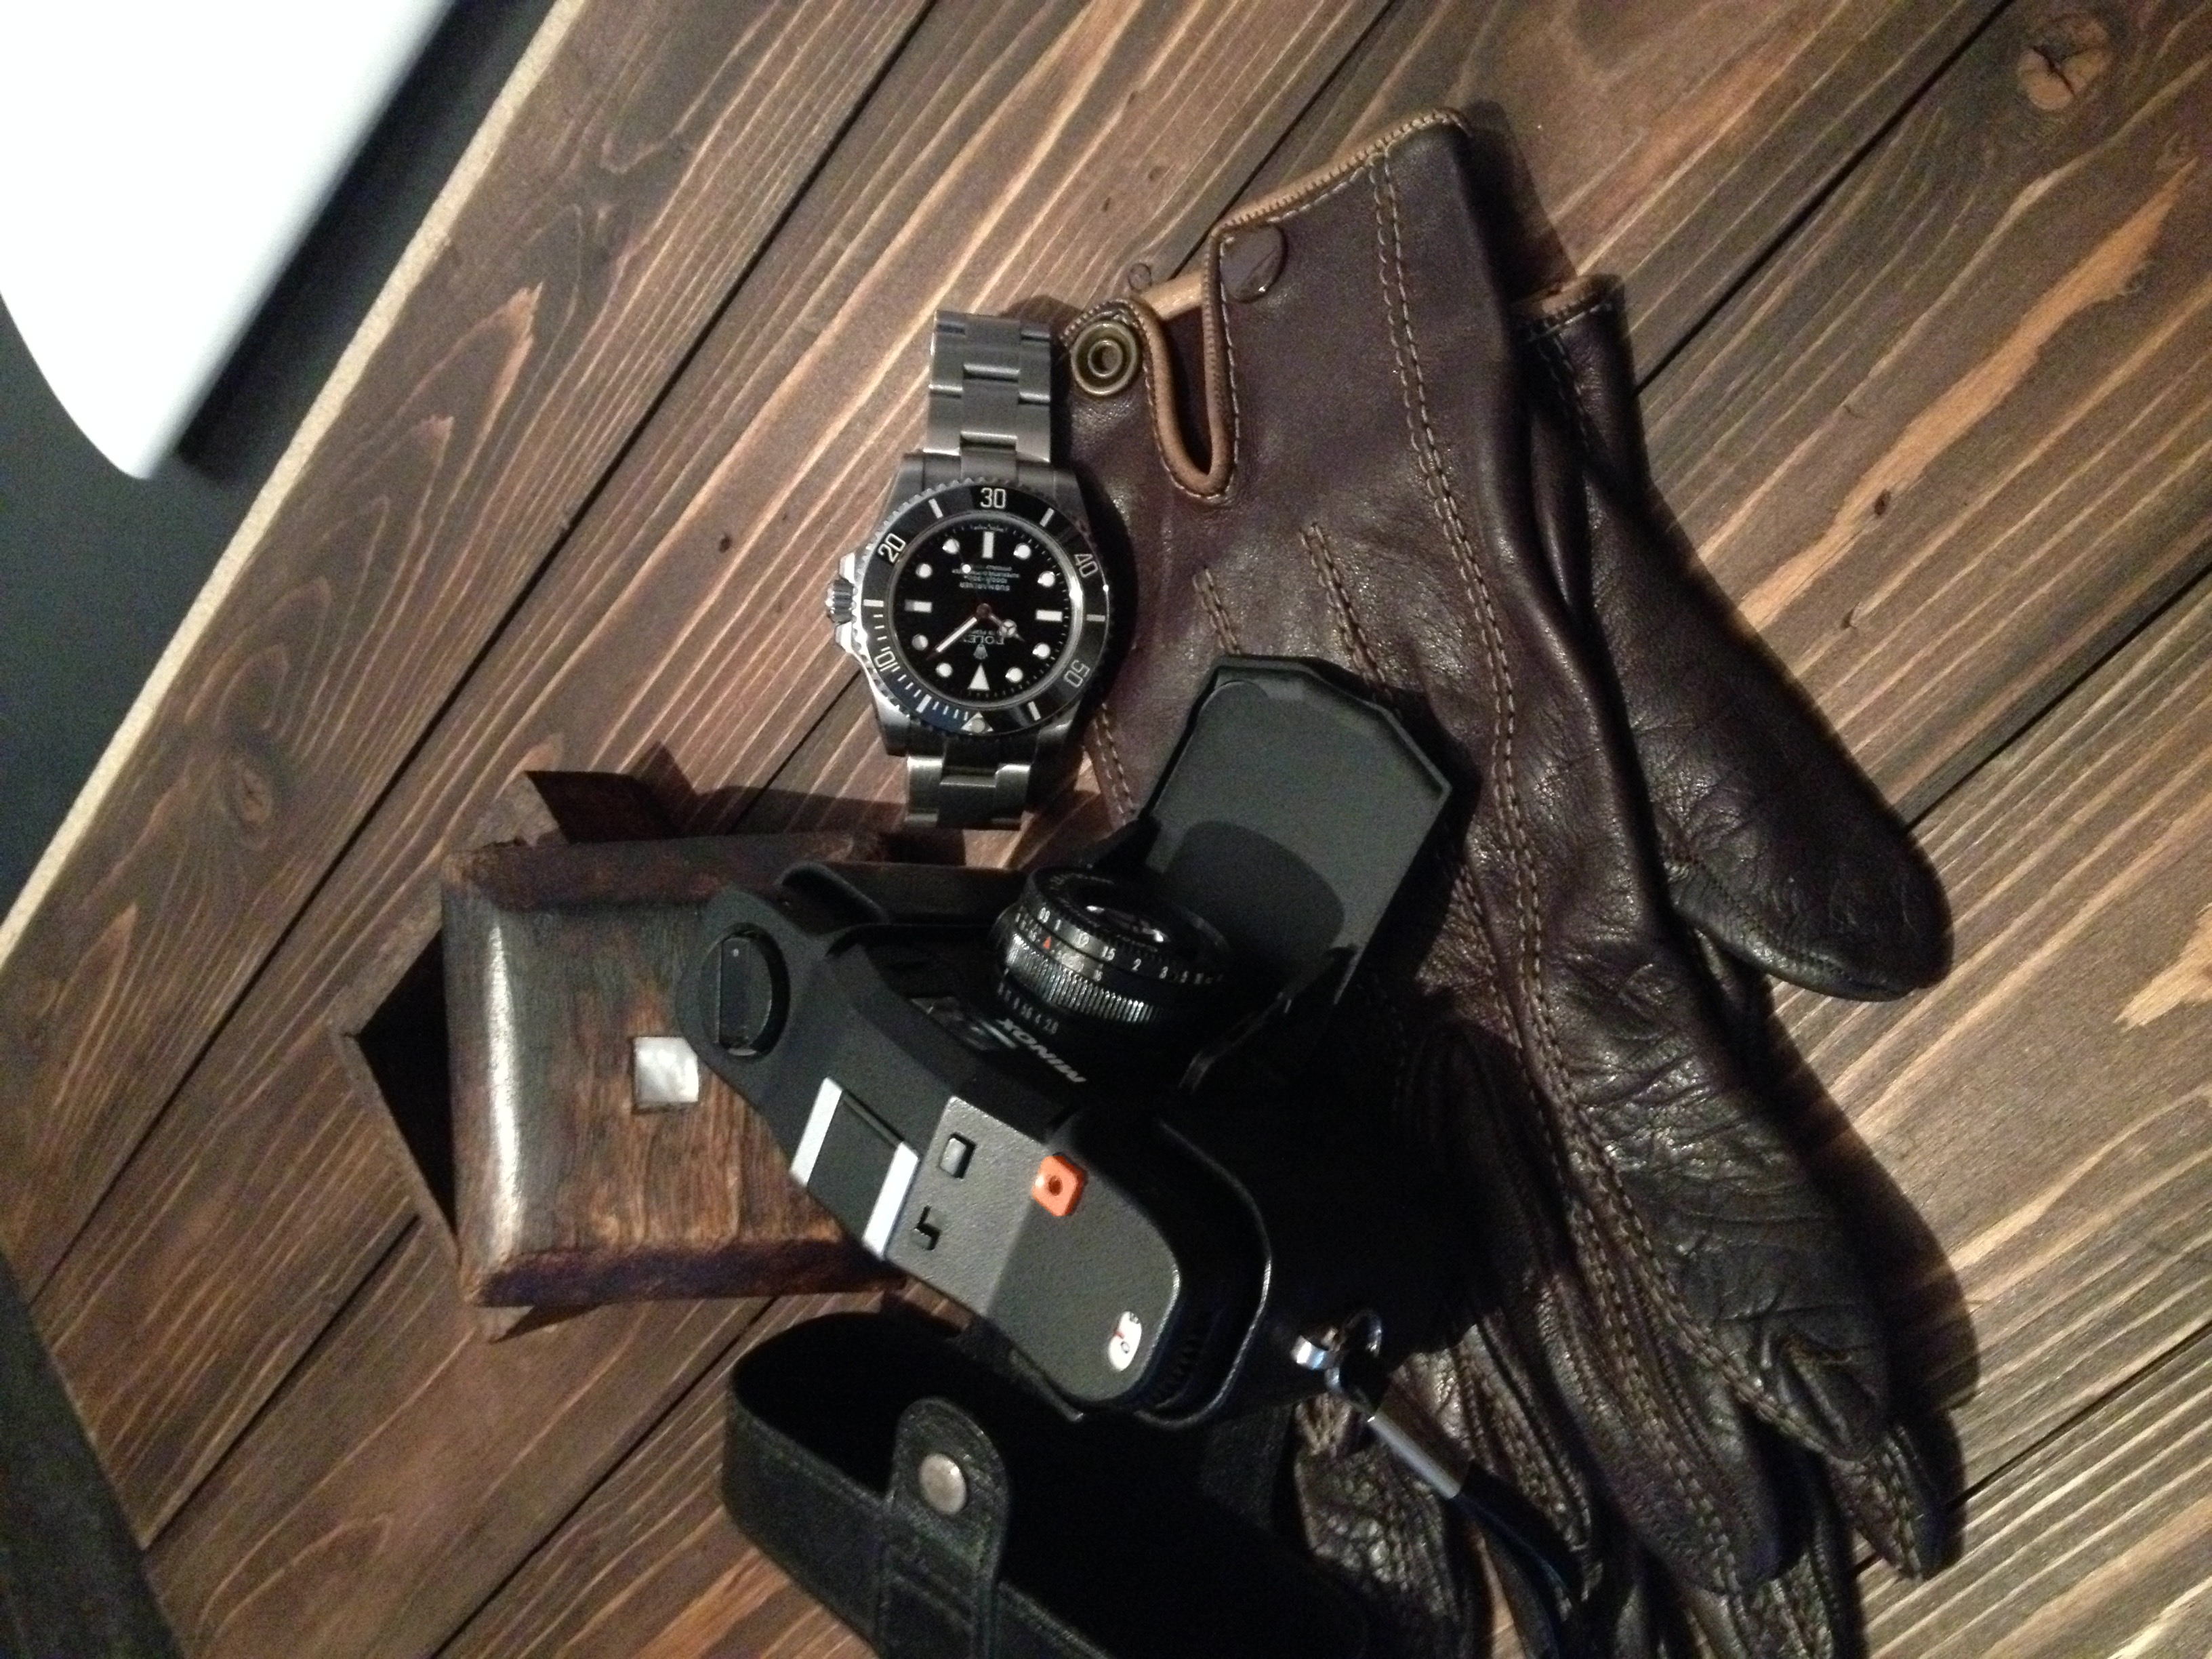
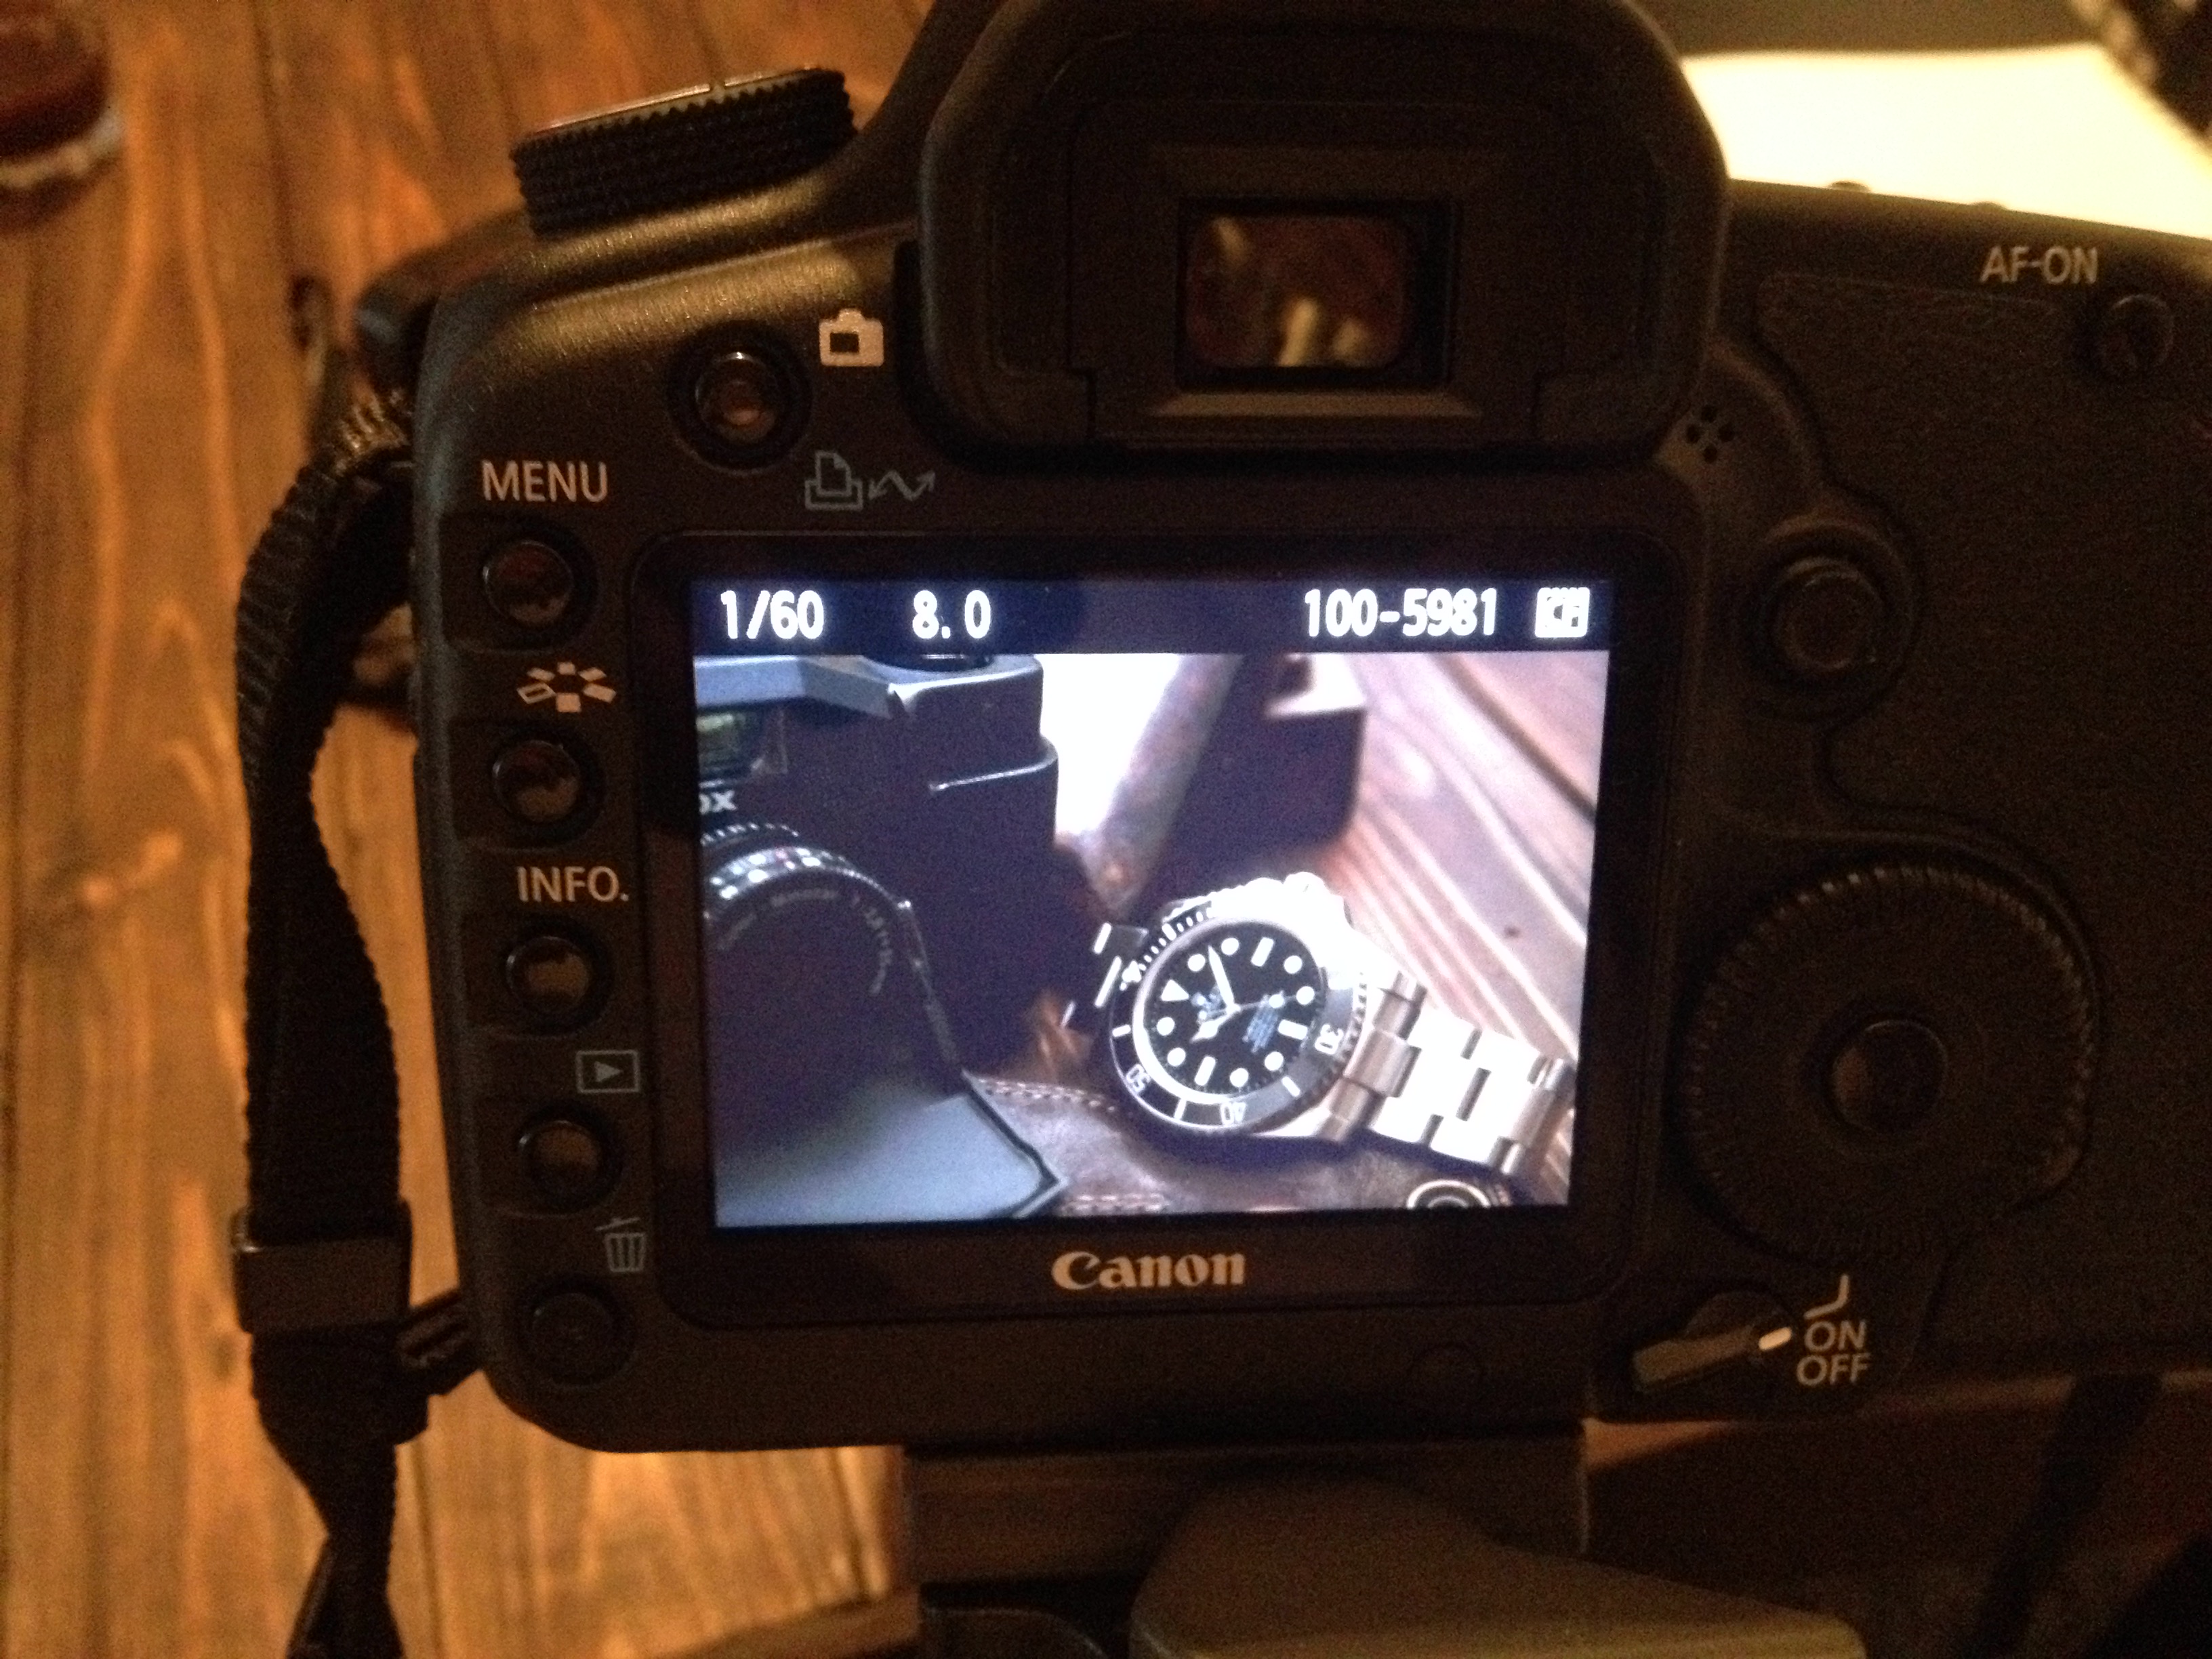
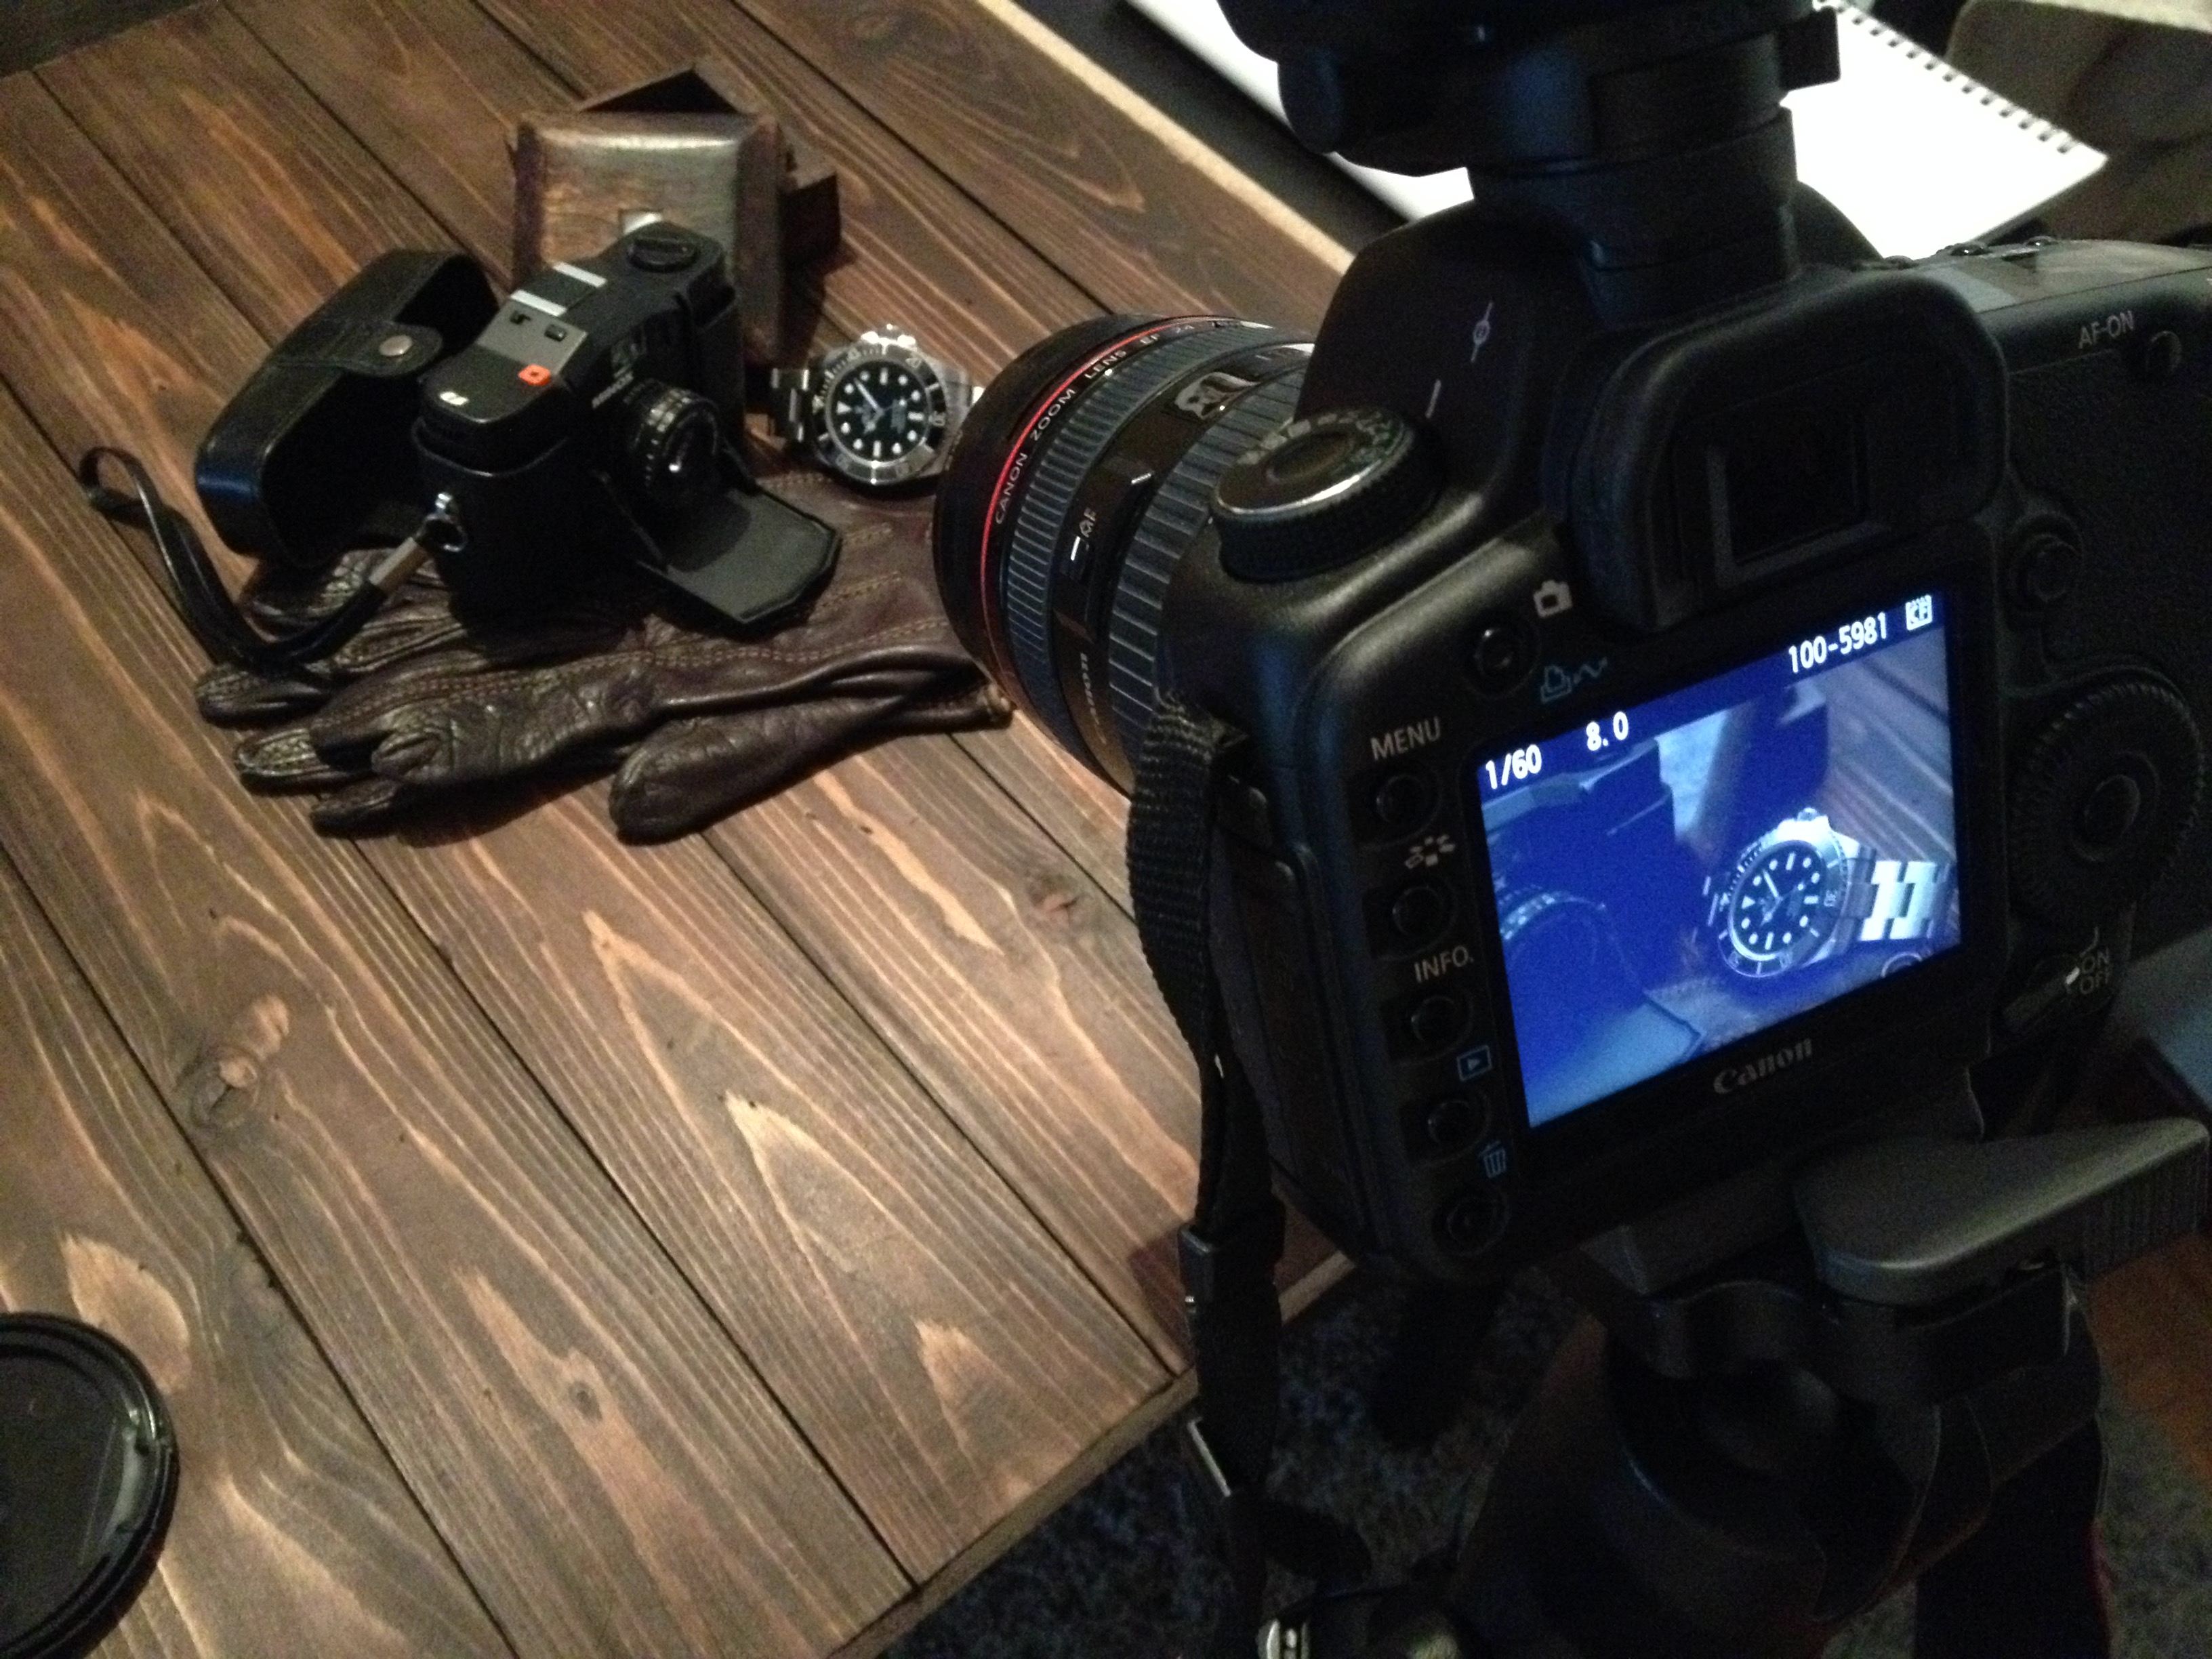
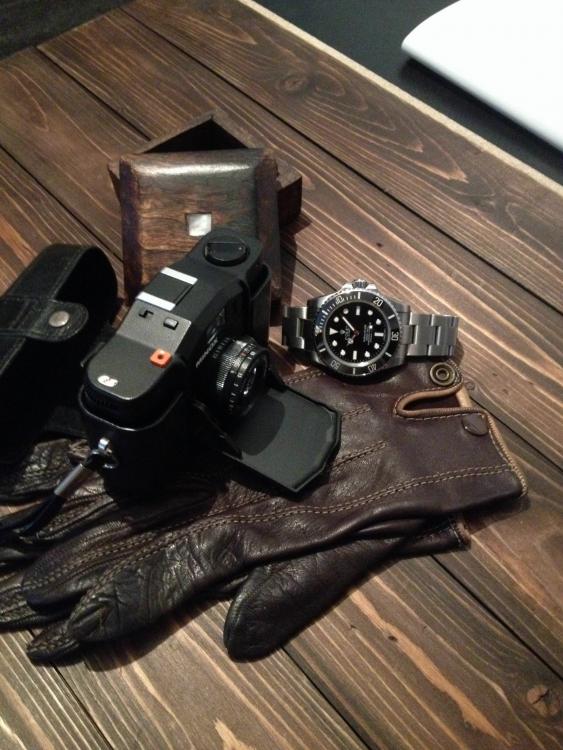
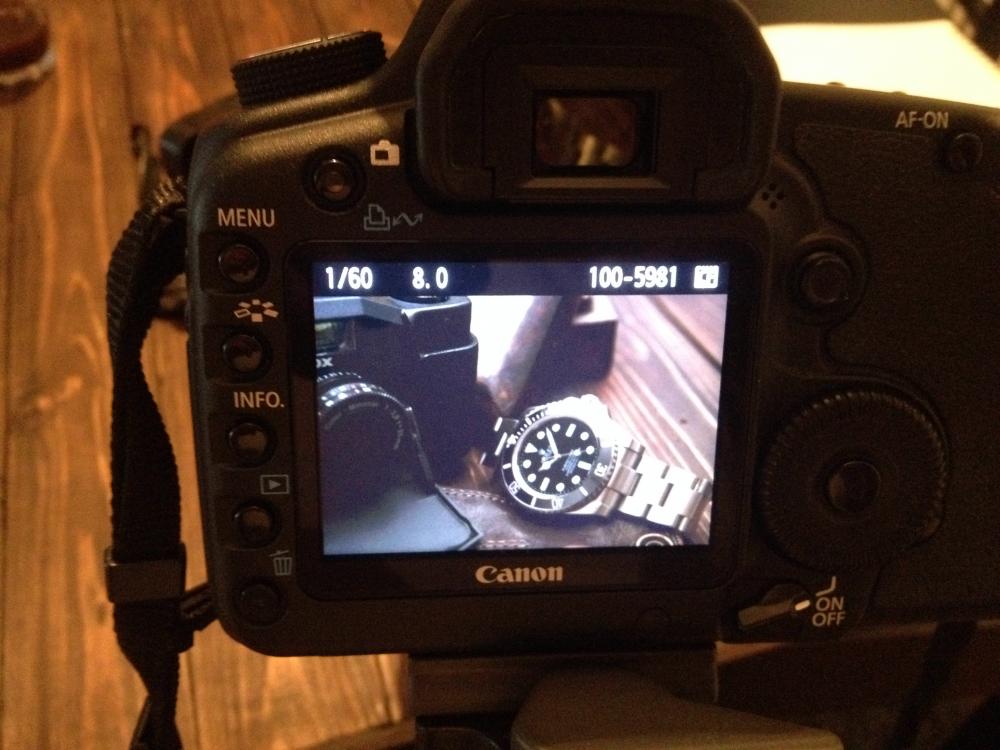
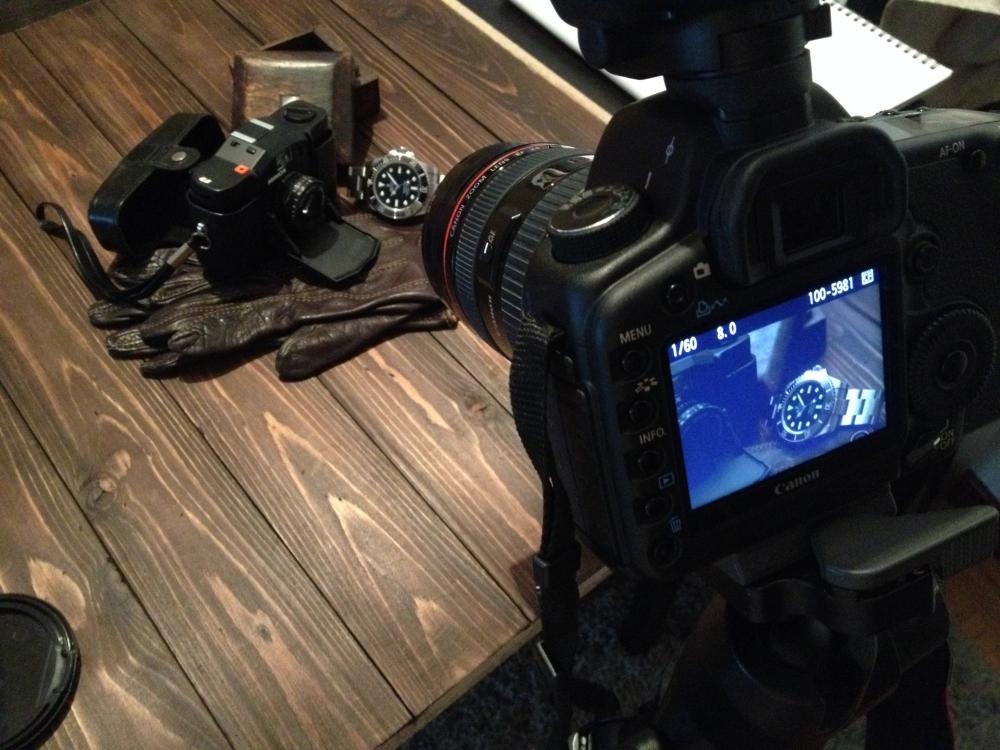
Hi all folks!!!, this is a brief explanation how I did the rolex no date pic... Exif Info: Focal Length: 70mm Aperture: f/ 8.0 Expo. 1/60 ISO: 320 Lens: Canon EF 24mm-70mm Flash: Canon 580EXII (A manually little touch of flash) The first is to place the objects so they appear attractive in the frame... In this case I used a double exposure, a first photo is the dial with excited lumen, then...without moving anything we do another shot with watch completely illuminated, then with photoshop unite the area with the lumen excited at the completely illuminated watch pic. I hope you enjoyed my explanation, greetings to all! On to pics:
 2 points
 -
I vote Diseno, and for Mike to lay off the lattès or whatever it was that had him confused over who took what photos.2 points
-
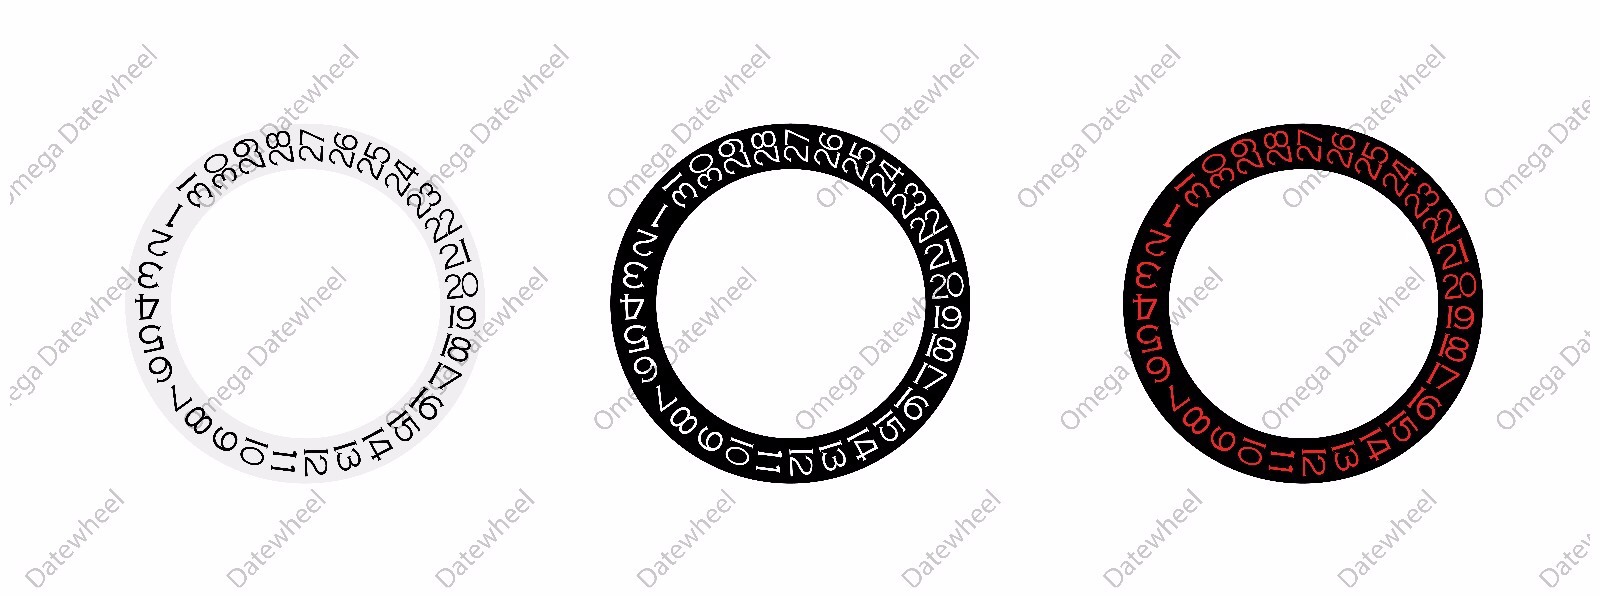
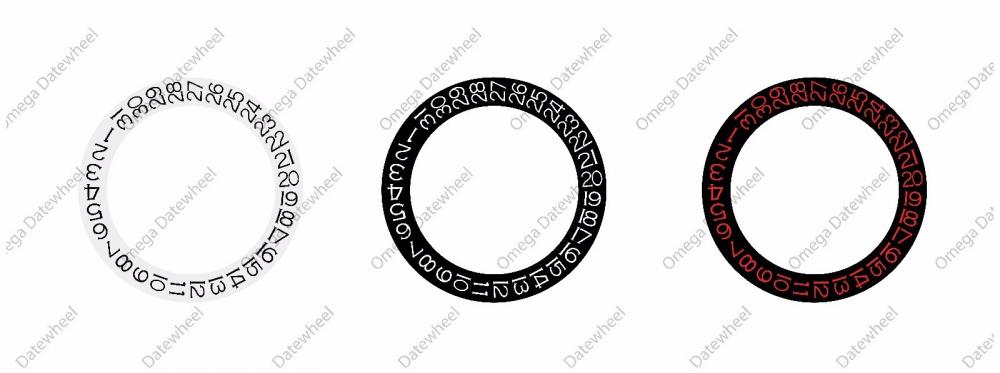
Guys, I would be working with two other members to produce the correct spec datewheel for our ROO frankens and rep. Yes, we all know how ugly the JF ROO datewheels are so let's not bash it now. The goal is to supply accurate datewheels, literally scanned and copied from one removed from a gen I own, and then reproduced for the ETA2892 movement (franken) and A7750 movement (factory rep). The date font would be 1:1 and the magnified font size would be correct for both the LWO and A7750 variants. There would be no need for special cyclops to be used with these datewheels to achieve the correct magnification effect. The primary datewheel background color would be off white for the majority of the units and perhaps 10% in black with white numbers. The datewheel for the divers might also be produced. Please stay tuned. I will add pics as I go along. 25/4 Progress update 1: Scans of gen datewheel done and produced in different colors/backgrounds Update 2 May 2016: Transposing of the AP date fonts onto images of ETA datewheels and adjustments made for size, position and spacing completed. Vector image produced. Next update: To produce a prototype Omega datewheel on an ETA datewheel and do the necessary adjustment for size, spacing and positions
 1 point
 -
Thankfully, I snapped a picture as it was happening. Cheap rep I guess.1 point
-
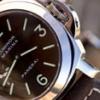
It all started 7 years ago when I sold a minty 24a mid-case with xtal (first pic of the case hoard I bought off ebay, 24a case upper left next to a 28a case). I then spent the next couple of years asking myself "WTF??? why did I sell it???" I eventually got over it until I saw it again built up into the watch you see posted here.When the chance to purchase it came up yesterday, I jumped on it.The build consists of...• Gen mid case• Gen crystal• Gen dial• Gen service hands• Gen datewheel• Gen cg• Swiss 7750 movement• Rep casebackBoth of the previous owners took exceptional care of the watch, I'm grateful for that as the case in original condition was a rare find.Here are a couple of pics...As soon as I got outside, the hands charged up instantly just as all Luminova sub hands do. Unfortunately clean, uncorroded tritium hands are almost impossible to find. Tried this strap today and it will stay on the watch for awhile...1 point
-
It sure will. They use the same hand size as 2824/28361 point
-
1 point
-
1 point
-
1 point
-
Congrats Diseno. It´s a winner pic and thanks for the details how it was made.1 point
-
Congrats, well deserved.1 point
-
Congratulations.1 point
-
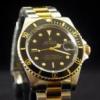
James Bond theme day: 6538 with regimental strap, Tom Ford "Henry" shades from Spectre1 point
-
LOL i had a coffee with Jorn Werdelin (CEO and one half of the company with Morte Linde the designer) here in London very charming and fun man so looking at this post is kinda cheating with his woman He usually wears the spidolite in YG and it's a stunner in the flesh loads of wrist presence you can spot it quite often walking down Portobello Road. Had a look at the Oktopus moon tattoo (the diver one) YG with case engraved like the pan firenze 604 and again an hell of a watch. Price-wise they are over the top imho because of the limited run policy we are talking the ROO region 25k£ Movements from a swiss based company Concepto...modular movement for the chrono with the obvious choice of Dupuis1 point
-
You can use a eta 2846, 2879, 2836 or a 2834 (with the day wheel and plastic ring removed). If you wanna reuse your original dial you'll have to cut the feet and use dial dots.1 point
-
Diseno1 point
-
Just chiming in again. I took apart my rose gold/white dial model last night to fix some factory dust issues and to grease the case seal. In particular, the dial had some dust particles and 'fibers' inside that cast shadows on the dial. These particles were very noticeable under direct sunlight. The crystal and case inside was also a bit dirty. These photos were very helpful in taking everything apart for the cleaning and reassembly. Now my watch is clean and the rubber case seal is greased. I'll note taking the rotor off is the easy part. Putting the screw, jewel and jewel topper back in place is fun little challenge for steady hands and a loupe. Be patient. The keyless works is very easy as well. The crown and stem come out nice and easy after depressing the clutch release button. Thank you, again, for taking the time to detail your approach.1 point
-
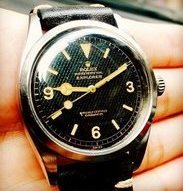
Hi everyone, I just went through tapping a Silix 6538 case to accept Athaya's 8mm Brevet crown. The cases needed to be drilled first and then needed to be tapped to accept the crown. Hope some of you find this useful Tools & Parts: - Silix 5510/6538 case - Rat tail file - Table Vise - Cordless Drill (>7.8volt) - Lubricant for metal cutting - Tap Wrench - 3.5mm Cobalt Drill Bit - M4x0.35mm Tap First step is to remove the existing tube (look how tiny that Silix tube looks!). I used a rat tail file to grip the inner tube. Once you've got a good grip, simply unscrew counter-clockwise. Voila! Next, you secure the case in the table vise. Lube the hole where the tube was and use the 3.5mm Cobalt drill bit with your cordless drill. I used my 7.8v first, but wasn't as effective so I used my 20v. Had to be patient but wasn't difficult at all. Drill all the way through. Be sure to clean off any burrs. You can use that same rat tail file from earlier. Now you need to put that M4 tap onto the tap wrench. Make sure you get the 0.35mm pitch! 0.7mm are more common, but they won't work! I've purchased mine from Merlintools on Ebay for $12 per. Get a couple while you're at it. I couldn't photograph since both my hands were occupied, but once the tap bites onto the case you do a 1 turn clock-wise and then 1/2 turn counter clock-wise. By going counter clock-wise you're removing the excess steel. Athaya tubes are pretty long so I went all the way through the case. Now you should be able to hand screw that new tube in most of the way. Towards the end I used that rat tail file again to tighten all the way down. NOTE: if you have a choice, use the triangular file. Cone shaped are very difficult to remove from the tube because it bites more area on the tube. And there we go BONUS: So we know 3.5mm Cobalt and an M4x0.35mm tap is needed for the 8mm Brevet Athaya crown and tube. For Rolex Explorer 1016s to accept the 6mm gen crown and tube, you'll need to drill out the case using 0.110" or #35 first and use the M3x0.35mm tap. If you aren't up for it, jmb is your go to TC 16610 to gen tube seems to have the same diameter so drilling doesn't seem necessary. It would use the same tap as the 1016, M3x0.35mm. See here: https://www.replica-watch.info/vb/sh...ll-this-myself Hope this was useful! Good luck!1 point
-
Actually if you want to have the details from those that have been in the trade for 8 years PM me. Ken1 point
-
Photos courtesy of freddy333:1 point